by
by Introduction: The Revival of Your Favorite Jeans
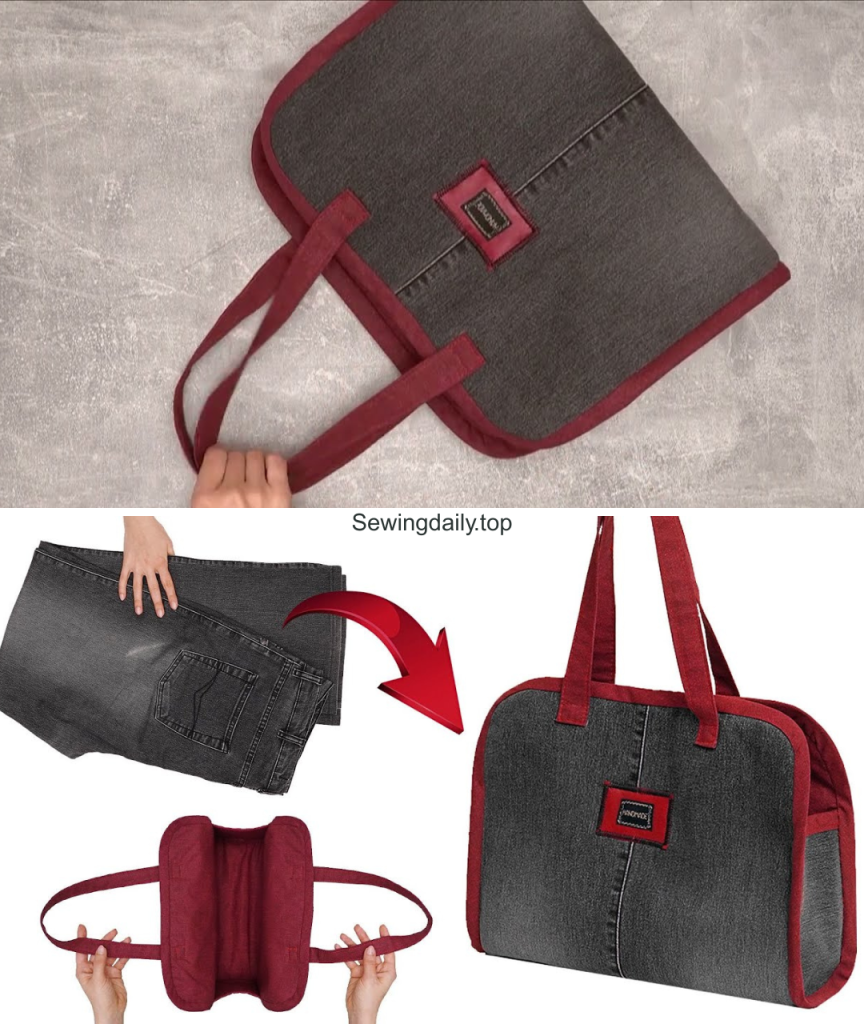
We all have them: those beloved pairs of jeans that are too faded, too distressed, or simply too small to wear anymore. But before you banish that durable, beautiful denim to the back of the closet, stop! Inspired by the ingenious and straightforward “sew a bag out of old jeans” tutorials (like the one linked below), we’ve created a unique, long-form pattern for a functional and fashionable piece: The Urban Traveler Denim Crossbody Bag.
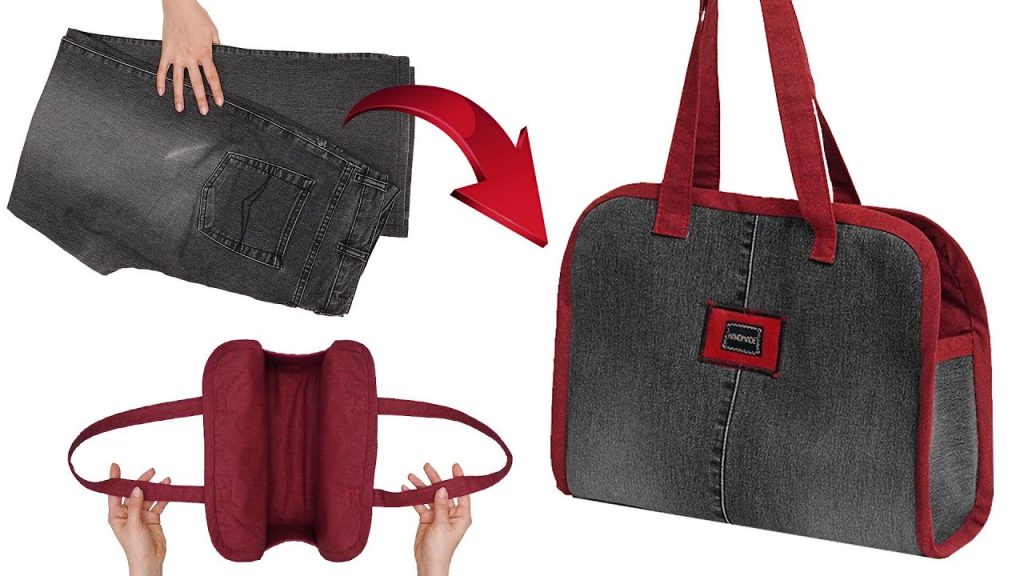
This project elevates the simple denim upcycle into a stylish accessory perfect for quick errands, travel essentials, or everyday minimalist carry. By leveraging the strength, texture, and even the original seams and pockets of the jeans, this pattern results in a structured, durable, and truly one-of-a-kind bag that reflects a commitment to sustainable fashion.
Ready to transform your old blue-jeans into your new best travel companion? Let’s get cutting!
Section 1: The Philosophy of Denim Renewal
The channel that inspired this project, Miarti – Reuse, is dedicated to proving that high-quality, professional-looking items can be created entirely from repurposed materials. Denim is the perfect canvas for this ethos because:
- Inherent Durability: Denim is designed to withstand daily abuse, making the resulting bag incredibly sturdy.
- Natural Aesthetics: The varied washes and textures of old denim add character and depth that new fabric can’t replicate.
- Zero-Cost Primary Fabric: This is a truly satisfying, virtually free project for the main material.
This pattern is a celebration of that simple, impactful reuse, focusing on clean lines and durable construction.
Section 2: Gathering Your Supplies (The Denim Harvest)
The success of this structured crossbody bag lies in proper stabilization and hardware choice.
The Material Checklist
| Item | Quantity | Notes |
| Old Denim Jeans | 1 Pair | Larger jeans (men’s 34+ waist or women’s size 14+) are best to yield larger panels. |
| Lining Fabric | 1/2 Yard | Medium-weight cotton or canvas. Choose a fun print for contrast. |
| Zipper | 1 (12-inch) | Heavy-duty metal or sturdy nylon coil zipper for the main closure. |
| Fusible Interfacing | 1 Yard | Heavy-Weight for exterior panels and Medium-Weight for lining panels. This is crucial for structure! |
| Adjustable Webbing Strap | 1.5 Yards | 1-inch wide cotton or nylon webbing for the crossbody strap. |
| Hardware | 2 D-Rings, 1 Slider Buckle, 2 Swivel Hooks | All 1-inch width to match the webbing. |
| Thread | 1 Spool | High-quality, heavy-duty polyester or denim topstitching thread (gold/yellow is classic). |
The Tool Checklist
- Sewing Machine (with a Denim/Jeans needle and a Zipper Foot)
- Rotary Cutter and Cutting Mat (highly recommended for precision)
- Measuring Tape and Ruler
- Pins/Clips and Seam Ripper
- Iron and Ironing Board (essential for fusing the interfacing)
Section 3: The Step-by-Step Pattern (The Crossbody Construction)
This pattern creates a structured bag that measures approximately 10.5 inches wide, 8 inches tall, and 3 inches deep.
Stage 1: Disassembly and Stabilization
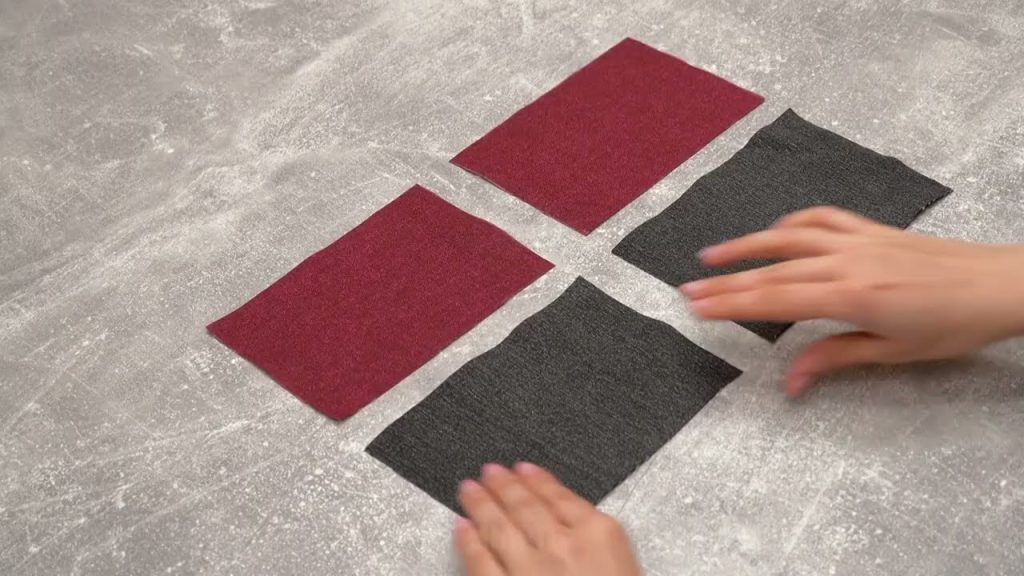
- Harvest the Denim: Cut off the legs of your jeans just below the crotch. Slit open the inner leg seams to get two large, flat denim panels. Use an iron to press them completely flat.
- Cut the Panels: Based on a 1/2-inch seam allowance, cut the following pieces:
- Exterior Panel (Front): 11.5″ x 9″ (This is where you can center a back pocket or detail!)
- Exterior Panel (Back): 11.5″ x 9″
- Side/Bottom Gusset: 3″ x 28″ (This is the long strip that forms the depth of the bag.)
- Lining Panels: Two pieces, 11.5″ x 9″
- Lining Gusset: 3″ x 28″
- Fuse the Interfacing: Iron the heavy-weight interfacing onto the wrong side of the two Exterior Panels and the Denim Gusset piece. Iron the medium-weight interfacing onto the wrong side of the two Lining Panels and the Lining Gusset piece. Do not skip this step!
Stage 2: Adding the Zipper and Strap Tabs
- Attach the Zipper:
- Pin the zipper face-down along the top 11.5-inch edge of one Exterior Panel.
- Pin one Lining Panel on top of the zipper, aligning all edges.
- Stitch all three layers together using a zipper foot, as close to the teeth as possible.
- Repeat this process for the remaining Exterior and Lining panels on the other side of the zipper.
- Topstitching: Open up the panels and press the fabric away from the zipper teeth. Topstitch along both sides of the zipper, 1/8 inch from the edge. This professional detail prevents fabric from getting caught.
- Strap Tabs: Cut two small denim rectangles (3″ x 2″). Fold them in half lengthwise and topstitch the edge. Thread a D-Ring onto each tab. Pin one tab to each end of the bag exterior (right sides together), placing them 1.5 inches down from the zipper ends. Stitch securely with a box-and-cross pattern.
Stage 3: Assembling the Body and Gusset
- Sew the Exterior Sides: Unzip the zipper halfway. Align the two Exterior Panels (right sides facing) and pin the side seams together. Sew a 1/2-inch seam allowance down both sides, stopping 1/2 inch from the bottom edge. This little gap allows for easy attachment of the gusset.
- Attach the Denim Gusset:
- Find the center point of the Denim Gusset (at 14 inches). Pin this center point to the center of the bag bottom.
- Pin the gusset all the way around the three sides of the exterior bag (side, bottom, side). The gusset should wrap around perfectly.
- Sew the gusset to the main body with a continuous 1/2-inch seam. Clip the curves near the bottom corners to ensure the seam lays flat.
- Tip: in the inspiration video shows the concept of attaching a separate strip (inlay) to form the base, which is similar to our gusset attachment here.
Stage 4: Finishing the Lining
- Prepare the Lining: Repeat Step 3.1, sewing the two Lining Panels together at the sides.
- Attach the Lining Gusset: Repeat Step 3.2, sewing the Lining Gusset to the Lining Panels, leaving the top edge open.
- The Turning Gap: VERY IMPORTANT: In the center of the bottom seam of the Lining Gusset, leave a 5-inch opening. This gap will be used to turn the entire bag right-side out.
Stage 5: Final Assembly and Strap
- Bag within a Bag: Ensure the exterior bag is right-side out and the lining bag is right-side out. Insert the exterior bag inside the lining bag, so that the right sides of the zipper seams are facing. The raw edges of the zipper tape are now aligned. Pin all the way around.
- Final Seam: Stitch a final 1/2-inch seam all the way around the top edge, securing the lining to the exterior bag.
- Turn and Close:
- Pull the entire bag through the 5-inch opening in the lining gusset.
- Gently push out the corners and sides.
- Stitch the 5-inch hole in the lining closed (by machine or with an invisible ladder stitch by hand).
- Push the lining into the bag, zip it up, and press the top edges firmly.
- Create the Strap: Cut the 1.5 yards of webbing. Attach the swivel hooks and slider buckle to create a fully adjustable crossbody strap.
Section 4: Customization Corner (Making It Yours)
- Interior Pocket: Add a simple slip pocket to the lining panel before assembling the lining gusset for phone or key storage.
- Original Pocket Detail: Use the back pocket from your jeans as the front exterior panel of the bag. Before attaching the gusset, make sure to stitch the original pocket closed along the top opening to prevent it from gaping.
- Hardware Finish: Use antique brass or gunmetal hardware for a vintage, sophisticated look.
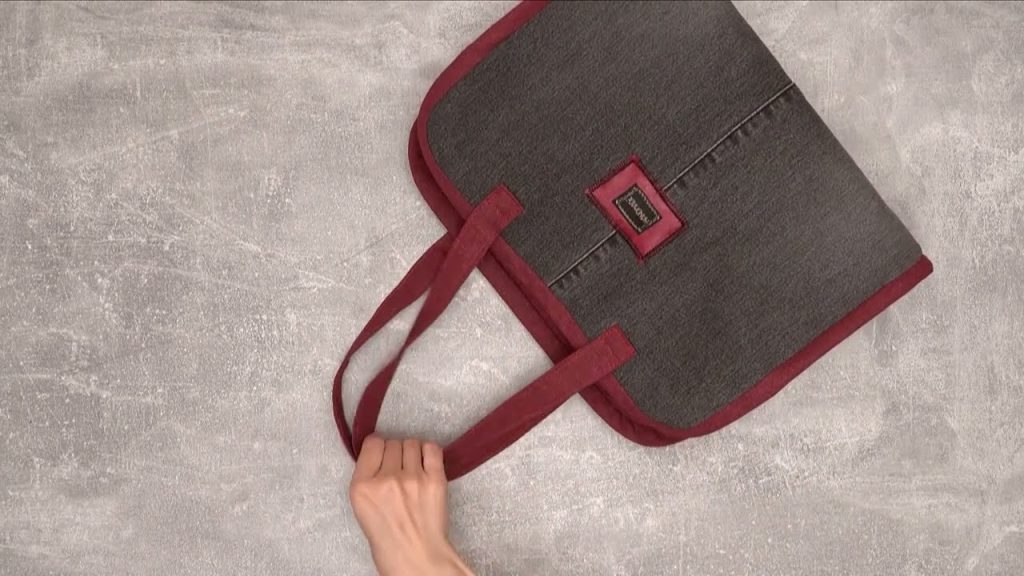
Conclusion: Travel Light, Travel Stylish
You have successfully transformed a pair of old jeans into a stylish, structured, and incredibly useful Urban Traveler Crossbody Bag! This project, demanding attention to detail and a commitment to stability, produces a final product that is far superior to any simple, floppy upcycled tote. Wear your creation with pride, knowing you gave that denim a second, functional life.
Video tutorial: