 by
by Hello, fellow makers and sustainability enthusiasts! Are you looking for a quick, stylish, and incredibly easy way to create a functional bag without ever touching a sewing machine? You’ve come to the right place!
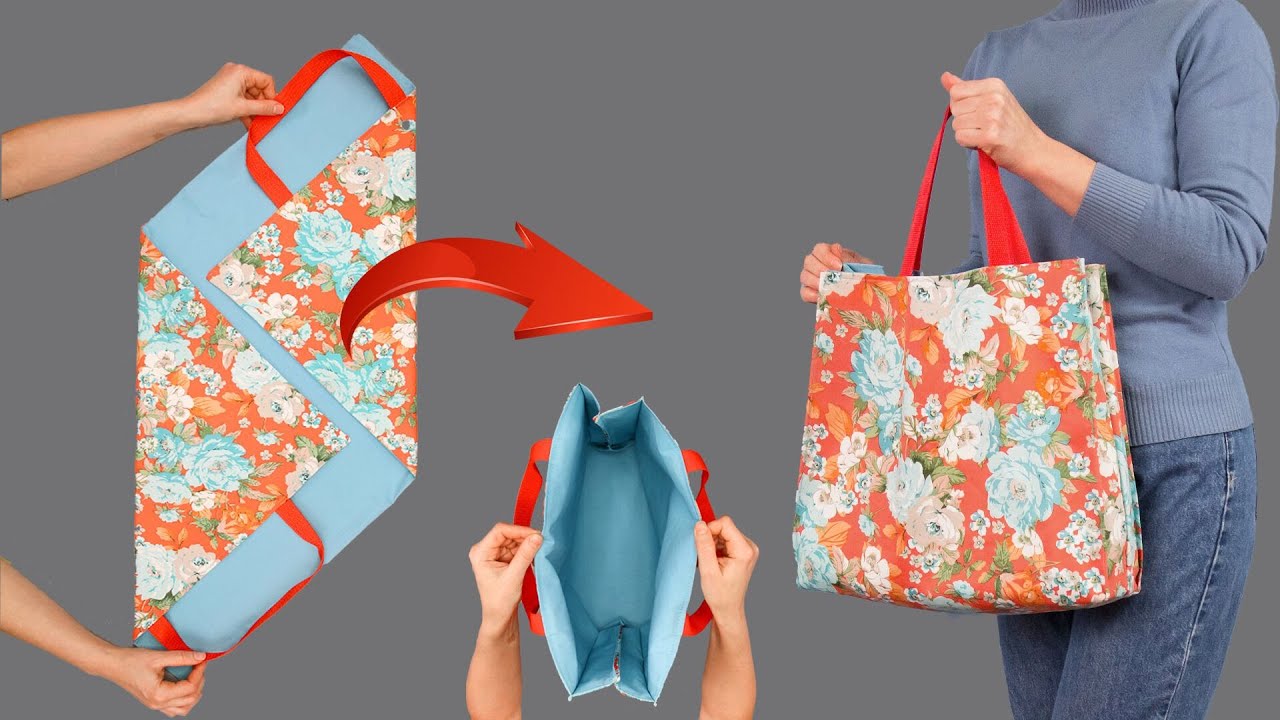
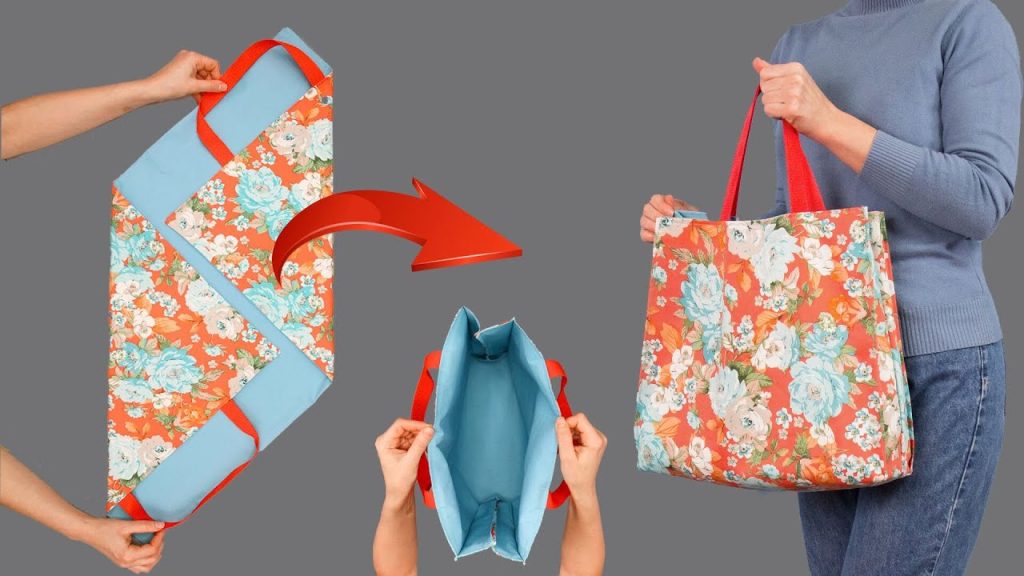
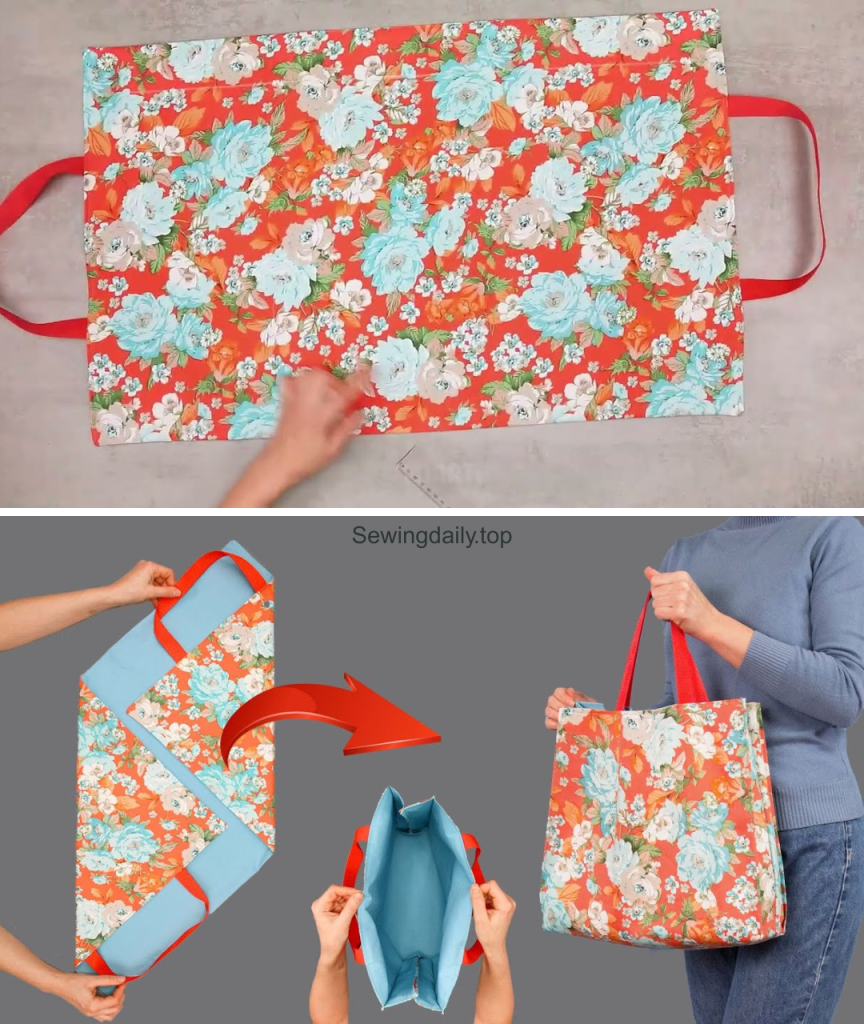
Inspired by a fantastic no-sew design, I’m thrilled to share the pattern for the Urban Explorer Sling Bag. This project uses simple knotting techniques to transform a piece of sturdy fabric—like a retired canvas tote, an old curtain, or even denim—into a chic, reversible shoulder bag. It’s perfect for running errands, carrying books, or adding a unique, handmade touch to your casual look. The best part? No sewing is required, making it perfect for absolute beginners!
Grab your fabric and your scissors, and let’s turn old into gold!
Why You’ll Love Making This Bag:
- 100% No-Sew: Uses basic cutting and knotting techniques.
- Beginner-Friendly: If you can cut a straight line and tie a knot, you can make this bag.
- Sustainable & Upcycled: A perfect way to give new life to old fabrics.
- Reversible: The construction method results in a clean, reversible bag.
- Quick Project: Can be finished in under an hour!
What You’ll Need:
- Fabric: One rectangular piece of medium to heavy-weight fabric that is clean, ironed, and non-fraying (or minimally fraying). Canvas, duck cloth, or twill are ideal.
- Tip: Use an old canvas shopping bag, a placemat, or a piece of heavy drapery fabric.
- Sharp Scissors or Rotary Cutter: Essential for clean, straight cuts.
- Ruler or Measuring Tape: For marking the cut lines.
- Fabric Marker or Chalk: For drawing the cut lines.
- Small Bowl or Circular Template: To round the bottom corners (optional, but recommended).
Measurements & Cutting Diagram
The size of your finished bag will depend on the size of your starting rectangle. The dimensions below are a suggested starting point for a versatile sling bag:
| Dimension | Measurement (Example) | Notes |
| Total Fabric Width (W) | 28 inches (71 cm) | This will become the total length of the bag plus the handle. |
| Total Fabric Height (H) | 14 inches (35 cm) | This will be the depth of the finished bag. |
| Fringe Length | 3 inches (7.5 cm) | This determines the length of the fringe strips for knotting. |
| Bag Opening Height | 1 inch (2.5 cm) | The top edge that will be left uncut. |

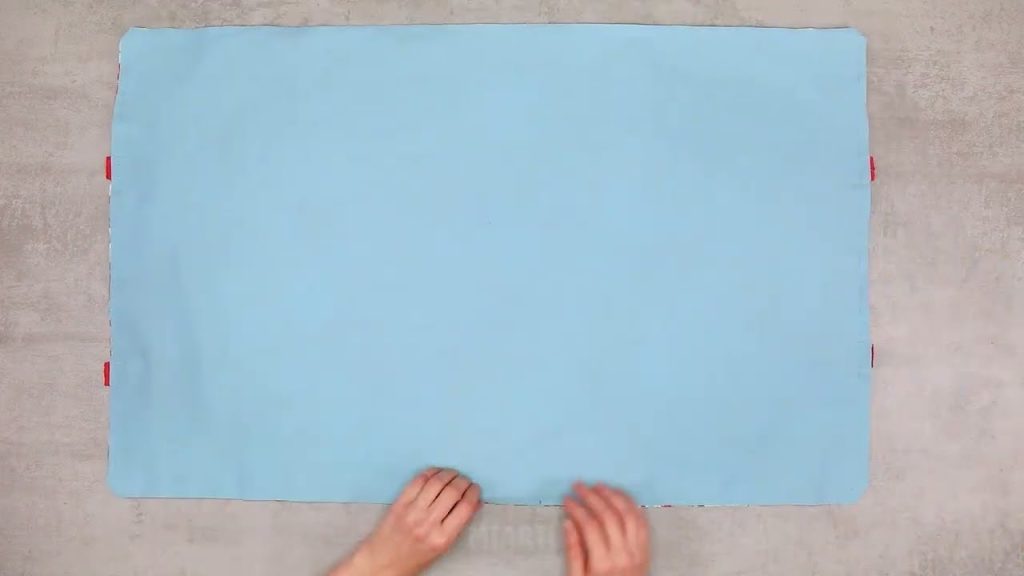
Step 1: Preparing the Fabric
- Cut the Rectangle: Cut your fabric to the desired dimensions (e.g., 28″ W x 14″ H).
- Fold: Fold the fabric in half width-wise, so the dimensions are now 14″ W x 14″ H. This fold is the bottom of your bag.
- Mark the Fringe Area: On the open edges (sides and top), measure and mark a line 3 inches (7.5 cm) in from the edge. This is your cutting line for the fringe.
- Mark the Bag Opening: On the top edge (the opening of the future bag), mark another line 1 inch (2.5 cm) down from the top edge. This 1-inch strip will remain uncut.
Construction: The No-Sew Knotting Process
Step 2: Cutting the Fringe Strips
The fringes are what allow you to join the fabric panels without sewing.
- Cut the Side Fringes: Starting at the bottom corner and stopping at the 3-inch marked line, cut vertical strips along the two open sides of your folded fabric.
- Width: Each strip should be approximately 0.5 inches (1.2 cm) wide. Cut through both layers of fabric simultaneously.
- Total Length: Each fringe should be 3 inches long.
- Cut the Handle/Top Fringes: Now, working on the top edge (the bag opening), cut strips horizontally from the side edge towards the middle.
- Stop: Do not cut past the 1-inch opening line you marked earlier.
- Width: Again, aim for 0.5 inches (1.2 cm) wide strips.
Step 3: Knotting the Sides (Forming the Bag Pocket)
- Unfold the Fabric: Open the fabric completely and lay it flat. You should have fringe strips along the two short ends and the long top/handle edge.
- Refold: Fold the fabric wrong sides together (if your fabric has a right and wrong side).
- Knot the Sides: Starting from the bottom folded edge, take the first two fringe strips (one from the front layer, one from the back layer) and tie them together using a simple double knot (square knot). Pull the knot tight, right up against the edge of the bag.
- Repeat: Continue knotting all the way up both sides until you reach the top edge where the handle begins.
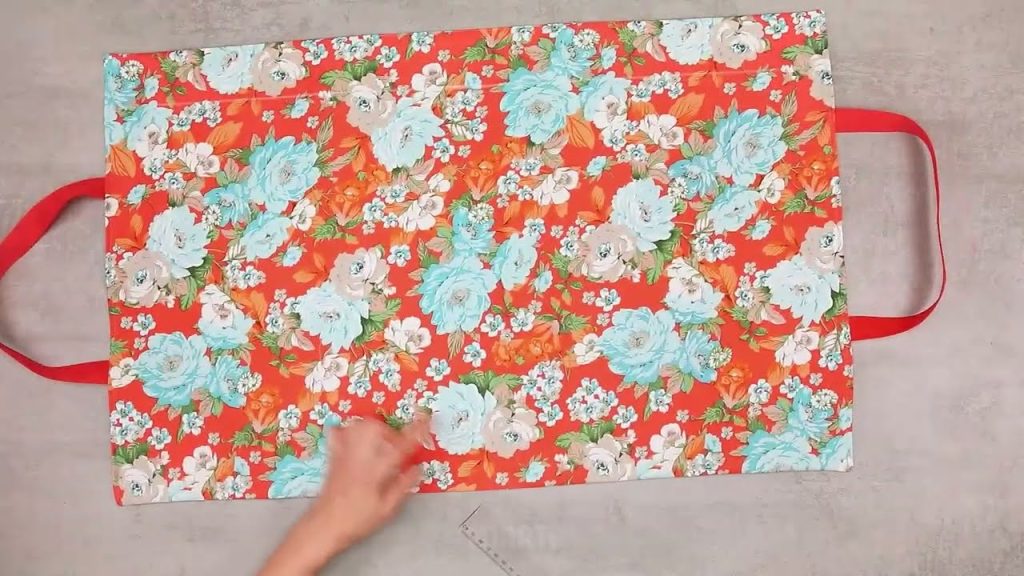
Step 4: Knotting the Handle (Forming the Strap)
The fringes from the top edge now form the long, continuous strap and shoulder sling.
- Open the Bag: Turn the bag inside out (or outside out, depending on which side you want facing).
- Align the Top: Bring the two top fringed edges together. You are now joining the front and back of the bag opening to create the strap.
- Knotting: Take the first fringe strip from the front panel and the corresponding fringe strip from the back panel and tie them together using a double knot. Pull tightly.
- Continue Knotting: Continue this knotting process all the way along the entire length of the top opening until all the fringes are knotted together. This forms the long, continuous sling strap.
- Secure the Ends: At the very end of the strap, knot the last fringe strips tightly. You may choose to trim any excess fringe or leave a short tassel.
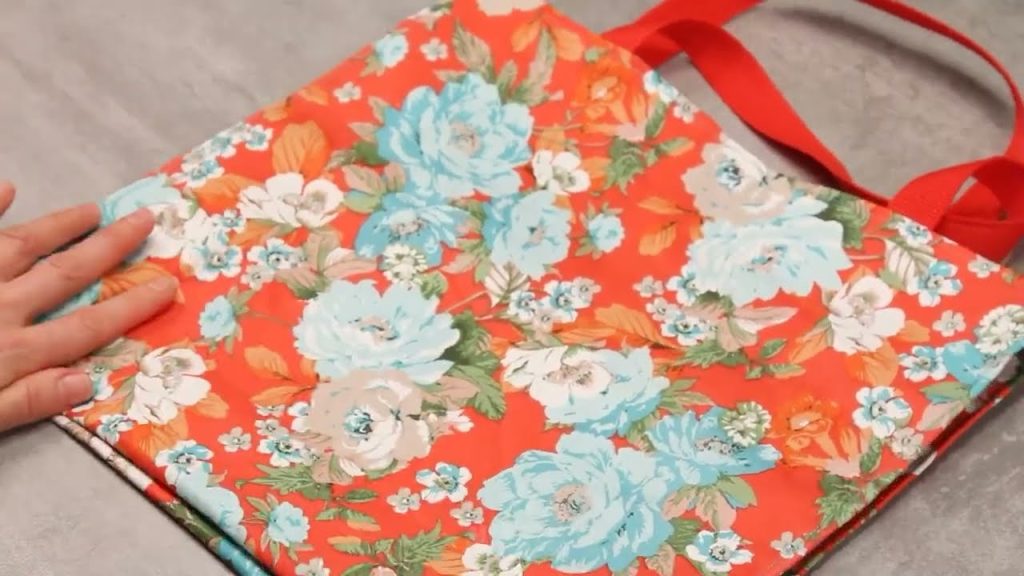
Finishing Touches
- Trimming: Go around all the knotted edges and trim any excessively long or uneven fringe tails.
- Final Shape: Push the bottom corners out and load your bag!
Congratulations! You’ve successfully created the Urban Explorer Sling Bag using only a piece of fabric and a pair of scissors. Go enjoy your beautiful, zero-waste accessory!
Video tutorial: