 by
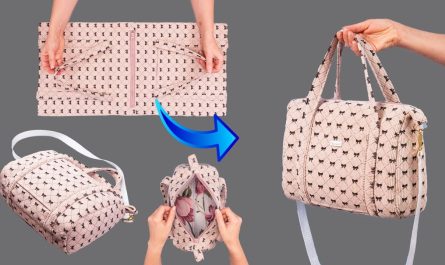
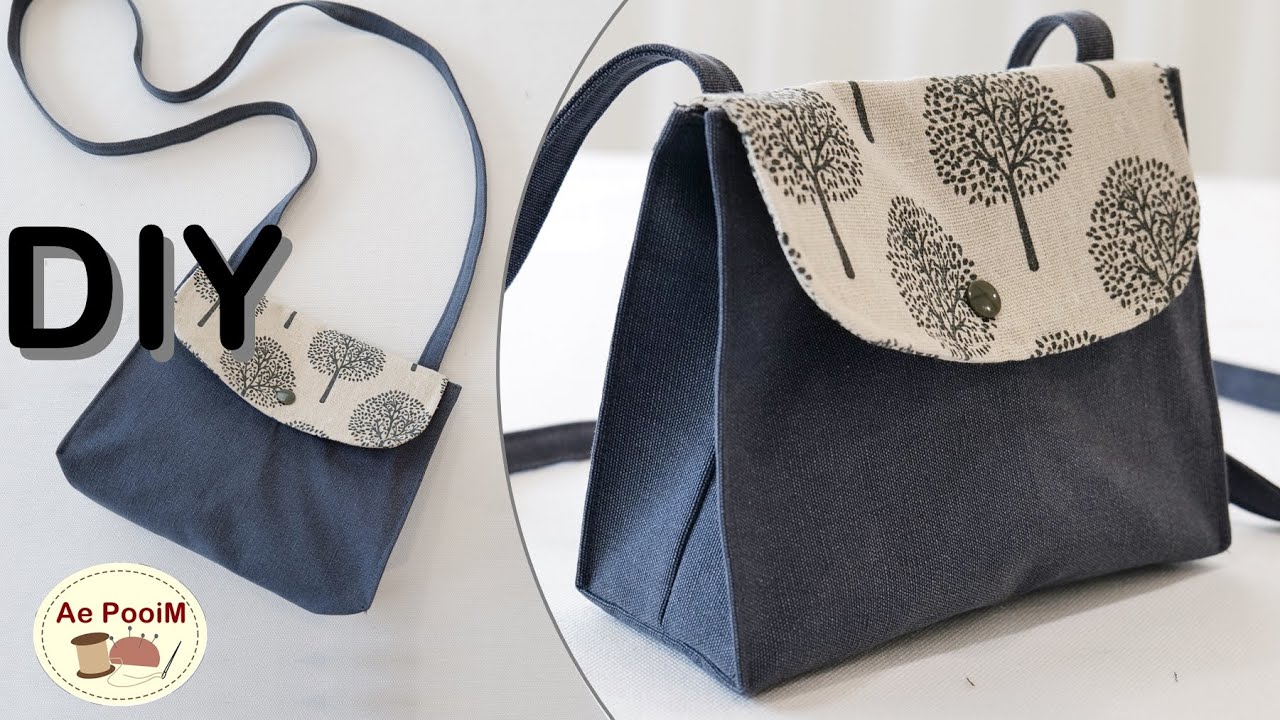
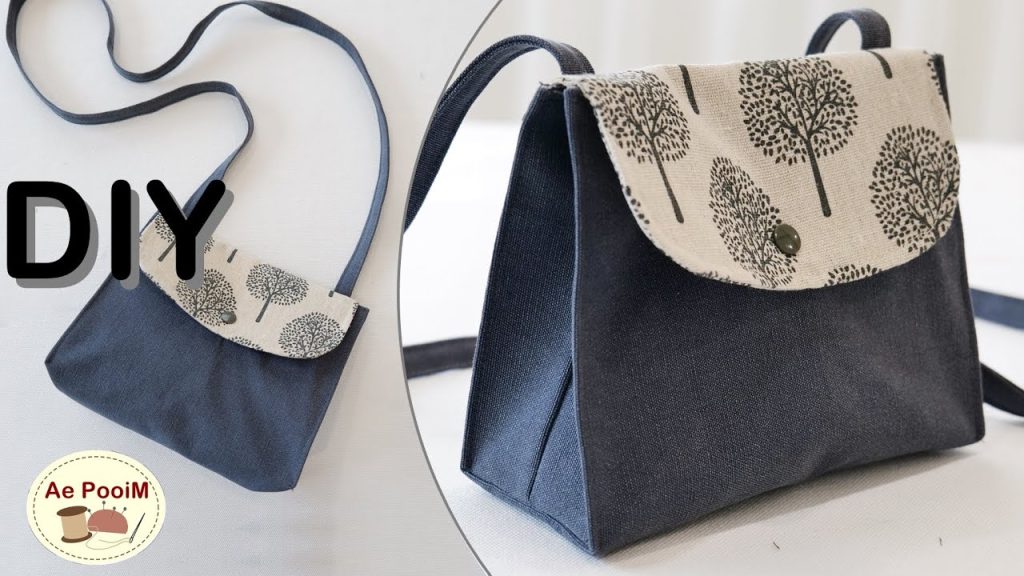
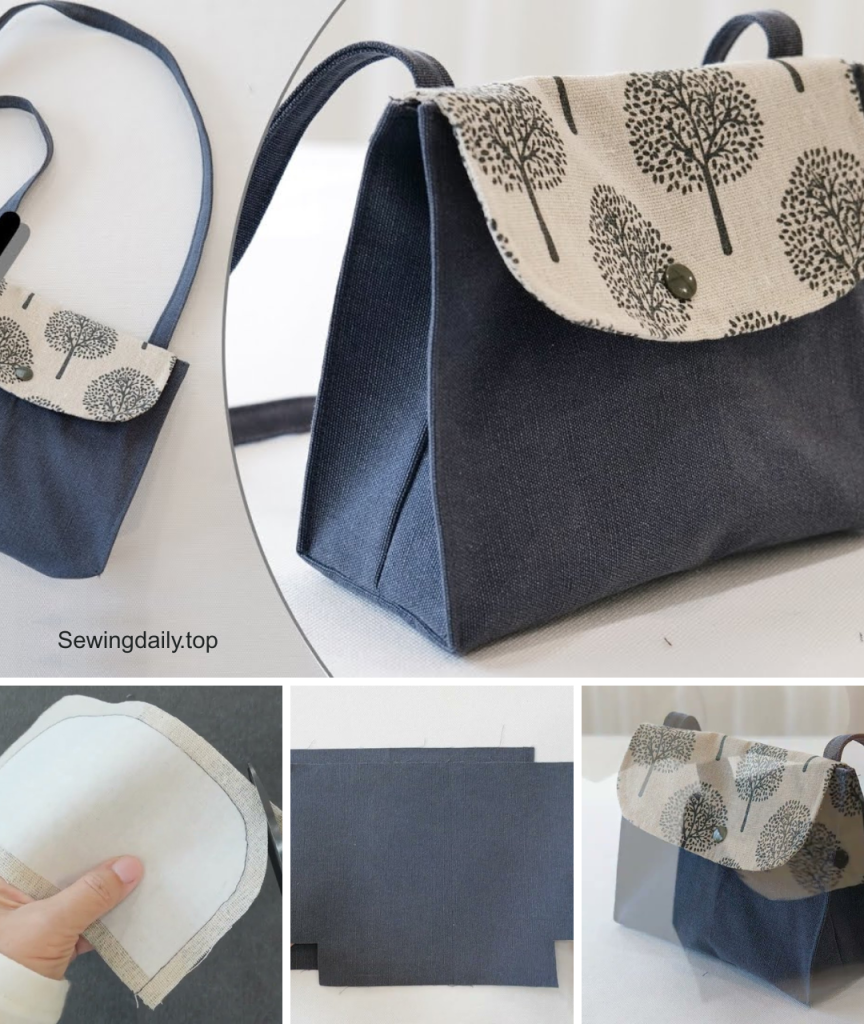
by In today’s fast-paced world, a reliable, hands-free bag is more of a necessity than a luxury. It holds your essentials, keeps them secure, and lets you move freely. While you can find countless options in stores, nothing beats the satisfaction of creating a bag that’s tailored to your exact needs and style. This detailed tutorial will walk you through sewing an “everyday essential” crossbody bag that’s not just practical but also a unique expression of your creativity. This is a fantastic project for both beginners and experienced sewers looking for a quick and rewarding make.
Why a Crossbody Bag?
The crossbody bag has become a staple for a reason. Its design allows you to carry your necessities—phone, wallet, keys—close to your body, keeping your hands free for everything from grabbing a coffee to navigating a busy street. It offers a layer of security that a shoulder bag can’t, as it’s harder for someone to snatch from your body. Plus, the classic, streamlined silhouette works with almost any outfit.
Before You Begin: Gathering Your Materials
Part of the fun of a sewing project is selecting your materials. For this bag, durability and style are key.
- Main Fabric: A sturdy, medium-weight fabric is best. Think canvas, denim, corduroy, or even a durable cotton twill. Choose a color or print that you love. You’ll need about a half-yard.
- Lining Fabric: A lighter fabric like quilting cotton or a similar cotton blend works perfectly for the inside. This will give your bag a professional finish and hide all the seams. You’ll need about a half-yard.
- Fusible Interfacing: Medium-weight fusible interfacing will give your bag structure and help it hold its shape. A half-yard will be plenty.
- Zipper: One 8-inch zipper for the front pocket.
- Hardware: Two 1-inch D-rings and one 1-inch strap slider.
- Webbing or Fabric for Strap: A 60-inch piece of 1-inch cotton webbing or a 65-inch by 3-inch strip of your main fabric to create your own strap.
- Matching Thread: Strong polyester thread in a color that matches your main fabric.
- Tools: Sewing machine, fabric scissors, rotary cutter (optional but helpful), ruler, pins or fabric clips, and an iron.
The Step-by-Step Tutorial
This project is broken down into a few manageable sections. Take your time, and remember, accurate cutting makes for easy sewing.
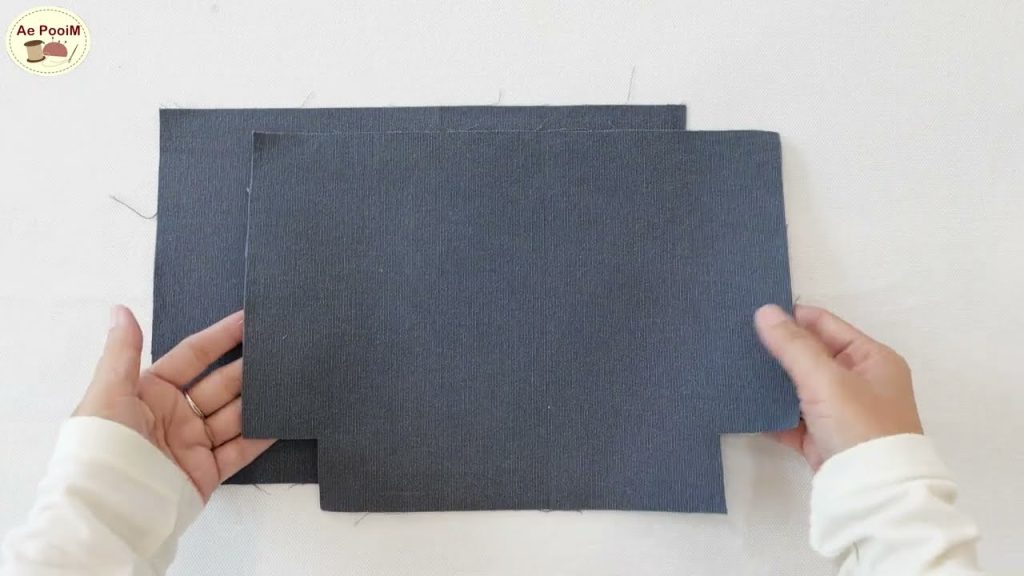
Step 1: Cutting Your Fabric Pieces
Start by cutting out all your pattern pieces. Remember to cut the lining pieces the same size as the main fabric pieces.
- Main Body (Outer Fabric & Lining): Two rectangles, approximately 11″ x 9″ each.
- Front Zipper Pocket (Outer Fabric & Lining): One rectangle, 11″ x 8″.
- Top Zipper Panel (Outer Fabric & Lining): Two pieces, 11″ x 2″.
- Gusset (Outer Fabric & Lining): One long strip for the sides and bottom, 35″ x 4″.
- Strap (if making your own): One strip, 65″ x 3″.
- Strap Tabs: Two small pieces, 4″ x 2″.
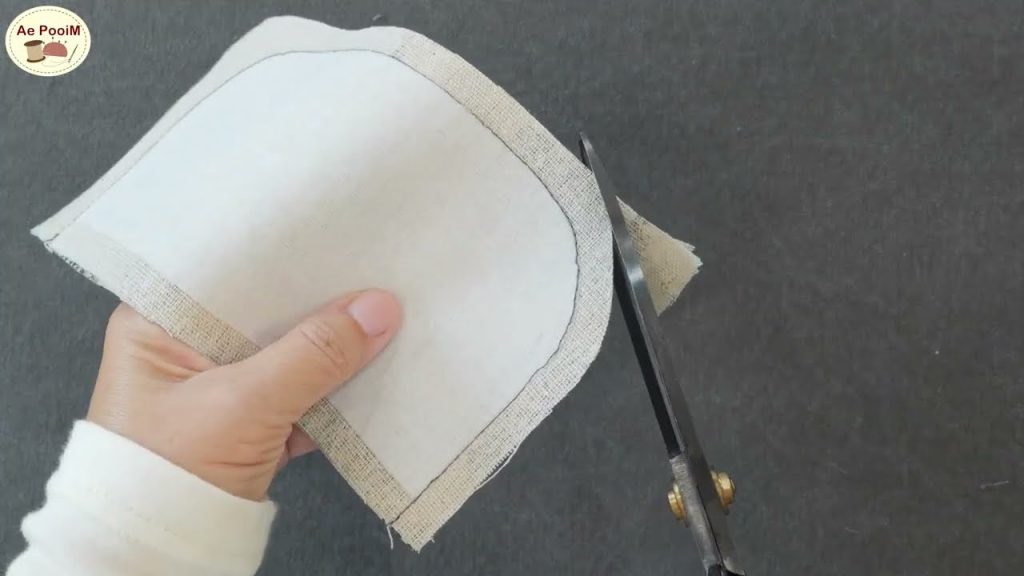
Once all pieces are cut, iron the fusible interfacing onto the wrong side of all your main fabric pieces. This is a crucial step for a sturdy bag.
Step 2: Creating the Front Zipper Pocket
This pocket adds a great feature and is easier to make than you think.
- Place the main fabric for the front pocket on a flat surface, right side up.
- Center your zipper face down on the top edge of this piece.
- Place the lining piece for the pocket on top of the zipper, aligning all edges. Pin everything in place.
- Sew along the top edge with a zipper foot.
- Flip the fabric pieces so they are wrong side up, with the zipper in the middle. Topstitch along the seam.
- Repeat this process to attach the other side of the zipper to the main body of the bag.
Step 3: Constructing the Main Body and Gusset
Now it’s time to sew the pieces together.
- Sew the gusset piece to one of the main body pieces, creating a “U” shape. Sew slowly around the corners for a smooth curve. Repeat this for both the outer and the lining bags.
- Next, attach the top zipper panel to the gusset. This piece will form the top closure of the bag. Sew it to the top of the gusset strip.
- Place the zipper face down on the top edge of this gusset/zipper panel piece. Pin in place.
- Sew the zipper to the gusset/zipper panel. Repeat on the other side with the other half of the main body.
- Turn the bag right side out and topstitch along both sides of the zipper to give it a clean, finished look.
Step 4: Making and Attaching the Strap
An adjustable strap is what makes this bag so versatile.
- If using webbing, simply attach the D-rings and slider as shown in the package instructions.
- If making your own strap from fabric, fold the long strip in half lengthwise and press. Open it up, and fold both raw edges in to meet the center fold. Press again. Fold the whole piece in half and topstitch along both long edges.
- To attach the strap to the bag, sew the strap tabs to the ends of the gusset strip, about 1 inch down from the top.
- Slide your strap through the D-rings on the tabs and attach the slider.
Step 5: The Final Assembly
The last step brings everything together.
- Place the outer bag and the lining bag with right sides facing each other.
- Sew them together around the top opening, leaving a 4-inch gap at the bottom of the lining for turning.
- Carefully trim the corners and curves.
- Turn the entire bag right side out through the opening you left in the lining.
- Push out all the corners and seams. Give it a good press with an iron.
- Finally, sew the opening in the lining closed with a hand stitch or a machine stitch.
Customization and Finishing Touches
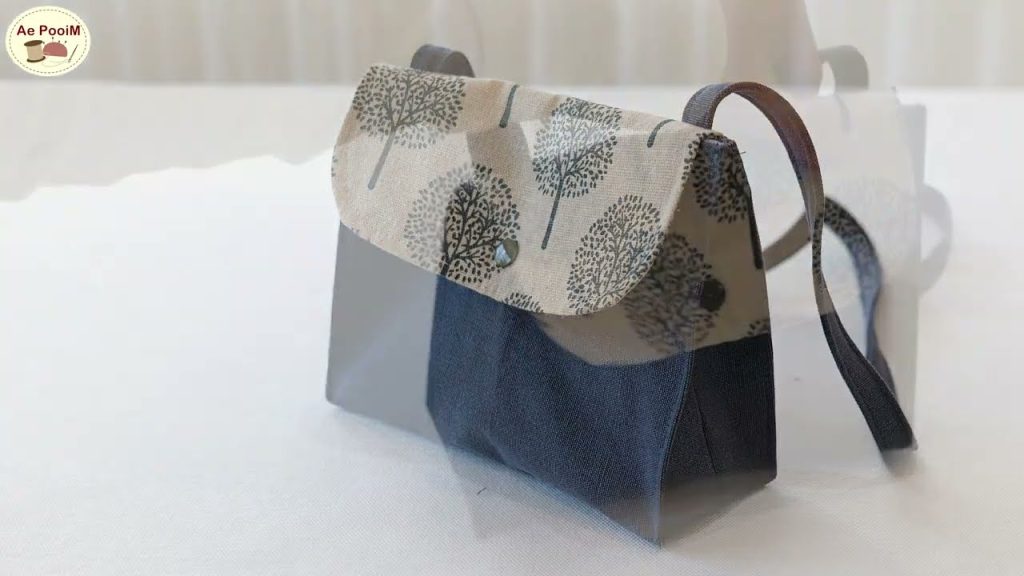
Your new bag is complete! Now is the time to add your personal flair. Add a key ring to the inside, sew on a fun patch or appliqué, or use contrasting thread for a unique detail. The possibilities are endless.
You have now created a beautiful, functional, and hands-free accessory that’s perfect for your everyday adventures. Enjoy the compliments on your handmade creation!
Video tutorial: