by
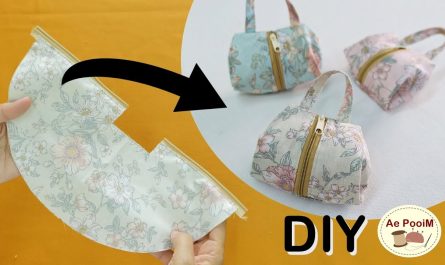
by Crafting the Perfect Cell Phone Bag: One Fabric Piece, Two Pockets
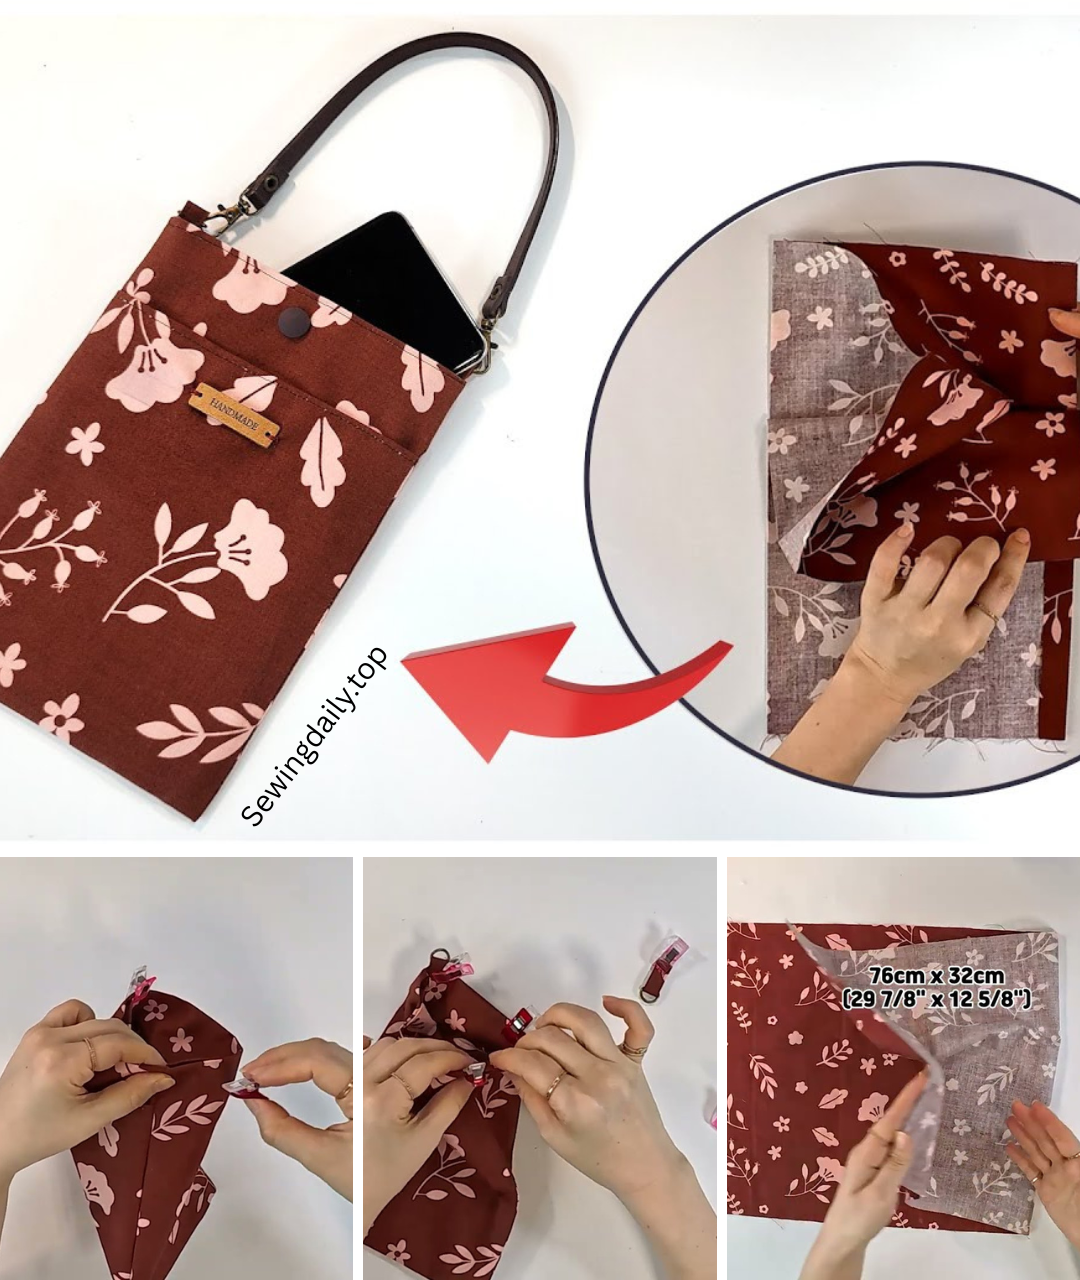
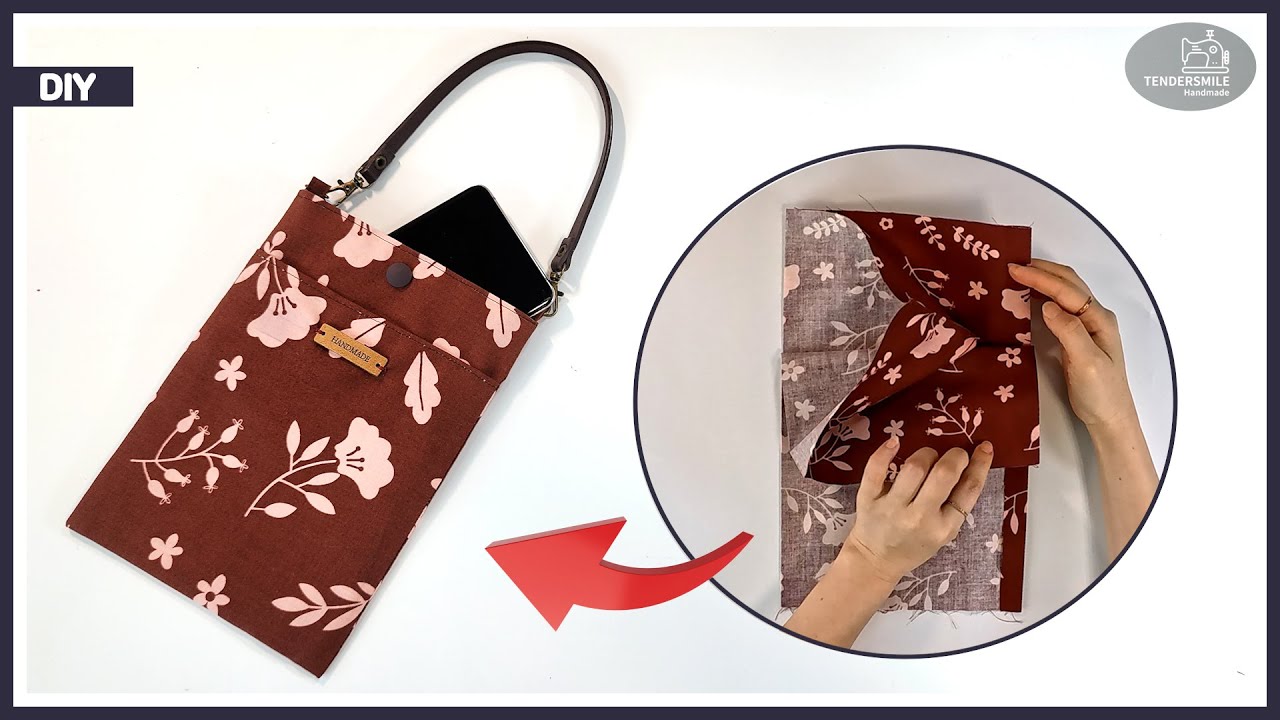
A cell phone bag is an essential item for those who want to carry their phone securely without the bulk of a larger purse. By ingeniously folding and stitching a single piece of fabric, we can create a minimalist yet highly functional bag with dedicated spots for your phone, cards, or even a small set of keys. Let’s delve into how to achieve this smart design.
What You’ll Need:
Before you begin, gather your supplies. Having everything at hand will ensure a smooth crafting process.
- Fabric: Approximately 1/2 yard (0.45 meters) of a medium-weight woven fabric. Cotton canvas, denim, sturdy quilting cotton, or even a decor fabric would be ideal. Choose something durable yet not too thick for easy turning.
- Lining Fabric (Optional but Recommended): An equally sized piece of lightweight cotton for a neat finish and added structure.
- Thread: All-purpose polyester thread that matches or complements your fabric.
- Optional: Fusible Interfacing (Light to Medium Weight): About 1/2 yard (0.45 meters) if your fabric is a bit thin or you want more body for your bag.
- Closure (Choose one):
- Small magnetic snap
- Velcro strip (1-2 inches / 2.5-5 cm)
- Button (approx. 0.5 – 0.75 inch / 1.25 – 2 cm) and a small elastic loop or fabric loop
- Strap Material (Choose one):
- Matching fabric strip (approx. 1 inch / 2.5 cm wide by 50 inches / 127 cm long)
- Webbing (1/2 to 1 inch / 1.25 – 2.5 cm wide, 50 inches / 127 cm long)
- Small D-rings (2) and a swivel clasp (1) for a detachable strap
- Tools:
- Sewing machine
- Fabric scissors or rotary cutter and mat
- Measuring tape or ruler
- Fabric markers or tailor’s chalk
- Pins or fabric clips
- Iron and ironing board
- Safety pin or bodkin (for turning fabric straps)
Understanding the Single Fabric Piece & Its Layout:
The magic of this bag lies in a single rectangular piece of fabric that, when folded strategically, forms the main body, the inner pocket, the front pocket, and the flap.
Key Zones of Your Fabric Rectangle:
Imagine your rectangular fabric piece laid out horizontally. It will be divided into these conceptual sections from left to right:
- Back of Bag
- Bottom of Bag
- Front of Bag
- Front Pocket (This will fold up over the Front of Bag)
- Inner Pocket (This will fold down inside the bag)
- Flap (This will fold over the top to close the bag)
Calculating Your Pattern Dimensions:
The dimensions will depend on the size of your cell phone, so measure your phone’s height and width first, adding a little extra for ease of use.
Let’s use an example for a phone that is 6 inches (15 cm) tall by 3 inches (7.5 cm) wide.
- Finished Bag Width (W): Your phone’s width + 1 inch (2.5 cm) for wiggle room.
- Example: (10 cm).
- Finished Bag Height (H): Your phone’s height + 1 inch (2.5 cm) for wiggle room.
- Example: (17.5 cm).
- Pocket Depths:
- Front Pocket Depth (FPD): Roughly half the Bag Height, plus seam allowance. Example: (9 cm).
- Inner Pocket Depth (IPD): Roughly half the Bag Height, plus seam allowance. Example: (9 cm).
- Flap Length (FL): Enough to cover the opening securely, usually 3-4 inches (7.5-10 cm). Example: (9 cm).
Now, to calculate the dimensions of your single fabric rectangle (main fabric and lining):
- Rectangle Width: (Finished Bag Width) + (2.5 cm for 0.5-inch / 1.25 cm side seam allowances)
- Example: (12.5 cm).
- Rectangle Length: (Back of Bag) + (Bottom of Bag) + (Front of Bag) + (Front Pocket) + (Inner Pocket) + (Flap)
- Note: The “Back of Bag,” “Bottom of Bag,” and “Front of Bag” sections will each be approximately equal to your Finished Bag Height. The “Bottom” is usually slightly smaller, say, (1.25 cm) to (2.5 cm), for a small boxed bottom effect, but for simplicity here, we’ll keep them all the same as the height for a flat bottom.
- Formula: (H) + (H) + (H) + (FPD) + (IPD) + (FL) + (2.5 cm for 0.5-inch / 1.25 cm top and bottom seam allowances).
- Example: (82.5 cm).
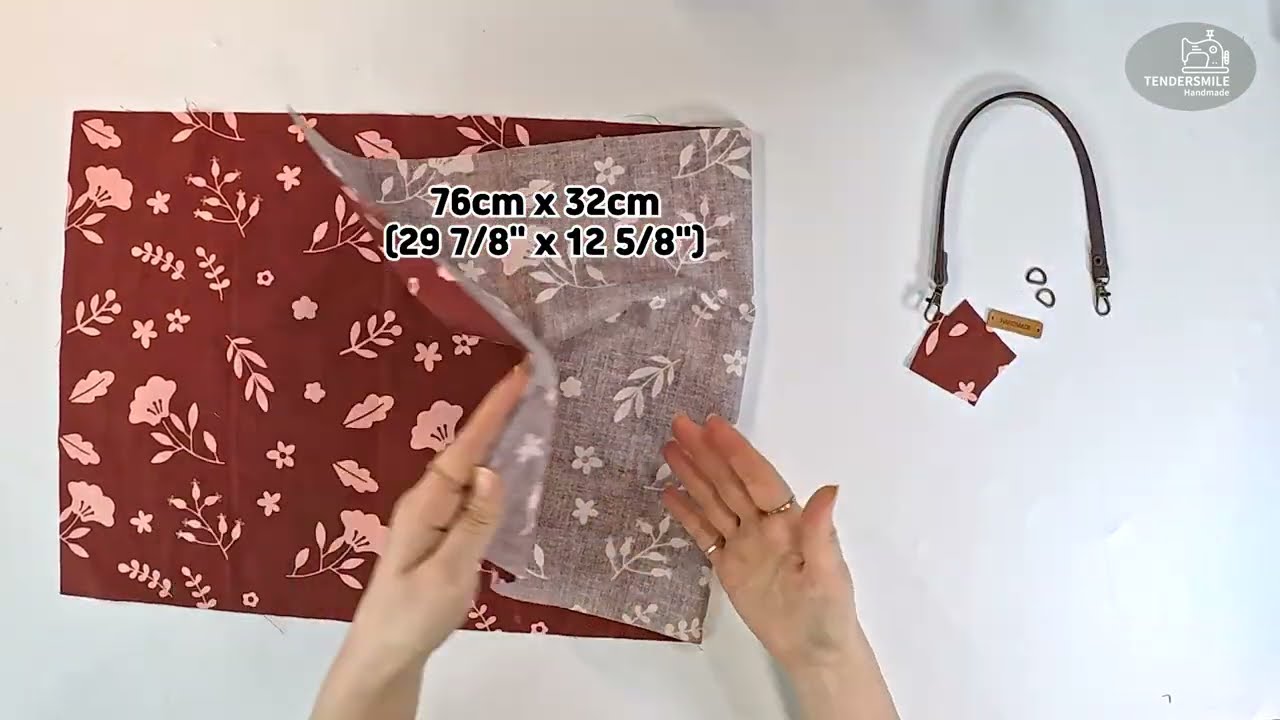
So, for our example, your main fabric and lining pieces will be: 5 inches wide x 32.5 inches long (12.5 cm x 82.5 cm)
Step-by-Step Instructions:
1. Cut Your Fabric & Prepare Interfacing (if using)
- Main Fabric: Cut one rectangle of your main fabric using your calculated dimensions (e.g., ).
- Lining Fabric: Cut one rectangle of your lining fabric with the exact same dimensions.
- Optional: Interfacing: Cut one rectangle of fusible interfacing. Following the manufacturer’s instructions, fuse it to the wrong side of your main fabric piece. This will give your bag stability.
2. Mark Your Folding Lines
This is a crucial step for accurate pocket and flap placement. Lay your main fabric rectangle (with interfacing fused, if applicable) wrong side up. Using your fabric marker or chalk, measure and draw light lines across the width of the fabric at these points, starting from one short end:
- Line 1 (Back/Bottom seam): Measure up from one short end: Bag Height (H) + 0.5 inch (1.25 cm) (This will be the top seam allowance for the back of the bag when constructed).
- Example: .
- Line 2 (Bottom/Front seam): Measure from Line 1: Bag Height (H) (This is the actual “bottom” of the bag).
- Example: from Line 1.
- Line 3 (Front/Front Pocket seam): Measure from Line 2: Bag Height (H)
- Example: from Line 2.
- Line 4 (Front Pocket/Inner Pocket seam): Measure from Line 3: Front Pocket Depth (FPD)
- Example: from Line 3.
- Line 5 (Inner Pocket/Flap seam): Measure from Line 4: Inner Pocket Depth (IPD)
- Example: from Line 4.
The remaining section will be your Flap (FL) plus the top seam allowance. Double-check your measurements against your calculated total length.
3. Prepare the Pockets and Flap
- Hem the Pockets and Flap (Main Fabric):
- Find Line 4 (between Front Pocket and Inner Pocket). This is the top edge of your Front Pocket. Fold the fabric up along this line, bringing the raw edge towards the wrong side by 0.5 inches (1.25 cm) and press. Fold again by 0.5 inches (1.25 cm) to enclose the raw edge, press firmly, and stitch close to the fold. This forms the finished top edge of your front pocket.
- Find Line 5 (between Inner Pocket and Flap). This is the top edge of your Inner Pocket. Fold the fabric down along this line, bringing the raw edge towards the wrong side by 0.5 inches (1.25 cm) and press. Fold again by 0.5 inches (1.25 cm) to enclose the raw edge, press firmly, and stitch close to the fold. This forms the finished top edge of your inner pocket.
- Find the very end of your fabric that will be the Flap (beyond Line 5). You can leave this raw for now if you’re using a lining. If not, hem it like the pocket edges, or create a rounded/pointed flap shape and hem that.
- Repeat for Lining Fabric:
- Perform the exact same hemming steps for the lining fabric’s corresponding pocket and flap edges. This ensures a clean finish on the inside.
4. Attach the Strap (if using a fabric strap)
If you’re making a fabric strap:
- Cut your fabric strap piece (e.g., 1 inch wide by 50 inches long).
- Fold it in half lengthwise, right sides together, and stitch along the long raw edge with a 1/4 inch (0.6 cm) seam allowance.
- Turn the tube right side out using a safety pin or loop turner. Press flat with the seam centered or to one side.
- Topstitch along both long edges of the strap for a neat finish.
- On your main fabric piece, locate the top edge of the “Back of Bag” section (the end opposite the flap). Pin the raw ends of your finished strap about 0.5 inches (1.25 cm) in from each side edge. The strap will point down towards the center of the fabric. Stitch them in place within the seam allowance (0.25 inch / 0.6 cm).
If using webbing or D-rings, you’ll attach these later.
5. Assemble the Bag Body (The Folding Magic!)
This is where the single piece of fabric really starts to take shape!
- Place Main Fabric & Lining Right Sides Together:
- Lay your main fabric piece (with pockets hemmed and strap attached if applicable) wrong side up.
- Lay your lining fabric piece on top of it, right side up. This means the wrong side of your main fabric is facing the right side of your lining fabric. Align all edges perfectly. Pin them together around the entire perimeter.
- Sew Around the Perimeter & Prepare for Turning:
- Starting somewhere along one of the long sides, stitch around the entire perimeter of the combined main and lining fabric pieces using a 0.5 inch (1.25 cm) seam allowance.
- Important: Leave a 3-4 inch (7.5-10 cm) opening along one of the long sides (not the flap end!) for turning the bag right side out. Backstitch at the beginning and end of your stitching.
- Trim the seam allowances down to 1/4 inch (0.6 cm) and clip the corners diagonally (be careful not to cut your stitches!). This helps for neat corners when turned.
- Turn Right Side Out & Press:
- Reach into the opening and carefully pull the entire fabric piece right side out.
- Use a point turner or blunt object to gently push out all the corners so they are crisp.
- Press the entire piece flat, paying close attention to the edges to make them sharp.
- Press the raw edges of the turning opening inwards by 0.5 inches (1.25 cm).
- Close the Turning Opening:
- Topstitch the opening closed very close to the edge. Alternatively, you can hand-stitch it closed with an invisible ladder stitch for a cleaner finish.
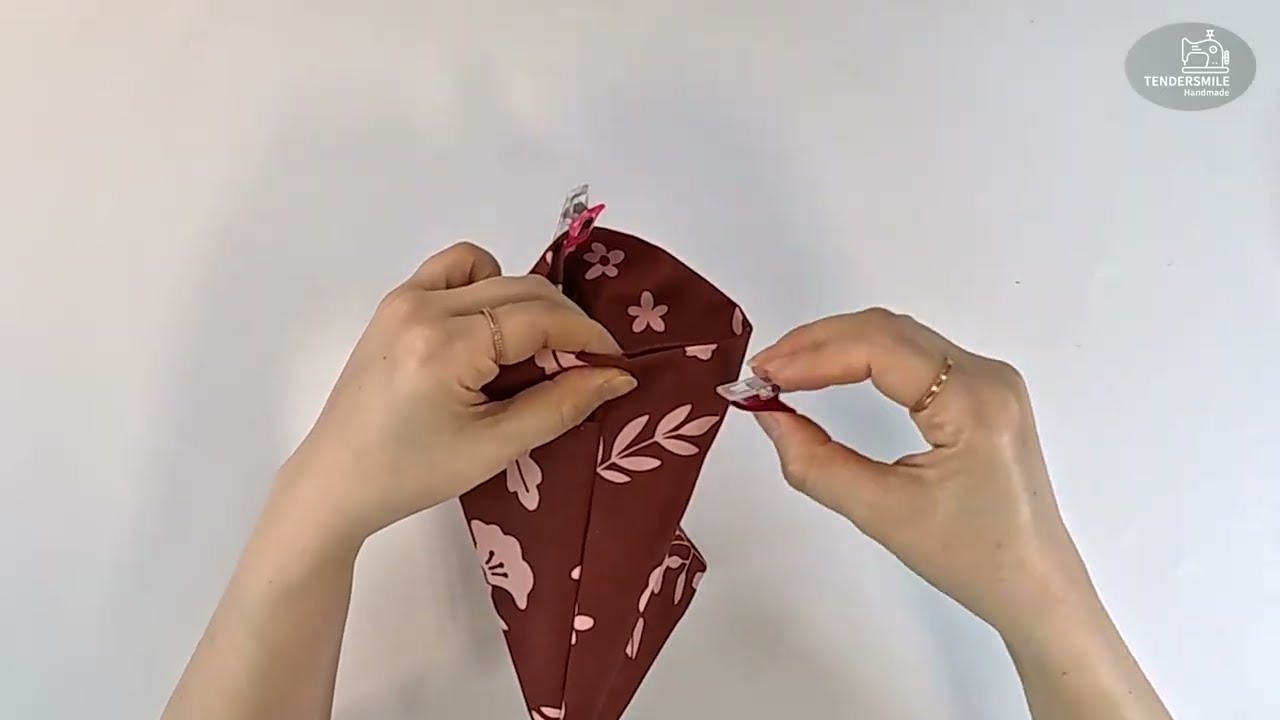
6. Form the Pockets and Bag
Now, with your fabric piece fully formed and neatly pressed, we’ll create the pockets and the bag shape.
- Fold the Front Pocket:
- Locate the finished top edge of your Front Pocket. Fold this pocket up over the “Front of Bag” section (the section defined by Line 2 and Line 3 in your original marking). The sides of the pocket will align with the raw side edges of the overall fabric piece.
- Pin the side edges of the pocket to the main fabric.
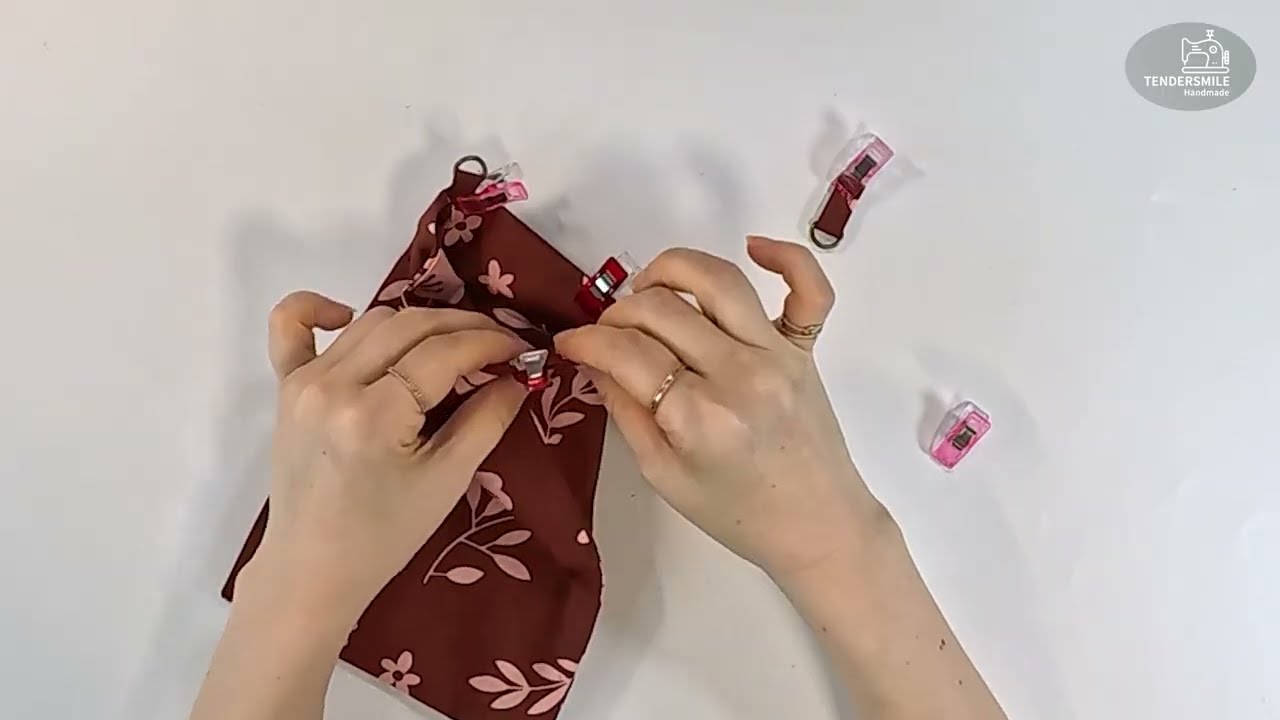
- Fold the Inner Pocket:
- Locate the finished top edge of your Inner Pocket. This pocket will fold down towards the “Front of Bag” section, but it will be on the inside of the bag once assembled. Pin its side edges in place.
- Final Fold for Bag Shape:
- Fold the entire piece in half so that the “Back of Bag” section meets the “Front of Bag” section, with the Front Pocket folded up on the outside, and the Inner Pocket folded down on the inside. The Flap section will be extending upwards.
- Carefully align all the side edges. Pin securely down both long sides of the bag. Make sure the pockets are neatly aligned and don’t shift.
- Sew the Side Seams:
- Stitch down both pinned long sides, using a 0.5 inch (1.25 cm) seam allowance. Backstitch at the beginning and end of each seam. This encloses all the raw edges and creates the bag’s main compartment and pockets.
7. Add the Closure
- Magnetic Snap: If using, attach one half of the snap to the center of the Flap, about 1 inch (2.5 cm) from the finished edge. Attach the other half to the center of the Front of the Bag, ensuring it aligns perfectly when the flap is closed. Follow snap instructions for attachment.
- Velcro: Stitch one piece of Velcro to the underside of the Flap and the other piece to the top center of the Front of the Bag, ensuring alignment.
- Button & Loop: Sew your button to the center of the Front of the Bag. Create a small loop of elastic or thin fabric (just large enough to fit around the button) and stitch it securely to the underside of the Flap’s center edge.
8. Attach the Strap (if using D-rings/webbing)
If you chose to use D-rings and a detachable strap:
- Take your two small D-rings.
- Cut two small tabs of main fabric (approx. / ). Fold each in half lengthwise, right sides together, stitch, turn, and press.
- Thread one tab through a D-ring and stitch the raw ends of the tab securely to the top side seams of your bag (where the strap would attach). Repeat for the other side.
- Then, create your strap from webbing or fabric, adding a swivel clasp to one end to attach to the D-rings.
Your Cell Phone Bag is Ready!
Congratulations! You’ve successfully created a sleek and organized cell phone bag with both a front and inner pocket, all from a single piece of fabric. This project showcases clever design and efficient sewing, resulting in a perfectly sized accessory for your daily essentials. Enjoy the convenience and handmade charm of your new bag!
Video tutorial: