by
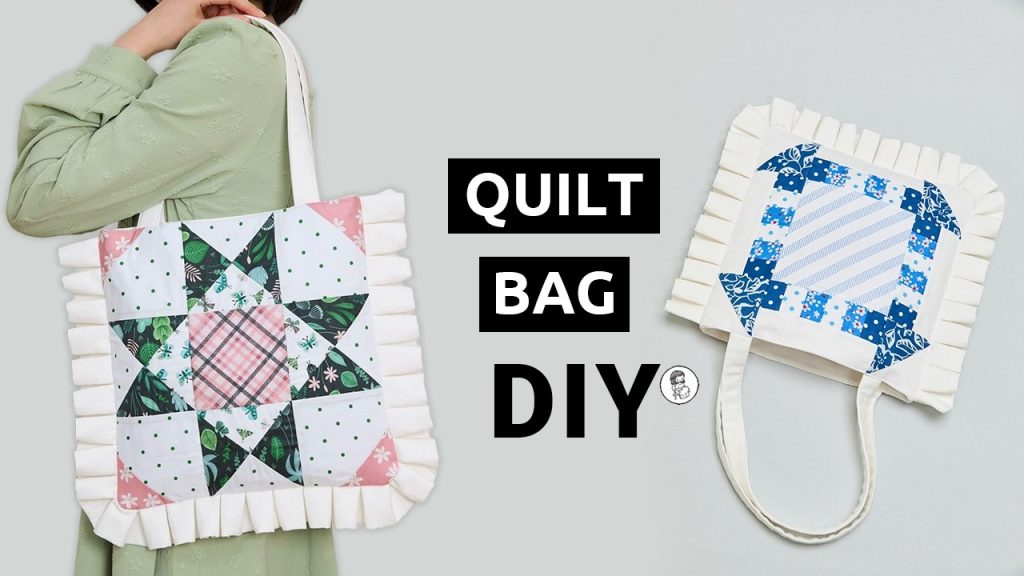
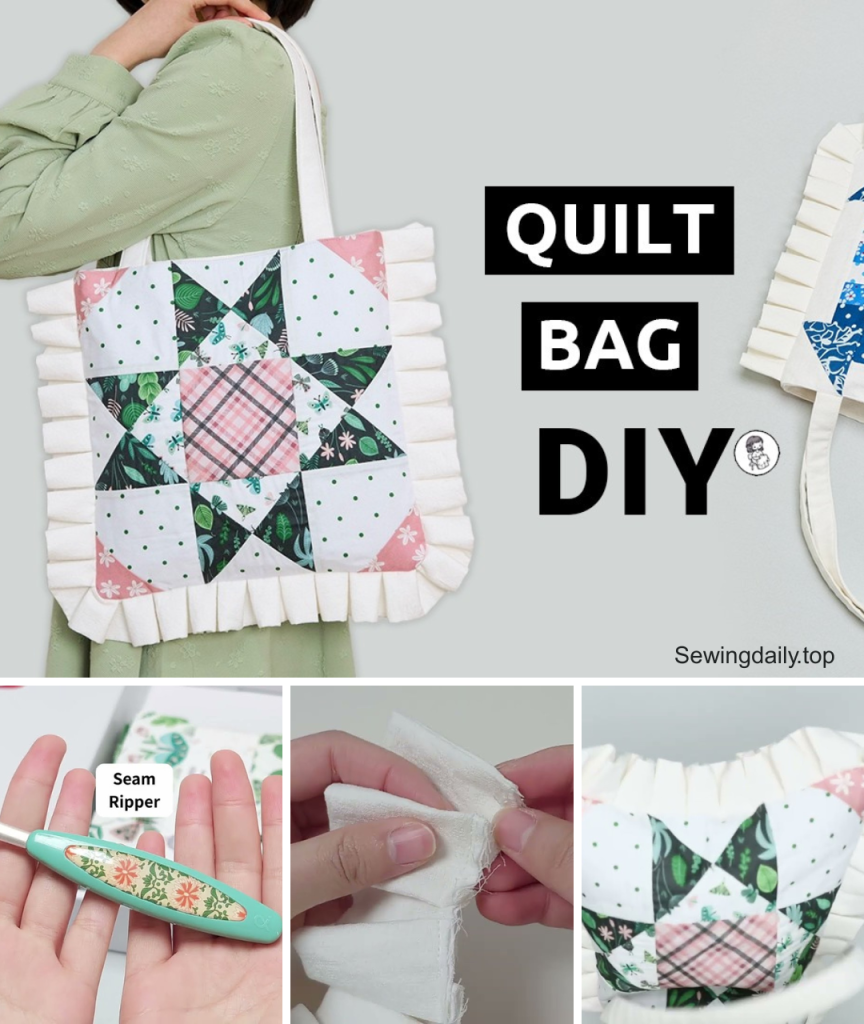
by There’s nothing quite like the feeling of a new project arriving right at your doorstep, perfectly curated and ready to go. That’s the magic of a subscription box like Mrs. Quilty’s Monthly Box. It takes the guesswork out of fabric pairings and the hassle out of hunting for the right notions. This month, the box delivers a delightful theme designed for a beautiful and functional quilted tote bag. Let’s dive into the box and transform these curated materials into a one-of-a-kind accessory perfect for carrying your latest project or hitting the farmer’s market.
Why Mrs. Quilty’s Monthly Box is the Perfect Start
The beauty of a pre-planned project box is that it streamlines the entire creative process. No more wondering which fabric goes with what, or searching for the right type of batting. Every piece in Mrs. Quilty’s box is specifically chosen to complement the other, ensuring a cohesive and professional-looking finished product. It’s a fantastic way to build your skills and enjoy a stress-free sewing experience.
What’s in Your Box?
Your Mrs. Quilty’s Monthly Box should contain all the key components for your tote bag project:
- Exterior Fabric Panels: Beautiful, coordinated quilting cotton prints for the outside of your bag.
- Lining Fabric: A matching or contrasting fabric for the interior.
- Batting: A piece of cotton or cotton-blend batting, pre-sized for your bag’s exterior panels.
- Strap Fabric or Webbing: Pre-cut pieces of fabric or webbing for sturdy handles.
- Pattern & Instructions: A detailed pattern guide with step-by-step instructions.
Step-by-Step Tutorial: Sewing Your Quilted Tote
This guide assumes your box includes all the materials for a standard rectangular tote with a flat bottom. Always refer to your box’s specific instructions for exact dimensions and any unique features.
1. Prepare and Quilt Your Panels
This is the most fun part—turning your fabric into a quilted masterpiece!
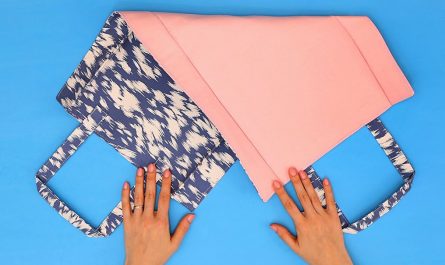
- Fuse Layers: Lay one of your exterior fabric panels wrong side up. Center and place one of the batting panels on top. Place this “sandwich” on your ironing board. Use a hot iron to gently fuse the layers together. Some battings don’t have a fusible side, in which case you will use temporary adhesive spray or pins to hold the layers together for quilting.
- Quilt the Panel: Using a ruler and a fabric marker, draw simple, straight lines or a grid on the right side of your exterior fabric. These lines will be your quilting guides.
- Stitch the Quilting: Attach a walking foot to your sewing machine (this helps feed the bulky layers evenly). Stitch along the lines you drew, securing the batting to the fabric and creating the classic quilted texture. Repeat this process for the second exterior panel.
2. Assemble the Bag Body
Now you’ll sew the exterior and lining pieces together to form the main bag shape.
- Sew Exterior Bag: Place your two quilted exterior panels right sides together. Pin along the two side edges and the bottom edge. Stitch these three sides with a 1/2-inch seam allowance.
- Create Boxed Corners (Exterior): To give your bag a flat bottom, box the corners. Flatten each bottom corner so the side seam meets the bottom seam. Measure 2.5 inches from the tip of the triangle and draw a line. Stitch along this line and trim the excess fabric, leaving a 1/2-inch seam allowance.
- Sew Lining Bag: Repeat the exact same steps for your two lining fabric panels. Be sure to leave a 5-inch opening along the bottom seam of the lining. This is crucial for turning your bag right side out later.
3. Attach the Straps
Whether your box included fabric to make your own straps or pre-cut webbing, the process for attaching them is simple.
- Strap Placement: On one of your exterior panels, measure in 4 inches from each side seam and mark the top edge. This is where your strap will be placed. Repeat on the other exterior panel.
- Baste Straps: Lay one of your straps on the right side of an exterior panel, aligning the ends of the strap with the marks you made. The strap should be pointing downwards into the bag. Baste the strap ends in place within the 1/4-inch seam allowance. Repeat for the second strap.
4. Combine and Finish the Bag
- Insert Lining: Keep your exterior bag right side out and your lining bag wrong side out. Carefully slide the exterior bag into the lining bag so their right sides are facing each other. The straps should be tucked neatly between the layers.
- Pin & Stitch: Align the top raw edges of both bags, matching up the side seams. Pin all around the top opening. Stitch with a 1/2-inch seam allowance.
- Turn the Bag: Reach into the opening you left in the lining. Carefully pull the entire bag through until it is right side out.
- Close the Lining: Stitch the opening in the lining’s bottom seam closed with a narrow seam allowance.
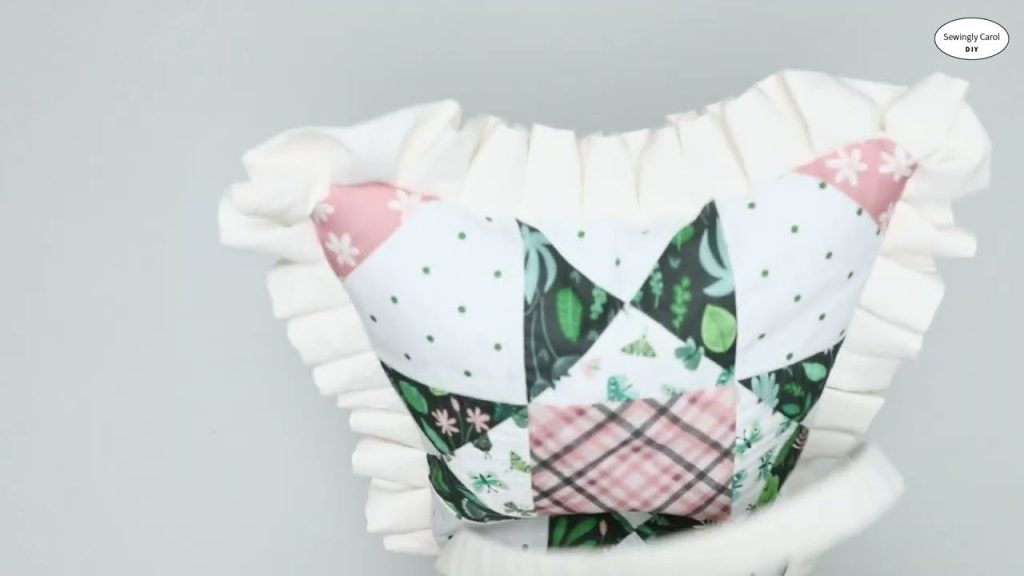
- Final Touches: Push the lining down into the bag. Press the top edge to create a crisp finish. For added durability and a professional look, topstitch around the entire top opening of the bag, about 1/4 inch from the edge.
Tips for Success
- Pre-Wash Fabrics: It’s always a good idea to pre-wash your cotton fabrics to prevent future shrinkage.
- Longer Stitch Length: When working with multiple layers, use a slightly longer stitch length (3.0-3.5mm) to avoid puckering.
- Trim Corners: After sewing your boxed corners, trim the excess fabric close to the stitching to reduce bulk and ensure a neat shape.
Your beautiful quilted tote bag is now complete, thanks to the perfect materials and pattern from Mrs. Quilty’s Monthly Box. It’s proof that a little bit of guidance can go a long way in creating something both functional and truly unique. What creative project will you pack in your new tote?
Video tutorial: