by
by Introduction: Simplicity is the Ultimate Sophistication
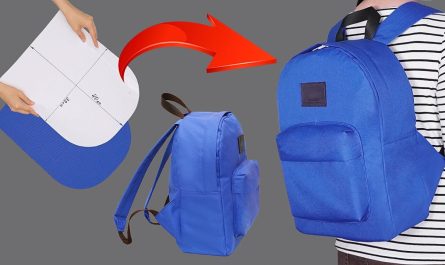
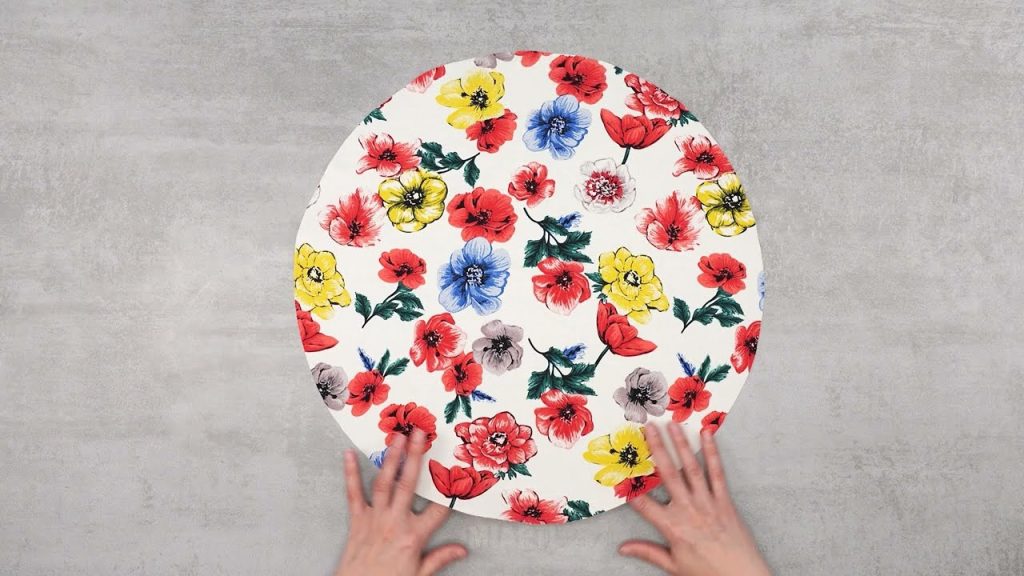
Sometimes the best designs are the quickest and most straightforward. Inspired by the smart, four-piece construction method of the simple linen bag demonstrated in the video linked below, we’ve designed an original, detailed pattern for a chic, structured, and fully reversible accessory: The Cloud Nine Bucket Bag.
This pattern leverages two rectangular panels and two square base pieces to create a perfectly rounded, roomy bucket shape. The use of different fabrics for the exterior and interior (and the reversible design) means you get two bags in one! It’s an excellent project for beginner sewers looking to master boxing corners and working with simple interfacing.
Ready to stitch up a quick and stylish bucket bag in just a few steps? Let’s get sewing!

Section 1: The Philosophy of Form and Function
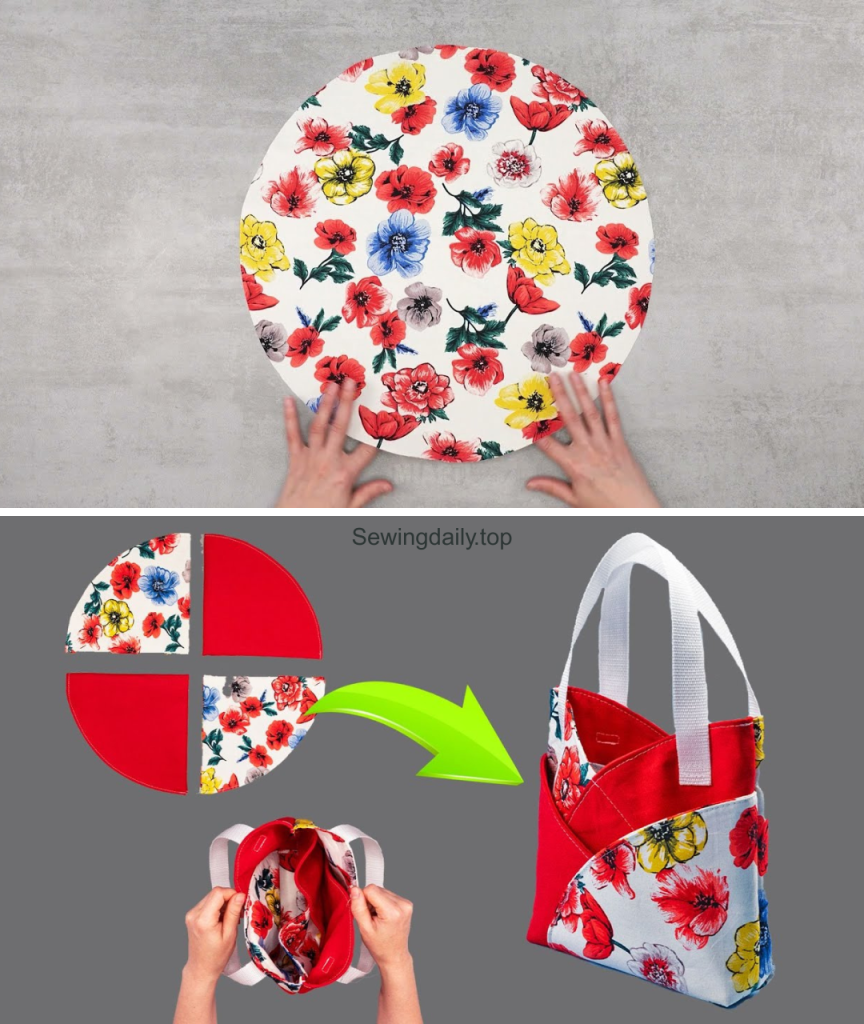
The inspiring video by Miarti – Reuse demonstrates how to achieve a three-dimensional shape using minimal, easy-to-cut rectangular and square pieces. Our “Cloud Nine” pattern builds on this foundation by prioritizing:
- Minimal Seams, Maximum Volume: The clever corner technique creates a round, spacious interior with only four main seams.
- Full Reversibility: Using identical construction for both the main fabric and the lining fabric allows the bag to be flipped and worn on either side, effectively doubling its wardrobe utility.
- Structured Shape: Interfacing is key to ensuring the fabric holds the bucket’s form, rather than collapsing into a drawstring pouch.
Section 2: Gathering Your Supplies (The Two-Toned Kit)
Choosing fabrics with different colors or textures is highly recommended to take advantage of the reversible design.
The Material Checklist
| Item | Quantity | Notes |
| Main Fabric (A) | 1/2 Yard | Medium-weight canvas, duck cloth, or linen. Choose a neutral or solid color (e.g., Cream). |
| Lining Fabric (B) | 1/2 Yard | Medium-weight cotton or canvas. Choose a contrasting color or bold pattern (e.g., Sky Blue). |
| Heavy-Weight Fusible Interfacing | 1 Yard | CRUCIAL for structure. Must be heavy and non-stretch. |
| Webbing for Strap | 2 Yards (54 inches) | 1-inch to 1.5-inch wide cotton or synthetic webbing for the fixed strap. |
| Thread | 1 Spool | High-quality thread that matches your dominant fabric color. |
The Tool Checklist
- Sewing Machine (with universal needle)
- Rotary Cutter and Cutting Mat (recommended for straight cuts)
- Iron and Ironing Board (essential for fusing interfacing and pressing seams)
- Measuring Tape, Ruler, and Fabric Marker
- Pins or Sewing Clips
- Safety Pin (for threading the closure cord)
Section 3: The Step-by-Step Pattern (Bucket Bag Construction)
This pattern creates a bag approximately 9 inches wide (when flat), 11 inches tall, and 6 inches deep. All seam allowances are 1/2 inch (1.25 cm) unless otherwise noted.
Stage 1: Cutting and Interfacing
- Cut Main Fabric (A):
- Body Panel: 2 pieces measuring 15″ wide x 11.5″ tall.
- Base Square: 2 pieces measuring 6.5″ x 6.5″.
- Cut Lining Fabric (B):
- Body Panel: 2 pieces measuring 15″ wide x 11.5″ tall.
- Base Square: 2 pieces measuring 6.5″ x 6.5″.
- Cut Interfacing: Cut identical pieces for all 8 fabric pieces.
- Fuse: Iron the heavy-weight fusible interfacing to the wrong side of all 8 fabric pieces (A and B). Do not skip this step—it defines the bag’s structure.
Stage 2: Assembling the Exterior Bag (Fabric A)
- Sew Body Panels: Place the two Body Panels (A) right sides together. Stitch the side seams (the 11.5″ edges) to form a long loop. Press the seams open.
- Reference Technique: The initial side seaming of the rectangles is shown around in the inspiration video.
- Attach the Base: Take one Base Square (A). Pin one edge of the square to the bottom edge of the fabric loop. Stitch this seam.
- Note: This is where the simple square piece creates a curved bottom.
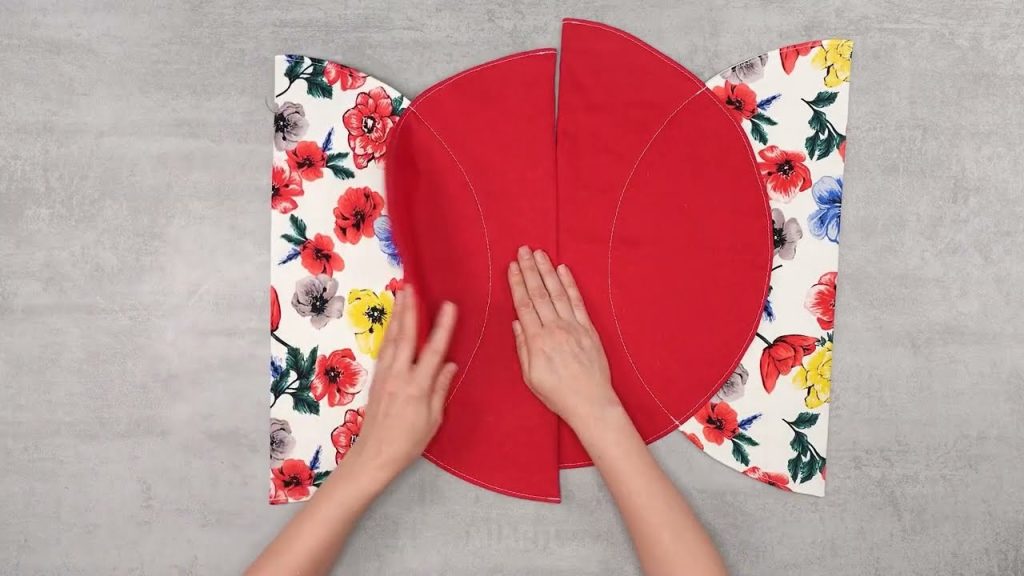
- Boxing the Corners (The Key Step): This step transforms the square base into a rounded bucket bottom.
- Find the corner of the attached base square. Match the remaining two unsewn sides of the base square to the fabric loop’s raw edges, pushing the corner excess inward until the seams align. Pin securely.
- Stitch the remaining two seams, securing the square base to the bottom of the loop.
- Repeat with the second Base Square (A) on the other side of the fabric loop.
- Turn and Check: Turn the exterior bag right side out. The bottom should be a continuous, rounded curve. Set aside.
Stage 3: Assembling the Lining Bag (Fabric B)
- Repeat: Follow all the steps in Stage 2 exactly for the Lining Fabric (B) pieces.
- Turning Gap: Crucially, when stitching the final side seam on the Lining Body Panels (B), leave a 4-inch gap in the middle of the seam. This is where you will turn the entire bag right side out later.
- Do NOT turn the lining right side out. Keep the lining bag wrong side out.
Stage 4: Preparing the Strap and Final Assembly
- Cut Webbing: Cut your webbing to 54 inches (or adjust for desired cross-body length).
- Pin Strap to Exterior: Turn the Exterior Bag (A) wrong side out. Pin the ends of the webbing strap to the top edge of the bag, aligning the edges. Place the ends of the strap 2 inches from each side seam. Baste (sew quickly) the strap ends in place within the 1/2″ seam allowance.
- Joining Exterior and Lining: Place the Exterior Bag (A) (wrong side out, with strap attached) inside the Lining Bag (B) (wrong side out).
- The two bags should be nested, with right sides touching along the top raw edge.
- Align the side seams of both bags and pin the entire top rim.
- Final Seam: Stitch a 1/2″ seam around the entire top opening of the nested bags.
- Turn and Close:
- Pull the entire bag through the 4-inch opening left in the lining’s side seam.
- Stitch the 4-inch turning gap closed (by machine or by hand using a ladder stitch).
- Push the lining into the exterior bag. Press the top edge firmly.
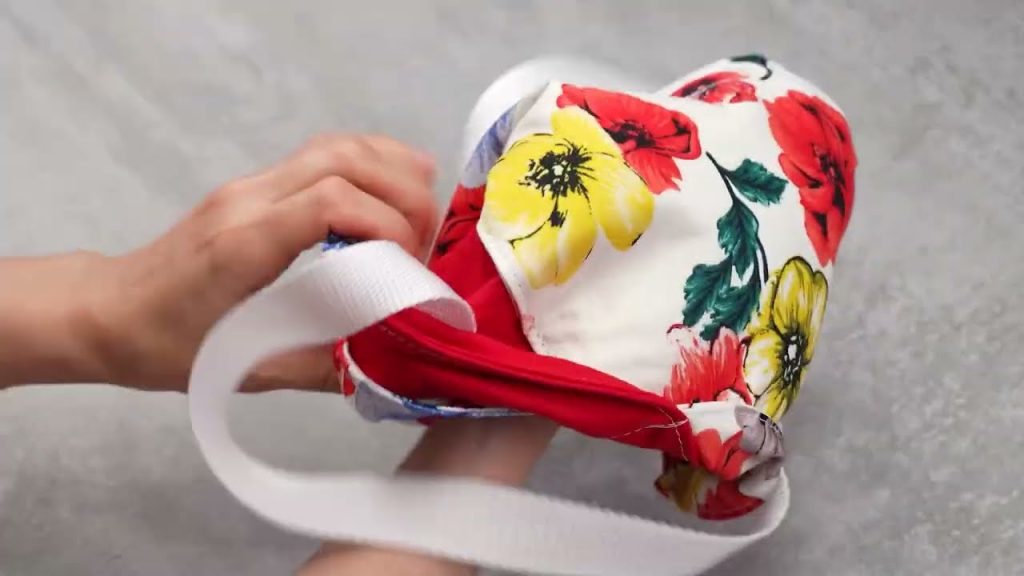
- Topstitching: Topstitch around the entire top rim of the bag, about 1/4 inch from the edge, to secure the lining and the strap in place.
Section 5: Customization Corner (Making It Pop)
- Drawstring Closure: Before the final assembly (Stage 4), add a quick, thin casing around the top edge and thread a decorative cord through it for a cinch top, rather than relying solely on the open bucket shape.
- Internal Pockets: Before assembling the lining, sew simple patch pockets onto one or both of the Lining Body Panels (B) for phone or keys.
- Metal Hardware: Instead of a fixed strap, cut the webbing strap into two 27-inch pieces. Attach a D-ring to the side of the bag (at the seam line). Sew a swivel clip to the end of each strap piece for a detachable, professional look.
Conclusion: Two Styles in One Stitch
You have successfully constructed the Cloud Nine Reversible Bucket Bag—a chic, sturdy, and highly versatile accessory built on a simple, clever foundation. This pattern proves that elegant structure doesn’t require complicated piecing. Flip your bag to match your mood and enjoy your handcrafted, two-in-one style!
Video tutorial: