by
by Hello fellow crafters and DIY enthusiasts! Have you ever looked at a stylish bag and thought, “I could make that myself?” Well, today is your day to turn that thought into a beautiful reality! We’re diving into a fun and rewarding project: sewing your very own chic and practical bag. Whether you’re a seasoned seamstress or just starting your journey with a needle and thread, this simple tutorial will guide you every stitch of the way.
Ready to personalize your wardrobe and add a handmade touch to your everyday? Let’s gather our supplies and get started!
What You’ll Need: Gathering Your Creative Toolkit
Before we begin, let’s make sure we have all the necessary materials. The beauty of this project is its simplicity, requiring just a few key items.
- Cotton Fabric (2 types):
- Main Fabric: 36 x 55 cm (1 piece) – This will be the exterior of your bag, so choose a pattern or color that truly speaks to your style!
- Lining/Accent Fabric: 20 x 30 cm (2 pieces) – This will form pockets and other inner elements.
- Thermal Adhesive Wadding:
- 36 x 55 cm (1 piece) – For giving your bag structure and durability.
- Interfacing:
- 20 x 15 cm (2 pieces) – To add stability to your lining pieces.
- Fabric for Bag Handles:
- 50 x 10 cm (2 pieces) – Choose a complementary fabric that’s comfortable to carry.
- Zipper:
- 33 cm (1 piece) – A sturdy zipper to keep your belongings secure.
- Small Fabric Pieces:
- 6 x 8 cm (2 pieces) – For finishing the zipper ends.
- Essential Sewing Supplies:
- Sewing Machine
- Thread (matching your fabrics)
- Scissors
- Fabric Chalk or marking pen
- Measuring Tape
- Pins or fabric clips
- Iron and ironing board
Stitch by Stitch: Your DIY Bag Construction Guide
Follow these steps carefully, and you’ll be amazed at what you can create!
Phase 1: Preparing Your Main Fabric & Handles
- Fuse the Wadding: Take your main fabric (36×55 cm) and lay it flat. Place the thermal adhesive wadding on the wrong side of your main fabric. Using a warm iron, carefully press the wadding to fuse it to the fabric. This provides the foundational structure for your bag. (Image suggestion: A close-up of the iron fusing wadding to the fabric)
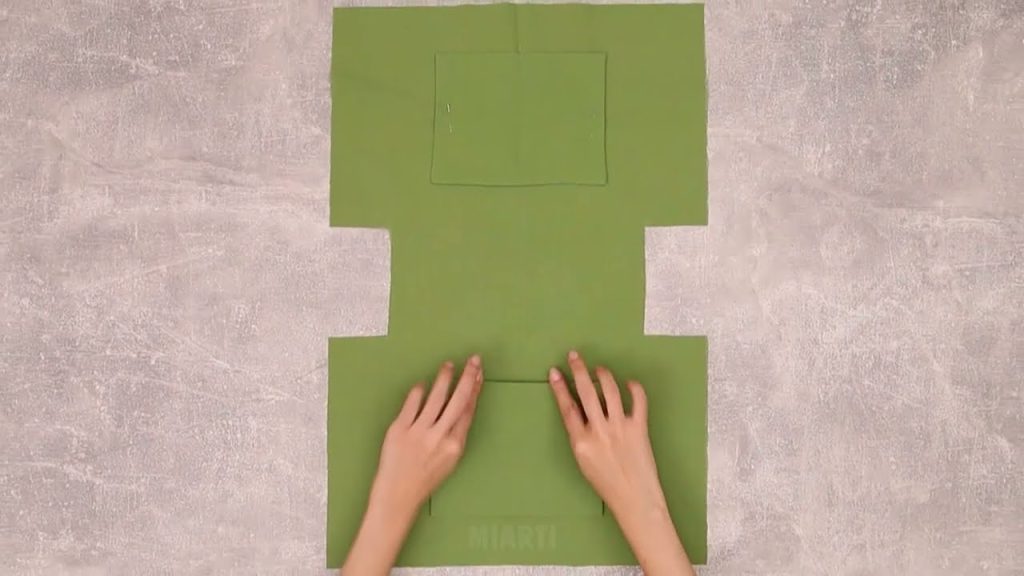
- Cut the Main Fabric for the Bag Base: Fold your fused main fabric in half. Measure and mark out 6 cm by 5 cm squares from each of the bottom corners. Carefully cut out these squares. When unfolded, your fabric should now have two rectangular cutouts at each end. (Image suggestion: The main fabric folded with the corner marked for cutting, and then after the corners are cut)
- Prepare the Bag Handles: Take your two pieces of handle fabric (50×10 cm). Fold each piece lengthwise and press to create a crisp crease. Fold the raw edges towards the center crease, then fold again to create a strong, clean strap. Pin or clip the edges to hold them in place. (Image suggestion: Steps of folding the handle fabric, secured with clips)
- Sew the Handles: Using your sewing machine, stitch along both long edges of each prepared handle. This will secure the folds and create sturdy straps for your bag. (Image suggestion: Sewing machine stitching the handle fabric)
Phase 2: Crafting the Interior Pockets & Attaching Handles
- Create the Inner Pocket Guide: On the wrong side of your main fabric, measure 12 cm from one of the cut-out edges towards the center. Draw a line. Then, measure 7 cm from the side edge of this marked area. This will be the outline for your inner pockets. Repeat on the opposite side of the main fabric. (Image suggestion: Measuring and marking the main fabric for inner pockets)
- Attach the Handles to the Main Fabric: Lay your main fabric flat. Position the finished handles on the main fabric, aligning the ends with the previously marked vertical lines for the inner pockets. Pin or clip the handles in place. (Image suggestion: Main fabric with handles pinned in position)
- Sew the Handles in Place: Stitch the handles securely to the main bag fabric, following the outline of your pocket markings. Make sure to backstitch at the beginning and end for added strength. (Image suggestion: Sewing machine stitching the handles)
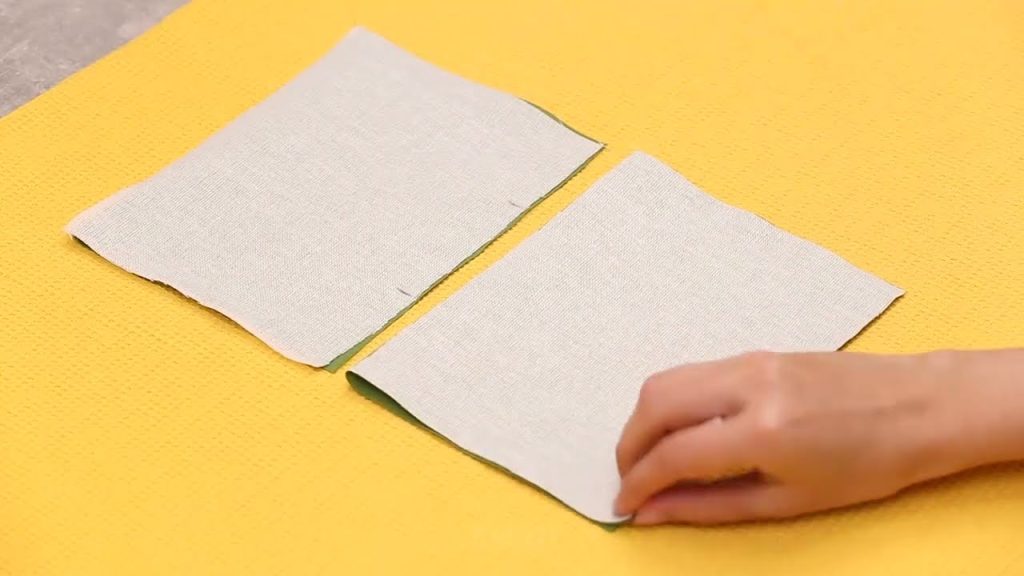
- Prepare the Lining Fabric: Take your two pieces of lining fabric (20×30 cm). Fuse the interfacing to one side of each lining piece, similar to how you fused the wadding to the main fabric. (Image suggestion: Lining fabric with interfacing)
- Create Interior Pockets: On one of your lining pieces, measure 5 cm down from the top edge and mark a horizontal line. Fold the fabric along this line and press. Place your pre-made handles (if you haven’t sewn them on the exterior yet, you’d do it here) or a decorative accent within this fold. Stitch along the marked line to create a channel. If creating actual pockets, fold up the bottom portion of your lining fabric and stitch the sides and bottom to form pockets. (Image suggestion: Sewing machine creating inner pockets on the lining)
Phase 3: Assembling Your Bag
- Prepare the Zipper: Take your 33 cm zipper. Fold your small 6×8 cm fabric pieces in half and wrap them around each end of the zipper, raw edges aligned. Stitch them in place to create neat zipper tabs. (Image suggestion: Zipper with fabric tabs attached)
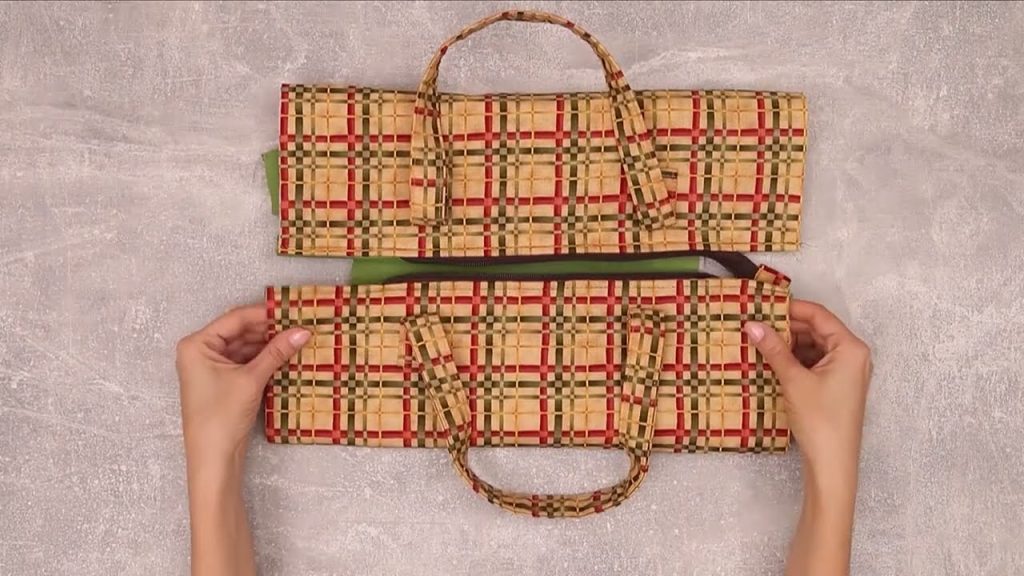
- Attach Zipper to Main Fabric: Lay your main bag fabric right side up. Measure 7 cm from the top edge on each side. Align one side of your prepared zipper with the top edge of the bag, making sure the zipper pull faces the right side of the fabric. Pin or clip in place. (Image suggestion: Zipper pinned to the main bag fabric)
- Sew Zipper to Main Fabric: Using your sewing machine and a zipper foot, carefully stitch the zipper to the main fabric. (Image suggestion: Sewing machine stitching the zipper)
- Attach Zipper to Lining Fabric: Take one of your prepared lining pieces. Place it right side down on top of the main fabric and zipper, sandwiching the zipper in between. The right side of the lining should face the right side of the main fabric. Pin or clip. Stitch along the same line you used to attach the zipper to the main fabric. Repeat for the other side of the zipper with the remaining main fabric piece and lining piece. (Image suggestion: Zipper sandwiched between main fabric and lining, being sewn)
- Sew Side Seams of Bag: With the bag now laid flat and the zipper attached, fold the main fabric pieces right sides together, and the lining fabric pieces right sides together. Align the side edges carefully. Pin or clip all around the sides and bottom, leaving an opening of about 6 cm in the lining for turning the bag right side out later. Stitch along the sides and bottom, being careful around the unsewn opening in the lining. (Image suggestion: The bag with sides and bottom sewn)
- Create the Boxed Corners: Go back to the cut-out corners on your main fabric and lining. Pinch the fabric together so the side seam and bottom seam meet, creating a square opening. Stitch across this opening, forming a “box”. Repeat for all four corners (two on the main bag, two on the lining). This creates a flat bottom for your bag. (Image suggestion: Close-up of boxing the corners)
Phase 4: The Finishing Touches
- Turn Your Bag Right Side Out: Carefully reach into the opening you left in the lining and pull the entire bag through until it’s right side out. Gently push out all the corners to get a crisp shape. (Image suggestion: Bag being turned right side out)
- Close the Lining Opening: Stitch the opening in the lining closed. You can do this by hand with a ladder stitch for an invisible finish, or by machine with a topstitch close to the edge. (Image suggestion: Closing the lining opening)
- Final Press & Admire! Give your newly sewn bag a final press with an iron to smooth out any wrinkles and achieve a professional finish.
Your Handmade Masterpiece Awaits!
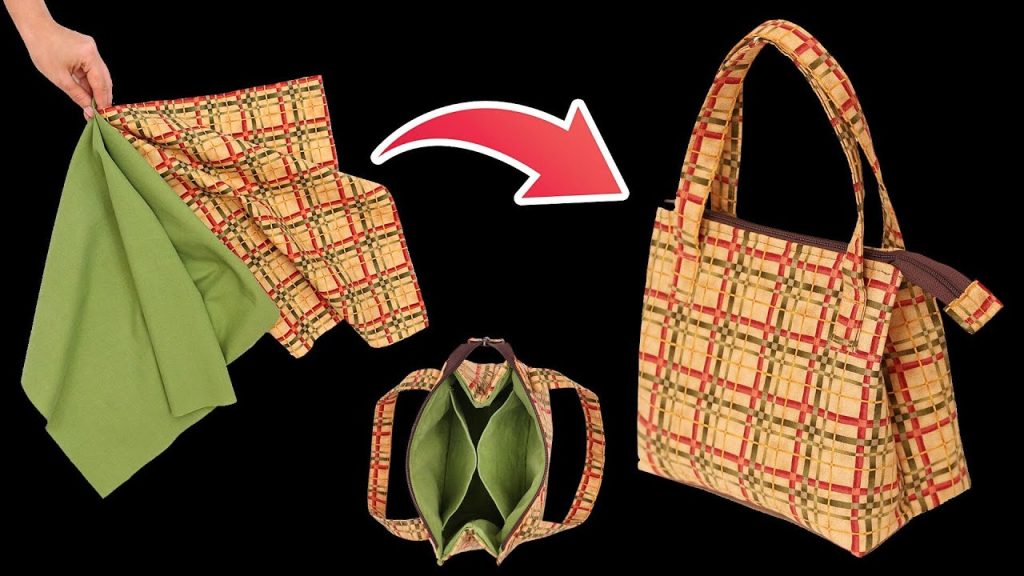
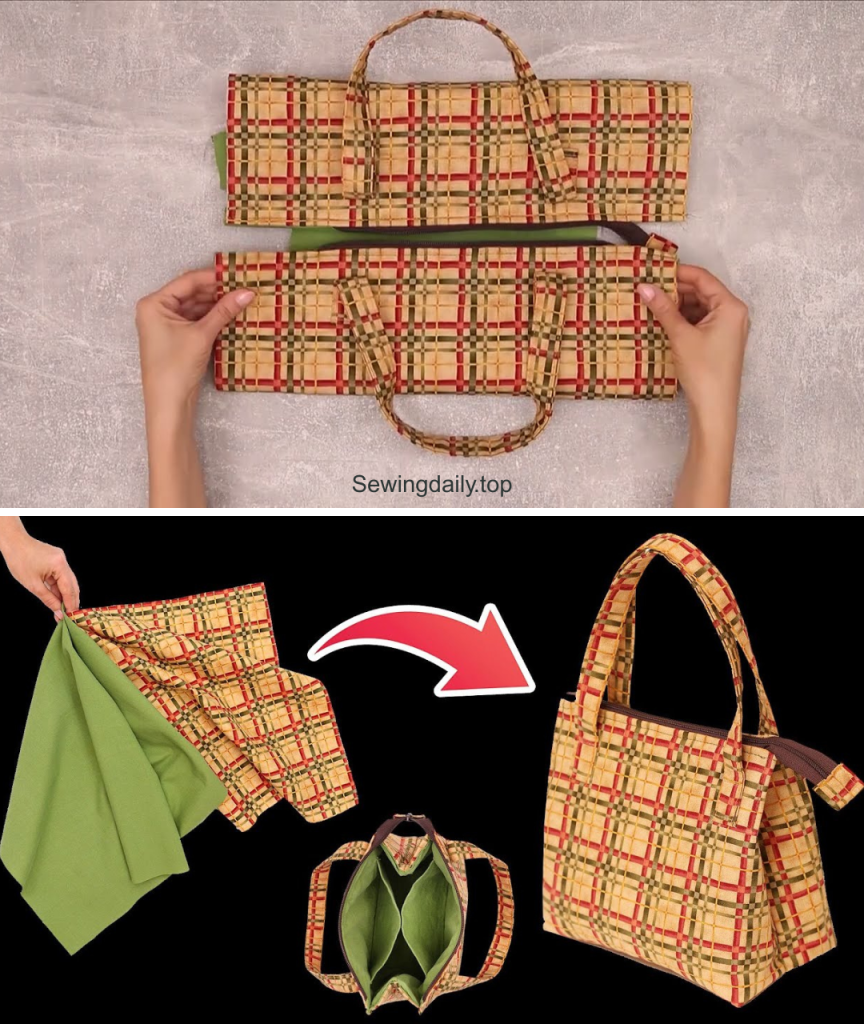
Congratulations! You’ve successfully sewn your very own stylish bag! Take a moment to appreciate your handiwork. This bag is not just an accessory; it’s a testament to your creativity and skill.
This finished bag measures approximately 23 cm wide, 20 cm high, and has a depth of 12 cm. It’s the perfect size for carrying your essentials, whether you’re heading to the market, meeting friends for coffee, or just adding a unique touch to your daily ensemble.
(Image: Another clear, stylish shot of the finished DIY bag, perhaps being held or styled.)
We hope you enjoyed this sewing adventure. Don’t forget to experiment with different fabrics and colors to make each bag truly your own. Happy sewing!
Video tutorial: