 by
by Introduction: Giving Clothes a Second Life
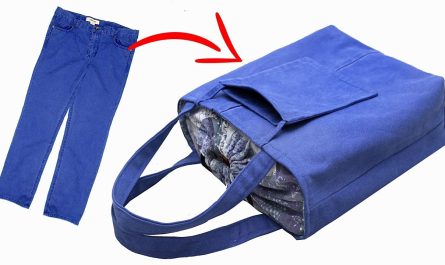
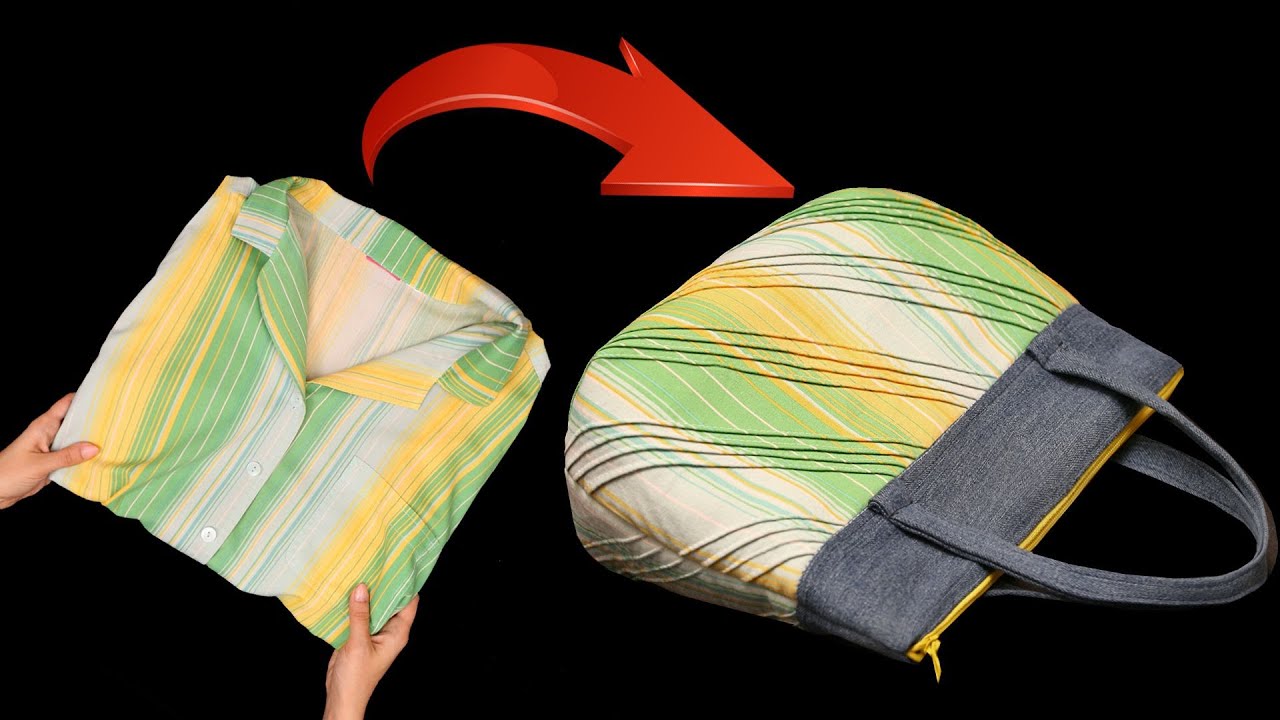
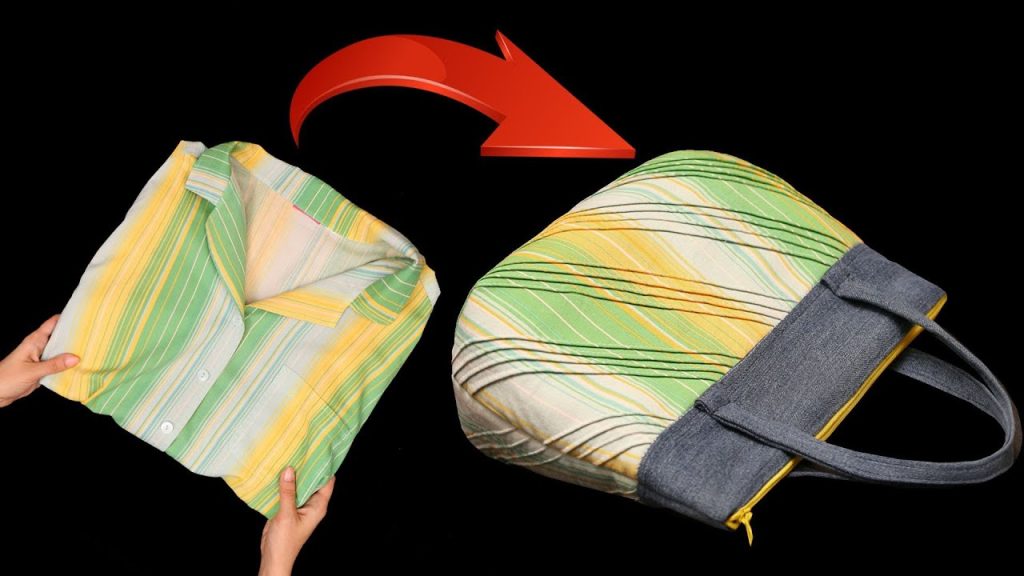
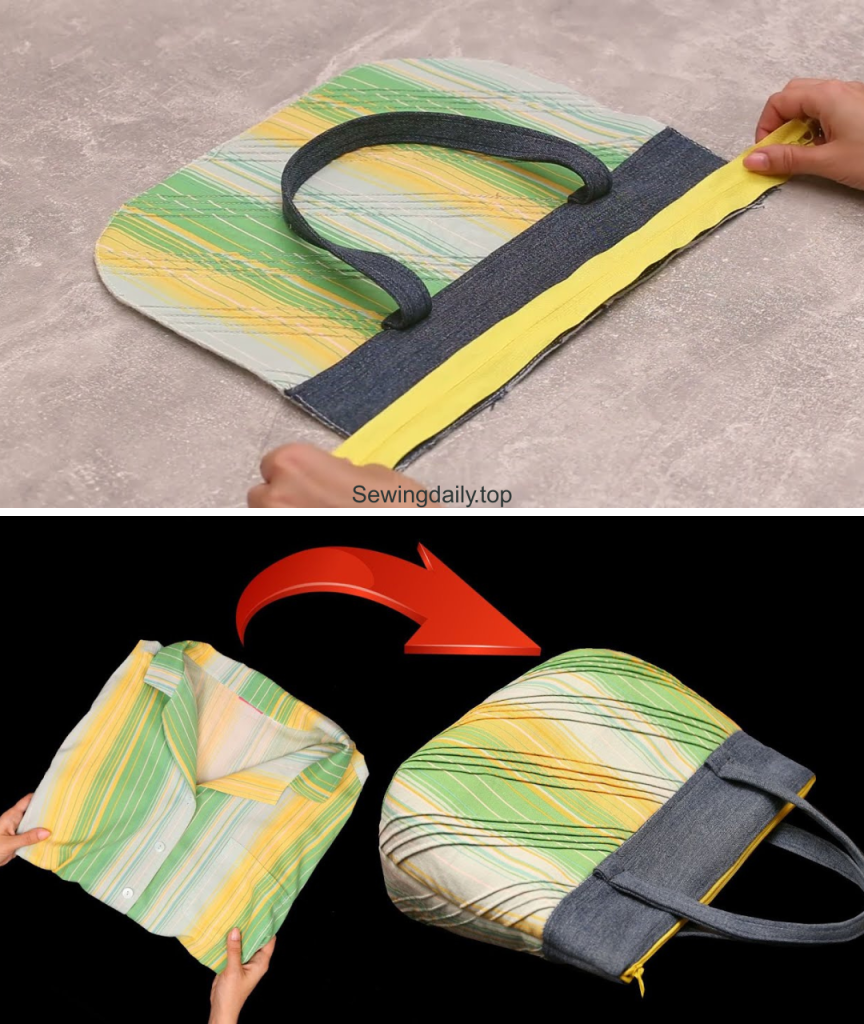
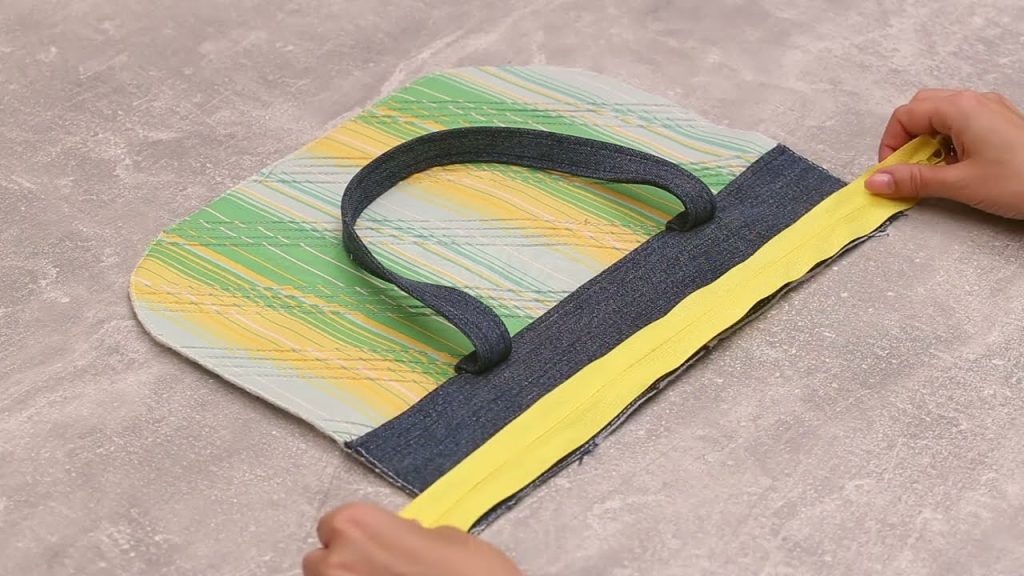
In the world of sustainable fashion, the most stylish items are often the ones we make ourselves from what we already have. Inspired by the clever, practical method of transforming old shirts and jeans into a functional tote (as demonstrated in the video linked below), we’ve designed an original, long-form pattern: The Heritage Hues Patchwork Tote.
This pattern goes beyond a simple shirt-to-bag conversion, utilizing a vertical patchwork technique that combines the softness of an old shirt with the ruggedness of denim scraps. The result is a roomy, reversible, and deeply personalized tote bag perfect for groceries, market runs, or everyday errands. This project is a celebration of texture, color contrast, and resourceful reuse.
Ready to stitch your old favorites into a brand-new style statement? Let’s get cutting and sewing!
Section 1: The Philosophy of Contrast & Durability
The inspiring video by Miarti – Reuse (which specializes in upcycling) highlights the potential hidden in worn fabrics. Our “Heritage Hues” pattern embraces this by focusing on:
- Blending Textures: Combining the smooth, lightweight weave of an old cotton shirt (for the main body’s color and softness) with the heavy-duty texture of denim (for the base, handles, and reinforcement).
- Vertical Patchwork: Unlike traditional square patchwork, we use long, vertical strips to create a modern, slimming line, drawing attention to the seam details.
- Maximized Utility: Designing the bag with a wide, flat bottom and sturdy straps ensures maximum carrying capacity and durability.
Section 2: Gathering Your Supplies (The Upcycler’s Haul)
This project requires thoughtful selection of your salvaged fabrics to achieve the best aesthetic result.
The Material Checklist
| Item | Quantity | Notes |
| Old Cotton Shirt | 1 (Large) | A button-down or blouse in a recognizable print or bright color for the Body Panels. |
| Denim Scraps/Jeans | 1 Pair of Legs | For the Base, Handles, and Vertical Patchwork Strips. Dark denim provides a great contrast. |
| Lining Fabric | 1 Yard | Medium-weight cotton or plain canvas. The pattern is reversible, so choose a nice color! |
| Fusible Interfacing | 1 Yard | Medium-weight for the body and Heavy-weight for the denim base and handles. Essential for structure. |
| Thread | 1 Spool | High-quality thread that matches your dominant fabric color. |
The Tool Checklist
- Sewing Machine (with a heavy-duty needle for denim)
- Rotary Cutter and Cutting Mat (highly recommended for straight strips)
- Iron and Ironing Board (crucial for pressing seams and fusing interfacing)
- Measuring Tape and Ruler
- Pins/Clips and Seam Ripper
Section 3: The Step-by-Step Pattern (Tote Construction)
This pattern creates a structured tote approximately 16 inches wide, 14 inches tall, and 4 inches deep. All seam allowances are 1/2 inch (1.25 cm) unless otherwise noted.
Stage 1: Harvesting and Cutting
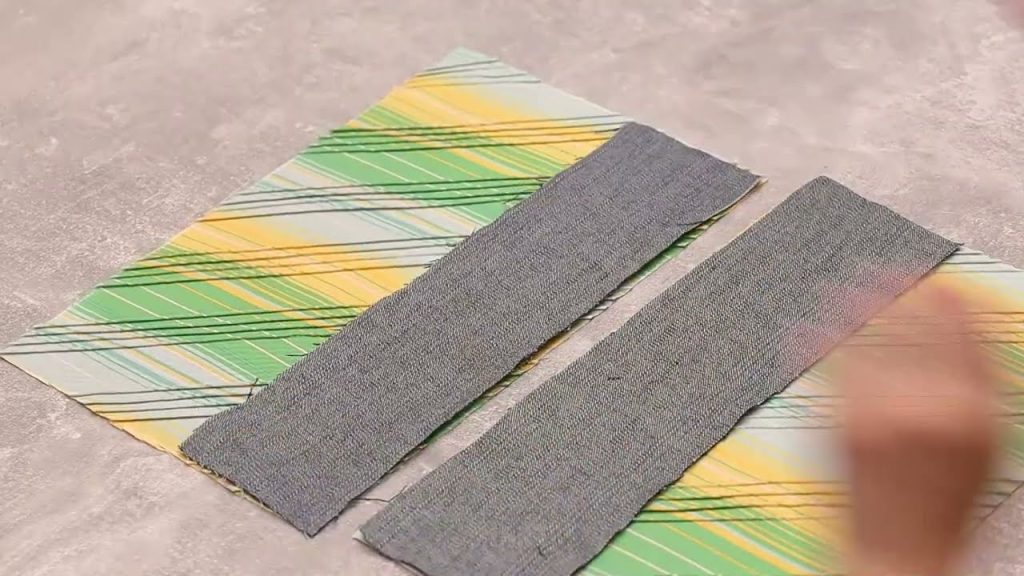
- Prep the Denim: Cut your jeans legs open along the inner seam and iron flat.
- Prep the Shirt: Deconstruct the shirt by cutting off the sleeves, collar, and side seams to get the largest possible flat panels.
- Cut the Patchwork Pieces:
- Denim Vertical Strips: Cut 8 pieces measuring 14.5″ tall x 2.5″ wide.
- Shirt Vertical Strips: Cut 8 pieces measuring 14.5″ tall x 3.5″ wide.
- Cut the Structure Pieces:
- Denim Base: 2 pieces measuring 17″ wide x 5″ tall.
- Lining Panels: 2 pieces measuring 17″ wide x 18″ tall.
- Denim Handles: 2 pieces measuring 40″ long x 3.5″ wide.
- Interface: Fuse the medium-weight interfacing to the wrong side of all Shirt Strips and Lining Panels. Fuse the heavy-weight interfacing to the wrong side of the Denim Base pieces and the Denim Handle pieces.
Stage 2: Creating the Patchwork Panels
You will create two identical main exterior panels for the front and back of the bag.
- Assembly: Take one Shirt Strip and one Denim Strip. Pin them right sides together along the 14.5″ edge. Stitch with a 1/2″ seam allowance.
- Pressing: Press the seam open using your iron. This is key to a flat, professional finish.
- Continue Strip Joining: Continue attaching strips in an alternating pattern until you have used 4 Shirt Strips and 4 Denim Strips for one panel. The final sequence should be (Denim, Shirt, Denim, Shirt, Denim, Shirt, Denim, Shirt).
- Square Up: Trim the finished Patchwork Panel to be perfectly square: 17″ wide x 14.5″ tall.
- Repeat: Complete the second identical Patchwork Panel.
Stage 3: Assembling the Exterior Bag
- Attach the Base: Pin one Denim Base piece (17″ x 5″) to the bottom edge of one Patchwork Panel (right sides together). Stitch with a 1/2″ seam. Press the seam down towards the base. Repeat for the second exterior side.
- Sew Side and Bottom: Place the two finished exterior pieces right sides together. Pin the side and bottom edges. Stitch the side and bottom seams, stopping at the corners.
- Box the Corners: Flatten the bottom corner so the side seam aligns with the bottom seam, creating a triangle. Measure 4 inches along this seam line and stitch across to create a 4-inch deep box. Trim the excess triangle. Repeat for the remaining corner.
- Turn Right Side Out: Set the exterior bag aside.
Stage 4: Assembling the Handles
- Fold: Take one 40″ x 3.5″ handle strip. Fold it in half lengthwise (wrong sides together) and press firmly. Open the strip.
- Edge Fold: Fold both raw edges inward to meet the center crease line, and press again. This hides the raw edges.
- Topstitching: Fold the strip along the center crease again. Pin the long edges together and topstitch down both long edges, 1/8 inch from the edge. This provides durability and a professional finish. Repeat for the second handle.
Stage 5: Final Assembly
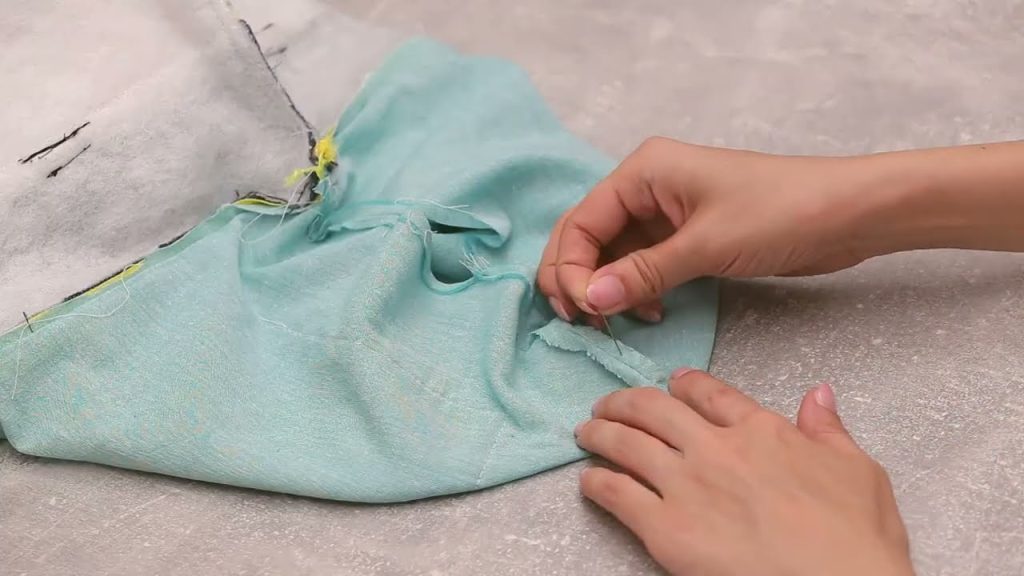
- Lining: Sew the two Lining Panels (17″ x 18″) together at the sides and bottom, leaving a 6-inch gap in the center of the bottom seam for turning. Box the corners identically to the exterior bag (4 inches).
- Attach Handles: With the exterior bag right side out, pin the ends of the handles to the top edge. Place them 4 inches in from each side seam. Baste (sew quickly) them in place within the 1/2″ seam allowance.
- Join Exterior and Lining: Place the exterior bag (with handles) inside the lining bag (right sides facing). Align the top raw edges perfectly. Pin all the way around, ensuring the handles are tucked neatly inside.
- Final Seam: Stitch a 1/2″ seam around the entire top opening of the bag.
- Turn and Close:
- Pull the entire bag through the 6-inch opening left in the lining’s bottom seam.
- Stitch the 6-inch opening closed (by hand with an invisible stitch or by machine).
- Push the lining into the bag. Press the top edge firmly.
- Final Topstitching: Topstitch around the entire top rim of the bag, 1/8 inch from the edge, to secure the lining and handles.
Section 4: Customization Corner (Making It Yours)
- Padded Laptop Sleeve: Before assembling the lining, sew a simple rectangle of the lining fabric to the inside of one panel, adding a layer of thin quilt batting behind it for a padded internal pocket.
- Original Pocket: Integrate a back pocket from the denim jeans onto one of the exterior patchwork panels before sewing the strips together. This adds instant utility and original denim character.
- Contrasting Thread: Use a thick, bright-colored topstitching thread (like gold or red) on the final steps to really emphasize the patchwork seams and handle edges.
Conclusion: A Handcrafted Heritage
You have successfully stitched together the Heritage Hues Patchwork Tote—a unique and durable carry-all that embodies sustainable style. This project, using discarded textiles, proves that the end of one item’s life can be the stylish beginning of another. Carry your essentials with pride in this handcrafted masterpiece!
Video tutorial: