 by
by Hello, fellow makers and eco-conscious crafters! Are your old jeans gathering dust? Don’t toss them! I am so excited to share this detailed pattern for the Pocket Full of Denim Tote, an incredibly simple yet stylish bag that repurposes those beloved denim scraps into a functional, sturdy accessory.
Inspired by a fantastic beginner-friendly tutorial, this pattern focuses on maximizing the features of old jeans—especially those iconic back pockets—to create a unique, fully lined tote. This project is straightforward enough for absolute beginners who are just getting acquainted with their sewing machine!

Grab your well-worn denim and your sewing machine, and let’s turn old jeans into a fabulous new tote!
Why You’ll Love Making This Bag:
- Upcycled & Sustainable: Gives new life to old jeans, reducing textile waste.
- Beginner-Friendly: Uses simple straight-line stitching and basic pattern pieces.
- Ready-Made Pockets: The existing pockets on the jeans become functional external storage for your new tote.
- Sturdy and Unique: Denim is a durable fabric that results in a one-of-a-kind, long-lasting bag.
What You’ll Need:
- Denim Fabric: One pair of old adult jeans (or equivalent denim fabric).
- Lining Fabric: Approximately 1 yard of sturdy cotton or canvas fabric for the interior.
- Fusible Interfacing (Optional): Medium-weight interfacing for a stiffer bag structure.
- Webbing/Straps: Two strips of cotton webbing (1.5 inches wide) or fabric for the handles.
- Tools:
- Sewing Machine and strong thread (denim or topstitching thread recommended).
- Sharp Fabric Scissors or Rotary Cutter.
- Ruler and Fabric Marker/Chalk.
- Pins and Clips.
- Iron and Ironing Board.
Measurements & Cutting List
The final bag size will be approximately 14 inches wide by 12 inches high. All measurements include a 1/2-inch (1.2 cm) seam allowance.
| Piece | Fabric | Dimensions (Width x Height) | Quantity | Notes |
| A: Main Body Panels | Denim | 15 in. x 13 in. | 2 | Cut from the leg sections of the jeans. |
| B: Pocket Panels | Denim | 8 in. x 6 in. | 2 | These frame the existing pockets. |
| C: Lining Panels | Lining | 15 in. x 13 in. | 2 | Cut from the lining fabric. |
| D: Base/Side Strip | Denim | 45 in. x 4 in. | 1 | This forms the gusset and base. |
| E: Handles | Webbing/Denim | 25 in. x 1.5 in. | 2 | Webbing is easiest; alternatively, cut and fold fabric strips. |
| F: Inner Pocket (Optional) | Lining | 10 in. x 12 in. | 1 | For an interior slip pocket. |
Construction: Building the Tote
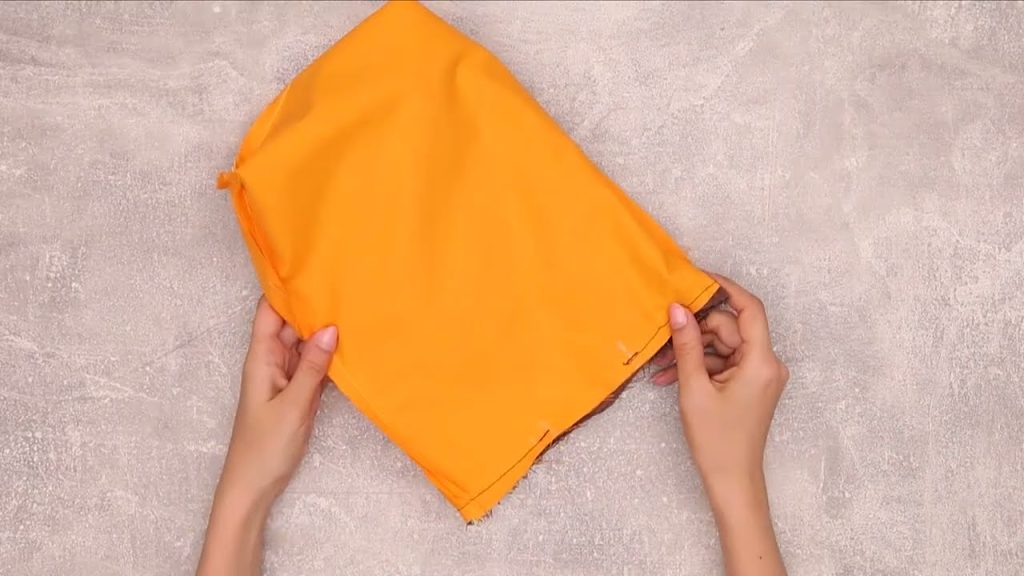
Part 1: Preparing the Denim Panels
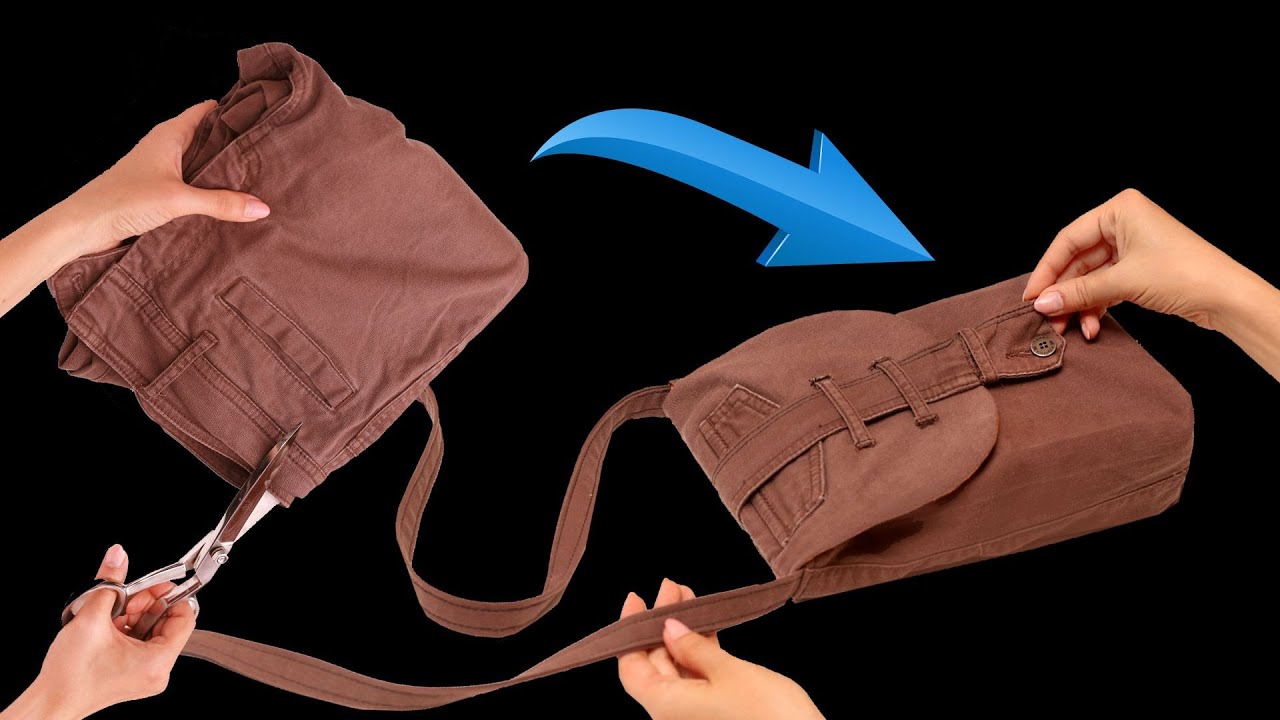
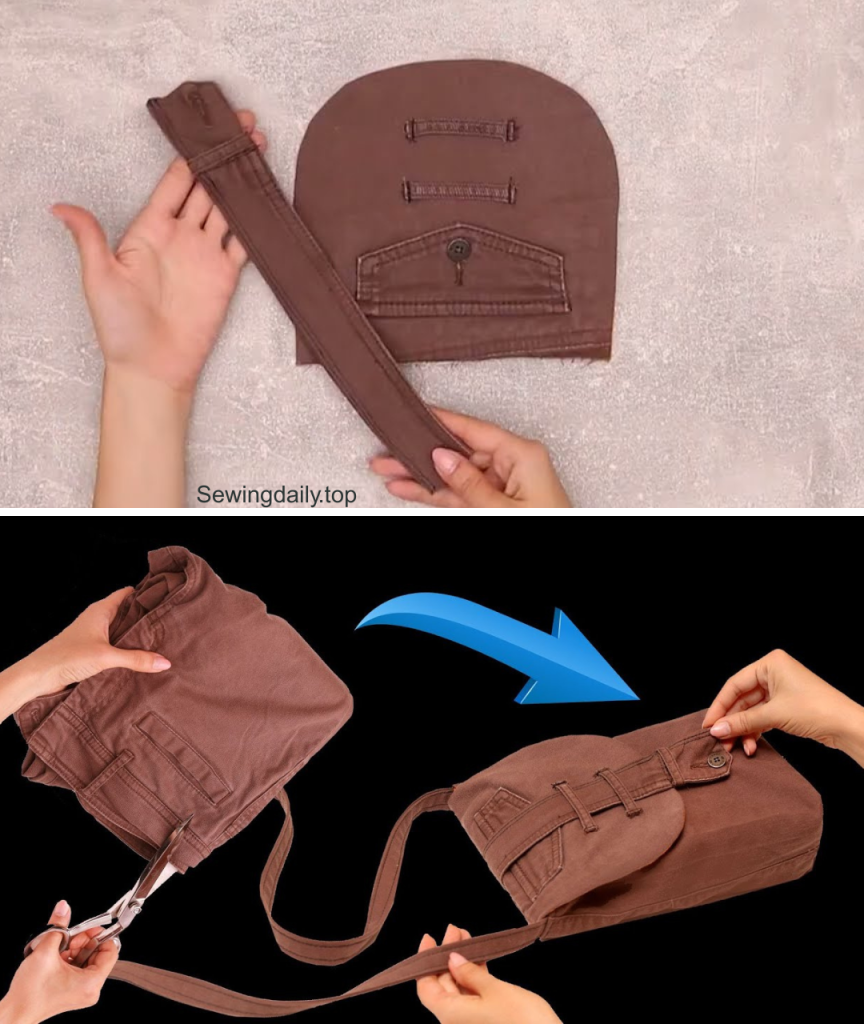
- Extract the Pockets: Carefully cut the two back pockets from the jeans. Trim the excess denim around them, leaving about 1 inch (2.5 cm) of fabric border.
- Create the Front: Take your two (B) Pocket Panels and place one pocket centered on each. Pin and topstitch the pockets onto the center of the panels, sewing only the sides and bottom of the pocket to keep the top open.
- Assemble Main Panels: Take your two (A) Main Body Panels. Place the prepared (B) Pocket Panels onto the lower center of the (A) Panels. Pin and stitch the (B) panels onto the (A) panels. This step combines the plain denim top with the pocketed bottom section.
Part 2: Creating the Base Gusset
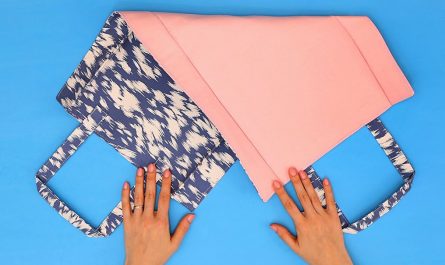
- Mark the Center: Fold the long (D) Base/Side Strip in half lengthwise to find the center and mark it.
- Attach to Main Panel: Pin the center mark of the (D) strip to the bottom center of one (A) Main Body Panel.
- Stitch the Gusset: Starting from the center, pin the (D) strip all the way around the three sides of the (A) Main Body Panel (bottom, and both sides). Sew the strip to the panel using a 1/2-inch seam allowance.
- Attach Second Panel: Take the remaining (A) Main Body Panel and sew the free end of the (D) strip to its perimeter, completing the three-dimensional denim outer bag shell.
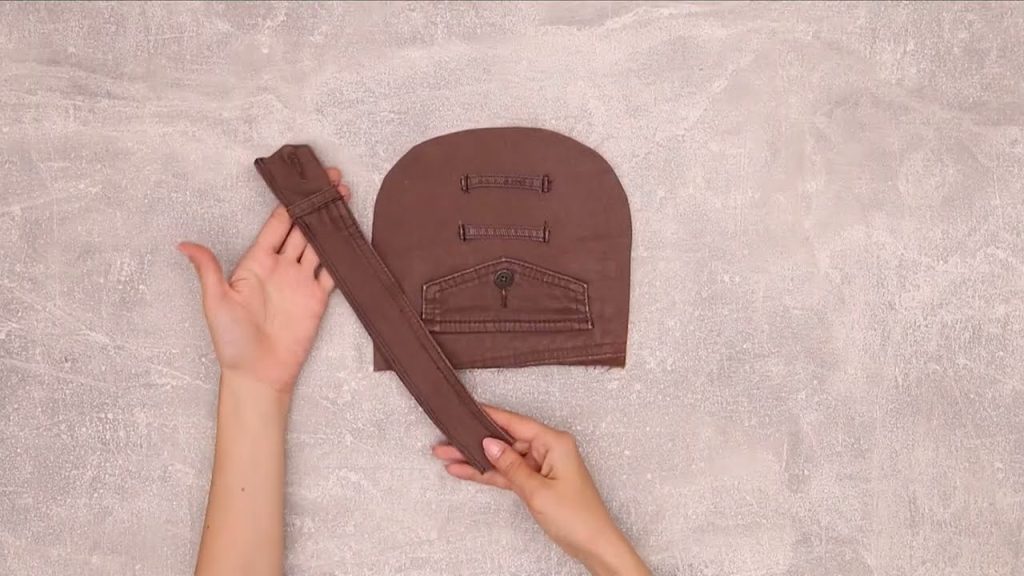
Part 3: Preparing and Attaching the Handles
- Prepare Handles: If using fabric for handles, fold the edges inward, iron, and topstitch to create strong, flat straps. If using webbing, you can skip this step.
- Position Handles: Lay the denim bag shell flat. Measure 3 inches (7.5 cm) in from the side seams on both the front and back. Pin the ends of the (E) Handles at these marks.
- Baste: Baste the handles in place along the top edge of the denim bag shell.
Part 4: Sewing the Lining (The Interior Bag)
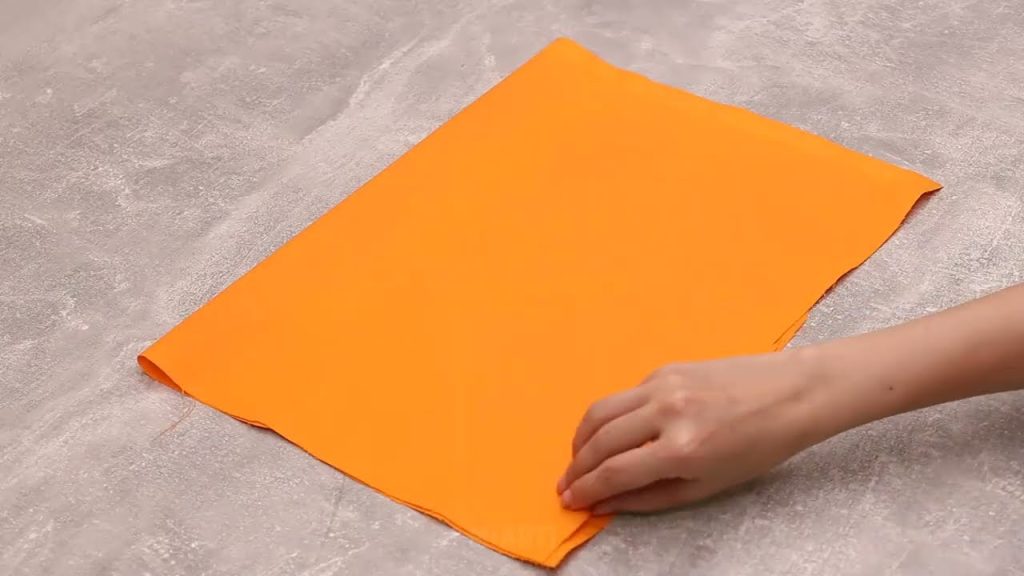
- Create Inner Pocket (Optional): Take the (F) Inner Pocket piece. Fold it in half to create a 10″ x 6″ rectangle. Sew the edges, leaving a small gap for turning. Turn, press, and topstitch the top edge. Pin it to the center of one (C) Lining Panel. Stitch the sides and bottom to secure the pocket.
- Assemble Lining: Sew the two (C) Lining Panels together, just as you did the denim shell, using the remaining section of the (D) Base/Side Strip.
- Crucial Step: When sewing the lining, leave an unstitched opening of about 4-5 inches (10-12 cm) along one side of the base/side strip. This will be used to turn the bag right-side out later.
Part 5: Combining and Finishing
- Insert Lining: Turn the denim outer bag right-side out. Place the lining bag inside out over the denim bag. The right sides of the lining and the denim should be facing each other.
- Align and Pin: Align the top raw edges of the lining and the denim (with the handles sandwiched between them). Pin carefully around the entire top opening.
- Stitch the Top: Sew the top edges together with a 1/2-inch seam allowance.
- Turn Right-Side Out: Reach through the opening you left in the bottom of the lining. Pull the entire bag (lining and denim shell) through this hole until it is right-side out.
- Close the Lining: Stitch the opening in the lining closed with a tight, invisible slip stitch or a machine stitch close to the edge.
- Final Press and Topstitching: Tuck the lining into the denim shell. Iron the top edge flat and perform a final topstitch around the entire top opening to give the bag a crisp, professional finish and secure the handles permanently.

Congratulations! You have successfully completed your Pocket Full of Denim Tote. Enjoy carrying your custom, sustainable masterpiece!
Video tutorial: