by
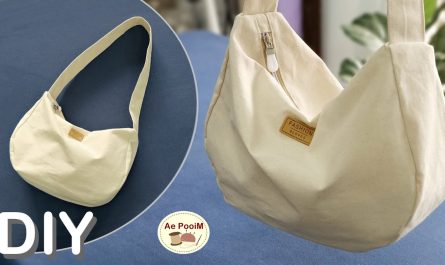
by If you’ve ever dreamed of making your own handbag but felt intimidated by patterns, hardware, or complex sewing techniques, you’re in the right place. Sewing a simple and fast handbag is a perfect beginner project that’s both fun and functional. With just a few materials, a sewing machine (or hand-sewing skills), and about an hour or two of your time, you can create a stylish, handmade accessory you’ll be proud to use.
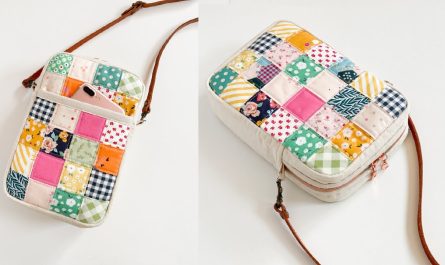
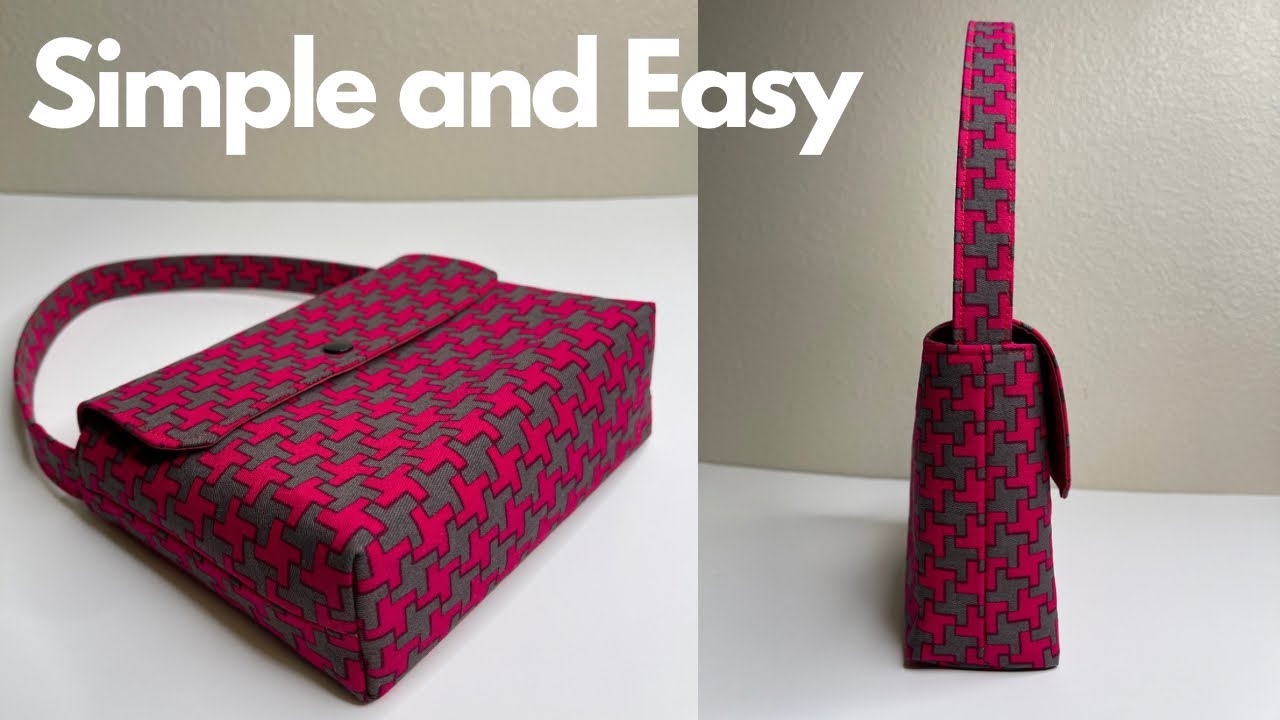
This step-by-step guide will show you how to sew a handbag that’s simple and quick, yet stylish enough to use every day—or give as a thoughtful, handmade gift.
✂️ Why Make Your Own Handbag?
Creating your own handbag has so many benefits:
✅ Easy and Fast
-
No need for zippers, linings, or advanced skills (unless you want to level up!)
-
Ideal for last-minute gifts or weekend projects
✅ Customizable
-
Choose your own fabric, size, shape, and decorations
-
Add pockets, patches, or handles of your style
✅ Sustainable and Budget-Friendly
-
Use leftover fabric, thrifted materials, or upcycle from old clothes
-
Save money and reduce waste
🧵 Materials and Tools You’ll Need
This is a minimalist project—you likely already have what you need!
✨ Materials
-
Outer fabric: Cotton, canvas, denim, or linen are perfect (1/2 yard)
-
Lining fabric (optional): Quilting cotton or even an old pillowcase (1/2 yard)
-
Interfacing (optional): Medium-weight fusible interfacing for structure
-
Thread: Coordinating color
-
Straps: Use matching fabric, webbing, or an old belt
🧷 Tools
-
Sewing machine (or needle and thread if sewing by hand)
-
Scissors or rotary cutter
-
Pins or clips
-
Iron and ironing board
-
Ruler or measuring tape
-
Chalk or washable fabric pen
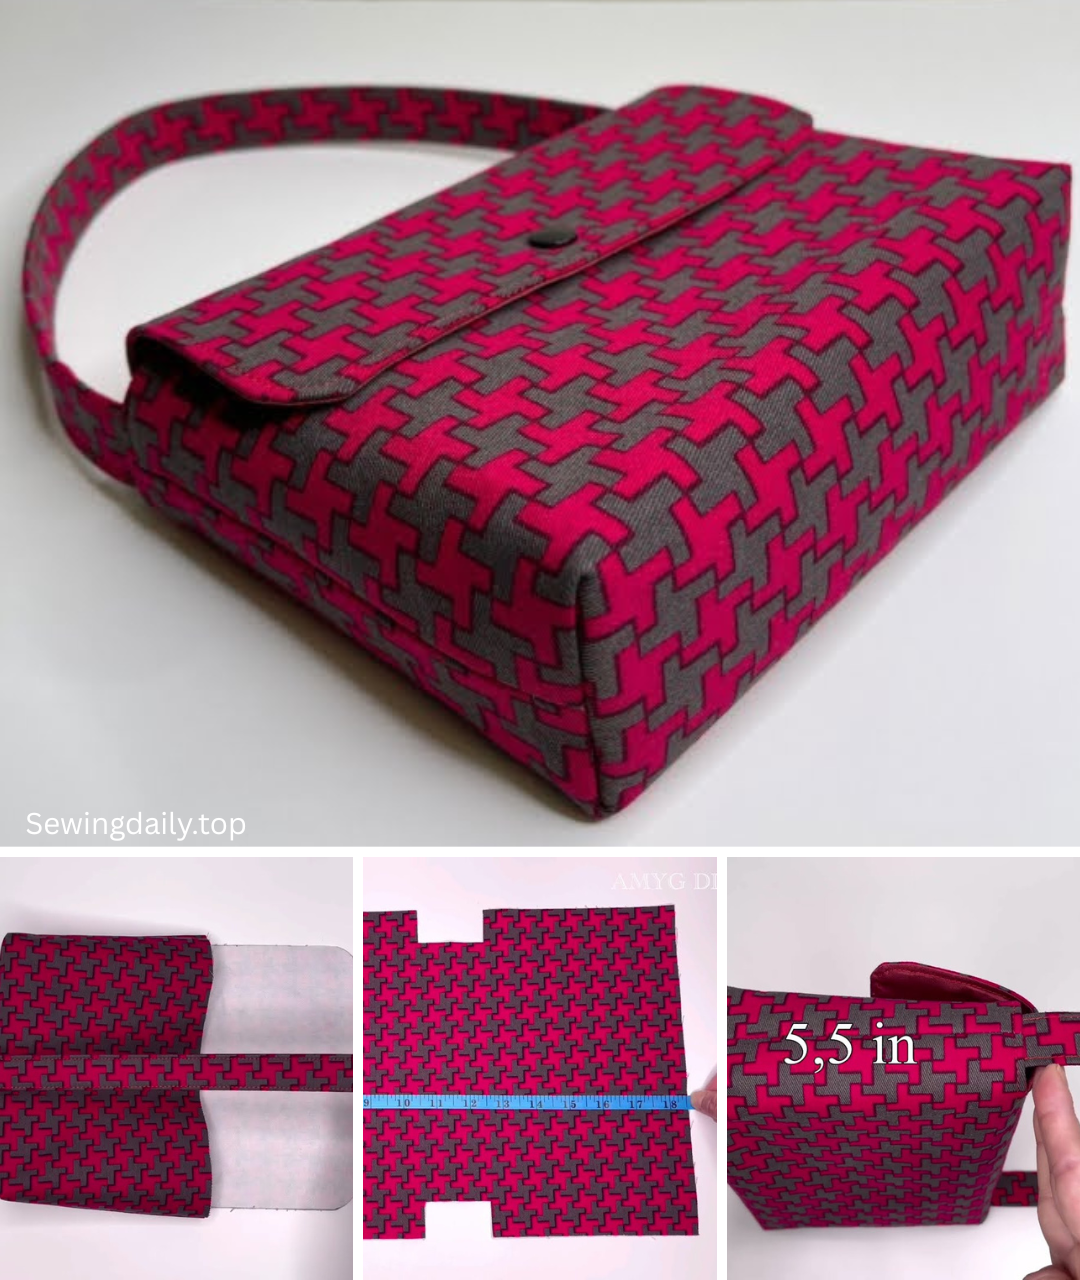
📐 Finished Size (Customizable)
This pattern makes a medium-sized everyday handbag, approx.:
-
Width: 14 inches
-
Height: 11 inches
-
Strap Length: 20–24 inches
Want a larger tote or a small purse? Just scale up or down when you cut your fabric.
🪡 Step-by-Step Instructions: Sew a Simple Handbag Fast
Let’s start sewing your easy, stylish handbag!
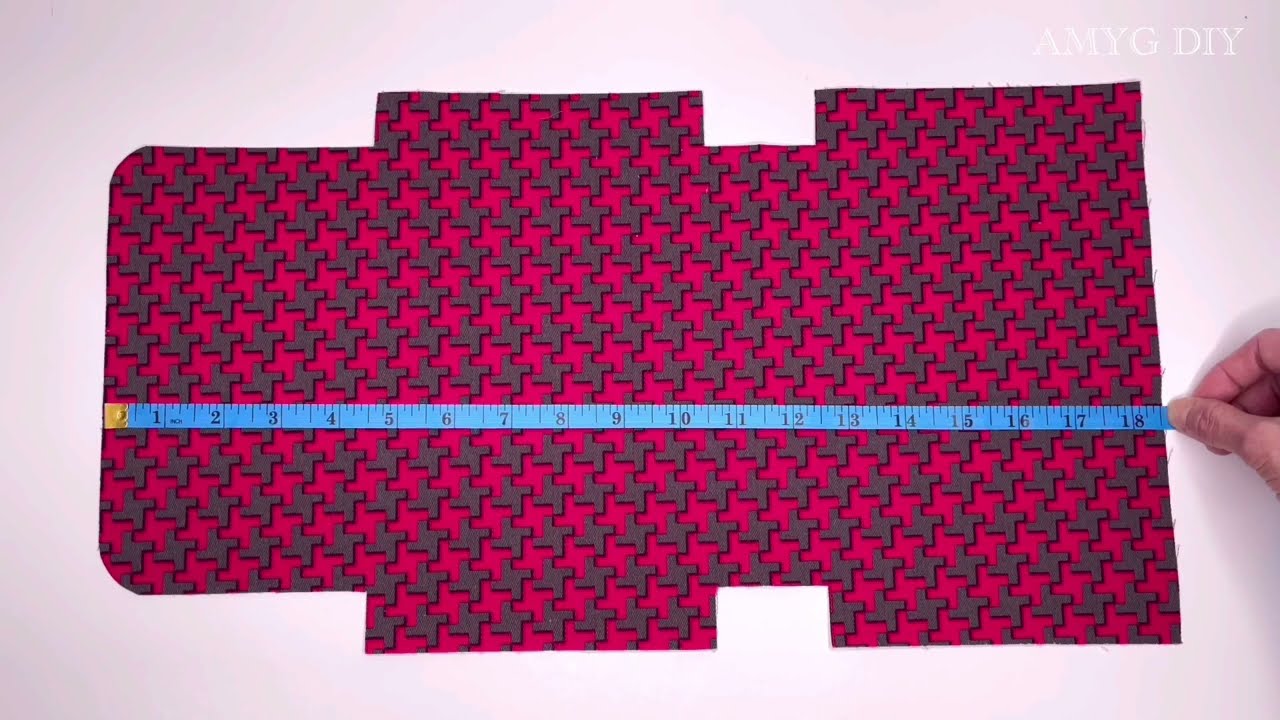
🧶 Step 1: Cut Your Fabric
From your main fabric, cut:
-
2 rectangles: 14″ wide x 11″ tall (front and back)
From your lining fabric (optional), cut:
-
2 rectangles: same size as outer fabric
From interfacing (optional), cut:
-
2 rectangles: same size (14″ x 11″)
For straps:
-
2 fabric strips: 3″ wide x 22″ long
-
Or use 2 pieces of pre-made webbing or ribbon
🧼 Step 2: Add Interfacing (Optional)
If using interfacing for a sturdier bag:
-
Iron interfacing to the wrong side of both outer fabric pieces.
-
Press firmly with steam to fuse.
This gives the bag body and helps it hold its shape.
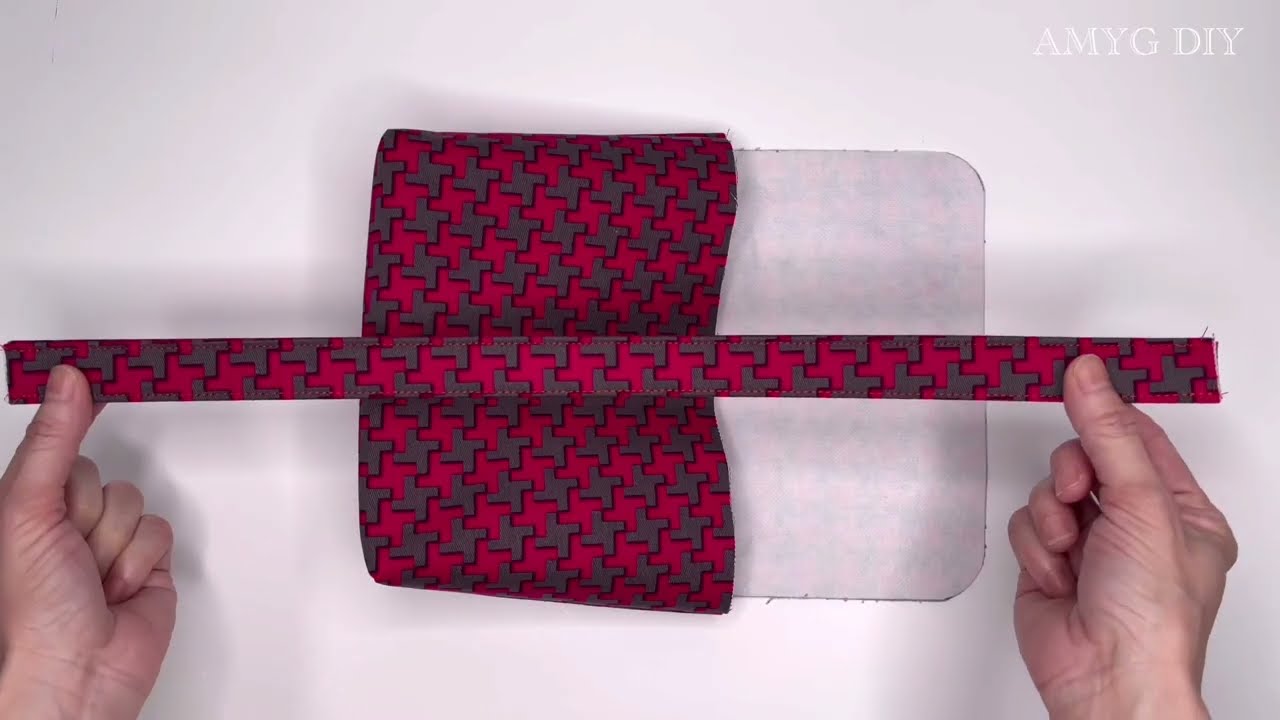
🧵 Step 3: Make the Straps
If using fabric:
-
Fold each strap strip in half lengthwise, right sides together.
-
Sew along the long edge with 1/4″ seam.
-
Turn the tube right side out using a safety pin or tube turner.
-
Press flat and topstitch both edges for a neat finish.
🧠 Shortcut: Fold fabric in thirds like bias tape and topstitch both edges—no tube turning!
🧺 Step 4: Sew the Outer Bag
-
Place outer fabric pieces right sides together.
-
Pin along sides and bottom only.
-
Sew with a 1/2″ seam allowance.
-
Clip corners, then turn right side out and press.
🎯 Optional: Create a flat bottom:
-
Pinch each bottom corner into a triangle.
-
Measure 1.5″ from the point and sew straight across.
-
Trim the triangle and finish seam.
🪡 Step 5: Sew the Lining (Optional but Neat)
-
Place lining pieces right sides together.
-
Sew sides and bottom, BUT leave a 3″ opening in the bottom seam (for turning).
-
Optional: box the corners like the outer bag.

👜 Step 6: Assemble the Bag
-
Turn outer bag right side out.
-
Turn lining wrong side out.
-
Place the outer bag inside the lining, matching side seams.
-
Insert the strap ends between the outer and lining layers, about 3″ from each side seam. Pin or clip in place.
-
Pin around the entire top edge.
🧵 Step 7: Sew the Top Seam
-
Sew all the way around the top of the bag with a 1/2″ seam.
-
Backstitch over the strap areas for extra strength.
🔁 Step 8: Turn the Bag
-
Pull the outer bag and straps through the opening in the lining.
-
Push the lining into the bag and press the top edge flat.
-
Topstitch around the top edge of the bag for a clean finish and added strength.
🧶 Step 9: Close the Lining
Sew the opening in the lining shut with a straight stitch or invisible ladder stitch.
🪄 Customization Ideas
Make your handbag even more fun and functional!
🧵 Pockets
-
Add a small pocket to the inside or outside before assembling.
🌸 Embellishments
-
Iron-on patches
-
Fabric paint or stencils
-
Embroidery or applique
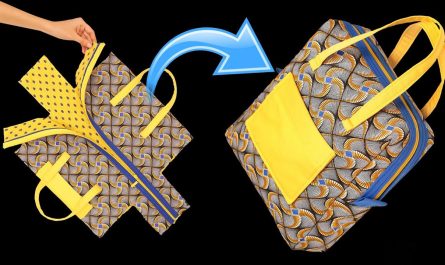
🌈 Color Blocking
-
Use two different fabrics for front and back or bottom and top.
🪢 Adjustable Straps
-
Add D-rings or sliders for adjustable shoulder straps.
🧼 Care Instructions
-
Machine wash on gentle (if all fabric is washable)
-
Lay flat or hang to dry
-
Press with iron to reshape
🕒 Time Estimate
| Task | Time |
|---|---|
| Cutting fabric | 10 minutes |
| Making straps | 15 minutes |
| Sewing outer & lining | 15 minutes |
| Assembly & finishing | 20–30 mins |
| Total | ~1–1.5 hours |
Perfect for a weekend afternoon or an evening craft session!
🎁 Great Uses for Your DIY Handbag
-
Everyday casual purse
-
Reusable shopping or market bag
-
Gift bag (fill with goodies!)
-
Lunch tote
-
Library/book bag
-
Travel accessory holder
🧡 Final Thoughts
Sewing a simple and fast handbag is the perfect way to dip your toes into DIY sewing projects. It’s beginner-friendly, practical, and incredibly rewarding—especially when you step out of the house proudly carrying something you made with your own two hands.
With just a few stitches, you can transform fabric into fashion. Whether you’re making your first bag or your fiftieth, remember: handmade means heartfelt.
Video tutorial: