by
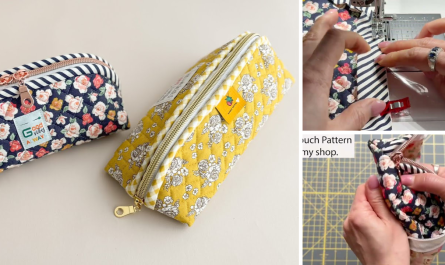
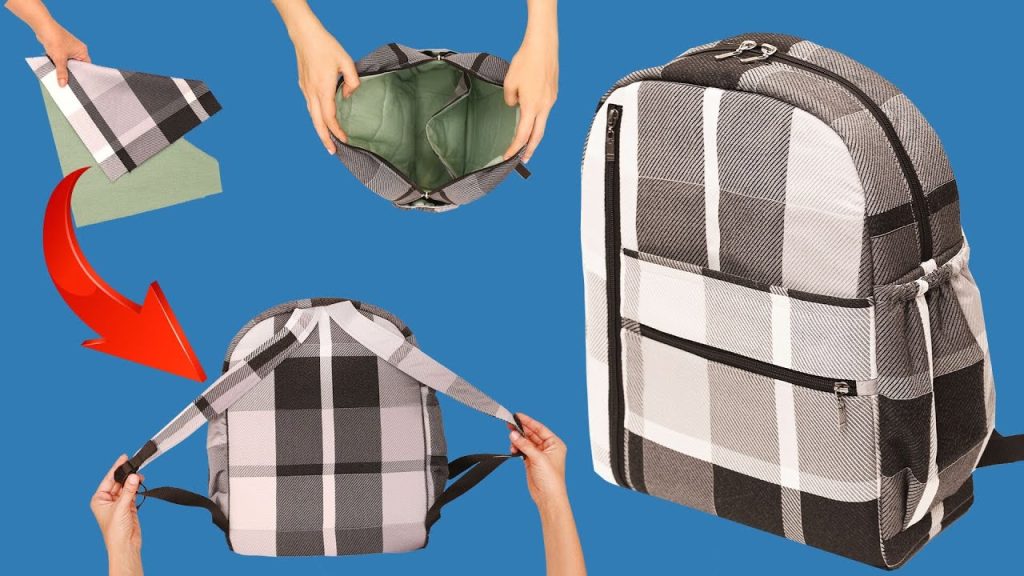
by Say goodbye to flimsy, shapeless backpacks! The Urban Transit Box Backpack is designed for those who need a sturdy, stylish bag capable of holding its shape, whether it’s packed with textbooks or travel essentials.
Inspired by the video’s use of foam and structured construction, this pattern utilizes stabilizing foam or fusible fleece to create a professional, boxy silhouette with clean edges and comfortable, adjustable straps. We will use a main fabric (Fabric A) for the body and a contrast fabric (Fabric B) for details and lining.
This project is manageable for an intermediate sewer and results in a truly durable, high-quality backpack.
| Feature | Detail |
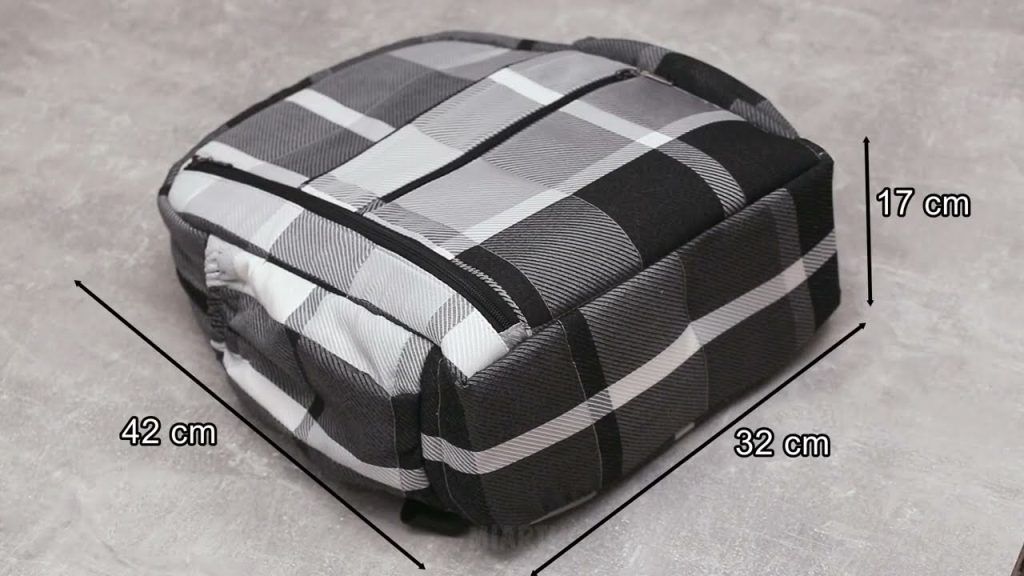
| Finished Size (Approximate) | 10″ W x 14″ H x 4.5″ D (25 cm W x 35 cm H x 11.5 cm D) |
| Skill Level | Intermediate (Requires bias binding and structural sewing) |
| Style | Boxy, Structured Daypack |
✂️ Materials & Comprehensive Cutting List
This pattern utilizes a structured stabilizer (like Foam Interfacing or Fusible Fleece) to achieve the rigid, boxy shape.
Fabric & Interlining Pieces (Cut from Fabric A, B, and Stabilizer)
| Piece Name | Fabric Type (A/B) | Dimensions (cm) | Dimensions (inches) | Quantity | Stabilize with Foam/Fleece? |
| Main Body Panel | Fabric A (Outer) | 37 x 50 | 14.5 x 19.7 | 1 | YES |
| Gusset (Side/Bottom) | Fabric A (Outer) | 100 x 11.5 | 39.4 x 4.5 | 1 | YES |
| Front Pocket Panel | Fabric A (Outer) | 27 x 30 | 10.6 x 11.8 | 1 | YES |
| Lining Panels | Fabric B (Lining) | 37 x 50 | 14.5 x 19.7 | 1 | NO |
| Lining Gusset | Fabric B (Lining) | 100 x 11.5 | 39.4 x 4.5 | 1 | NO |
| Shoulder Straps | Fabric A or B | 65 x 10 | 25.6 x 4 | 2 | NO (Use heavy webbing instead, or add thin fleece) |
| Strap Anchor Tab | Fabric A or B | 10 x 8 | 4 x 3.1 | 2 | YES (Small piece of foam) |
| Handle Tab | Fabric A or B | 30 x 8 | 11.8 x 3.1 | 1 | NO |
🧵 Notions and Hardware
- Foam Interfacing (e.g., ByAnnie’s Soft and Stable) or Heavy Fusible Fleece: 1 meter (for main body pieces).
- Webbing (1-inch/2.5 cm wide): 2.5 meters for straps and anchors.
- Slider/Adjusters (1-inch/2.5 cm): 2
- Rectangular Rings (1-inch/2.5 cm): 2
- Zipper: 1 (30 cm/12 inches) for the front pocket.
- Zipper: 1 (75 cm/30 inches) for the main top opening.
- Bias Binding: Approximately 5 meters of pre-made or self-made bias tape for neatening internal seams.
📝 Step-by-Step Construction Guide
Seam Allowance: Use 1 cm (3/8 inch) throughout unless otherwise noted.
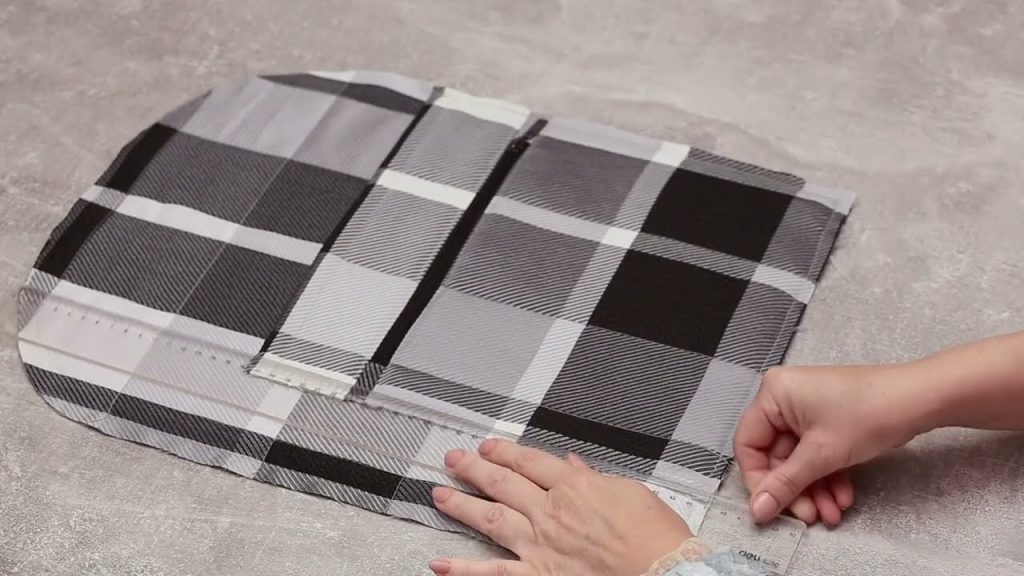
Part 1: Stabilizing and Preparing Pieces
- Fuse/Baste Stabilizer: Apply your foam or heavy fusible fleece to the wrong side of all pieces marked “YES” in the cutting list (Main Body, Gusset, Front Pocket, Strap Anchor Tabs). Baste or secure the foam close to the edges.
- Prepare the Zipper Casing (Main Opening):
- Take the Gusset piece (100 cm). Measure 80 cm from one end (this will be the side and bottom). The remaining 20 cm is the top opening where the zipper goes.
- Cut the 20 cm top section of the gusset lengthwise into two 10 cm sections.
- Insert the 75 cm main zipper between these two sections, sewing to create a zipper panel that reconnects the gusset. Trim the zipper ends to match the width of the gusset.
Part 2: Pockets and Straps
- Construct the Front Pocket:
- Take the Front Pocket Panel (27 x 30 cm) and the 30 cm Zipper. Sew the zipper across the top edge of the pocket piece.
- Take the remaining fabric (Lining A or B) and sew it to the other side of the zipper to create the pocket lining.
- Sew the sides and bottom of the pocket lining together and turn the pocket right side out.
- Place the finished pocket onto the Main Body Panel front piece (the 28x37cm section). Align the bottom and center. Pin and stitch the sides and bottom of the pocket securely to the main panel, leaving the top (zipper).
- Assemble the Handle and Straps:
- Handle: Fold the Handle Tab (30 x 8 cm) lengthwise, pressing the long edges into the center, then folding in half. Topstitch along both edges.
- Shoulder Straps: Take the two Shoulder Straps (65 x 10 cm). Insert a piece of Webbing down the center, folding the fabric around the webbing to create a thick, padded strap. Topstitch carefully down both long sides. Alternatively, use pre-made padded webbing.
Part 3: Assembly
- Attach Strap Anchors:
- Take the two Strap Anchor Tabs (10 x 8 cm) and two Rectangular Rings. Thread a ring onto each tab.
- Fold the tabs over the ring and baste the tabs to the bottom edge of the Main Body Panel back piece, about 3 cm (1.2″) from the side edges.
- Attach Straps and Handle:
- Take the raw end of the prepared Shoulder Straps and baste them securely to the top edge of the Main Body Panel back piece, aligning with the bottom anchor tabs.
- Pin and baste the Handle Tab loop to the top center of the Main Body Panel back piece.
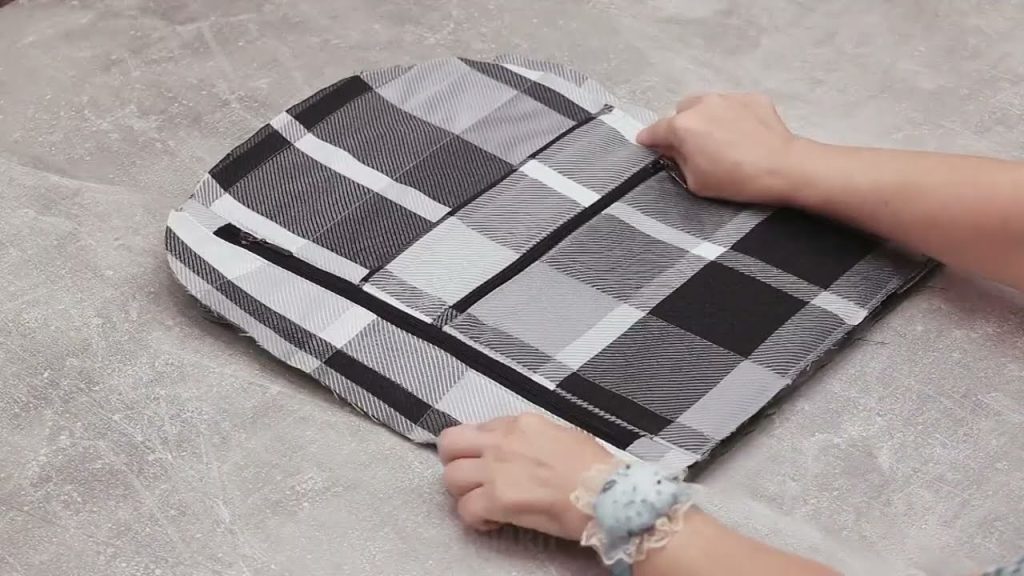
- Create the Outer Shell Box:
- With the bag front facing you, pin the Gusset (with the zipper and straps attached) to the entire perimeter of the Main Body Panel (both front and back halves).
- Align the zipper/top center of the gusset with the top center of the body panel, and work your way down. Pin carefully around the four 90-degree corners to ensure a neat box shape.
- Sew the gusset to the main panel all around, creating the 3D outer box shell.
- Create the Lining Box:
- Repeat steps 1-3 (skipping all stabilization steps and hardware) using the Lining Panels and Lining Gusset.
- Crucial step: Leave a 15 cm (6-inch) opening on the bottom seam of the lining for turning the bag later.
Part 4: Finishing and Bias Binding
- Bias Binding Internal Seams:
- Because the backpack is structured, the seams will be bulky. Use your Bias Binding to encase and neaten all the seams inside the outer shell (where the gusset meets the main panel). This makes the bag durable and professional.
- Attach Lining to Outer Bag:
- Turn the outer shell right side out.
- Place the lining (wrong side out) over the outer shell, aligning the top zipper edge. Pin the top edges of the lining to the zipper seam allowance of the outer bag.
- Sew the lining to the zipper seam allowance all around the top opening.
- Turning and Finalizing:
- Carefully pull the entire backpack through the 15 cm hole left in the lining bottom. This will take effort due to the foam.
- Whipstitch the opening in the lining closed.
- Push the lining into the outer bag, pressing the seams neatly.
- Finish Straps:
- Thread the Webbing straps through the Slider/Adjusters and attach them to the Rectangular Rings at the bottom of the bag to make them adjustable.
Your Urban Transit Box Backpack is now ready for its first adventure!
Video tutorial: