by
by Sewing a winter coat is a truly ambitious and rewarding project, a significant undertaking that pushes your sewing skills to the next level. It involves working with thicker fabrics, precise construction, and often complex linings and closures. But the satisfaction of wearing a perfectly fitted, custom-made coat that keeps you warm through the coldest months is unparalleled!
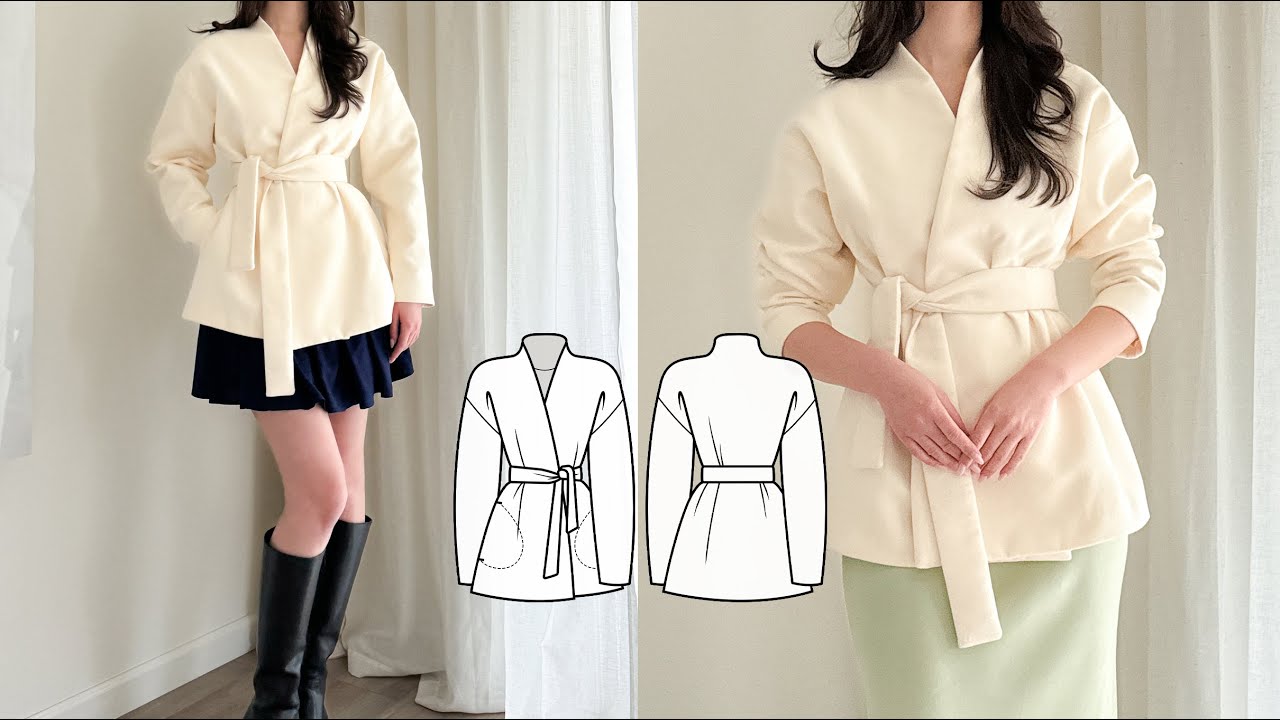
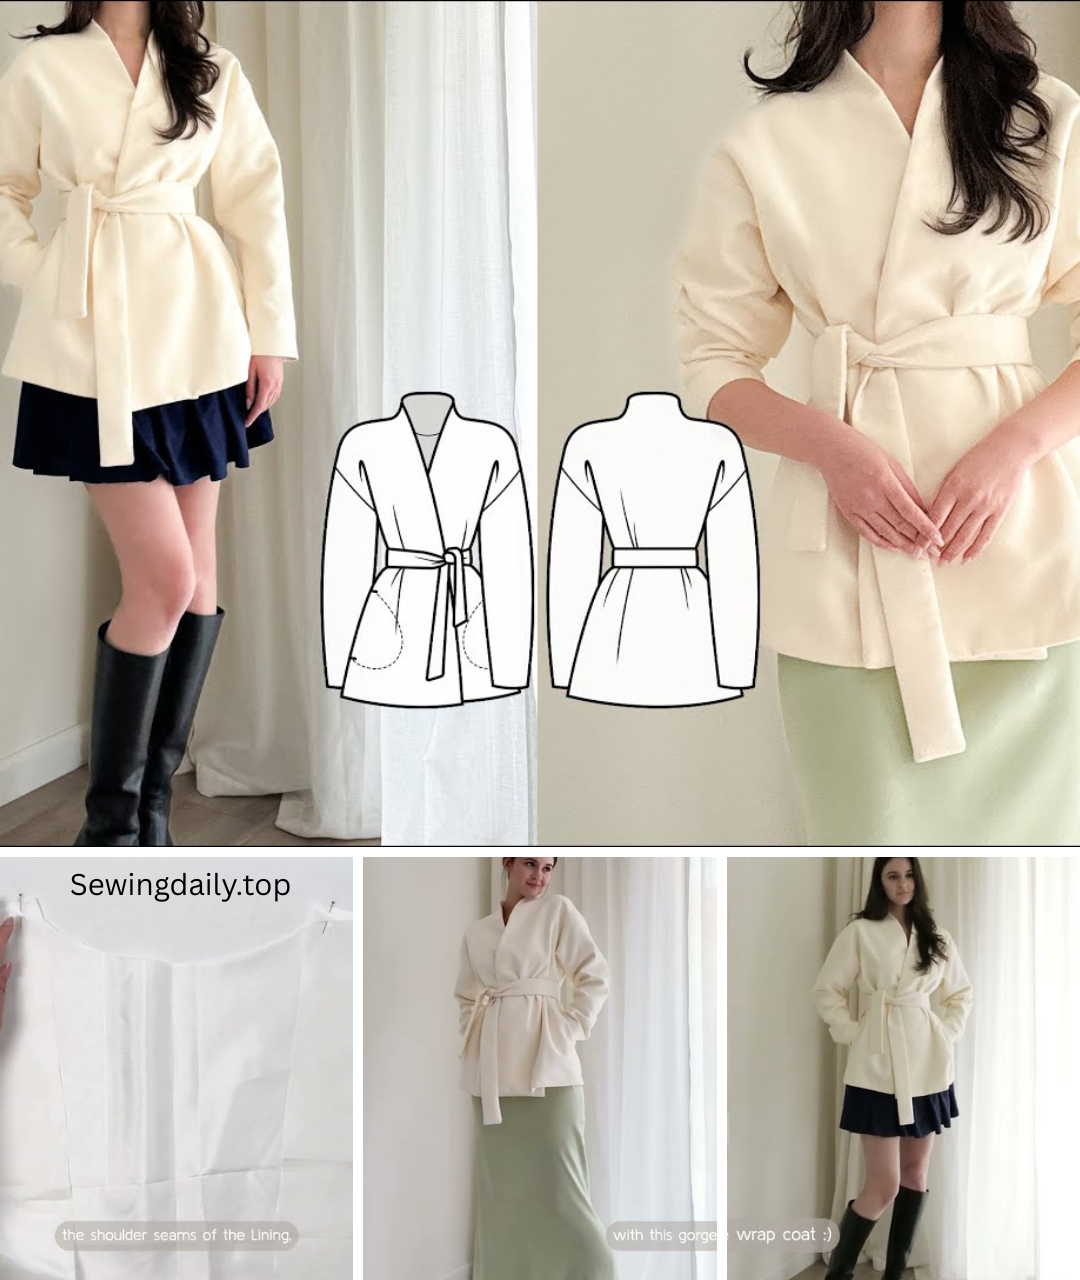
The Ultimate Winter Project: How to Sew a Warm and Stylish Coat
Embarking on sewing a winter coat is a journey into advanced garment construction, offering a deep dive into tailoring, fabric manipulation, and the art of creating a truly custom fit. It’s a project that demands patience and precision, but the result — a beautiful, warm, and perfectly fitted coat—is a testament to your skill and a treasured addition to your winter wardrobe.
Is Sewing a Winter Coat for You?
Sewing a winter coat is best suited for intermediate to advanced sewists. It typically involves:
- Working with heavy fabrics and multiple layers.
- Precise cutting and accurate seam allowances.
- Setting in sleeves, often with eased or tailored shoulders.
- Constructing complex collars, lapels, and closures.
- Full lining, which requires careful handling and attachment.
- Potentially dealing with pattern adjustments for fit over other layers.
If you’ve successfully sewn jackets, blazers, or more complex dresses, you’re likely ready for this challenge!
Choosing Your Materials Wisely
The materials you select are paramount for both the warmth and the finished look of your coat.
- Outer Fabric (Shell):
- Wool (Boiled Wool, Melton, Tweed, Cashmere/Wool Blends): These are classic choices for warmth, durability, and a luxurious feel. Look for fabrics that are at least 14-20 oz per yard for true winter warmth.
- Heavy Cotton Twill or Canvas: Good for a more casual or utilitarian coat, often requiring additional insulation.
- Water-Resistant Fabrics: If you need protection from rain or snow, consider coated cottons or technical fabrics, but ensure your machine can handle them.
- Quantity: This will vary significantly by pattern and size, but generally expect 3-5 yards (2.7-4.5 meters) for a mid-length coat in average widths. Always check your pattern’s requirements.
- Insulation (Optional but Recommended for Warmth):
- Thinsulate, Fleece, Quilted Batting: These layers are sewn between the outer fabric and the lining for extra warmth without excessive bulk. Thinsulate is particularly effective.
- Quantity: Matches your outer fabric if insulating the entire coat.
- Lining Fabric:
- Silky or Slippery Fabric: Bemberg rayon, silk charmeuse, cupro, or polyester lining fabric. These allow the coat to slide on and off easily over clothing.
- Quilted Lining: Offers additional warmth and a decorative finish.
- Quantity: Typically similar to your outer fabric needs.
- Interfacing:
- Woven Fusible or Sew-in Interfacing: Medium to heavyweight, suitable for tailoring. This is crucial for structure in collars, lapels, facings, hems, and sometimes the entire body for stability.
- Hair Canvas (Sew-in): For traditional tailoring, used in collars and lapels for crispness.
- Quantity: Follow your pattern’s specific recommendations, as it can vary greatly.
- Closures:
- Buttons: Durable, appropriate size and quantity for your coat style.
- Zippers: Heavy-duty, separating zipper suitable for outerwear.
- Snaps/Toggles: Depending on the coat’s design.
- Thread:
- Heavy-Duty Polyester Thread: Matches your main fabric. Required for strength with thicker fabrics.
- Regular All-Purpose Polyester Thread: For finer details and lining.
- Tools:
- Sewing Machine: A robust machine capable of handling multiple layers of thick fabric.
- Heavy-Duty Needles: Size 100/16 or 110/18 universal or denim needles.
- Walking Foot: Essential for feeding thick layers evenly and preventing shifting.
- Sharp Fabric Scissors or Rotary Cutter: For precise cutting.
- Tailor’s Ham and Seam Roll: For pressing curves and seams.
- Pressing Cloth: To protect your outer fabric during pressing.
- Thimble: To protect your fingers during hand sewing.
- Tailor’s Chalk or Fabric Marker: For marking.
- Plenty of strong pins or fabric clips.
- Measuring tape, ruler, curve rulers.
Key Steps in Sewing a Winter Coat:
While specific patterns will have unique instructions, here’s a generalized outline of the process, highlighting common challenges and considerations:
1. Choose Your Pattern
- Start with a reputable pattern company: Look for patterns specifically designed for coats, which include appropriate sizing, ease, and construction details for outerwear. Brands like Closet Core Patterns (Kelly Anorak), Seamwork (Greta Coat), or dedicated tailoring patterns are good starts.
- Read reviews: See what other sewists have said about the pattern’s difficulty, fit, and instructions.
- Check sizing: Compare your measurements to the pattern’s finished garment measurements to ensure adequate ease for layering. Consider making a muslin (test garment) if you’re unsure about the fit.
2. Prepare Your Fabric & Interfacing
- Pre-Shrink Fabric: Crucial for wools! Follow specific care instructions – dry clean pre-treat or steam thoroughly if recommended. Never skip this for outer fabrics.
- Cut with Precision: Heavy fabrics can be shifty. Lay your fabric flat and use sharp tools. Use fabric weights in addition to pins.
- Apply Interfacing: This is a critical step for a well-structured coat. Follow your pattern’s precise instructions for where to apply fusible interfacing, or for pad-stitching and shaping if using sew-in hair canvas for traditional tailoring.
3. Construct the Outer Shell
- Pockets: Often the first step. Take your time for neat, sturdy pockets (welt, patch, or in-seam).
- Darts and Seams: Stitch all body darts and main seams (fronts, backs, sides). Press seams open or to one side as indicated by your pattern. Heavy fabrics often benefit from pounding seams flat with a tailor’s clapper.
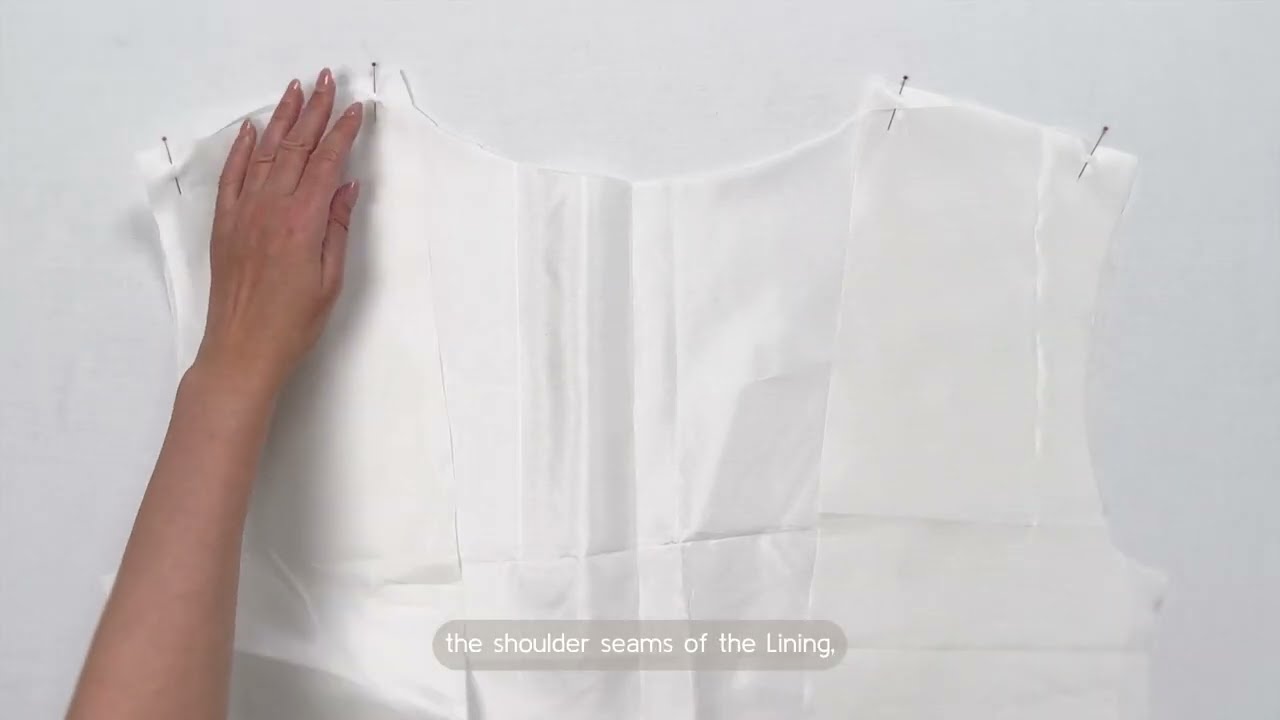
- Shoulder Seams: These are foundational. Stitch accurately and press.
- Collar and Lapels: This is where careful interfacing and precise stitching make a huge difference. If your pattern has a traditional tailored collar, it will involve many steps of shaping and pad stitching.
- Sleeves: Set in sleeves require careful easing, especially in heavy fabrics. Use a walking foot to prevent stretching. If your pattern includes sleeve heads or shoulder pads, insert them now for a professional shape.
- Facings: Attach front and neck facings. This is where the exterior often meets the lining.
4. Prepare the Lining and Insulation (if using)
- Cut Lining Pieces: Cut the lining fabric according to pattern instructions. Pay attention to any ease pleats the pattern might include for movement.
- Assemble Lining: Sew the lining pieces together in the same manner as the outer shell (darts, seams, pockets if applicable, shoulders, sleeves), but do not attach the facings yet.
- Add Insulation (if using): If you’re adding an insulating layer, baste it to the wrong side of your lining pieces before assembling the lining.
5. Integrate Lining and Outer Shell
- Attach Facings: Sew the lining to the facings of the outer shell. This can be done by machine, typically right sides together, then turning and pressing.
- Bagging the Lining: This is a common method for finishing coats. You’ll essentially sew the outer shell and lining together, leaving a gap (often in a sleeve seam or bottom lining seam) to turn the entire coat right side out.
- Sleeve Linings: Carefully attach the sleeve linings to the outer shell’s sleeve openings, often by hand for a clean finish or by “bagging” them if your pattern allows.
6. Add Closures and Final Details
- Buttons and Buttonholes: If using buttons, create professional buttonholes (machine or hand-stitched) and sew on buttons.
- Zipper Installation: If your coat has a zipper, install it after the outer shell is mostly complete, often before or during the facing attachment.
- Hems: Hem the outer coat and the lining separately. For heavy fabrics, hand-stitching a blind hem provides the best finish and prevents bulk. Allow the coat to hang for a day or two before hemming to let the fabric settle.
- Final Pressing: Give your entire coat a thorough and careful final press, using a pressing cloth to protect the fabric.
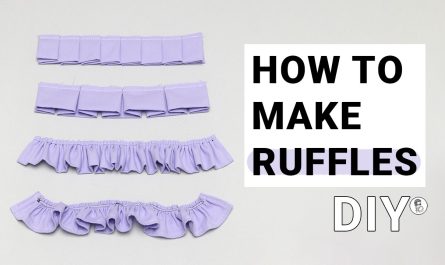
Tips for Success:
- Go Slow: Take your time with each step. Rushing leads to mistakes, especially with tailoring.
- Press Often: Pressing is crucial in coat making. Press seams flat after every stitch to help shape the garment.
- Test Stitches: Always test your needle, thread, and stitch settings on scraps of your actual coat fabric and interfacing layers.
- Use the Right Tools: A walking foot is invaluable. Heavy-duty needles prevent broken needles and skipped stitches.
- Understitching: Use understitching on facings and collars to help them lie flat and prevent the lining from rolling to the outside.
- Hand Basting: For tricky areas like collars, lapels, and setting sleeves, temporary hand basting can save frustration and ensure accuracy before machine stitching.
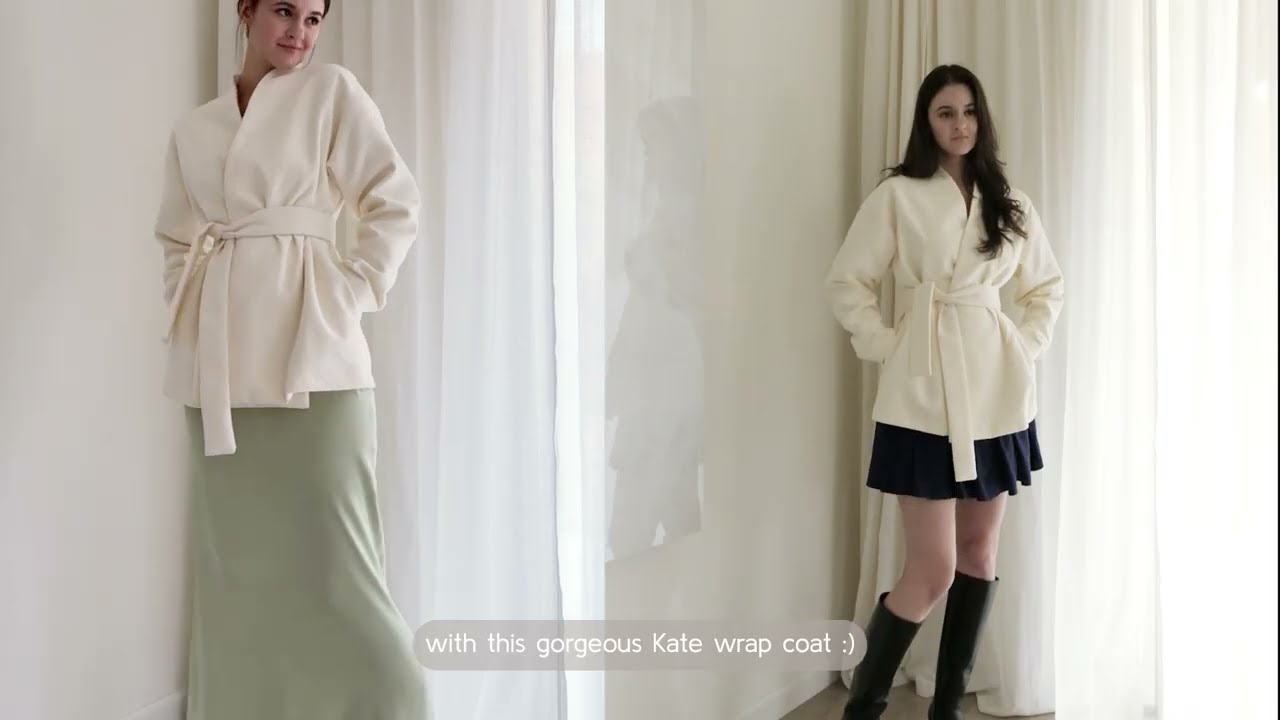
Sewing a winter coat is a significant investment of time and effort, but the reward is a truly bespoke garment that fits you perfectly and stands up to the elements. It’s a project that builds confidence and leaves you with a stunning, durable piece you’ll be proud to wear for years to come. What kind of winter coat are you dreaming of making?
Video tutorial: