by
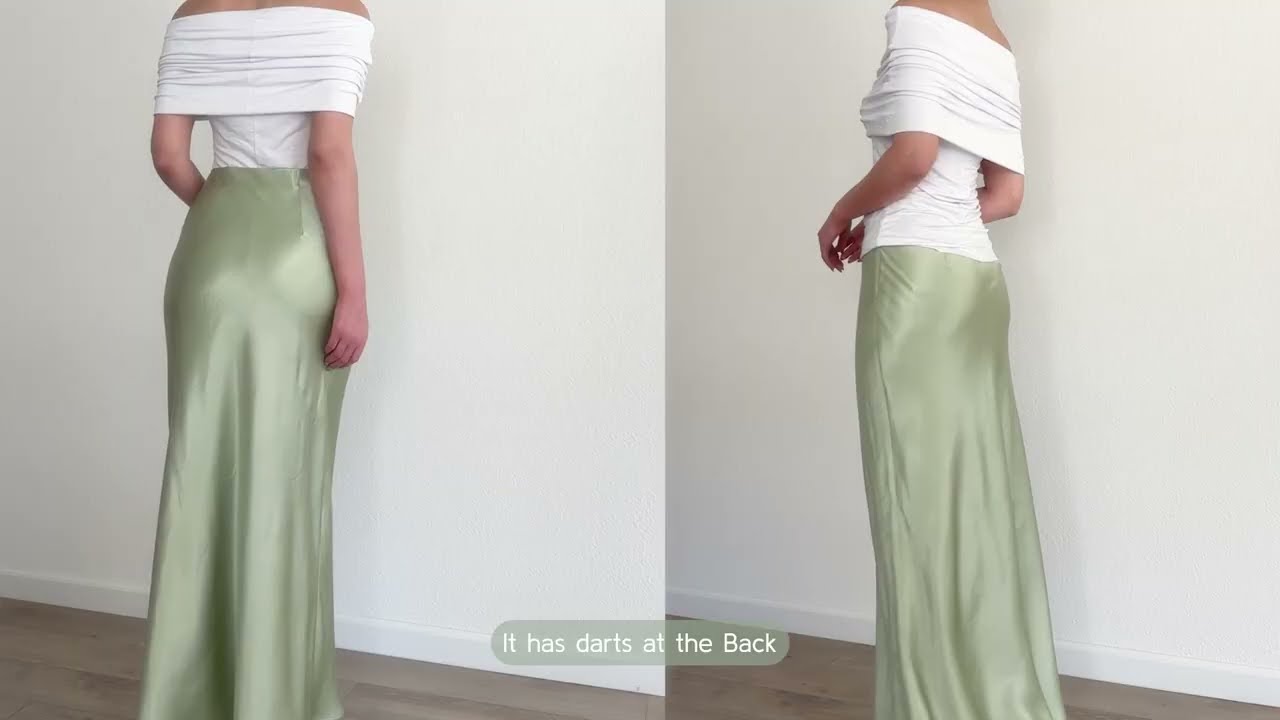
by Crafting your own maxi silk bias skirt is a fantastic sewing project that yields a truly elegant and comfortable garment. The “bias” cut, where fabric is cut at a 45-degree angle to the selvedge, allows the silk to drape beautifully, subtly hugging your curves and flowing gracefully with every movement. While silk can be a bit slippery, the result is worth the effort – a luxurious, flattering, and versatile skirt perfect for dressing up or down.
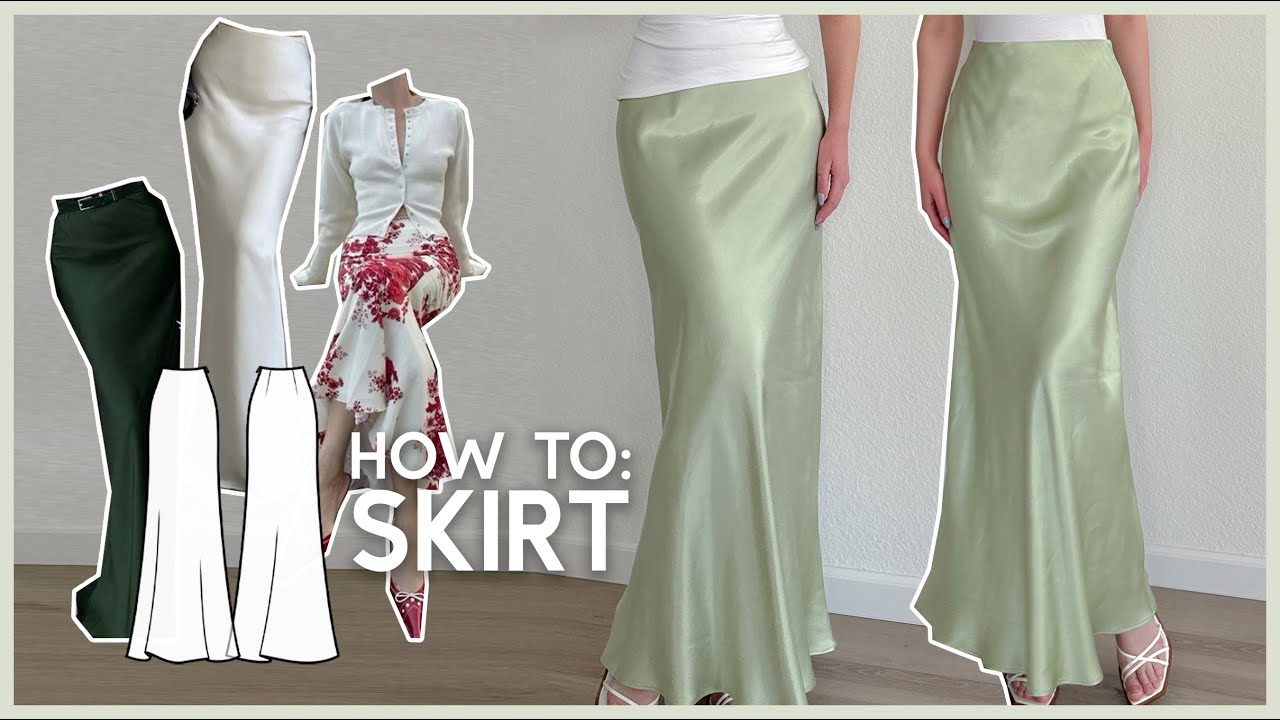
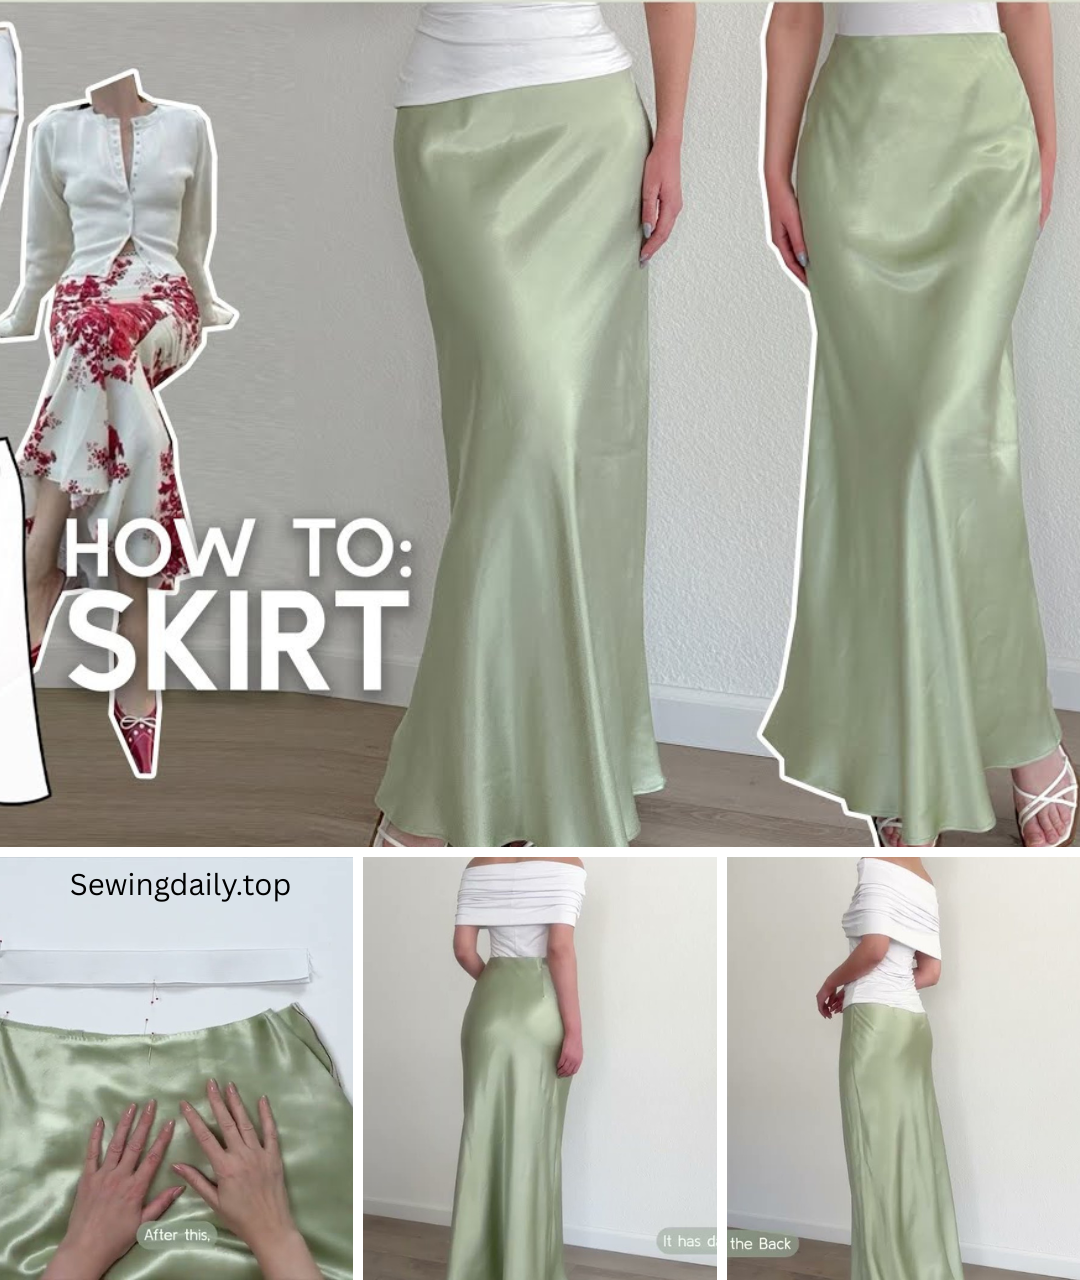
Elegance in Every Drape: DIY Sewing a Maxi Silk Bias Skirt
There’s something inherently luxurious about a silk skirt, and when it’s cut on the bias, its magic truly comes alive. The diagonal cut of the fabric creates an unparalleled drape, allowing the silk to flow effortlessly and conform to your body in the most flattering way. A maxi length adds to its sophisticated appeal, making it a versatile piece for any wardrobe. While working with silk on the bias can be a little challenging, the final garment’s comfort and beauty are incredibly rewarding.
Why Sew a Bias Silk Skirt?
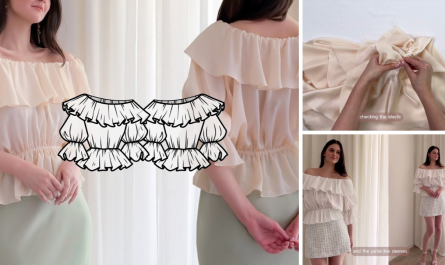
- Unrivaled Drape: The bias cut ensures the fabric hangs beautifully, skimming your body without clinging.
- Luxurious Feel: Silk is soft, breathable, and feels incredible against the skin.
- Versatility: Dress it up with heels and a camisole for an evening out, or pair it with sneakers and a t-shirt for a chic casual look.
- Custom Fit: Create a skirt that perfectly matches your measurements and preferred length.
- Sustainable Choice: Give new life to silk remnants or choose ethically sourced silk.
Choosing Your Materials Wisely
Working with silk, especially on the bias, requires a bit of foresight in material selection and preparation.
- Fabric:
- Silk Charmeuse or Silk Crepe de Chine: These are ideal choices. Silk charmeuse has a glossy front and matte back, offering a beautiful sheen. Silk crepe de Chine has a more matte, slightly textured finish with excellent drape.
- Quantity: You’ll likely need 2-3 yards (1.8-2.7 meters) of 45-inch (115 cm) wide silk, depending on your size and the length of the maxi skirt. Always buy a little extra when working with bias cuts.
- Interfacing (Optional for Waistband Stability):
- Lightweight Fusible Knit Interfacing: If your silk is very fine, a small strip for the waistband can add stability without compromising drape.
- Elastic for Waistband:
- 1-inch (2.5 cm) wide soft elastic: The length should be your natural waist measurement.
- Thread:
- Fine Polyester Thread: Choose a high-quality, fine thread that matches your silk color perfectly. Silk thread is also an option but can be delicate.
- Tools:
- Sewing machine with a walking foot (highly recommended for slippery fabrics)
- Sharp, new fine universal or microtex needle (size 70/10 or 60/8): Crucial to prevent snags and skipped stitches.
- Fabric scissors or a rotary cutter with a new blade and large cutting mat (preferred for precise bias cuts).
- Plenty of fine, sharp pins or fabric weights/clips: Pins can leave marks on silk, so use them sparingly and strategically.
- Measuring tape or a clear ruler.
- Fabric marker or tailor’s chalk (test on a scrap first).
- Iron and ironing board (with a pressing cloth).
- Safety pin or bodkin (for threading elastic).
- Optional: Silk pins (extra fine).
Step-by-Step Construction: The Bias Skirt Journey
Working with silk on the bias requires patience and a gentle touch. Go slowly, avoid pulling the fabric, and let your machine do the work.
1. Prepare Your Fabric & Pattern
- Pre-Wash & Press: Gently hand wash or machine wash your silk on a delicate cycle, then hang dry. Press it carefully on a low silk setting with steam, using a pressing cloth if necessary. This pre-shrinks the fabric and makes it easier to handle.
- Find the Bias: To find the true bias, fold your fabric so the selvedge edge (the finished edge) aligns with the cross-grain (the raw cut edge). The resulting fold line is your true bias.
- Create Your Pattern Piece: For a simple bias skirt, you’ll create one pattern piece that represents one-quarter of your skirt.
- Determine Skirt Length: Measure from your natural waist down to where you want the skirt to end (e.g., floor-length for a maxi). Add 1.5 inches (3.8 cm) for the hem allowance and 1 inch (2.5 cm) for the waist casing.
- Determine Waist Measurement: Take your natural waist measurement. Divide this by 4, then add 1 inch (2.5 cm) for seam allowance. This is your top edge width.
- Determine Hip Measurement: Measure your widest hip measurement. Divide this by 4, then add 1 inch (2.5 cm) for seam allowance. This is your pattern piece’s width at the hip line. (Locate the hip line about 7-9 inches / 18-23 cm down from the waistline).
- Draw the Pattern: On a large piece of paper (pattern paper, butcher paper, or even taped-together newspaper), draw a straight line for the center back/front. From the top of this line, measure down your total skirt length. Draw a perpendicular line for the hem. Mark your waist width at the top, and your hip width at the hip line. Gently curve outwards from the hip to the hem, ensuring a smooth, flowing line.
- Tip: The hem of a bias skirt tends to pull up at the side seams. You may want to gently curve the hem upwards by about 0.5-1 inch (1.25-2.5 cm) at the side seam edge to compensate for this.
- Add Seam Allowance: Add 1/2 inch (1.25 cm) seam allowance around the side edges.
2. Cut Your Fabric Pieces
- Lay Fabric on Bias: Lay your prepared silk fabric flat on your cutting mat or large surface. Align your pattern piece so that its straight grain edges are perfectly on the 45-degree bias of the fabric. This is crucial for the drape.
- Secure Pattern: Use fabric weights or very fine pins placed within the seam allowance to secure your pattern piece.
- Cut Carefully: Using your rotary cutter is highly recommended for straight, clean bias cuts. Cut out four identical skirt panels. These will form the front (2 pieces) and back (2 pieces) of your skirt.
- Caution: Handle bias-cut fabric as little as possible to prevent stretching.
3. Sew the Skirt Panels
- Sew Side Seams: Take two skirt panels and place them right sides together, aligning one side edge. Pin carefully along the seam, placing pins within the seam allowance if possible, or using fabric clips.
- Using your walking foot and a fine, sharp needle, stitch the seam with a 1/2 inch (1.25 cm) seam allowance. Use a short stitch length (2-2.5 mm).
- Tip: To prevent stretching, you can stabilize bias seams by stitching a second line of stitches very close to the first, or by using a narrow zigzag stitch (0.5 mm width, 2.5 mm length).
- Press the seam open very gently. Repeat for the other three seams, connecting all four panels to form a tube. You’ll have one side seam designated as the back seam where your elastic casing opening will be.
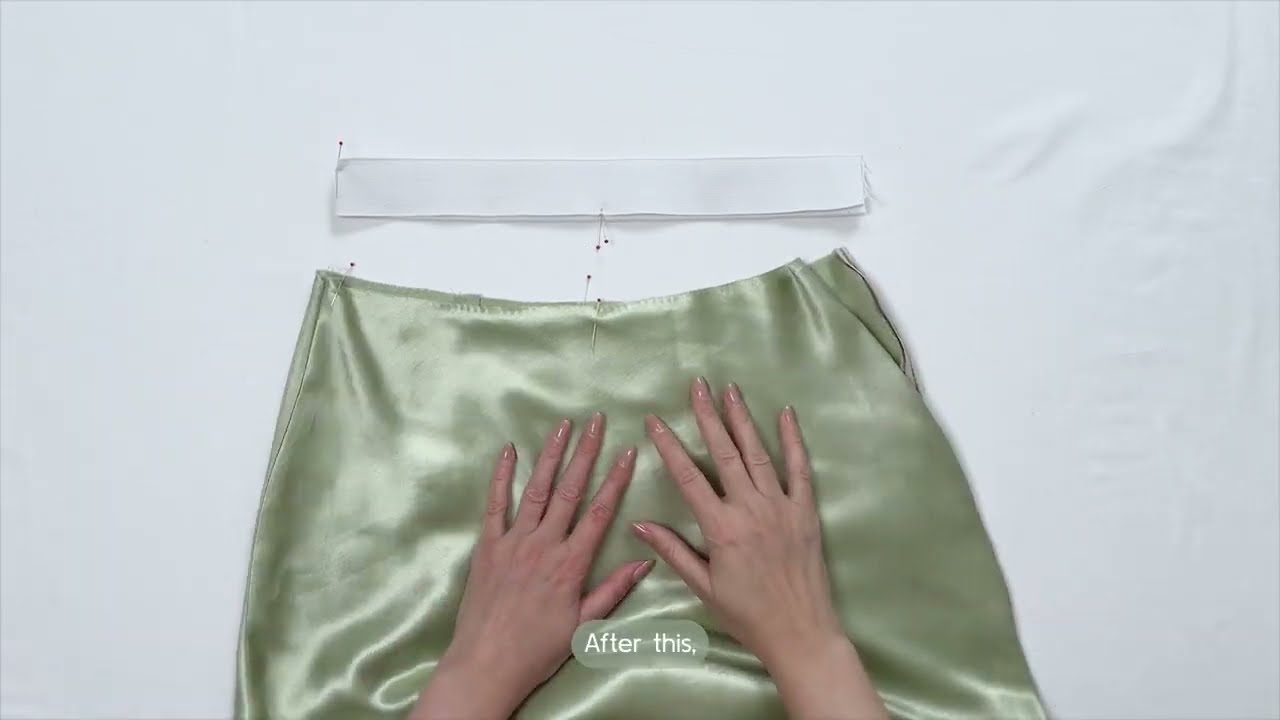
4. Create the Elastic Waistband Casing
- Prepare Top Edge: At the designated back seam, unpick about 1 inch (2.5 cm) of the stitching at the very top edge. This will be your opening for threading the elastic.
- Press Casing: At the top raw edge of the skirt, fold down 1/4 inch (0.6 cm) towards the wrong side and press gently.
- Fold down again by 3/4 inch (1.9 cm) towards the wrong side and press firmly. This creates a 3/4 inch (1.9 cm) casing, leaving space for your 1-inch (2.5 cm) elastic plus seam allowance.
- Stitch Casing: Stitch along the bottom folded edge of the casing, 1/8 inch (0.3 cm) from the fold, making sure to leave the small opening at the back seam unstitched. Backstitch at the start and end.
5. Insert the Elastic
- Cut your 1-inch (2.5 cm) wide elastic to your exact waist measurement.
- Attach a safety pin or bodkin to one end of the elastic.
- Thread the elastic through the casing, pushing the safety pin through until the other end of the elastic emerges from the opening. Be careful not to twist the elastic inside the casing.
- Overlap the two ends of the elastic by 1 inch (2.5 cm) and securely stitch them together with a strong zigzag stitch.
- Gently pull the elastic fully into the casing and stitch the opening closed. Distribute the gathers evenly around the waistband.
6. Hem the Skirt
The hem of a bias skirt is unique because it will “grow” or stretch as it hangs.
- Hang the Skirt: This is the most crucial step for a bias hem! Hang your skirt on a hanger for at least 24-48 hours (longer for very drapey fabrics like silk). This allows the bias to stretch and settle naturally.
- Mark the Hem: While wearing the skirt (or on a dress form), have someone help you mark the desired finished length. This accounts for your body shape and how the bias truly drapes. You can also measure from the waistband down at several points.
- Trim Evenly: Carefully trim the hem evenly along your marked line.
- Narrow Hem: Silk bias skirts look best with a narrow hem.
- Fold the raw edge up by 1/4 inch (0.6 cm) and press gently.
- Fold up another 1/4 inch (0.6 cm) and press.
- Stitch the hem in place close to the inner fold. Go slowly and avoid stretching the fabric. You can also hand-stitch for an invisible hem.
Finishing Touches & Wearing Your Skirt:
- Final Press: Give your skirt a final gentle press with steam on a low silk setting.
- Care: Always refer to your silk’s specific care instructions. Generally, hand washing or dry cleaning is recommended.
- Styling: Pair your bias silk maxi skirt with a simple t-shirt and sandals for a casual look, or elevate it with a blouse and heels for an evening out. Its versatility makes it a wardrobe staple!
You’ve now created a beautiful, flowing, and incredibly comfortable maxi silk bias skirt! This project is a testament to your growing sewing skills and yields a truly elegant garment that will turn heads. Enjoy the drape and luxurious feel of your handmade creation!
Video tutorial: