by
by You’re looking to capture that effortless, romantic elegance of a Chloe-inspired ruffled top – that’s a fantastic sewing goal! While we can’t replicate an exact designer pattern due to copyright, we can absolutely break down the techniques and design elements to help you sew a beautiful top that evokes that signature Chloe feel: think delicate ruffles, soft fabrics, and a relaxed, feminine silhouette.
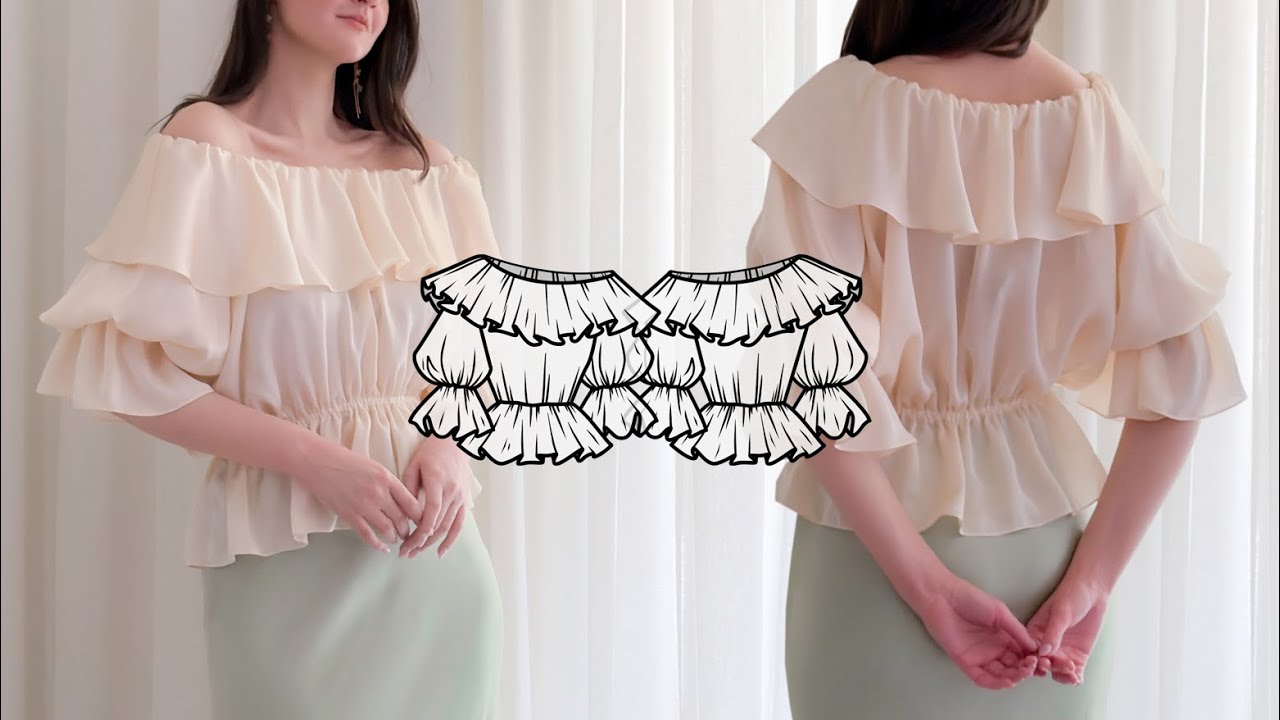
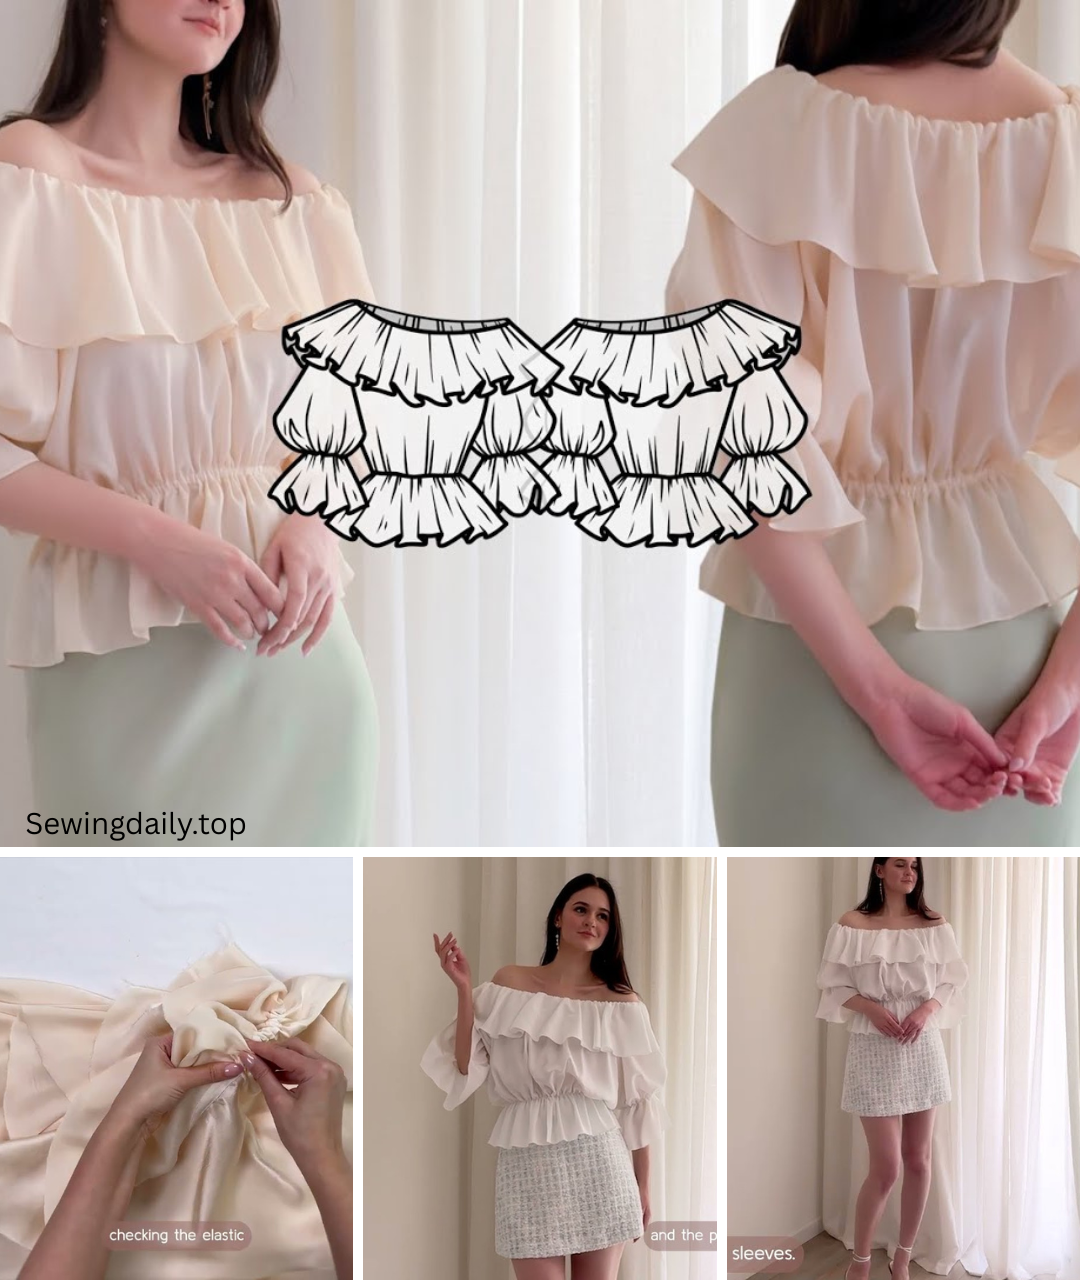
Capturing Chloe’s Charm: How to Sew a Romantic Ruffled Top
Chloe, with its signature blend of bohemian romance and sophisticated ease, often features garments that are both flowing and beautifully detailed. A ruffled top is a hallmark of this aesthetic, offering a soft, feminine touch without being overly fussy. Crafting your own allows you to choose luxurious fabrics and customize the fit, achieving that desirable designer look at home.
What Defines a Chloe-Inspired Ruffled Top?
When we think of Chloe, specific design elements come to mind that you’ll want to incorporate:
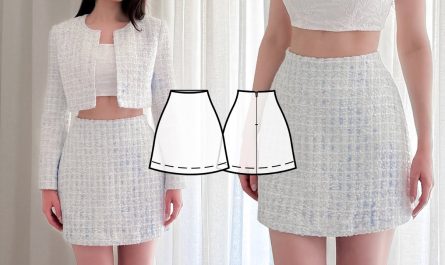
- Soft, Flowing Fabrics: Think silks, crepes, fine rayons, or delicate cotton voiles. The fabric’s drape is key.
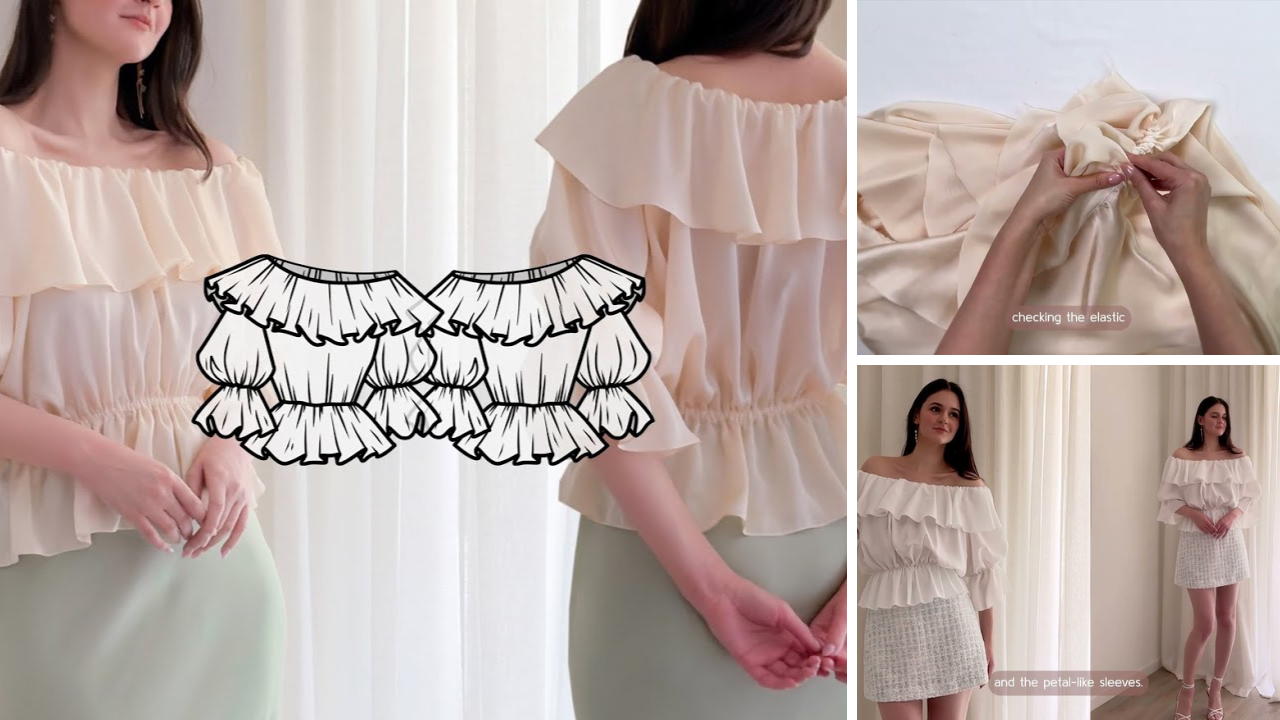
- Subtle Ruffles: Not overly voluminous or stiff. They often appear on the neckline, sleeves, or down the front.
- Relaxed Silhouette: The top shouldn’t be skin-tight. It has a comfortable, slightly oversized, yet elegant fit.
- Understated Details: Delicate buttons, fine pleating, or subtle gathers add to the sophisticated feel.
What You’ll Need:
- Fabric:
- Main Fabric: 1.5 to 2.5 yards (1.4 to 2.3 meters) of a lightweight, drapey woven fabric like silk crepe de chine, silk habotai, rayon challis, Tencel twill, cotton voile, or cotton lawn. Choose a solid, a delicate floral, or a subtle abstract print. The exact amount depends on your size and chosen pattern (especially for sleeves and ruffle length).
- Interfacing (Optional): Small amount of very lightweight fusible woven interfacing (e.g., Pellon SF101 or a sheer fusible tricot) for areas like button plackets or collar stands, if your main fabric needs more stability.
- Thread: High-quality, fine polyester thread that matches your fabric.
- Buttons (Optional): Small, delicate buttons if your design includes a placket or cuffs.
- Tools:
- Sewing machine with a fine universal or microtex needle (size 60/8 or 70/10). Crucial for delicate fabrics.
- Walking foot (highly recommended for slippery fabrics).
- Fabric scissors or rotary cutter with a new, sharp blade and cutting mat.
- Plenty of fine, sharp pins or fabric clips.
- Measuring tape or ruler.
- Fabric marker or tailor’s chalk.
- Iron and ironing board (with a pressing cloth).
- Optional: Serger/overlocker for neat seam finishes.

Step-by-Step Construction Guide:
Instead of creating a full pattern from scratch (which is complex for garments), we’ll focus on modifying a simple, relaxed-fit top pattern.
1. Choose & Adapt Your Base Pattern
Start with a simple, woven top pattern that has a relaxed fit and a set-in sleeve. Look for:
- A basic bodice (front and back).
- Sleeve pieces (various lengths work).
- Consider a pattern that already has a simple neckline or a basic round neck.
Pattern Adaptations:
- Neckline: If your pattern has a simple round neck, you might want to lower it slightly for a softer look or draft a subtle V-neck.
- Body Ease: Ensure the pattern has enough “positive ease” (room beyond your body measurements) for that relaxed, flowing Chloe silhouette.
- Sleeves: Depending on the desired look, you might make sleeves fuller for gathering at the cuff, or keep them simple.
2. Prepare Your Fabric & Cut Pieces
- Pre-Wash & Press: Gently pre-wash and dry your fabric according to its care instructions. Press it thoroughly. This prevents future shrinking and makes it easier to work with.
- Cut with Care: Lay your fabric flat on a large surface. Pin pattern pieces carefully, using extra pins for slippery fabrics. Use sharp scissors or a rotary cutter. Cut out:
- Front Bodice (1 on fold or 2 mirrored)
- Back Bodice (1 on fold or 2 mirrored)
- Sleeves (2 mirrored)
- Ruffle Strips: This is where the magic happens!
- For Neckline Ruffles: Measure the total length of your finished neckline seam. Cut a fabric strip that is 1.5 to 2 times that length, and your desired ruffle width (e.g., 2-3 inches / 5-7.6 cm). Add seam allowances to all sides.
- For Sleeve Ruffles: Measure the circumference of your sleeve hem. Cut strips 1.5 to 2 times that length, and your desired ruffle width.
- For Placket/Front Ruffles: Cut strips for the desired length and width, again 1.5 to 2 times the final gathered length.
- Any other pattern pieces (e.g., facings, collar stand, cuffs).
3. Construct the Ruffles
This is the signature element!
- Prepare Ruffle Strips: For each ruffle strip, hem one long edge. A narrow rolled hem (machine or hand-sewn) is ideal for delicate fabrics. Alternatively, a tiny double-fold hem (fold 1/8″, press, fold another 1/8″, press, stitch) works well.
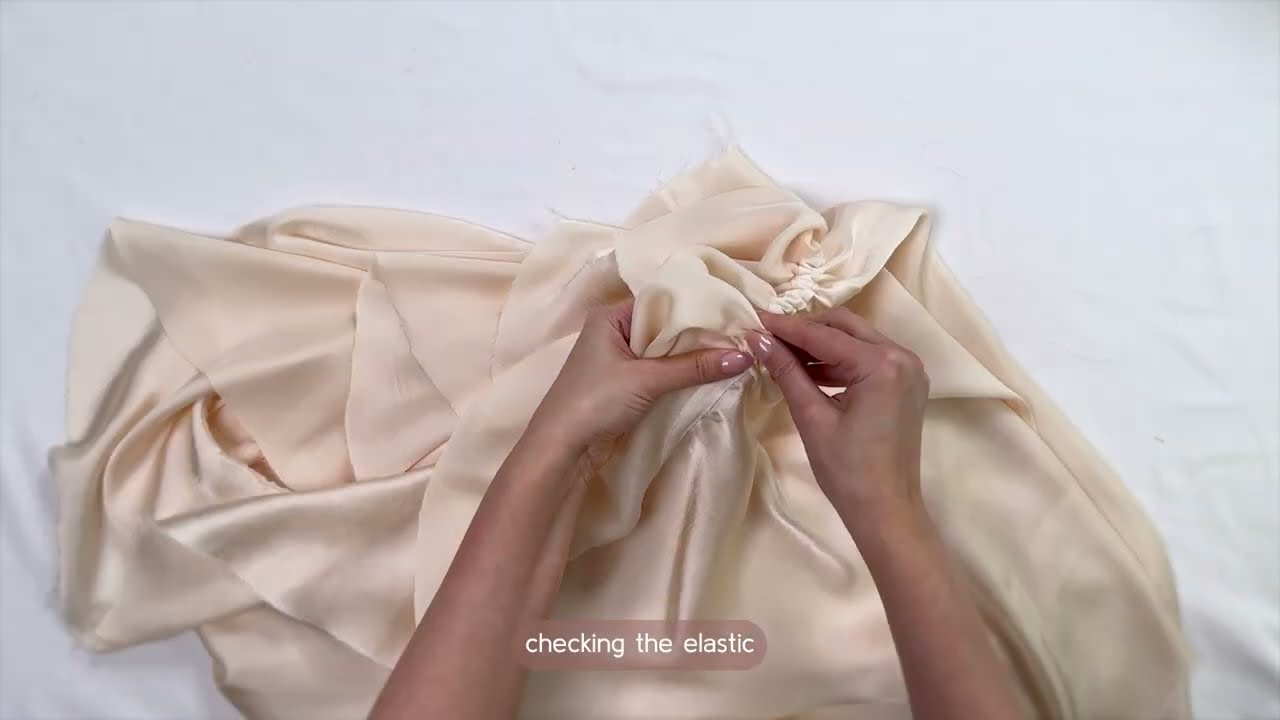
- Gather the Ruffles: Along the unhemmed raw edge of each ruffle strip, sew two parallel lines of gathering stitches (longest stitch length, no backstitching). Pull the bobbin threads gently to gather the ruffle to the desired length (matching the seam it will attach to). Distribute gathers evenly.
4. Assemble the Top Bodice
- Shoulder Seams: Place front and back bodice pieces right sides together. Stitch shoulder seams. Press seams open or to one side.
- Side Seams: Place front and back bodice pieces right sides together. Stitch side seams. Finish seam allowances (serge, zigzag, or French seams for delicate fabrics). Press seams.
- Neckline (Before Attaching Ruffle): Finish the raw edge of the neckline (serge or zigzag). This helps prevent fraying before attaching the ruffle.
5. Attach Neckline Ruffle
- With the top right side out, align the raw, gathered edge of your neckline ruffle with the finished raw edge of the neckline. The ruffle should be facing downwards towards the bodice, right sides together.
- Pin the ruffle to the neckline, carefully distributing the gathers evenly around the curve.
- Stitch the ruffle to the neckline using your pattern’s recommended seam allowance (typically 1/2 inch / 1.25 cm).
- Press the ruffle upwards, away from the bodice. Topstitch just below the seam line on the bodice side to secure the ruffle and help the seam lay flat.
6. Prepare and Attach Sleeves
- Hem Sleeves (Optional Ruffle): If adding a ruffle to the sleeve hem, follow the ruffle construction steps (Step 3). Attach the gathered ruffle to the sleeve hem, similar to the neckline (Step 5).
- Gather Sleeve Cap (If applicable): If your pattern calls for gathering the sleeve cap, do so now.
- Set in Sleeves: With the bodice right side out, insert each sleeve into its armhole, right sides together. Align shoulder notches, underarm seams, and distribute any ease/gathers evenly around the armhole. Pin extensively.
- Stitch the sleeves into the armholes. Finish seam allowances. Press seams gently towards the sleeve.
7. Finish Hems
- Sleeve Hems: If not ruffled, hem sleeves with a narrow double-fold hem or rolled hem.
- Bottom Hem: Finish the bottom raw edge of the top. Fold up 1/4 inch (0.6 cm), press, fold up another 1/4 inch (0.6 cm), press, and stitch. For a more fluid hem, you can do a rolled hem.
8. Add Other Ruffles/Details (Optional)
- Front Placket Ruffles: If adding ruffles down a front placket, fold the ruffle in half lengthwise (wrong sides together) and attach it to the edge of your placket before the final placket construction.
- Button Loops: For delicate closures, consider sewing thin fabric loops for buttons instead of traditional buttonholes.
Tips for Sewing with Delicate Fabrics:
- Sharp Tools are Key: Use a brand new, very sharp fine needle and a new rotary cutter blade.
- Walking Foot: This foot feeds the top and bottom layers of fabric through your machine at the same rate, preventing shifting and stretching.
- Short Stitch Length: A slightly shorter stitch length (around 2mm) helps prevent fabric from being “eaten” by the machine and provides stronger seams.
- Test Stitches: Always test your stitch settings, needle, and thread on a scrap of your fabric before sewing on your garment.
- Gentle Handling: Avoid pulling or stretching the fabric as you sew. Let the machine do the work.
- Pressing: Use a low heat setting, steam, and a pressing cloth to avoid scorching or damaging the silk. Press gently, avoiding dragging the iron.
- French Seams: For a beautiful, enclosed finish on sheer or delicate fabrics, consider using French seams for side and shoulder seams.
By focusing on these details and taking your time, you’ll be able to create a stunning, custom-made ruffled top that embodies the romantic, sophisticated spirit of Chloe. What kind of fabric are you envisioning for your top?
Video tutorial: