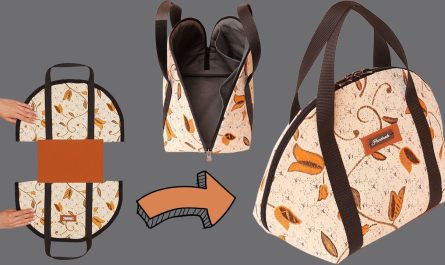
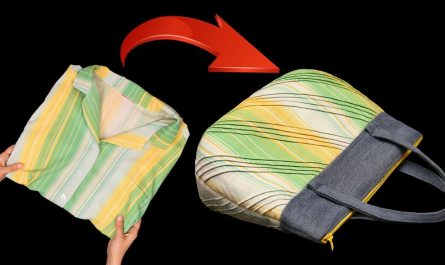
If you were charmed by the simple, adorable design of the shoulder bag in the referral video, you’re going to love the Starlight Drawstring Pouch. This pattern takes the easy rectangular construction of the inspiration bag and adds a touch of whimsy with an optional subtle scalloped top edge and a clean, contrasting accent.
This is the ultimate beginner sewing project. It requires only straight seams and minimal pieces, making it the perfect weekend sew for a custom accessory to carry your phone, wallet, and essentials. The drawstring closure is secure, and the soft structure makes it delightfully casual.
Ready to turn a few pieces of fabric into your new favorite grab-and-go bag? Let’s get stitching!

✂️ Project Quick Details
| Feature | Detail |
| Skill Level | Beginner (Requires only a straight stitch) |
| Finished Size (Approx.) | 9 inches wide x 11 inches tall (Bag Body) |
| Est. Time | 2–3 hours |
| Seam Allowance | 1/2 inch (1.25 cm) unless otherwise noted |
🧵 Materials & Tools Checklist
To make one Starlight Drawstring Pouch, you will need:
- Fabric A (Main Body): 1/2 yard of medium-weight woven cotton, linen, or lightweight canvas. (Choose a sturdy fabric for the body.)
- Fabric B (Lining/Accent): 1/2 yard of lightweight woven cotton or a contrasting color/print.
- Drawstring: Approx. 72 inches total of cord, ribbon, or cotton tape (we will cut this into two 36-inch pieces).
- Interfacing (Optional but recommended): 1/2 yard of lightweight fusible interfacing to give the main body a nice structure.
- Notions:
- Coordinating thread.
- Standard sewing machine.
- Iron and ironing board (essential for crisp seams!).
- Safety pin or bodkin (for threading the drawstring).
📐 Cutting Instructions (The Pattern Pieces)
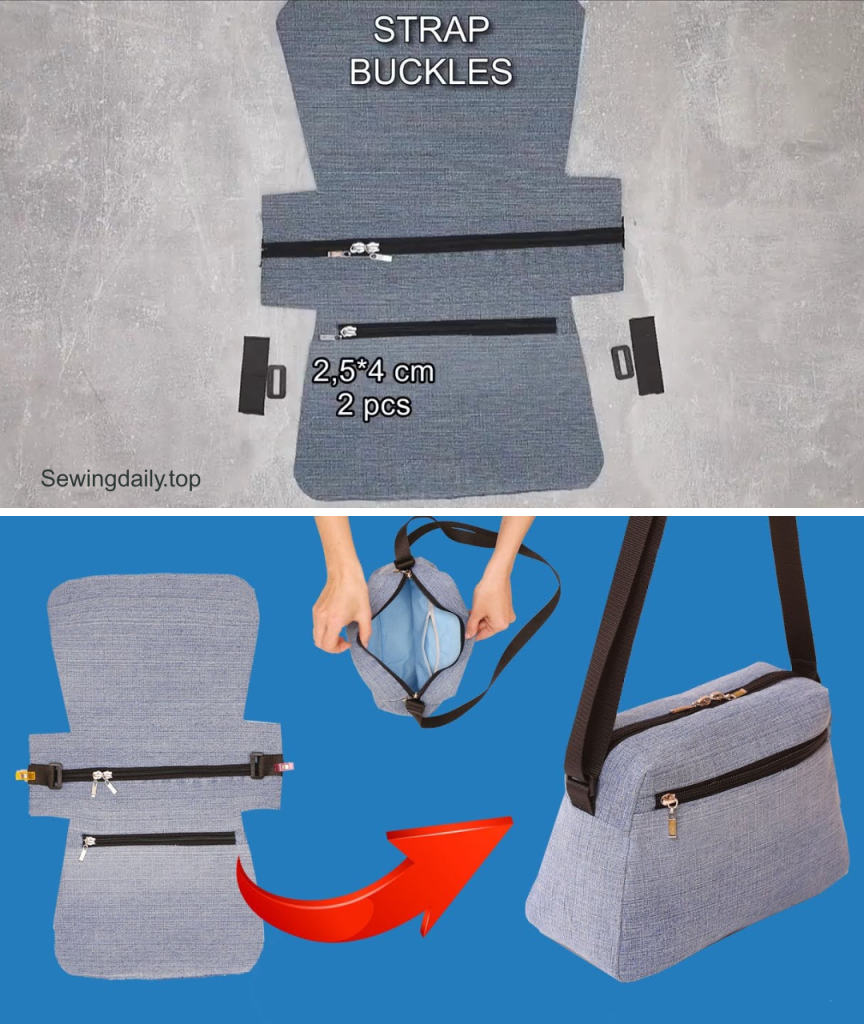
This project uses only three basic pattern shapes:
| Piece Name | Fabric | Quantity | Dimensions (Width x Height) | Note |
| Body (Main) | Fabric A | 1 | 19 inches x 25 inches | The bag rectangle. |
| Body (Lining) | Fabric B | 1 | 19 inches x 25 inches | The internal lining. |
| Strap | Fabric A | 1 | 4 inches x 45 inches | The long shoulder strap. |
| Drawstring | Cord/Ribbon | 2 | 36 inches each | Two pieces for the double drawstring closure. |
| Interfacing | Lightweight Fusible | 1 | 19 inches x 25 inches | Fused to the back of the Main Body piece. |
(Optional Scalloped Edge): If you desire a slightly scalloped edge like some of the inspiration video’s detail, round off the top two corners of both the Main and Lining Body pieces before sewing.
📝 Step-by-Step Sewing Pattern
Step 1: Prep the Main Body and Strap
- Fuse Interfacing (Optional): Following the manufacturer’s instructions, fuse the interfacing piece to the wrong side (WS) of your Fabric A (Main Body) piece.
- Construct the Strap:
- Take the Strap piece (4″ x 45″).
- Fold the strip in half lengthwise (hotdog style), wrong sides together, and press firmly.
- Open the strip. Fold both long raw edges in toward the center crease and press again.
- Fold the strip in half along the center crease, so all raw edges are enclosed. Press one final time.
- Stitch down both long edges of the strap, 1/8 inch from the fold, securing the strap structure. Set aside.
Step 2: Create the Bag Tubes
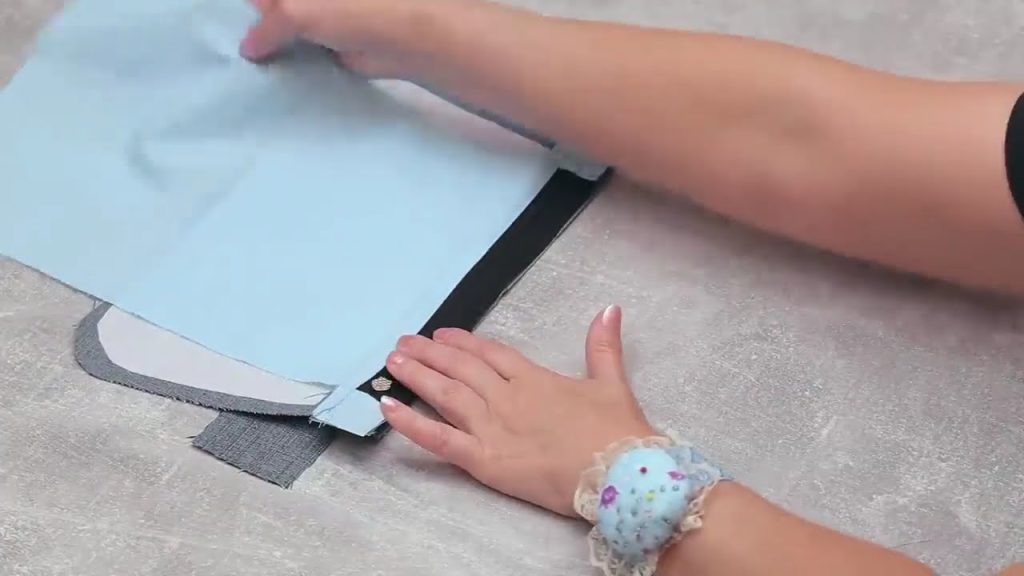
We will sew the Main Body and Lining pieces into two tubes, leaving an opening in the lining for turning.
- Fold and Pin: Take the Main Body piece (Fabric A). Fold it in half lengthwise (19″ side to 19″ side), right sides (RS) together. Pin the long side raw edges together.
- Sew Main Tube: Sew the pinned long edge using a 1/2-inch seam allowance. You now have a tube. Press the seam open.
- Lining Tube: Repeat Steps 1 and 2 with the Lining Body piece (Fabric B). Crucially, leave a 4-inch gap unstitched near the middle of this seam—this is for turning the bag right side out later. Press the seam open.
Step 3: Box the Corners for the Bottom
This step gives the bag its clean, flat, rounded bottom structure, similar to the video.
- Flatten the Tube: Take the Main Tube. Line up the side seam with the center of the tube, so the tube is flattened, and the side seam runs down the middle of one face. The bottom edge is still raw.
- Mark the Corner: At one bottom corner, measure 1.5 inches from the corner tip and mark a perpendicular line across the folded triangle.
- Stitch the Corner: Stitch along this 1.5-inch line. Backstitch securely. Trim the excess corner fabric to 1/4 inch.
- Repeat: Repeat Steps 1–3 for the other three corners (one more on the Main Tube, and both corners on the Lining Tube).
Step 4: Prepare and Attach the Drawstring Casing
The casing will be sewn onto the top of the Main Body tube.
- Prepare the Top Edge: Turn the Main Tube RS out. Fold the top raw edge down 1/4 inch toward the inside (WS) and press. Fold it down again by 1.5 inches and press firmly. This large fold is the casing.
- Mark the Drawstring Gap: On the outside of the bag, measure down 1 inch from the top folded edge and place a pin on the front and back center. This is where your drawstrings will enter.
- Sew the Casing: Sew a line of stitching all the way around the bag, 1/4 inch from the top folded edge.
- Sew a second line of stitching all the way around the bag, 1.25 inches below the first line (This stitching line should run just below the drawstring gap pins you placed).
- Result: You have created a 1-inch-wide casing with two parallel lines of stitching.
Step 5: Final Assembly and Turning
- Insert the Main Bag: Keep the Main Tube (Fabric A) right side out. Insert it inside the Lining Tube (Fabric B), which should be wrong side out.
- Align the Tops: Align the top raw edges of the Main Bag and the Lining. Pin them together all the way around. Ensure the side seams of the Main Bag (now inside the casing area) are aligned with the side seams of the Lining.
- Stitch the Tops: Sew the Main Bag and Lining together along the top edge using a 1/2-inch seam allowance.
- Turn the Bag: Gently pull the entire bag assembly right side out through the 4-inch gap you left in the Lining seam (Step 2).
- Finish the Lining: Stitch the 4-inch gap in the lining closed. You can do this by machine (1/8 inch from the edge) or by hand using an invisible slipstitch for a cleaner finish.
- Tuck and Press: Push the Lining down into the Main Bag. Press the top rim firmly to ensure a clean, crisp finish where the Lining meets the Casing.
Step 6: Attach the Strap and Thread the Drawstring
- Attach the Strap:
- Flatten the bag so the side seams are centered on the sides.
- Pin the ends of the prepared Strap (from Step 1) securely to the inside of the Main Bag, just below the drawstring casing.
- Stitch a secure square or X-box over the strap ends to reinforce the attachment point.
- Thread the Drawstrings:
- Take one 36-inch cord. Attach a safety pin to one end.
- Starting at the front opening gap, thread the cord all the way around the casing, and exit through the same opening. Tie the two ends in a knot.
- Take the second 36-inch cord. Starting at the back opening gap, thread the cord all the way around the casing, and exit through the same back opening. Tie the two ends in a knot.
Congratulations! Your Starlight Drawstring Pouch is complete!
💡 Customization & Pro-Tips
- Pocket Upgrade: For an added detail, sew a small patch pocket onto the inside of the Lining piece before you sew the lining tube (Step 2).
- Contrasting Bottom: Instead of boxing the corners, you could create a circular or oval bottom piece out of a sturdy leather or contrasting fabric for a more defined base.
- Cinch Hole Finish: Instead of using the side seams, you can cut small slits (and finish them with buttonhole stitching or grommets) on the front and back of the bag for a cleaner, centered drawstring entry.
- Strap Length: The 45-inch strap is sized for a cross-body or long shoulder fit. If you prefer a short shoulder bag, reduce the length to 25–30 inches.
- Fabric Weight: The firmer your chosen fabric and the heavier the interfacing, the more rigid and structured the final bag will be.
Video tutorial:


