by
by Hello, eco-conscious makers and quilting fans! Do you have a basket overflowing with beautiful fabric scraps? I am excited to share the pattern for the Quilted Patchwork Messenger Bag—a stunning, structured bag that utilizes simple square construction and features an eye-catching, unique flap.
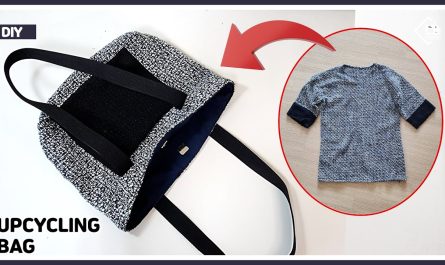
Inspired by a wonderful tutorial on sewing a quick, simple bag from fabric leftovers, this design focuses on maximizing those gorgeous textile fragments. The construction is straightforward: a simple main body, box corners for structure, and a patterned flap that acts as a secure closure. This is an excellent project for both beginner and experienced sewists!
Grab your favorite fabric scraps, your sewing machine, and let’s turn those remnants into a practical, designer-quality accessory!
Why You’ll Love Making This Bag:
- Ideal Scrap Buster: Perfect for using up small to medium-sized fabric pieces.
- Quilted Look, No Heavy Quilting: The construction creates a patchwork aesthetic without the need for extensive batting or binding.
- Structured and Sturdy: Includes a layer of interfacing/fleece for a bag that holds its shape.
- Simple Construction: Relies on straight-line stitching and easy box corner techniques.
What You’ll Need:
- Main Body Fabric: 1 yard of sturdy cotton canvas, twill, or linen (for the bag’s main structure).
- Patchwork Scraps: A collection of various cotton prints or coordinating solids (you’ll need roughly 10-12 pieces, 5×5 inches each).
- Lining Fabric: 1 yard of contrasting cotton or nylon lining fabric.
- Fusible Fleece or Interfacing: 1 yard of medium-weight fusible fleece or interfacing for structure.
- Strapping: 2 yards (1.8 meters) of 1.5-inch wide cotton or nylon webbing for the adjustable strap.
- Hardware:
- 2 x 1.5-inch rectangular or D-rings.
- 2 x 1.5-inch slide adjusters (tri-glides).
- 1 x Snap, Velcro, or magnetic closure for the flap.
- Tools:
- Sewing Machine and strong thread.
- Sharp Scissors or Rotary Cutter and Ruler.
- Iron and Ironing Board (essential!).
- Pins and Clips.
Measurements & Cutting List
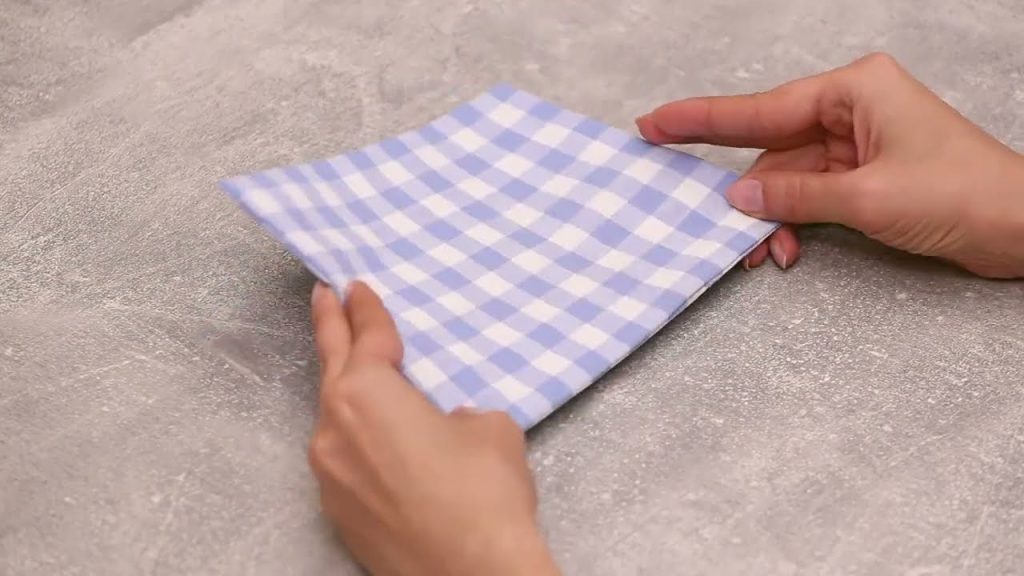
The final bag size will be approximately 14 inches wide x 12 inches high x 4 inches deep. All measurements include a 1/2-inch (1.2 cm) seam allowance.
| Piece | Fabric | Dimensions (Width x Height) | Quantity | Notes |
| A: Main Body Panels | Main Fabric | 15 in. x 13 in. | 2 | Front and back. |
| B: Gusset Strip | Main Fabric | 45 in. x 5 in. | 1 | Long strip for sides and bottom. |
| C: Lining Panels | Lining Fabric | 15 in. x 13 in. | 2 | Interior front and back. |
| D: Lining Gusset | Lining Fabric | 45 in. x 5 in. | 1 | Interior side and bottom. |
| E: Patchwork Flap | Scraps/Main Fabric | 15 in. x 10 in. | 1 | Final flap size (will be assembled from smaller pieces). |
| F: Flap Lining | Lining Fabric | 15 in. x 10 in. | 1 | Lining for the flap. |
| G: Strap Anchor Tabs | Main Fabric/Webbing | 2 in. x 5 in. | 2 | For securing the strap hardware to the bag sides. |
| H: Straps | Webbing | 30 in. x 1.5 in. | 2 | Adjustable strap length. |
Construction: Building the Patchwork Messenger
Part 1: The Patchwork Flap
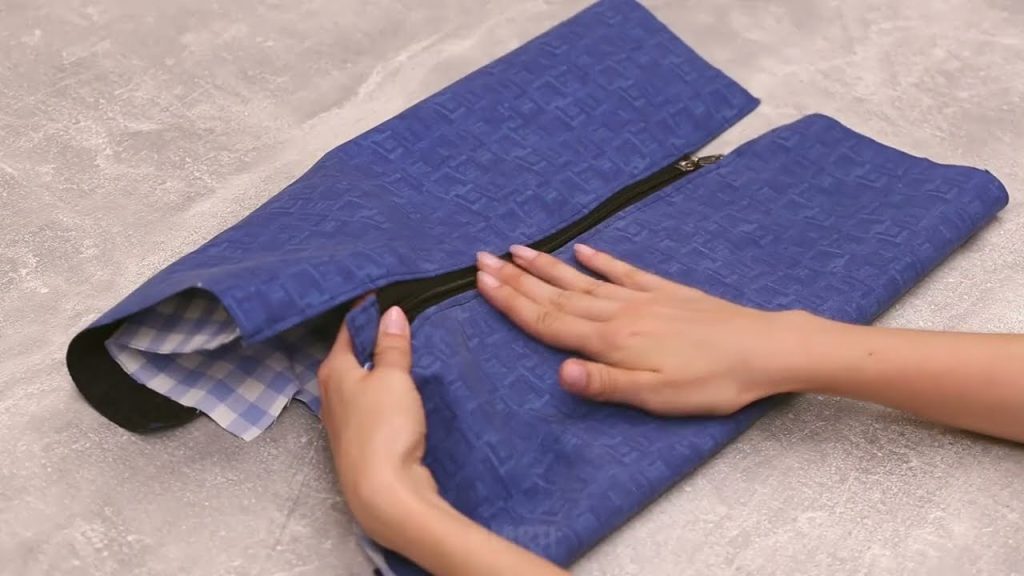
- Cut Scraps: Cut your chosen scraps into 5-inch squares. Arrange them in a pattern that is at least 15 inches wide and 10 inches high (e.g., three rows of three squares, or four rows of five rectangles).
- Piece Together: Sew the individual patchwork pieces together in rows using a 1/4-inch seam allowance. Press seams open.
- Trim and Interface: Trim the assembled patchwork panel to the required size of (E) 15 in. x 10 in. Apply medium-weight interfacing or fleece to the wrong side of this panel.
- Flap Assembly: Place the (E) Patchwork Flap and the (F) Flap Lining right sides together. Mark the two bottom corners with a gentle curve. Sew along the side edges and the curved bottom, leaving the top 15-inch edge open.
- Turn and Topstitch: Clip the curves, turn right-side out, and press well. Topstitch along the curved/side edges for a crisp finish.
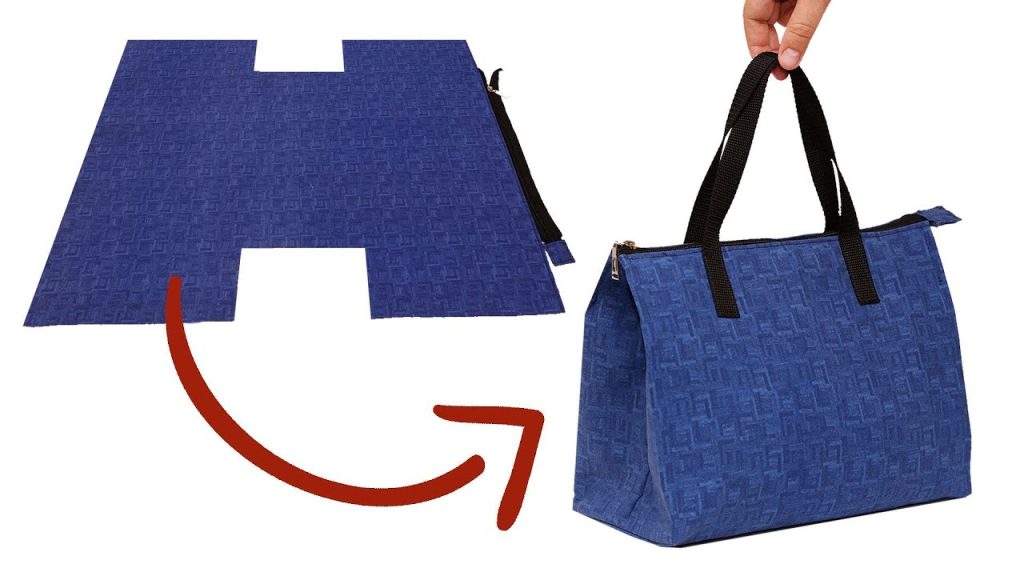
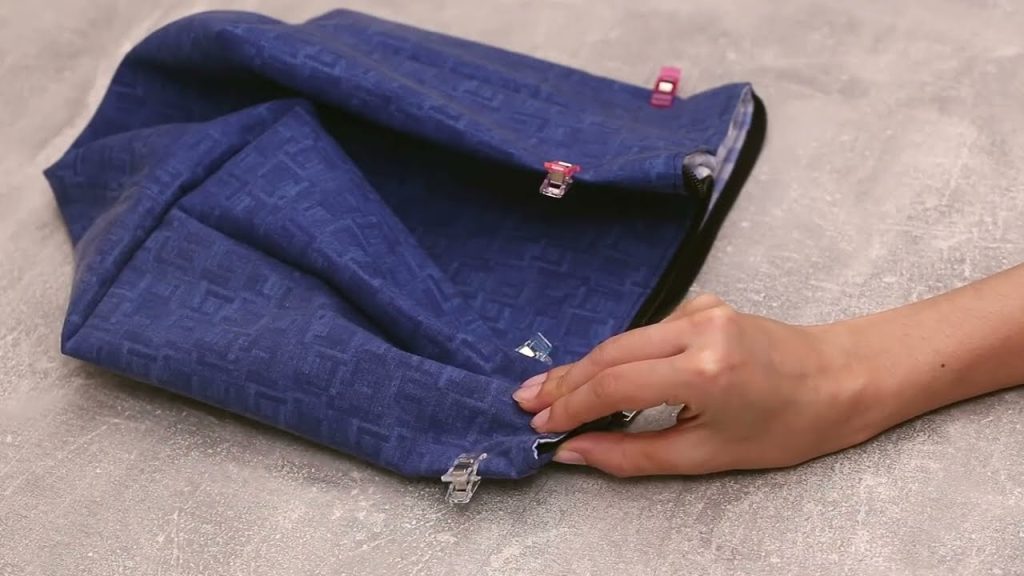
Part 2: Sewing the Outer Bag Shell
- Sew Gusset: Take the two (A) Main Body Panels and the long (B) Gusset Strip.
- Pin the Gusset Strip all around the perimeter of one (A) panel (bottom and both sides). Sew using a 1/2-inch seam allowance to create a three-sided box shape.
- Repeat with the second (A) panel to complete the 3D main shell. The top edge remains open.
- Create Strap Anchors: Take the (G) Anchor Tabs. Fold them in half to create loops. Thread one D-ring through each loop. Baste these loops to the side seams of the outer bag shell, with the rings facing toward the bag opening.
Part 3: Sewing the Lining and Final Assembly
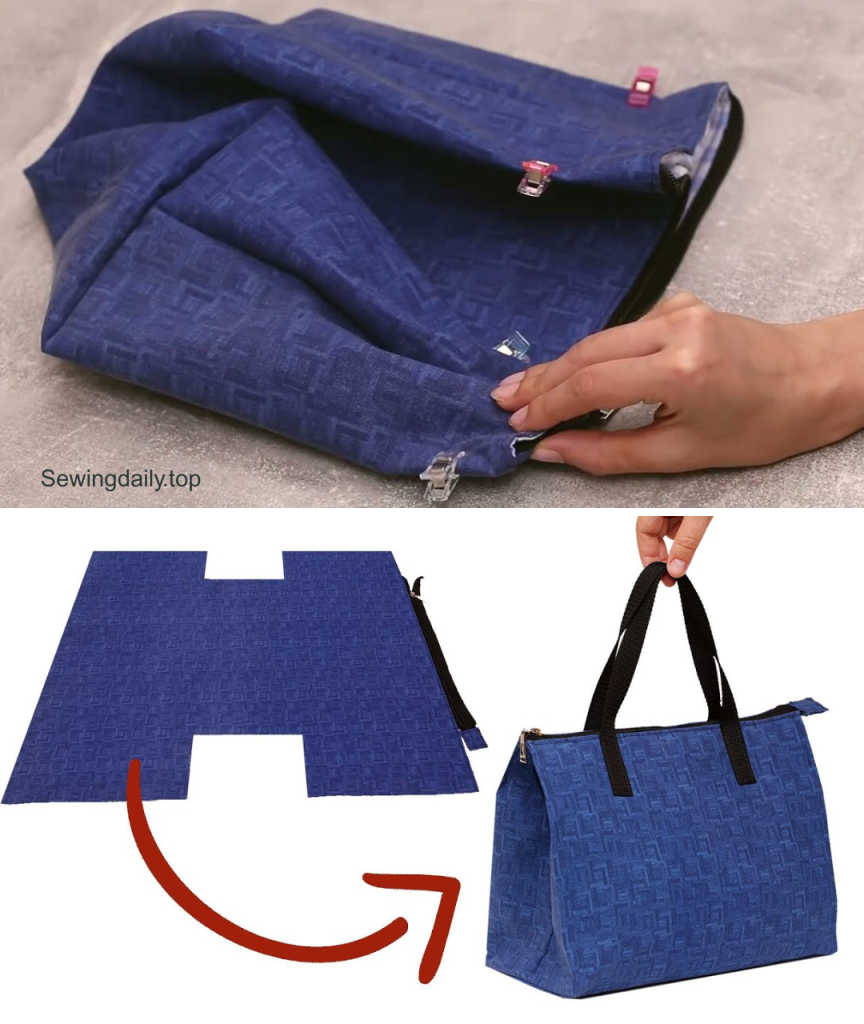
- Create the Lining: Repeat Step 1 of Part 2 with the (C) Lining Panels and (D) Lining Gusset. Crucially, leave a 5-inch (12 cm) opening along the middle of the lining’s bottom gusset seam for turning the bag later.
- Attach Flap: Find the center of the (A) Back Main Body Panel. Pin the raw, open edge of the (E) Flap to the top, back edge of the bag shell. Baste securely.
- Nest the Shells: Turn the Main Bag Shell right-side out. Keep the Lining Shell inside out. Slide the Main Bag Shell inside the Lining Shell, aligning the top raw edges perfectly (right sides facing). Ensure the Flap is tucked neatly inside.
- Sew the Top Edge: Pin all around the top. Sew the top seam with a 1/2-inch seam allowance all the way around.
- Turn Right-Side Out: Reach into the 5-inch opening in the lining bottom. Gently pull the entire bag through this hole.
- Close and Topstitch: Stitch the opening in the lining closed. Tuck the lining inside the outer bag. Press the top edge flat and perform a final topstitch around the entire top opening to secure the lining and the flap base.
- Attach Closure: Sew your magnetic snap, Velcro, or buckle onto the front center of the bag and the underside of the flap.
Part 4: The Adjustable Strap
- Assemble Straps: Thread one end of a 30-inch webbing strap (H) through a slide adjuster. Thread the same end through a rectangular ring, then back through the slide adjuster. Repeat for the second strap.
- Connect: Clip the rectangular ring ends of your completed adjustable straps to the D-rings on the side anchor tabs.
Congratulations! Your Quilted Patchwork Messenger Bag is complete—a stylish, sustainable, and unique accessory built from your beautiful fabric remnants!
Video tutorial: