 by
by Are you tired of lackluster luggage? Ready to create a durable, stylish, and perfectly sized bag for your next weekend getaway? The magic of sewing allows you to customize every detail, from the color to the construction.
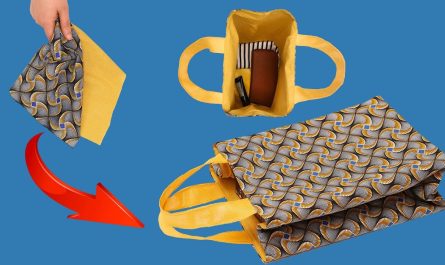
In this comprehensive guide, we’re breaking down the process of creating a beautiful, practical travel bag—perfectly inspired by the amazing tutorial from Miarti – Reuse! While the video provides a fantastic visual guide, this post will give you the detailed measurements, material recommendations, and step-by-step written instructions you need to sew a professional-looking bag from start to finish.
This project is suitable for intermediate sewers who have a basic understanding of zippers and bag construction. Let’s transform some fabric into your favorite new travel companion!

✂️ Section 1: Gather Your Supplies – The Essential Materials List
Before you even touch your sewing machine, gathering the right materials is crucial for success. For this pattern, we will assume a final bag size of approximately 18″ wide x 12″ tall x 8″ deep.
| Component | Material Type | Suggested Quantity | Notes |
| Exterior Fabric | Medium-to-Heavyweight Canvas, Waxed Cotton, or Faux Leather | 1.5 – 2 yards | Choose a durable, structured material. |
| Lining Fabric | Quilting Cotton, Waterproof PUL, or Lightweight Twill | 1.5 – 2 yards | A contrasting or bright color helps visibility inside. |
| Interfacing | Heavyweight Fusible Fleece (for structure) and Light-Medium Fusible Woven | 3 yards total | Structure is everything in a travel bag! |
| Main Zipper | Heavy-duty, Double-pull Zipper | 24 inches | A double pull allows you to open/close from either end. |
| Internal Pocket Zippers | Coil Zippers | 2 x 8 inches | Used for two internal slip pockets. |
| Webbing for Handles | Heavy-duty Cotton or Polypropylene Webbing | 4 yards (1.5 inches wide) | For handles and optional shoulder strap loops. |
| Hardware | 2 x D-Rings (1.5″), 2 x Swivel Clasps (1.5″), 1 x Slider Buckle (1.5″) | 1 set | For a removable shoulder strap (optional). |
| Tools | Sewing machine, universal needles, thread, rotary cutter, cutting mat, tailor’s chalk, bag turning tool. | — | — |
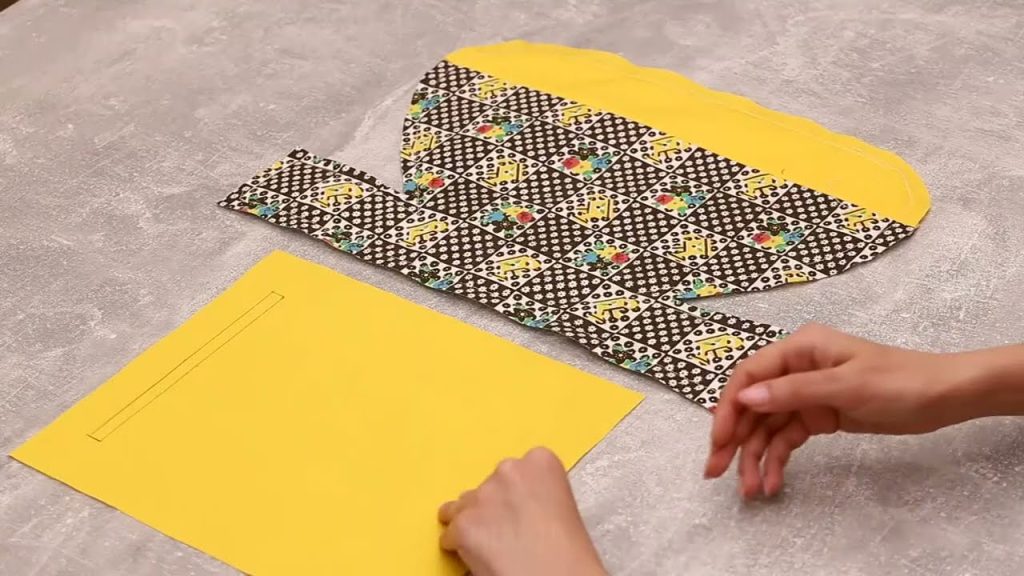
📐 Section 2: Pattern Pieces and Precise Cutting Instructions
Accuracy is the difference between a floppy bag and a professional one. All measurements below include a 1/2-inch (1.25 cm) seam allowance, unless otherwise noted.
A. Exterior Pieces (Cut 1 in Main Fabric, 1 in Fusible Fleece)
| Piece Name | Cut Dimensions (W x H) | Qty | Purpose |
| Main Body Panel | 28″ x 16″ | 2 | Forms the front/back and sides of the bag. |
| Base Panel | 18″ x 8″ | 1 | The bottom of the bag for stability. |
| Zipper End Tabs | 4″ x 4″ | 2 | To finish the edges of the main zipper. |
B. Lining Pieces (Cut 1 in Lining Fabric, 1 in Lightweight Fusible Woven)
| Piece Name | Cut Dimensions (W x H) | Qty | Purpose |
| Main Lining Panel | 28″ x 16″ | 2 | Mirrors the exterior body. |
| Lining Base | 18″ x 8″ | 1 | Mirrors the exterior base. |
| Internal Slip Pocket | 16″ x 18″ (Folded) | 1 | Creates two large divided pockets. |
C. Strap Pieces (Cut from Webbing)
| Piece Name | Length | Qty | Purpose |
| Main Handles | 28″ | 2 | For hand carrying. |
| D-Ring Loops | 6″ | 2 | To attach shoulder strap hardware. |
🧵 Section 3: The Sewing Process – Step-by-Step Tutorial
This section breaks down the construction into manageable blocks. Reference the original video for visual clarification of techniques like zipper installation and corner boxing.
Phase 1: Interfacing & Handle Prep
- Fuse All Interfacing: Following your manufacturer’s directions, apply all fusible fleece to the back of the Main Body and Base Exterior pieces. Apply the lightweight woven interfacing to all Lining pieces. This provides essential stability.
- Attach D-Ring Loops: Take your two 6-inch D-Ring loops. Thread one end through a D-ring and secure the raw edges together with a stitch. Baste the finished loops to the short sides of one Main Body Panel, centered, 2 inches down from the top raw edge. This is demonstrated early in the video’s construction phase.
- Position Main Handles: Lay one Exterior Main Body Panel flat. Measure in 4 inches from each side edge and mark a vertical line. Baste the ends of your 28-inch Main Handles onto the panel, aligning the webbing with these marked lines.
Phase 2: Assembling the Pockets
- Create Internal Slip Pocket: Fold the 16″ x 18″ Lining pocket piece in half (8″ x 18″). Press. Sew a dividing line down the middle to create two separate pockets. Hem the top raw edge. Baste this pocket onto one of the Main Lining Panels, centered 3 inches from the top.
- Zipper Pockets (Optional): If adding internal zipper pockets, prepare the pocket flap and zipper opening using the ‘zipper sandwich’ method. Center and stitch these onto the other Main Lining Panel.
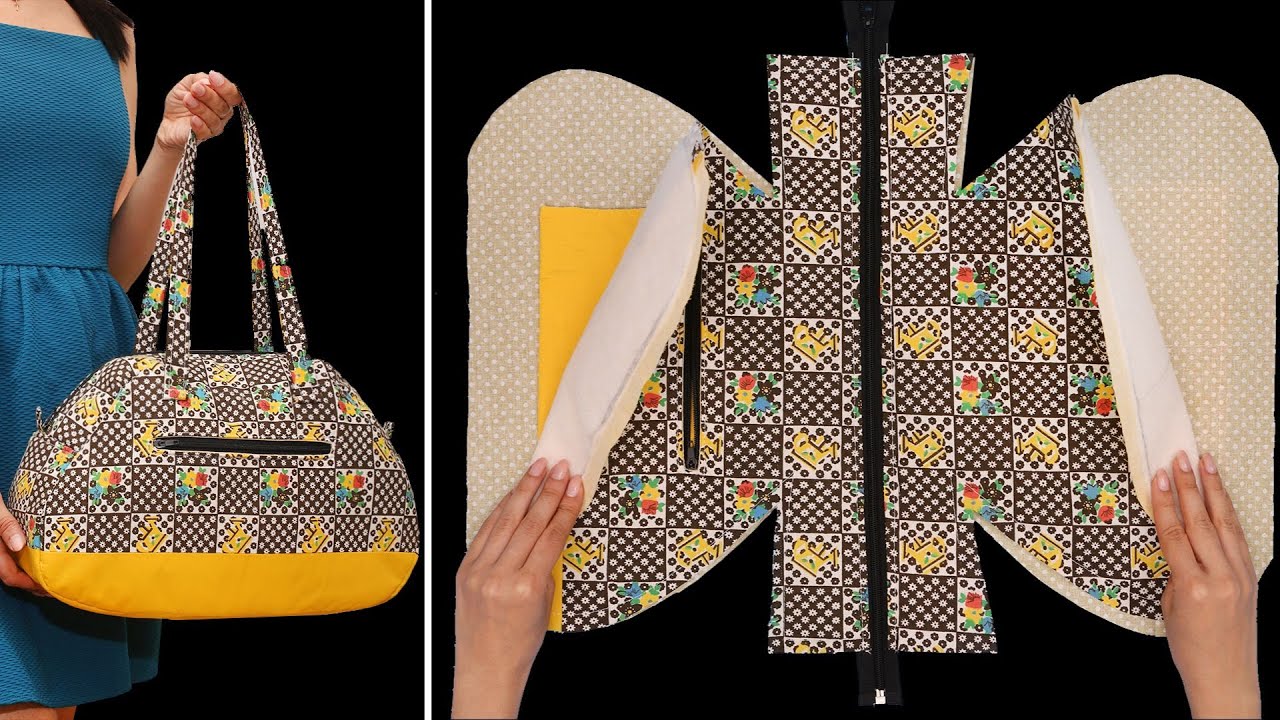
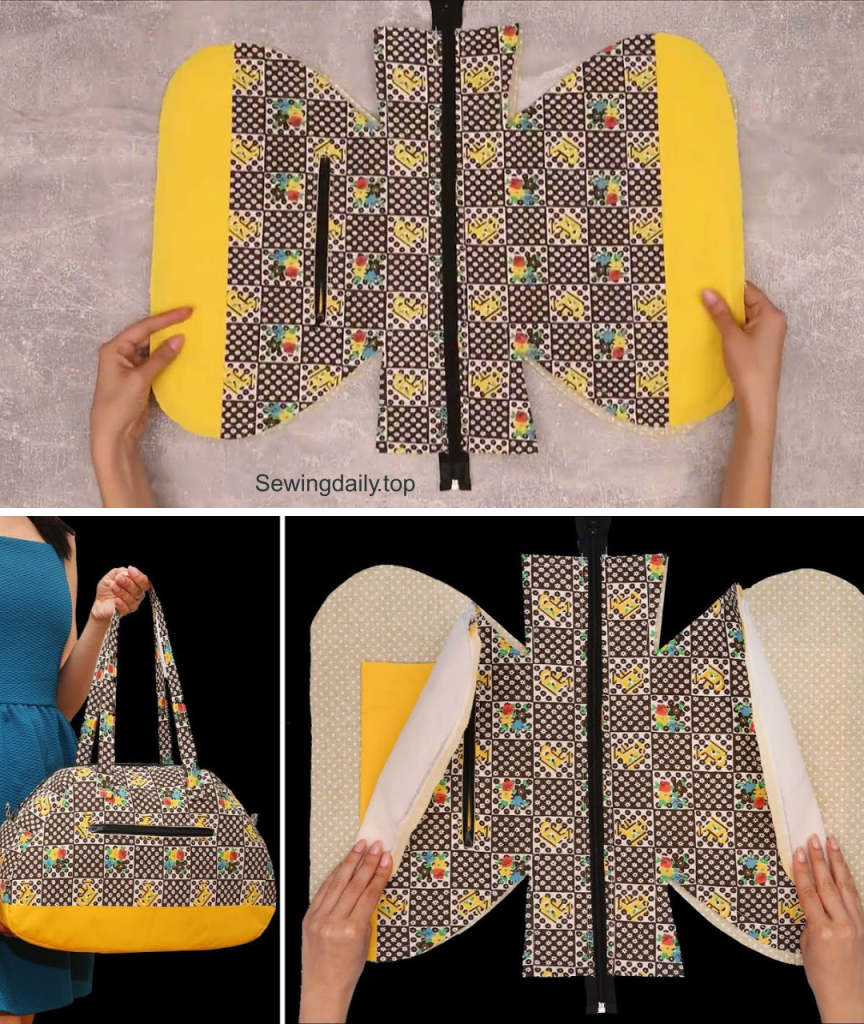
Phase 3: Exterior Construction
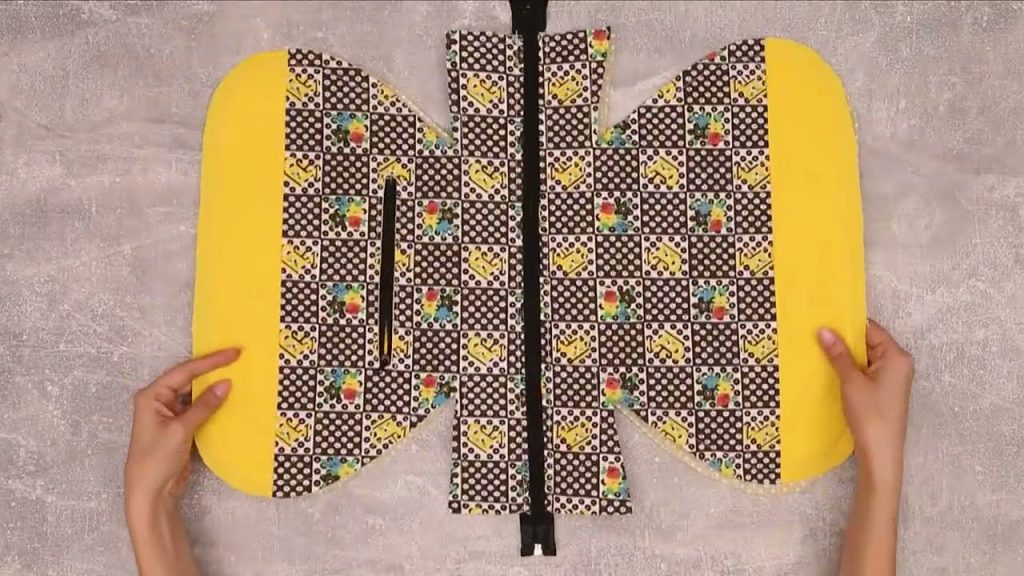
- Attach the Main Zipper: Sandwich the 24-inch zipper between the two Exterior Main Body Panels, right sides together. Use a zipper foot to sew along the top edge. Turn and topstitch for a neat, professional finish.
- Attach Zipper End Tabs: Fold the 4″ x 4″ Zipper End Tabs in half, right sides together, and stitch one side. Slip this tab over the raw ends of the zipper and stitch across, effectively finishing the zipper edges. This makes the next step easier.
- Attach the Base Panel: Pin the Base Panel (18″ x 8″) to the bottom edge of the assembled main body panel (which is currently a long loop). Stitch all the way around, pivoting at the corners. The video shows this key structural step clearly.
- Box the Corners: The key to this bag’s shape is boxing the corners. Pinch the exterior corners to align the seam with the base seam. Stitch across the opening to create a deep, squared-off corner. Repeat for all four exterior corners.
Phase 4: Final Assembly
- Construct the Lining: Follow steps 3 and 4 from Phase 3, using your Main Lining Panels and the Lining Base. Crucially, leave a 6-inch opening in the middle of the base seam of the Lining Base. This hole is essential for turning the bag right side out. Do not box the corners yet.
- Marry the Exterior and Lining (Bagging Out):
- Turn the Exterior bag right side out.
- Keep the Lining bag inside out.
- Slip the Exterior Bag into the Lining Bag (right sides touching). Align the top zipper edges perfectly.
- Pin and stitch around the entire zipper perimeter.
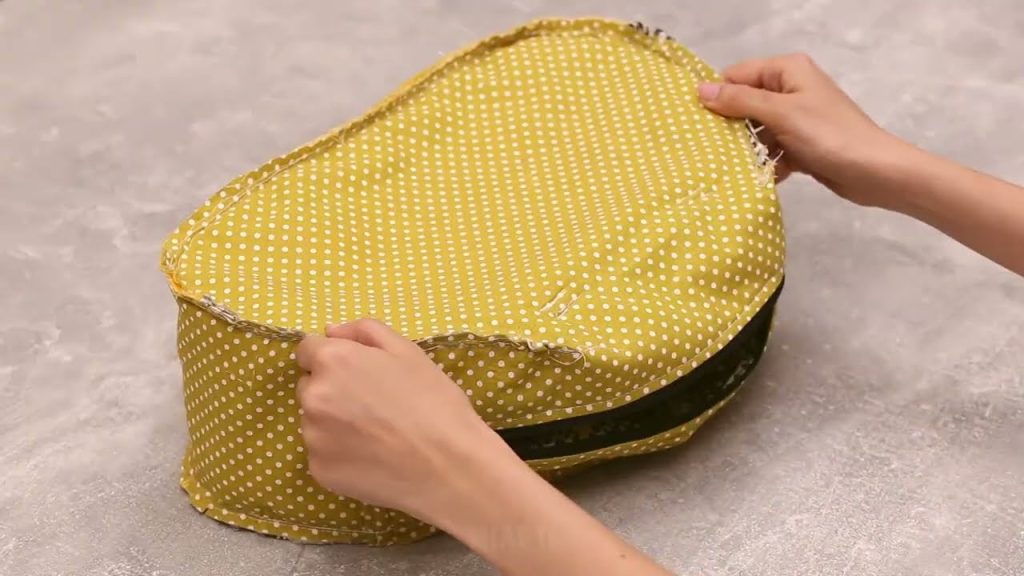
- Final Turning and Finishing: Reach into the 6-inch hole you left in the lining’s base. Pull the entire bag—exterior and lining—through this opening. This is often the most satisfying but difficult part!
- Close the Gap: Hand-stitch the 6-inch opening in the lining closed using an invisible ladder stitch.
- Box the Lining Corners: Now that the bag is turned, reach in and box the lining corners, stitching them closed from the inside (this will keep the lining from “pouching out”).
- Topstitch: Topstitch around the zipper opening on the exterior of the bag to give it a crisp, finished look and to prevent the lining from getting caught in the zipper.
✨ Section 4: Tips for Success & Customization Ideas
- Piping Detail: For an ultra-professional look, consider adding piping to the seam where the Base Panel connects to the Main Body Panel.
- Zipper Pull: Add a fun leather tassel or a length of ribbon to the zipper pull for easier access and a decorative touch.
- Vary the Fabric: Instead of all canvas, use faux leather for the base panel and handles to protect the bag from dirt when placed on the ground.
- Making it Carry-On Compliant: Always check your airline’s size requirements. Adjust the dimensions in Section 2 slightly (e.g., to 16″ wide) to ensure it fits perfectly under a seat.
🎁 Conclusion: Ready for Takeoff!
Congratulations! You have successfully created a gorgeous, one-of-a-kind travel bag that is ready for any destination. The techniques learned in this project, especially working with structure and installing zippers, are foundational for all bag making.
We encourage you to share your finished project! Which fabrics did you choose? Let us know in the comments below!

Happy travels and happy sewing!
Video tutorial: