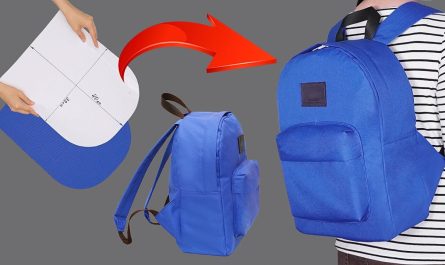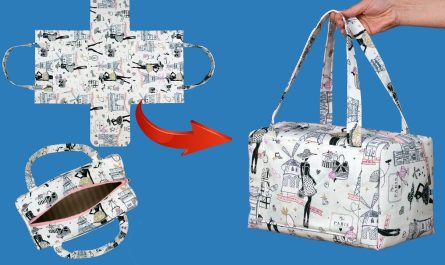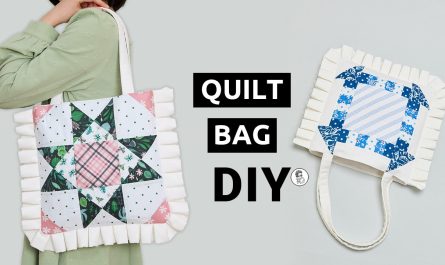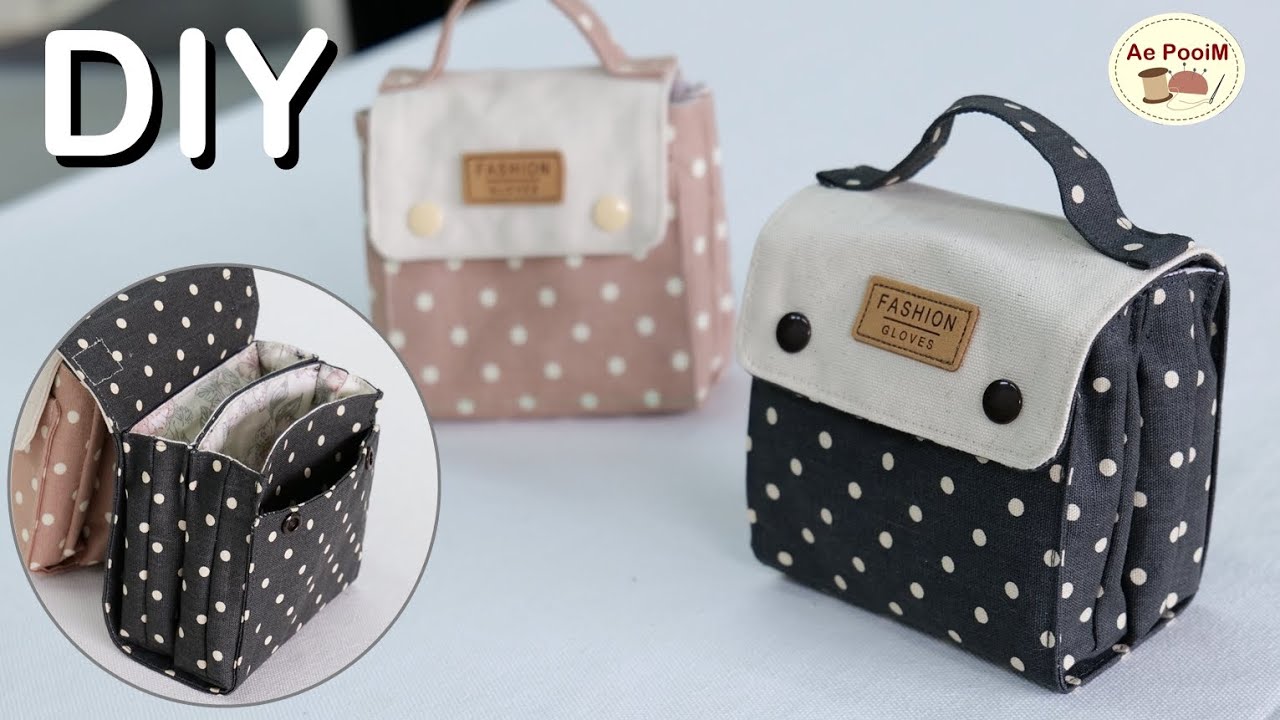
 by
by In a world of mass-produced accessories, there’s a growing appreciation for handcrafted items that tell a story. Enter the “Storybook Pouch”—an enchanting new concept that combines functionality with nostalgia, creativity, and charm. Inspired by childhood picture books and whimsical characters, this pouch bag design isn’t just a storage solution—it’s a conversation starter.
Whether you’re a DIY enthusiast or a small business owner looking for a fresh product idea, the Storybook Pouch offers a blend of aesthetics and utility that’s irresistible.
What Is a Storybook Pouch?
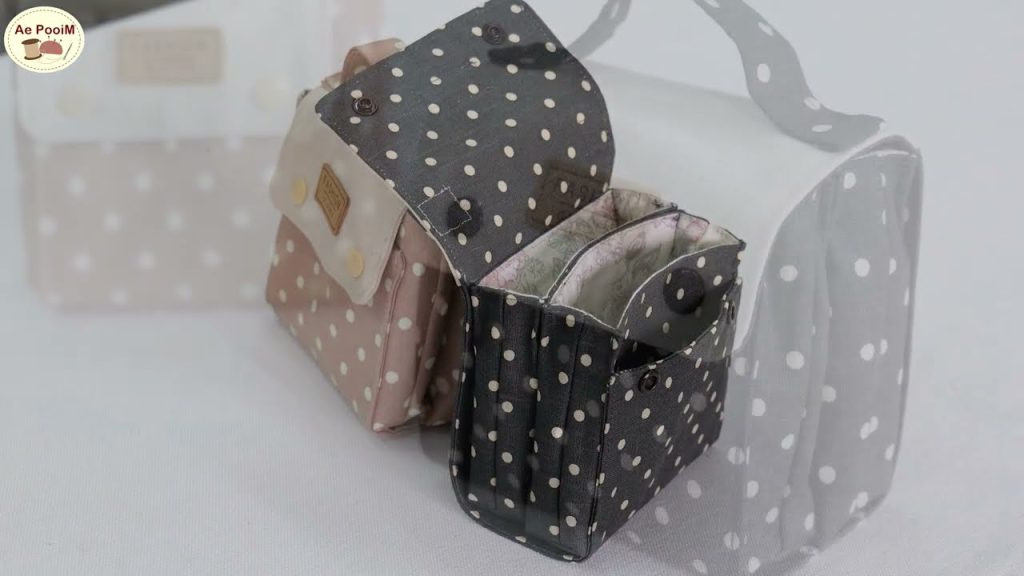
The Storybook Pouch is a soft, fabric-based pouch designed to look like the cover of a classic children’s book. When zipped or buttoned closed, the front mimics a book cover with custom illustrations, embroidery, or printed artwork. When opened, the inner lining features “pages” with cute details such as sewn-in mini pockets shaped like characters, quotes, or scenery from the imaginary tale.
Think of it as a tiny fantasy world you can carry in your bag—perfect for storing makeup, stationery, or small keepsakes.
Key Features
1. Book-Cover Design
- The outer surface of the pouch is shaped like a hardcover book.
- Materials can include faux leather, soft canvas, or quilted cotton.
- Decorative elements such as embroidered titles, sewn spines, and stitched corners add to the realism.
2. Illustrated Inner “Pages”
- When the pouch is opened flat, both sides act as “pages.”
- Use printed fabric or hand-painted canvas to show a scene from the story.
- Add fabric flaps as character “pop-ups,” or zipper compartments shaped like animals or fairy-tale items.
3. Story Themes
- Create unique designs based on themes like:
- Fairy tales (Little Red Riding Hood, Thumbelina)
- Woodland creatures
- Magical travel journals
- Space adventures for kids
- The pouch can come with a mini story tag or card describing the fictional tale behind it.
4. Functional Storage
- Can be sized small (coin purse), medium (makeup pouch), or large (tablet sleeve).
- Lined with waterproof or padded materials for durability.
- Optional wrist or shoulder strap for portability.
Materials Needed
- Outer fabric (faux leather, felt, or thick cotton)
- Inner lining fabric with printed designs or story scenes
- Lightweight interfacing or foam for structure
- Embroidery thread or fabric paint (for customization)
- Zippers, snap buttons, or magnetic closures
- Sewing machine and basic hand-sewing tools
Step-by-Step Guide (Simplified)
- Design Your Story
- Sketch your book cover and inner scene.
- Choose a theme and color palette.
- Cut Fabric
- Cut out rectangles for the front and back cover.
- Prepare “page” inserts for inside lining.
- Embellish
- Embroider or paint the front cover.
- Sew tiny details inside (mini pockets, labels, pop-up flaps).
- Assemble
- Attach interfacing to outer panels.
- Sew the zipper along the top edge.
- Join outer and inner layers, leaving a small gap to turn it inside out.
- Finish
- Top-stitch for a neat edge.
- Add straps or loops as needed.
Why It’s Adorable & Unique
- Narrative Charm: Each pouch tells a story, making it a personal item rather than just a functional one.
- Great for Gifting: Perfect as a birthday gift, baby shower item, or souvenir.
- Customizable: Infinite possibilities for themes and personalization.
- Eco-Friendly: Can be made from upcycled materials, promoting sustainability.
Business Potential
For Etsy sellers or boutique brands, the Storybook Pouch can be marketed as:
- Personalized gifts for book lovers
- Handmade children’s accessories
- Niche cosplay or fandom merchandise (imagine Harry Potter or Studio Ghibli themes)
You can even create limited-edition “series” or collaborate with indie illustrators for unique collections.
Final Thoughts
The Storybook Pouch is more than just a pouch—it’s a portable piece of art that speaks to your inner child. Blending nostalgia, creativity, and function, it’s the perfect accessory for dreamers and makers alike. Whether sewn at home or sold online, this pouch promises to capture hearts and imaginations wherever it goes.
Video tutorial: