by
by You’re ready to tackle a stylish and chic project: sewing the cutest tweed mini skirt! Tweed is a fantastic fabric choice, offering texture, sophistication, and a classic look that never goes out of style. While it might seem intimidating, with the right techniques, you can create a beautiful and flattering mini skirt that will become a wardrobe favorite.
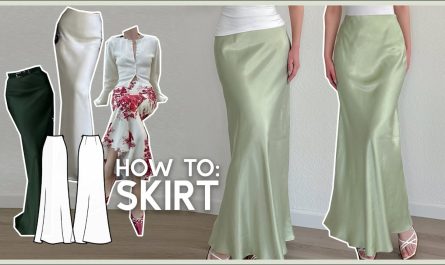
Stitching Chic: How to Sew the CUTEST Tweed Mini Skirt
Tweed mini skirts are a fashion staple, exuding timeless elegance, a touch of retro charm, and undeniable sophistication. They’re versatile enough to be dressed up or down, making them a perfect addition to any wardrobe. While tweed fabric can be a bit tricky, this detailed guide will break down the process, helping you create a perfectly tailored and utterly adorable tweed mini skirt.
Why Sew a Tweed Mini Skirt?
- Timeless Style: Tweed is a classic fabric that never goes out of fashion.
- Unique Garment: A handmade tweed skirt will be truly unique, tailored to your exact fit and style preferences.
- Luxurious Feel: Tweed offers a rich texture and a high-end look.
- Skill Building: It’s an excellent project for honing your garment construction, zipper insertion, and lining techniques.
- Versatile: Pair it with tights and boots for winter, or bare legs and flats for a chic spring look.
What You’ll Need:
- Tweed Fabric: 1 to 1.5 yards (0.9 to 1.4 meters) of tweed fabric. Look for medium-weight tweed that isn’t too loosely woven, as this will be easier to work with. Consider wool tweed blends for warmth and drape.
- Tip: Purchase a little extra to account for pattern matching if your tweed has a prominent check or plaid.
- Lining Fabric: 1 to 1.5 yards (0.9 to 1.4 meters) of slippery lining fabric like Bemberg rayon, silk habotai, or a good quality polyester lining. This is crucial for comfort and for the skirt to hang well.
- Invisible Zipper: One 7-inch (18 cm) or 9-inch (23 cm) invisible zipper that matches your tweed fabric.
- Fusible Interfacing: 1/2 yard (0.45 meters) of lightweight to medium-weight fusible woven interfacing for the waistband and potentially the zipper area.
- Matching Thread: High-quality polyester thread that matches your tweed and lining fabrics.
- Tools:
- Sewing machine with an invisible zipper foot and a regular zipper foot.
- Sharp fabric scissors or a rotary cutter with a new, sharp blade and cutting mat.
- Tailor’s chalk or fabric marker.
- Plenty of fine, sharp pins (silk pins are great for delicate lining).
- Iron and ironing board with a pressing cloth.
- Seam ripper (always handy!).
- Optional: Pinking shears (for finishing raw edges), tailor’s clapper (for crisp seams).
Step-by-Step Construction Guide:
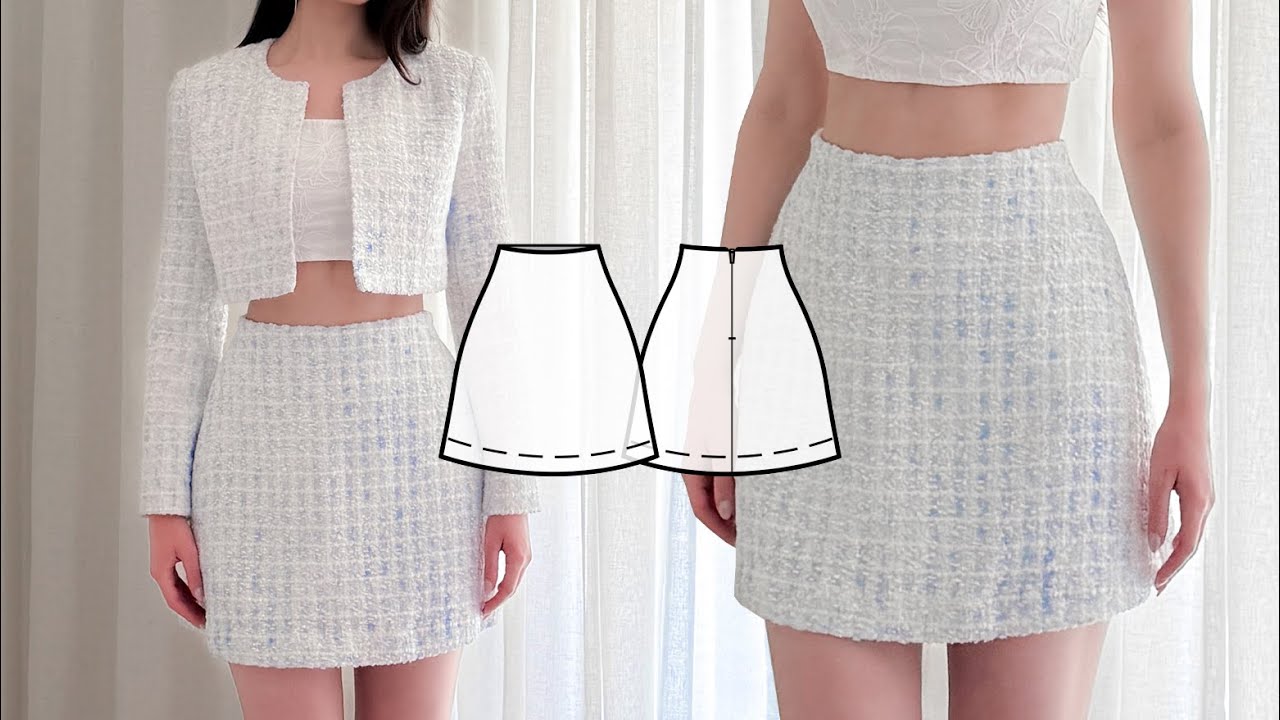
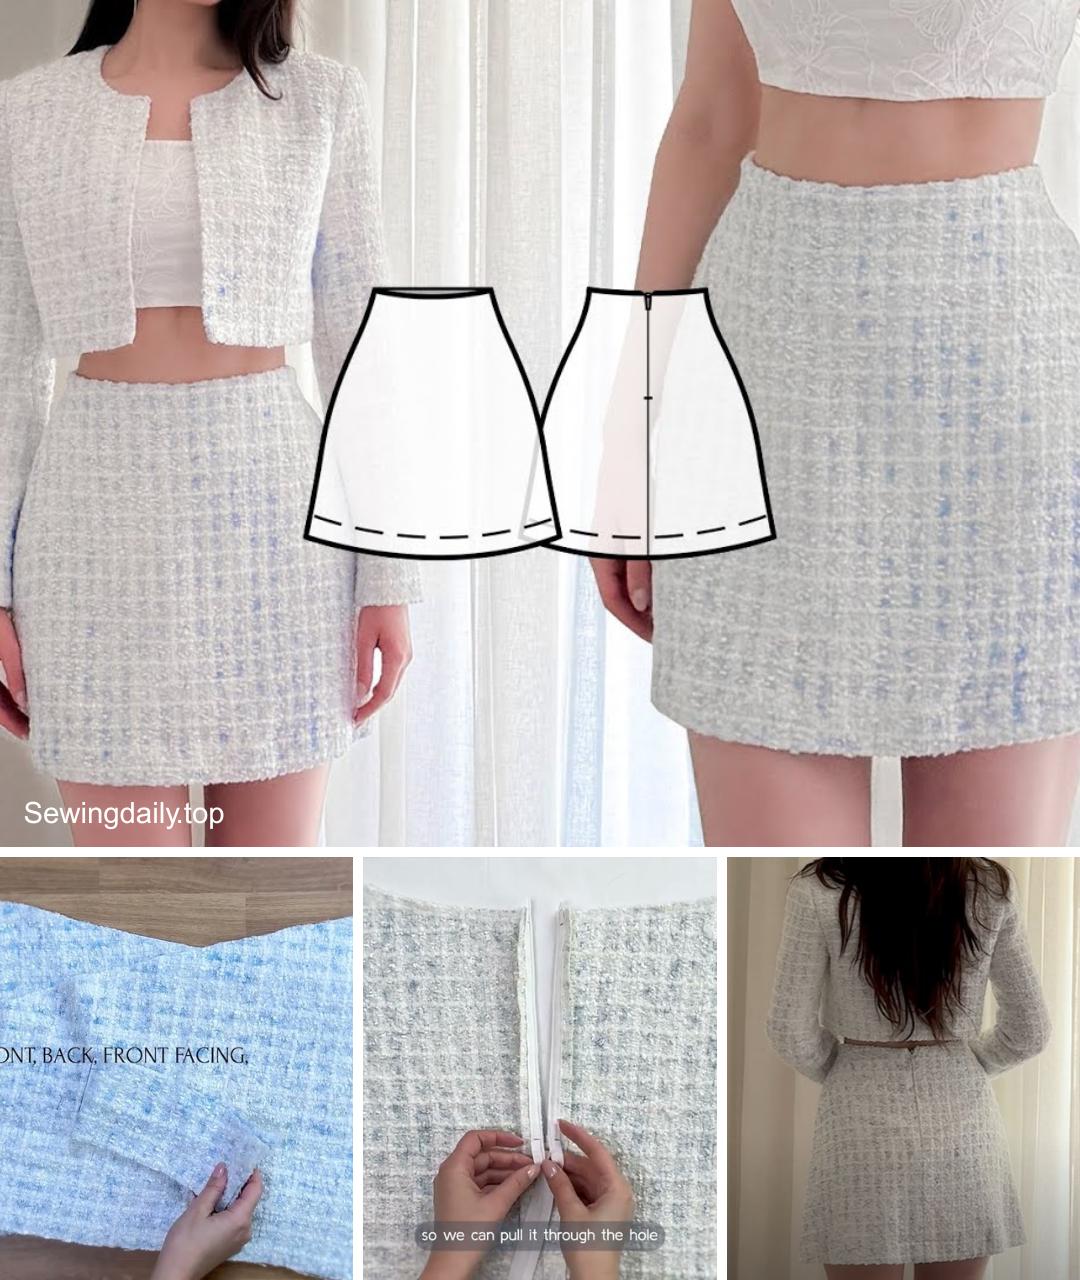
This tutorial assumes a simple A-line or straight mini skirt pattern with a back invisible zipper.
1. Choose Your Pattern & Cut Fabric
- Select a Pattern: Opt for a simple mini skirt pattern with just a front and back piece, and a separate waistband. An A-line or straight skirt without too many darts or panels will be easiest for your first tweed project. Look for patterns that include a lining.
- Pre-Shrink Fabric (Tweed): If your tweed is wool or a blend, it’s highly recommended to pre-shrink it by steaming it thoroughly with your iron (use a pressing cloth) or dry cleaning it before cutting. This prevents shrinkage after your skirt is sewn.
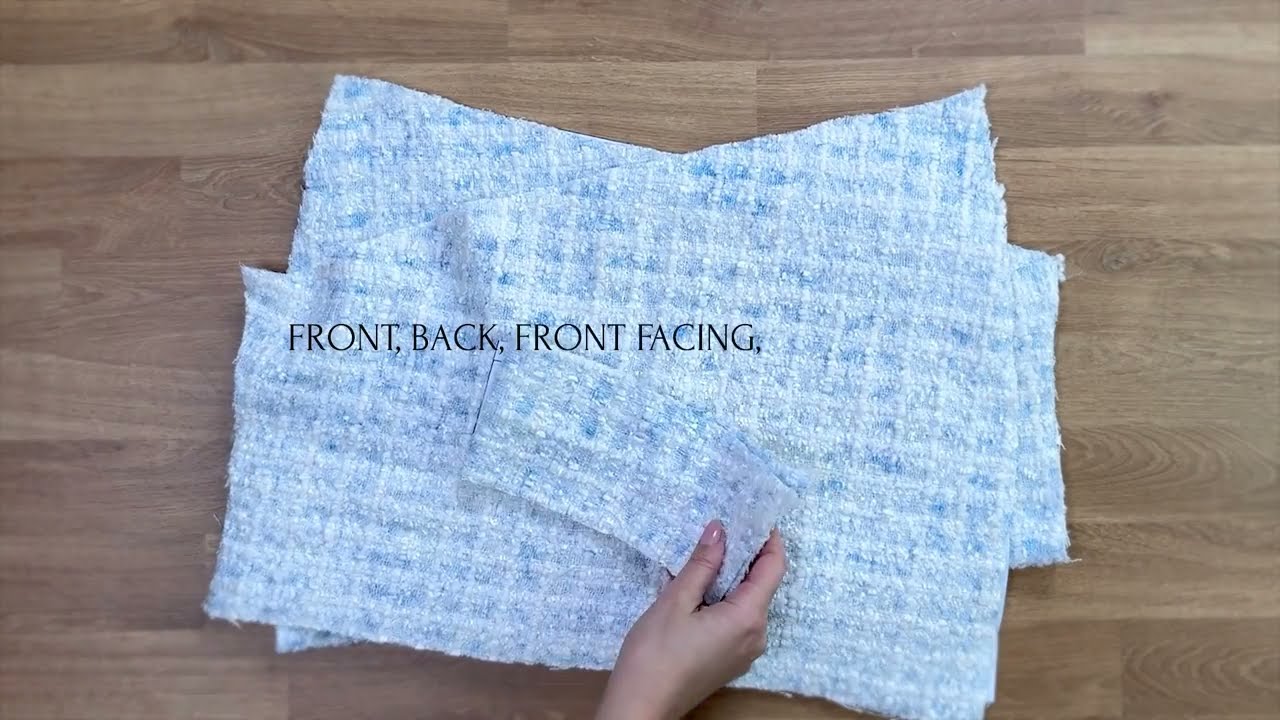
- Cut with Care:
- Lay your tweed fabric flat. Use pattern weights in addition to pins, as tweed can shift.
- Carefully cut out all pattern pieces from your tweed fabric: Front Skirt, Back Skirt (cut 2 for a back seam), Waistband.
- Cut the lining fabric pieces identically: Front Lining, Back Lining (cut 2).
- Cut interfacing pieces for the waistband and any facing pieces as per your pattern.
- Transfer Markings: Transfer all dart lines, notch marks, and zipper placement markings from your pattern pieces to your fabric using tailor’s chalk or a fabric marker.
2. Prepare & Assemble the Skirt Panels
- Fuse Interfacing: Fuse interfacing to the wrong side of your waistband pieces and any other areas specified by your pattern (e.g., facing for the zipper opening). Follow the interfacing manufacturer’s instructions.
- Sew Darts: On both the tweed skirt pieces and the lining pieces, sew any darts you’ve marked. Press darts towards the center back or side seams, as appropriate for the pattern.
- Sew Center Back Seam (Tweed): Place the two tweed back skirt pieces right sides together. Stitch the center back seam from the hem up to the point where your zipper will start (marked on your pattern, typically about 7-9 inches down from the waist). Press this seam open.
- Sew Side Seams (Tweed): Place the tweed front skirt piece right sides together with the tweed back skirt piece(s) along the side seams. Stitch the side seams. Press seams open.
- Finish raw edges: To prevent fraying (tweed can fray a lot!), finish all raw edges of your skirt seams (side and center back below zipper) using a zigzag stitch on your machine or a serger. Pinking shears can also help.
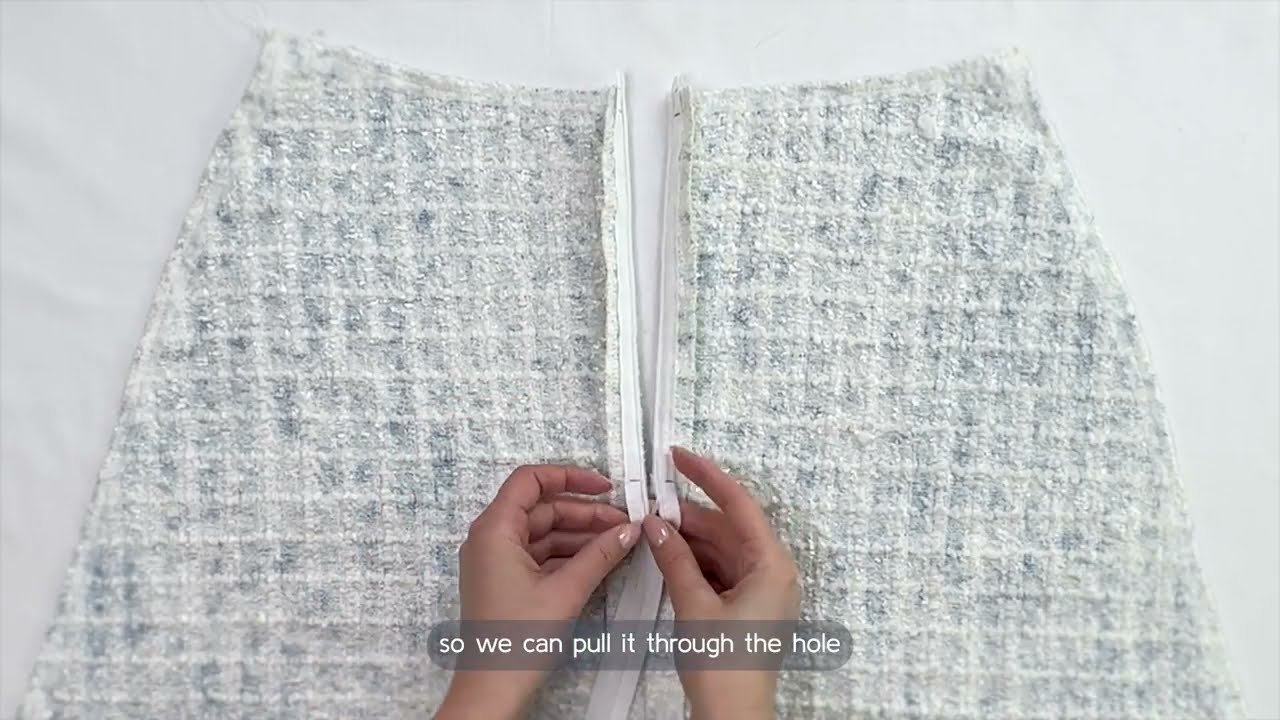
3. Install the Invisible Zipper
This is a key step for a professional finish.
- Prepare Zipper Opening: With your tweed skirt still wrong side out, press the unstitched portion of the center back seam open.
- Position Zipper: Place your invisible zipper face down onto one side of the pressed-open seam allowance. The zipper teeth should align with the pressed crease line. The top stopper of the zipper should be about 1/2 inch (1.25 cm) below the top raw edge of the skirt. Pin the zipper tape to the seam allowance only.
- Stitch Zipper (First Side): Attach your invisible zipper foot to your machine. The grooves on the foot will guide the zipper teeth as you sew. Unzip the zipper slightly. Position the needle so it stitches directly along the teeth. Stitch down the entire length of the zipper tape.
- Stitch Zipper (Second Side): Close the zipper. Align the other side of the zipper tape to the opposite side of the skirt’s center back opening, ensuring the waistlines match up perfectly. Pin. Unzip the zipper again and stitch down this side, just as you did the first.
- Test Zipper: Close the zipper. It should be almost invisible, with only the pull tab showing.
4. Assemble the Lining
- Sew Center Back Seam (Lining): Place the two lining back skirt pieces right sides together. Stitch the center back seam, leaving an opening for the zipper. Instead of stitching all the way up to the top, stitch from the hem up about 1-2 inches (2.5-5 cm) below where the zipper will end. Leave the rest of the seam open. This open section will be where the lining attaches to the zipper.
- Sew Side Seams (Lining): Place the lining front skirt piece right sides together with the lining back skirt piece(s) along the side seams. Stitch the side seams. Press seams open.
- Finish raw edges: Finish the raw edges of your lining seams (similar to the tweed).
5. Attach the Lining to the Skirt
- Attach to Zipper: With the tweed skirt still wrong side out, and the lining skirt wrong side out, carefully align the top edges of the lining’s unsewn center back opening with the zipper tape on the tweed skirt. Pin the lining to the zipper tape, right sides together. Stitch the lining to the zipper tape, stitching over your previous zipper stitching line (from the top edge down to where the lining center back seam begins).
- Attach Waistline:
- With the tweed skirt right side out and the lining skirt wrong side out, place the lining skirt inside the tweed skirt, so their wrong sides are together. Smooth out any wrinkles.
- At the waistline, fold the seam allowance of the lining skirt under by 1/2 inch (1.25 cm) and press.
- Hand-stitch the folded edge of the lining to the zipper tape (just inside the machine stitching, making sure your stitches don’t show on the right side of the skirt).
- Pin the lining to the tweed skirt at the waistline, aligning all edges.
6. Construct and Attach the Waistband
- Prepare Waistband: Take your interfaced waistband piece. If it’s a single piece, fold it in half lengthwise, wrong sides together, and press. If it’s two pieces, stitch them together at the short ends (if it’s meant to be a full circle), then fold and press.
- Attach Waistband to Skirt: Place the waistband (unfolded, if applicable) right sides together with the top raw edge of the skirt, aligning raw edges and any notches. Stitch with a 1/2 inch (1.25 cm) seam allowance. Press the waistband up, away from the skirt.
- Finish Waistband: Fold the waistband over to the inside of the skirt. The raw edge of the waistband will now be concealed. Stitch the waistband down, either by machine (topstitching from the right side) or by hand (for a couture finish), ensuring the stitches catch the inner raw edge of the waistband.
- Waistband Closure: Add a hook-and-eye closure or a button and buttonhole to the waistband ends above the zipper.
7. Hem the Skirt & Lining
- Hem Tweed Skirt: Try on the skirt to determine the desired length. For tweed, a simple double-fold hem (fold 1/2 inch, press, fold another 1/2 inch, press, and stitch) works well. For a less bulky hem, you can turn up the hem once, finish the raw edge, and hand-stitch a blind hem. Press well.
- Hem Lining: The lining hem should be about 1 inch (2.5 cm) shorter than the tweed skirt hem. Turn up the raw edge of the lining by 1/2 inch (1.25 cm) and press, then turn up another 1/2 inch (1.25 cm) and stitch. This allows the lining to float freely and not pull on the skirt’s outer fabric.
Tips for Sewing with Tweed:
- Prevent Fraying: Tweed can fray quite a bit. Finish all raw edges immediately after cutting using a zigzag stitch or a serger.
- Use a Pressing Cloth: Always use a pressing cloth when ironing tweed to prevent scorching or damaging the fibers, especially wool blends.
- Press, Don’t Iron: When pressing seams, use an up-and-down motion rather than sliding the iron, which can distort the fabric. A tailor’s clapper helps flatten seams.
- Test Stitches: Always test your stitch length and tension on a scrap of your tweed and lining before sewing on your garment.
- Sharp Needle: Use a sharp needle (universal or microtex) suitable for medium-weight wovens to prevent snags.
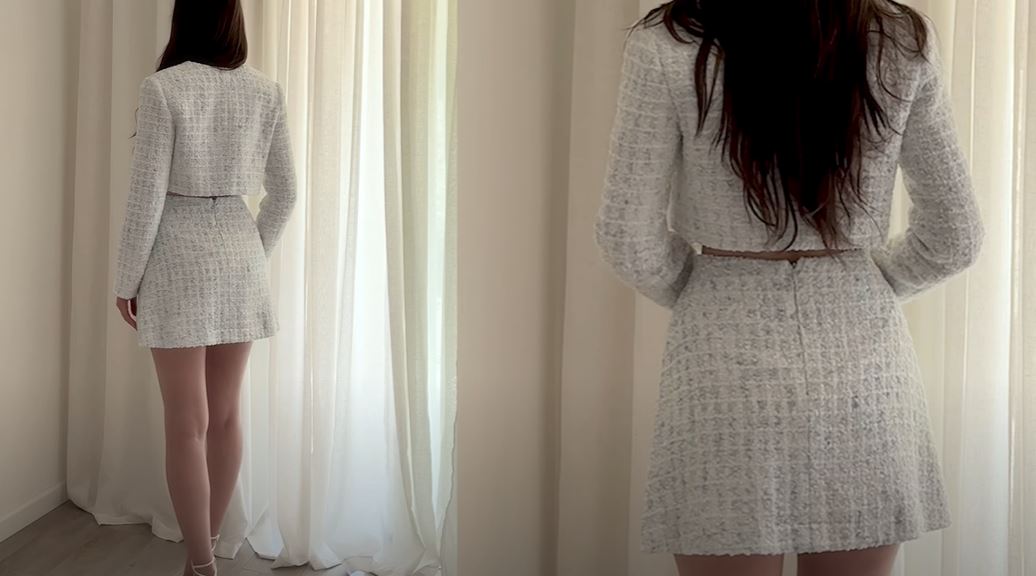
You’ve now created a truly stylish and sophisticated tweed mini skirt! Wear it with confidence, knowing you’ve crafted a unique and chic piece that perfectly fits your style. What kind of top will you pair with your new skirt?
Video tutorial: