 by
by 📐 Introduction: Mastering the Structured Stitch
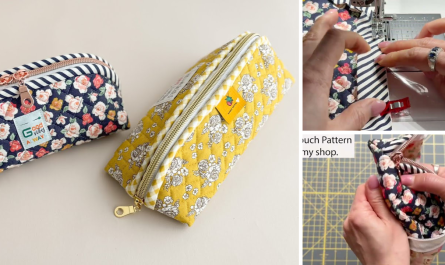
The appeal of a professional, structured handbag lies in its crisp edges and inability to flop—qualities achieved not just through skillful sewing, but through smart use of interlining and stabilizing materials.
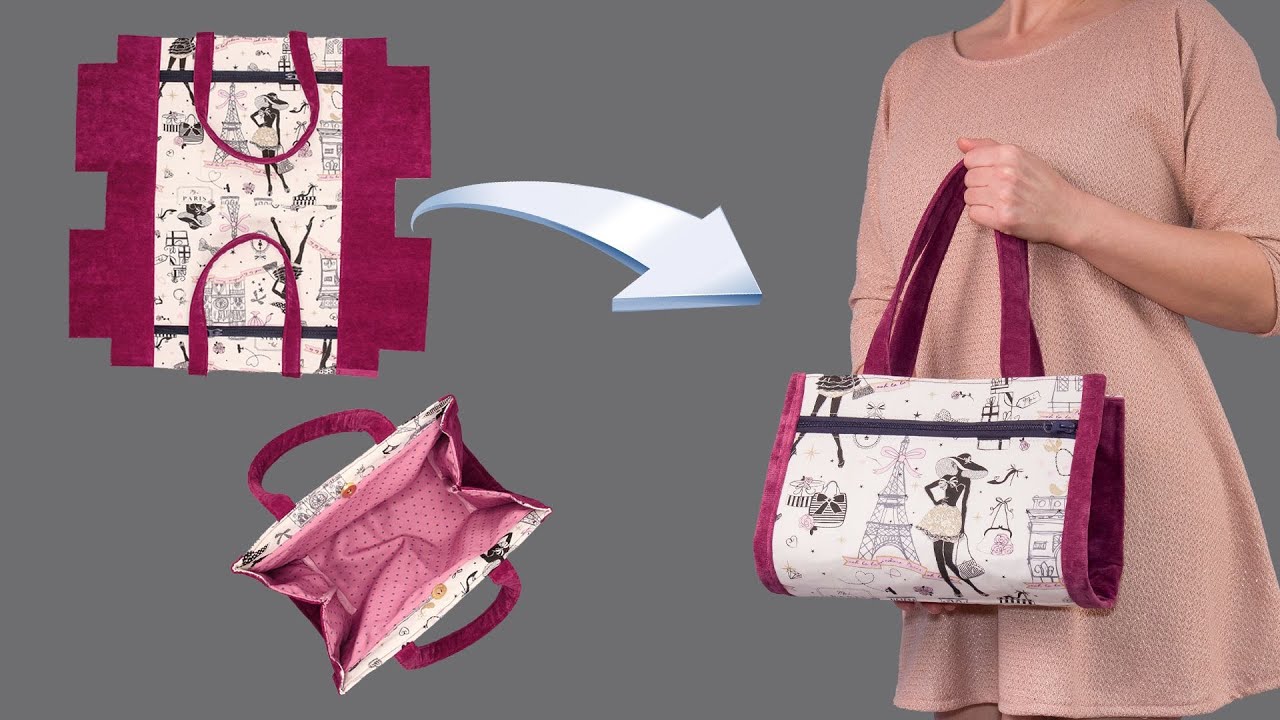
Inspired by the compact, boxy silhouette shown in the video, we’ve developed The Geometric Box Messenger. This pattern emphasizes high contrast between the main body and the stabilizing gusset, creating a contemporary messenger-style bag with a wide base and a comfortable crossbody strap. It’s perfect for the modern maker looking to achieve a boutique finish.

This project uses fundamental sewing techniques but introduces stabilizing layers (fusible interfacing and felt/fleece) to give the bag its designer-quality structure.
| Feature | Detail |
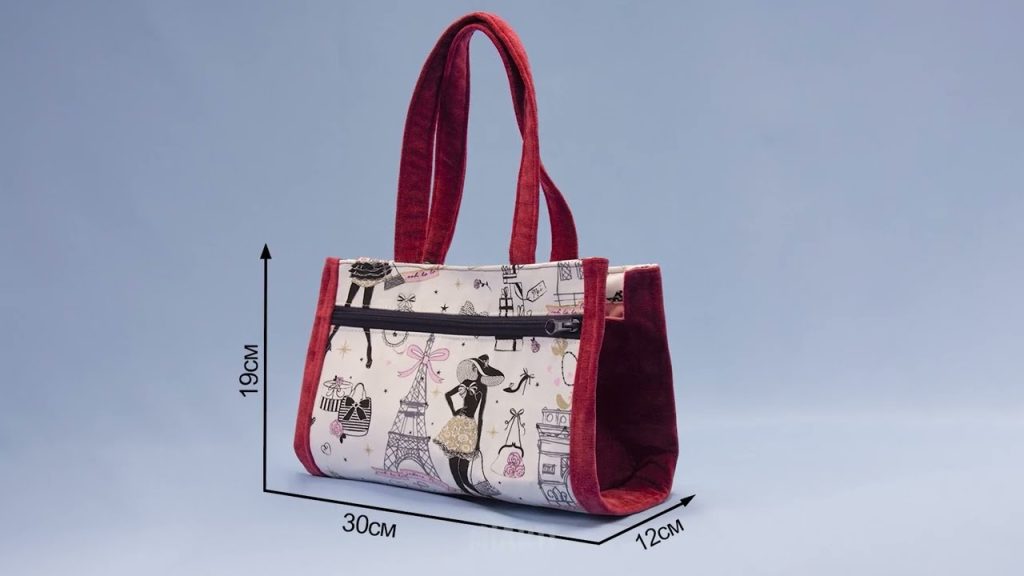
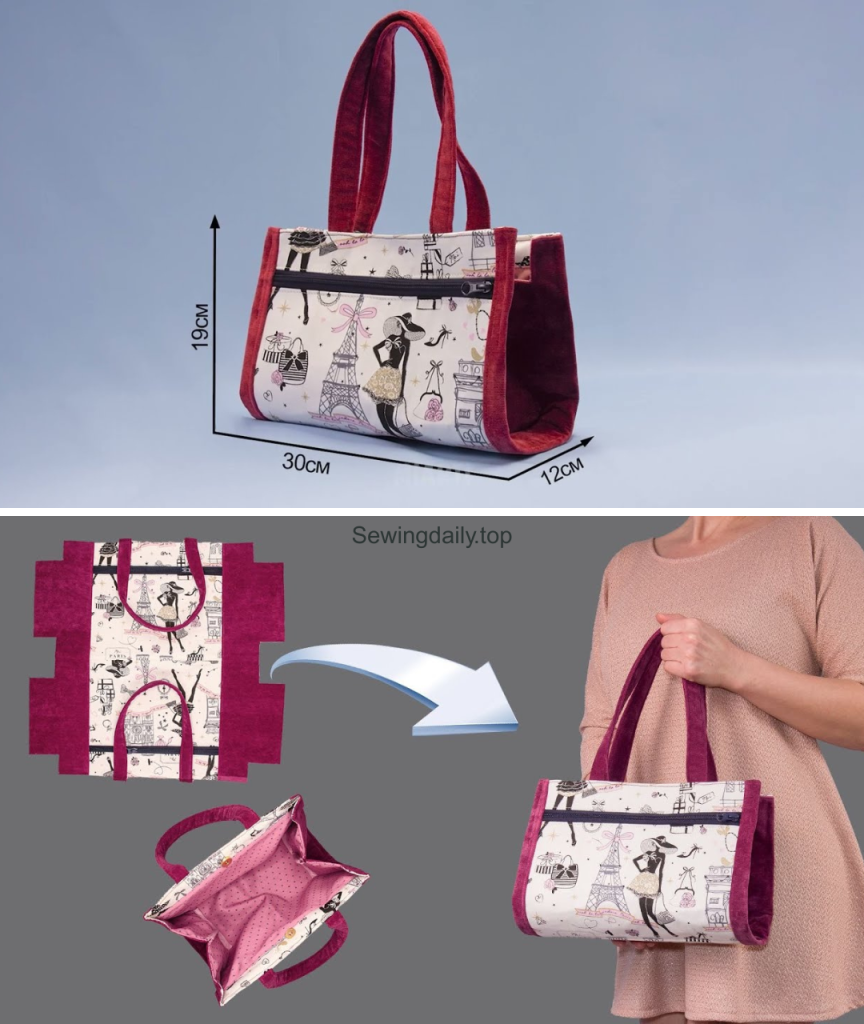
| Finished Size (Approximate) | 9.5″ W x 7.5″ H x 4.75″ D (24 cm W x 19 cm H x 12 cm D) |
| Skill Level | Confident Beginner |
| Style | Boxy Crossbody Messenger |
✂️ Materials & Comprehensive Cutting List
This pattern requires three main fabric types: Fabric A (Main Body), Fabric B (Contrast Gusset/Strap), and Fabric L (Lining).
| Piece Name | Fabric Type | Dimensions (cm) | Dimensions (inches) | Quantity | Notes |
| Outer Body Panel | Fabric A (Main) | 28 x 50 | 11 x 19.7 | 1 | This piece will be folded to create the front and back of the bag. |
| Body Interfacing | Fusible Interfacing | 28 x 50 | 11 x 19.7 | 1 | Medium-weight stabilization. |
| Base & Sides Gusset | Fabric B (Contrast) | 48 x 12 | 18.9 x 4.7 | 1 | This forms the bottom and side walls. |
| Gusset Stabilizer | Felt/Fleece | 48 x 12 | 18.9 x 4.7 | 1 | Non-fusible padding for rigidity. |
| Top Flap Accent | Fabric A (Main) | 46 x 10 | 18.1 x 3.9 | 1 | Trim for the top opening/casing. |
| Strap Tabs (D-Rings) | Fabric B (Contrast) | 6 x 4 | 2.4 x 1.6 | 2 | For attaching hardware. |
| Snap Tabs (Magnetic) | Fabric B (Contrast) | 5 x 4 | 2 x 1.6 | 2 | To reinforce magnetic snap placement. |
| Lining Panel | Fabric L (Lining) | 39 x 50 | 15.4 x 19.7 | 1 | Main lining piece. |
| Lining Facing Strip | Fabric L (Lining) | 5 x 38 | 2 x 15 | 2 | Top pocket facing (optional but recommended). |
| Crossbody Strap | Fabric B (Contrast) | Use the 46 x 10 piece from the Flap Accent cut to make the strap. |
🧵 Necessary Notions
- Magnetic Snap Closure: 1 set
- D-Rings: 2 (1-inch/2.5 cm wide)
- Swivel Snap Hooks: 2 (1-inch/2.5 cm wide)
- Thread: Matching polyester thread
- Sewing Clips/Pins
- Iron and Pressing Cloth
- Seam Allowance: All seams are 1 cm (3/8 inch).

📝 The Geometric Box Messenger Construction
Part 1: Interfacing and Preparing the Panels
1. Stabilize the Outer Body
- Take the Outer Body Panel (28 x 50 cm) and the Body Interfacing (28 x 50 cm). Fuse the interfacing to the wrong side of the fabric following the manufacturer’s directions. This provides structure for the front and back of the bag.
- Tip: Mark the center of the 50 cm side (at 25 cm) with a pin—this is the base fold line.
2. Prepare the Gusset
- Apply the Gusset Stabilizer (Felt/Fleece, 48 x 12 cm) to the wrong side of the Base & Sides Gusset fabric (48 x 12 cm). You can baste this in place around the edges or use a temporary adhesive. The felt prevents the gusset from collapsing.
3. Assemble the Top Flap Accent
- Take the Top Flap Accent (46 x 10 cm). Fold it in half lengthwise (to 46 x 5 cm), wrong sides together, and press firmly. This piece will be used to neaten the top edge of the bag (like a trim or casing).
4. Attach the Strap Tabs (D-Rings)
- Take the two Strap Tabs (6 x 4 cm). Fold the long edges into the center, then fold in half again, securing with topstitching down the long sides.
- Thread one D-Ring onto each tab and fold the tab in half. Set these aside; they will be attached to the gusset later.
Part 2: Forming the Bag’s Outer Shell
5. Install the Magnetic Snap
- The video’s design is very simple and doesn’t use a separate flap. We will install the snap on the Outer Body Panel at the top edge.
- Measure 3 cm (approx. 1.2 inches) down from the center top edge of the Outer Body Panel (on the front side—one half of the 50 cm length). Install the female snap part.
- Use the Snap Tabs (5 x 4 cm) to cover the snap prongs on the wrong side of the fabric. Stitch the tabs down for security and a clean finish.

6. Assemble the Outer Box
- Fold the Outer Body Panel at the center (the 25 cm mark) so the right sides are facing out. Unfold it.
- Pin the Base & Sides Gusset (48 x 12 cm) around the perimeter of the Outer Body Panel. Align the center point of the gusset (at the 24 cm mark) with the fold line of the body panel.
- Crucial Step: D-Ring Placement Before sewing, insert the raw ends of the D-Ring Strap Tabs between the main body and the gusset at the top corners of the bag’s back panel. The D-Rings should be facing inward. Baste them securely in place.
- Pin and sew the gusset around all edges with a 1 cm seam allowance to form a full 3D box shape.
7. Finish the Top Edge
- Take the folded Top Flap Accent piece (46 x 5 cm). Pin it to the top raw edge of the bag, aligning all raw edges. The accent piece will extend beyond the sides of the bag.
- Stitch the accent piece to the top opening with a 1 cm seam allowance. Press the seam down and topstitch along the seam line for a sharp finish.
Part 3: Creating and Inserting the Lining
8. Stitch the Lining
- Take the Lining Panel (39 x 50 cm). Fold it in half lengthwise (to 39 x 25 cm), right sides together.
- Sew the two side seams (the 25 cm edges), leaving the top open.
- Box the Corners: Press the bottom seam flat against the side seam to form a triangle at the corner. Measure and mark 4 cm (1.6 inches) from the point and sew across the line. Repeat for the other corner.
9. Prepare the Lining Facing (Optional)
- Take the two Lining Facing Strips (5 x 38 cm). Sew the short ends together to create one long loop. Press the seams open.
- Fold this loop in half lengthwise, wrong sides together, and press.
- Pin the raw edges of this loop to the top raw edge of the lining body. Sew with a 1 cm allowance. Press the facing strip up.
10. Final Assembly
- Slip the outer bag (right side out) inside the lining (wrong side out), aligning the top raw edges (or the top edge of the facing strip).
- Pin all around the top opening. Sew the top seam with a 1 cm allowance, leaving a 10-15 cm (4-6 inch) opening for turning.
- Turn the bag right side out through the opening. Take your time to push the corners out neatly.
- Press the top edge flat, making sure the opening edges are neatly tucked under.
- Topstitch around the entire top opening to secure the lining and close the turning gap, giving the bag a professional finish.
Part 4: The Crossbody Strap
- Use the remaining Fabric B (Contrast) piece (or the 46 x 10 cm piece, if you didn’t use it for the accent) for the strap.
- Alternatively, purchase 1.5 meters of 1-inch webbing.
- If making the strap: Fold the strap fabric in half lengthwise, press, then fold the edges into the center fold. Topstitch down both long sides to create a durable, 1-inch wide strap.
- Attach the strap to the Swivel Snap Hooks and Strap Adjuster according to standard strap instructions, allowing it to clip onto the D-Rings already attached to your bag.
Enjoy your new, structured Geometric Box Messenger!
Video tutorial: