by
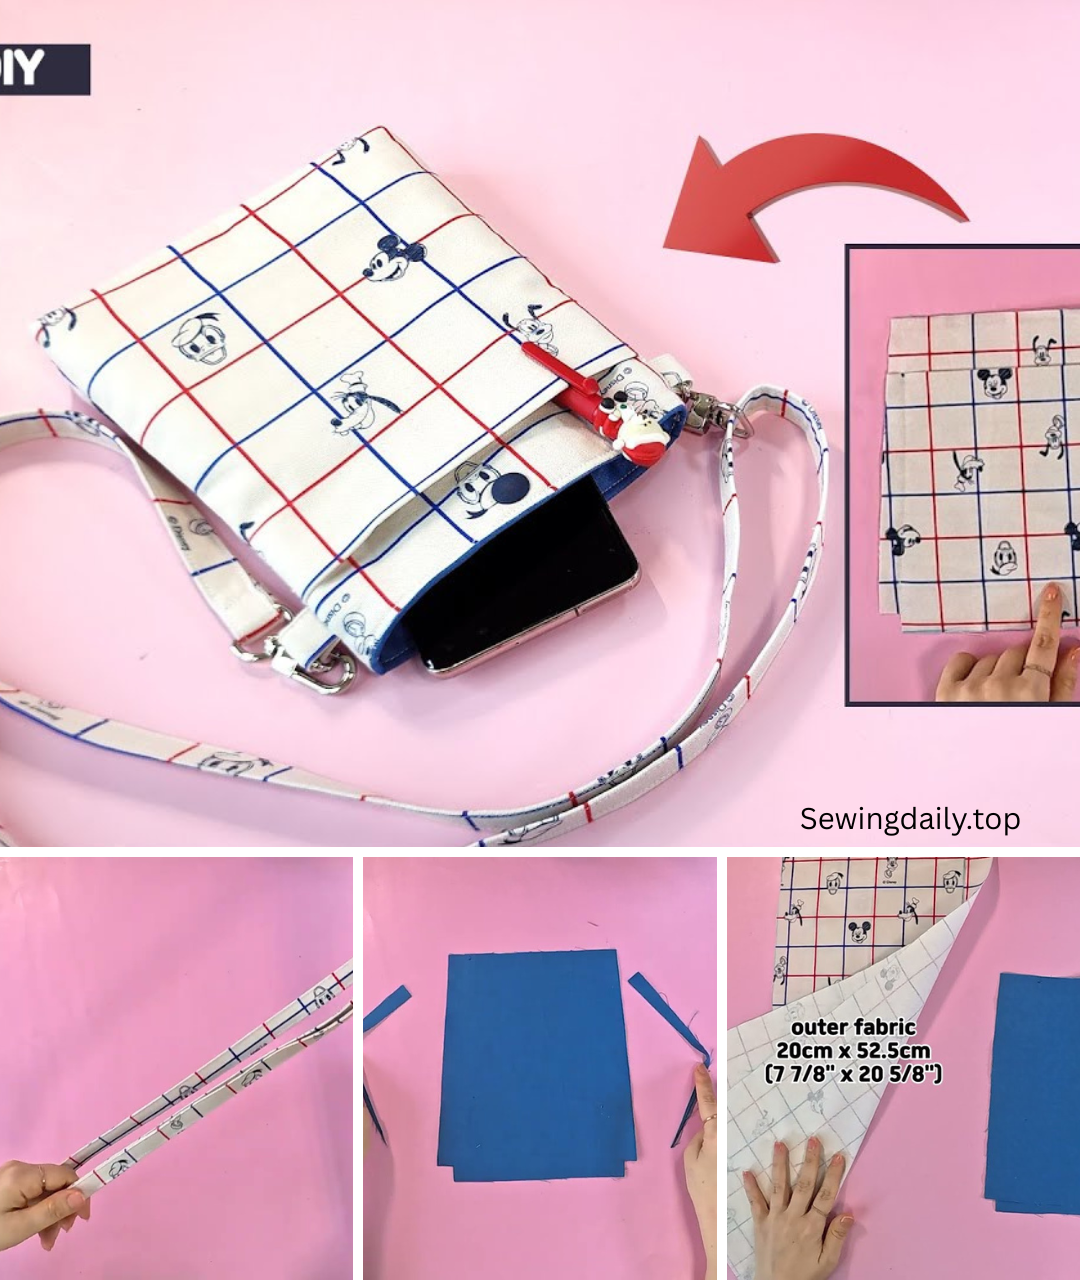
by Stitching Your Style: A DIY Crossbody Bag with 3 Pockets
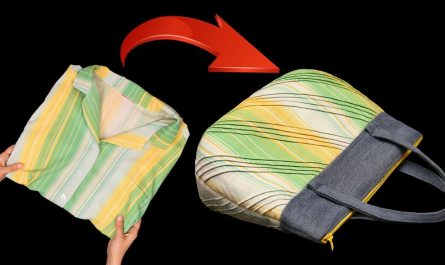
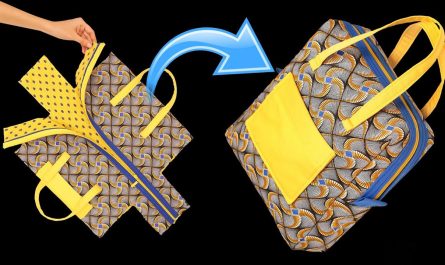
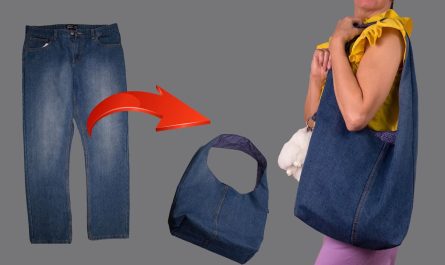
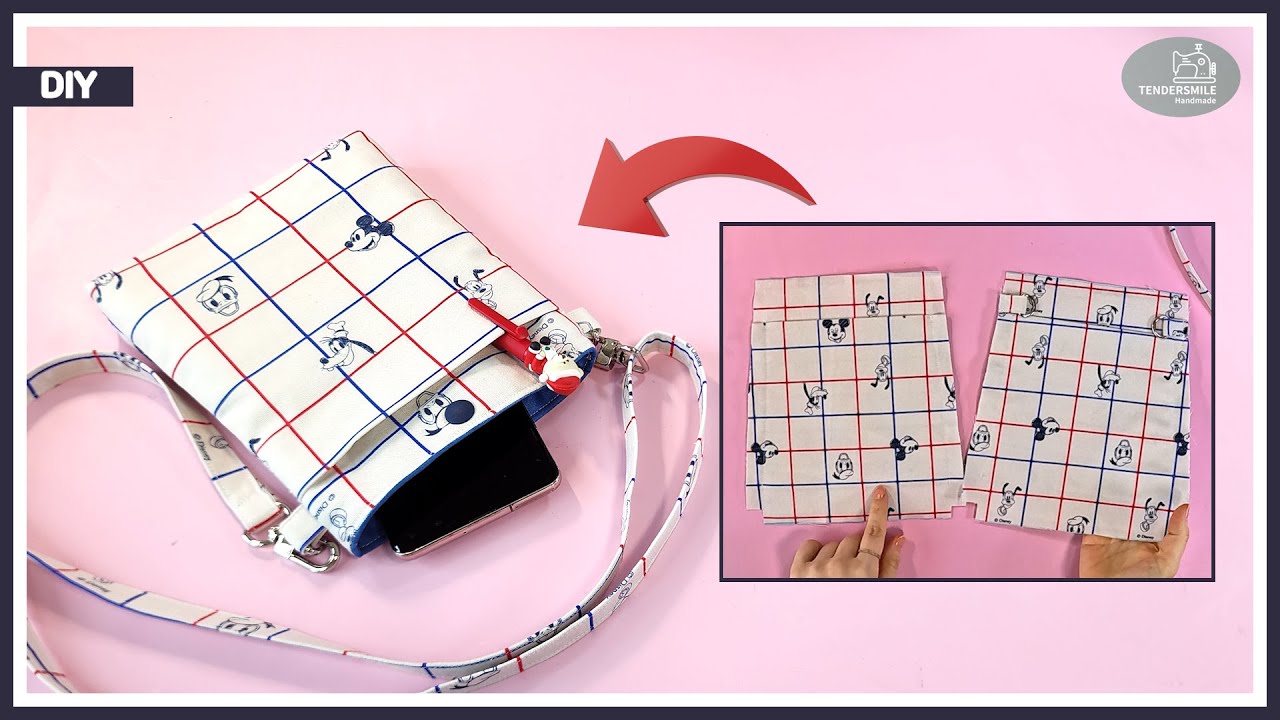
A crossbody bag is a perfect blend of fashion and function, offering security and convenience for everyday adventures. Adding three pockets—a main compartment, an outer slip pocket, and an inner slip pocket—elevates its utility, making it an ideal companion for your phone, wallet, keys, and other small necessities. Let’s get creative and sew your new favorite bag!
What You’ll Need:
Before we begin, gather all your materials. Having everything ready will make your sewing process much smoother.
- Fabric:
- Main Exterior Fabric: 1/2 yard (0.45 meters) of medium-weight woven fabric. Options like canvas, denim, twill, or upholstery fabric work well for durability and structure.
- Lining Fabric: 1/2 yard (0.45 meters) of lightweight woven fabric. Quilting cotton or broadcloth is perfect for a neat interior.
- Accent Fabric (for outer pocket and strap): 1/4 yard (0.23 meters) of medium-weight woven fabric that complements your main exterior fabric. This could be a contrasting color, pattern, or texture.
- Interfacing (Optional but Recommended):
- Light-to-medium weight fusible interfacing: 1/2 yard (0.45 meters) for the exterior pieces and pockets, if your fabric needs more body.
- Heavyweight fusible interfacing (e.g., Pellon SF101 or Decovil Light): 1/4 yard (0.23 meters) for added structure to the bag body.
- Hardware:
- D-rings (2): 1-inch (2.5 cm) internal diameter.
- Swivel clasps (2): To match your D-rings, 1-inch (2.5 cm) internal diameter.
- Strap adjuster slide (1): To match your D-rings, 1-inch (2.5 cm) internal diameter.
- Closure (Choose one):
- Magnetic snap (1 set): 18mm or 14mm.
- Zipper (1): At least 8-10 inches (20-25 cm) long, matching your bag width.
- Thread: All-purpose polyester thread that matches or complements your fabrics.
- Tools:
- Sewing machine
- Fabric scissors or rotary cutter and mat
- Measuring tape or ruler
- Fabric markers or tailor’s chalk
- Pins or fabric clips
- Iron and ironing board
- Safety pin or loop turner (for strap)
- Optional: Rivet setting tool and rivets for strap attachment (for a professional touch).
Understanding the Bag Construction:
This crossbody bag will consist of several pieces that come together to form a structured and functional accessory.
Dimensions for a Medium-Sized Crossbody Bag (Approx. 9″ W x 10″ H x 2″ D):
- Main Bag Body Pieces (Cut 2 each):
- Exterior Fabric: 11″ W x 12″ H (28 cm x 30.5 cm)
- Lining Fabric: 11″ W x 12″ H (28 cm x 30.5 cm)
- Heavyweight Interfacing: 10″ W x 11″ H (25.5 cm x 28 cm) (Centrally place on wrong side of exterior fabric)
- Outer Slip Pocket Piece (Cut 1):
- Accent Fabric: 11″ W x 10″ H (28 cm x 25.5 cm)
- Light/Medium Interfacing: 10″ W x 9″ H (25.5 cm x 23 cm)
- Inner Slip Pocket Piece (Cut 1):
- Lining Fabric: 11″ W x 10″ H (28 cm x 25.5 cm)
- Light/Medium Interfacing: 10″ W x 9″ H (25.5 cm x 23 cm)
- Side/Bottom Gusset Piece (Cut 1 each):
- Exterior Fabric: 4″ W x 28″ L (10 cm x 71 cm)
- Lining Fabric: 4″ W x 28″ L (10 cm x 71 cm)
- Heavyweight Interfacing: 3″ W x 27″ L (7.5 cm x 68.5 cm)
- Strap Connector Tabs (Cut 2):
- Exterior Fabric: 4″ W x 2″ H (10 cm x 5 cm)
- Light/Medium Interfacing: 3″ W x 1″ H (7.5 cm x 2.5 cm)
- Adjustable Strap Piece (Cut 1):
- Accent Fabric: 4″ W x 50″ L (10 cm x 127 cm) (Adjust length for desired crossbody fit)
- Light/Medium Interfacing: 3″ W x 49″ L (7.5 cm x 124.5 cm)
Note: All seam allowances are 1/2 inch (1.25 cm) unless otherwise stated.
Step-by-Step Sewing Instructions:
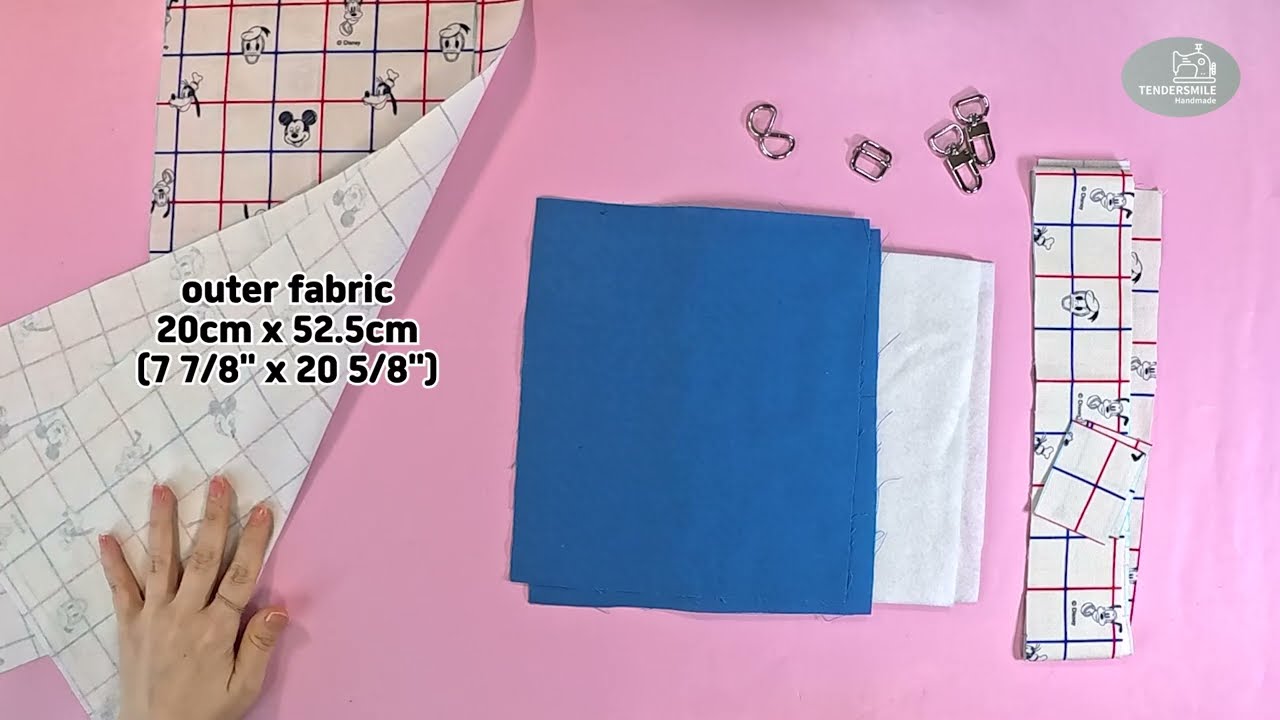
1. Cut Fabrics and Fuse Interfacing
- Cut all fabric pieces according to the dimensions listed above.
- Fuse interfacing:
- For the main exterior fabric pieces, center and fuse the heavyweight interfacing to the wrong side.
- For the outer and inner pocket pieces, center and fuse the light-to-medium weight interfacing to the wrong side.
- For the gusset pieces, center and fuse the heavyweight interfacing to the wrong side.
- For the strap connector tabs and adjustable strap piece, center and fuse the light-to-medium weight interfacing to the wrong side.
- Press well to ensure proper adhesion.
2. Prepare the Pockets
- Outer Slip Pocket:
- Take your Outer Slip Pocket piece (accent fabric). Fold it in half lengthwise, wrong sides together, so it measures 11″ W x 5″ H (28 cm x 12.7 cm). Press the fold.
- Topstitch along the folded edge, 1/8 inch (0.3 cm) from the fold, to create a neat finished top edge for your pocket.
- Place this pocket piece on top of one of your main exterior fabric pieces, aligning the raw side and bottom edges. The pocket will cover the bottom 5 inches (12.7 cm) of the exterior piece. Pin in place.
- Baste (stitch temporarily) the sides and bottom of the pocket to the main exterior piece within the 1/2 inch (1.25 cm) seam allowance.
- Optional: If you want to divide this pocket into two, draw a vertical line down the center and stitch along it.
- Inner Slip Pocket:
- Take your Inner Slip Pocket piece (lining fabric). Fold it in half lengthwise, wrong sides together, so it measures 11″ W x 5″ H (28 cm x 12.7 cm). Press the fold.
- Topstitch along the folded edge, 1/8 inch (0.3 cm) from the fold.
- Place this pocket piece on top of one of your main lining fabric pieces, aligning the raw side and bottom edges. The pocket will cover the bottom 5 inches (12.7 cm) of the lining piece. Pin in place.
- Baste the sides and bottom of the pocket to the main lining piece within the 1/2 inch (1.25 cm) seam allowance.
- Optional: Divide this pocket into sections for a phone or pens by drawing vertical lines and stitching.
3. Attach the Main Bag Closure (if using a Magnetic Snap)
- If using a magnetic snap, attach one half of the snap to the center top of the exterior bag back panel (the exterior piece without the outer slip pocket) about 1 inch (2.5 cm) down from the raw top edge. Follow the snap’s instructions for attachment.
- Attach the other half of the snap to the center top of the lining bag front panel (the lining piece with the inner slip pocket) about 1 inch (2.5 cm) down from the raw top edge. Ensure it aligns with the exterior snap when the bag is closed.
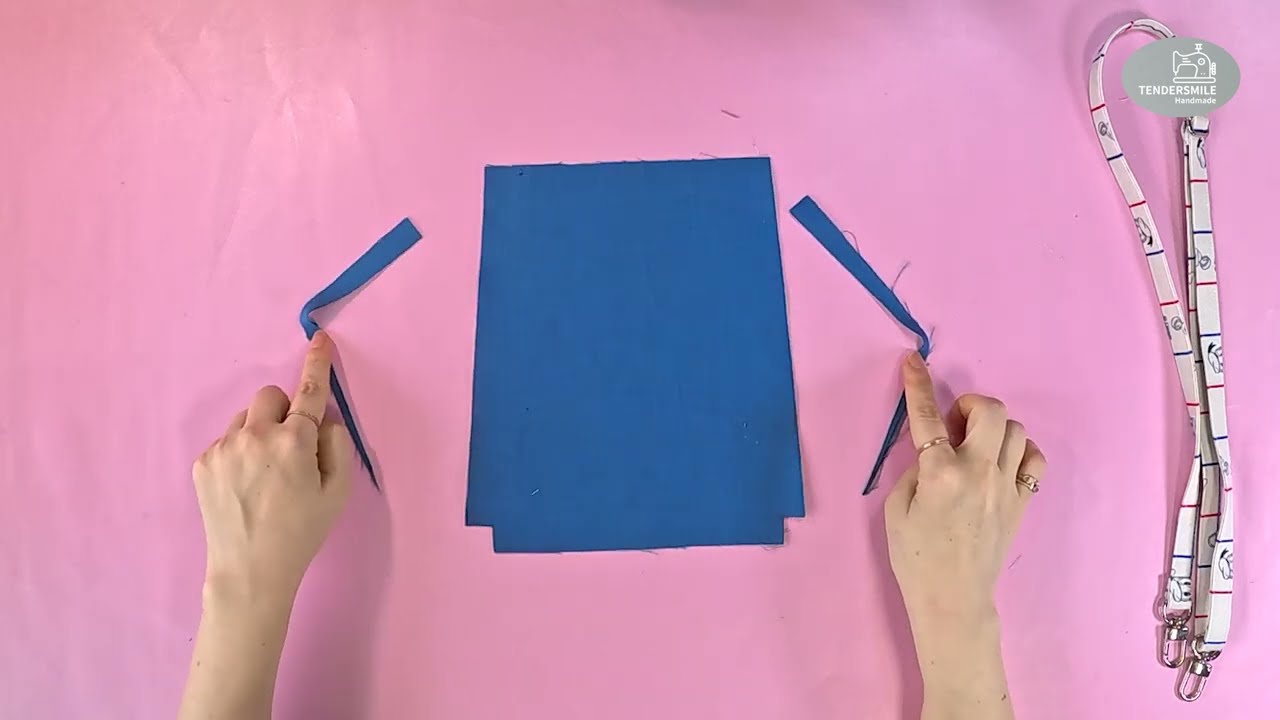
4. Prepare the Strap Connector Tabs
- Take each strap connector tab piece. Fold it in half lengthwise, right sides together, so it measures 2″ W x 2″ H (5 cm x 5 cm). Stitch down the long raw edge using a 1/4 inch (0.6 cm) seam allowance to form a tube.
- Turn the tubes right side out and press flat with the seam in the center back.
- Thread one D-ring onto each tab. The tab should form a loop with the D-ring.
- On the exterior bag back panel (the one with the magnetic snap), measure in 1.5 inches (3.8 cm) from each side edge at the top. Center the raw ends of each D-ring tab here, so the D-ring points inwards. Baste in place within the 1/2 inch (1.25 cm) seam allowance.
5. Assemble the Exterior Bag
- Take your gusset piece (exterior fabric). Mark the center of each short end and the center of the long edges.
- Take one of your main exterior bag panels (the one with the outer slip pocket), and mark the center of the bottom edge.
- Align the center mark of the gusset’s short end with the center mark of the bag panel’s bottom edge, right sides together. Pin, starting from the center and working your way around the bottom curved corners and up the sides. Match the raw edges precisely.
- Stitch the gusset to the panel with a 1/2 inch (1.25 cm) seam allowance. Go slowly around the curves, clipping the gusset’s seam allowance if needed to ease it around the curve. Backstitch at the start and end.
- Repeat this process for the other main exterior bag panel (the one with the strap tabs and magnetic snap). Attach the remaining long edge of the gusset to this panel, right sides together.
- Turn the exterior bag right side out and gently push out the seams and corners. Press well.
6. Assemble the Lining Bag
- Repeat the process from Step 5 with your lining fabric gusset and lining bag panels.
- Important: When sewing the second lining panel to the gusset, leave a 4-5 inch (10-12.7 cm) opening along the bottom of the lining gusset. This opening will be used to turn the bag right side out later. Backstitch securely at the beginning and end of this opening.
7. Combine Exterior and Lining Bags
- Keep the exterior bag right side out.
- Keep the lining bag wrong side out.
- Carefully insert the exterior bag into the lining bag, so their right sides are facing each other.
- Align the top raw edges of both bags perfectly. Match the side seams and the D-ring tabs with the side seams of the lining. Pin all around the top opening securely.
- Stitch around the entire top opening with a 1/2 inch (1.25 cm) seam allowance. Backstitch at the start and end.
8. Finish the Bag
- Reach into the opening you left in the bottom of the lining. Carefully pull the entire bag through this opening until it’s right side out.
- Gently push out all corners and curves to create a neat shape.
- Press the entire bag, especially the top seam.
- Close the opening in the lining: Press the raw edges of the opening inwards by 1/2 inch (1.25 cm). Stitch the opening closed either by machine (topstitch very close to the edge) or by hand using an invisible ladder stitch.
- Push the lining down into the bag. Press the top edge of the bag again.
- Topstitch: For a professional finish and added durability, topstitch around the entire top opening of the bag, about 1/8 to 1/4 inch (0.3-0.6 cm) from the edge.
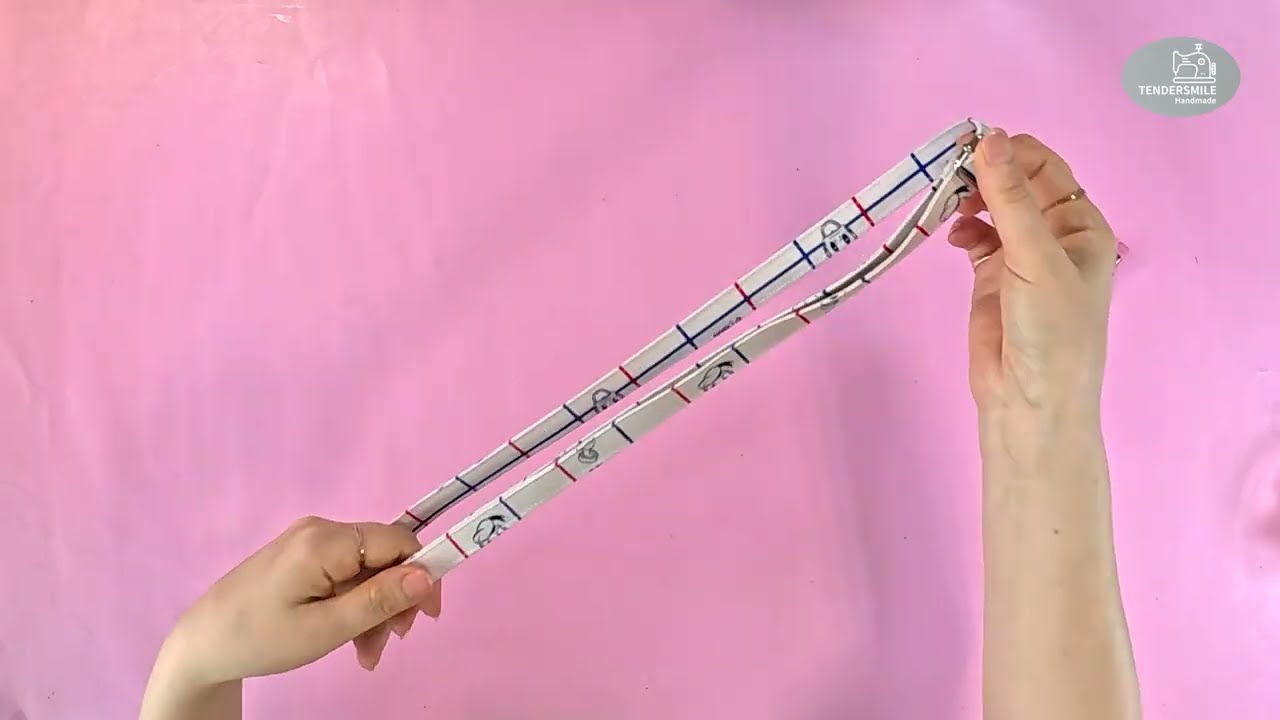
9. Make and Attach the Adjustable Strap
- Take your adjustable strap piece (accent fabric). Fold it in half lengthwise, right sides together. Stitch down the long raw edge with a 1/4 inch (0.6 cm) seam allowance to form a tube.
- Turn the tube right side out and press flat with the seam in the center back. Topstitch along both long edges, 1/8 inch (0.3 cm) from the edge.
- Attach hardware:
- Thread one end of the strap through one of your swivel clasps. Fold the end over by about 1 inch (2.5 cm) and stitch it down securely, forming a loop around the clasp. Stitch a rectangle with an “X” through it for extra strength.
- Take the other end of the strap and thread it through the strap adjuster slide, going over the middle bar. Pull through about 2 inches (5 cm).
- Thread the remaining swivel clasp onto this end of the strap.
- Now, loop this strap end back through the strap adjuster slide, going under the middle bar. This creates your adjustable loop.
- Fold the raw end over by about 1 inch (2.5 cm) and stitch it down securely, forming a loop around the adjuster slide. Stitch a rectangle with an “X” through it.
- Attach the swivel clasps to the D-rings on your bag.
Final Touches & Customization Ideas:
- Zippered Top: If you chose a zipper closure instead of a magnetic snap, you would install the zipper between the exterior and lining top edges in Step 7. This provides extra security.
- Piping: Add piping along the edges of your main panels before attaching the gusset for a more defined look.
- Embellishments: Personalize your bag with embroidery, fabric paint, patches, or decorative charms.
- Key Fob: Add a small fabric loop with a D-ring or swivel clasp inside one of your pockets for easy key attachment.
You’ve now created a fabulous and functional crossbody bag with three distinct pockets, perfect for keeping you organized on the go. Enjoy your new handmade accessory!
Video tutorial: