by
by Creating a cute pouch is a fantastic way to practice your sewing skills, use up fabric scraps, and make a versatile accessory for yourself or as a thoughtful gift. Pouches are incredibly handy for organizing everything from makeup and notions to coins and tech accessories. This guide will walk you through sewing a simple yet adorable zippered pouch, perfect for personalizing with your favorite fabrics.
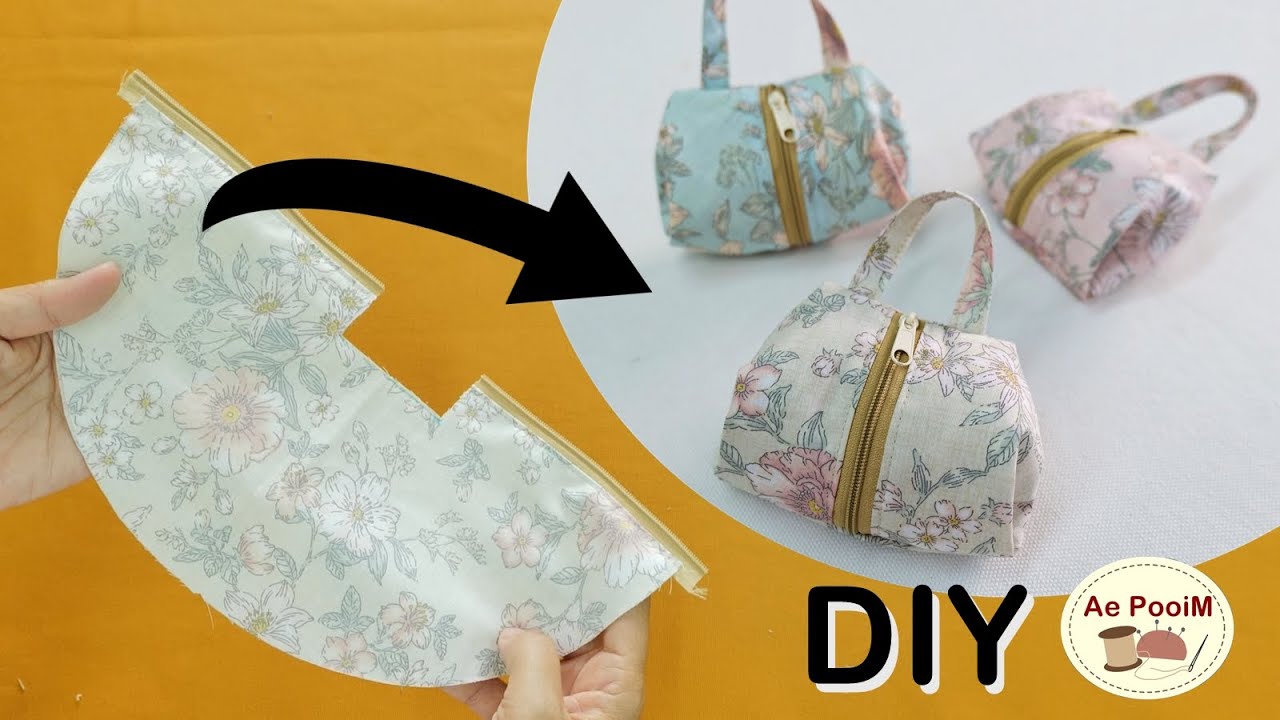
Stitching Sweetness: How to Sew a Cute Pouch
A pouch is a sewing superhero – small enough to be a quick project, yet endlessly useful. Whether you need a place for your earbuds, lip balm, art supplies, or a mini first-aid kit, a handmade zippered pouch adds a delightful touch to your organization. This tutorial focuses on a straightforward design, allowing you to play with cute fabrics and finishing details to make it uniquely yours.
Why Sew Your Own Pouch?
- Perfect for Scraps: An excellent way to use up those cherished fabric remnants from larger projects.
- Quick Gratification: Most pouches can be completed in an hour or two, offering a satisfying sense of accomplishment.
- Customizable: Endless possibilities for fabric combinations, sizes, and embellishments to match your style.
- Practicality: Keeps small items contained and organized in a larger bag, backpack, or drawer.
- Great for Gifting: A thoughtful and personal handmade present for friends and family.
What You’ll Need:
- Exterior Fabric: A fat quarter (18″ x 22″ or 45 cm x 55 cm) of quilting cotton, canvas, or linen. Choose a fun print or a vibrant solid.
- Lining Fabric: A fat quarter of quilting cotton. A coordinating or contrasting print can add a pop when opened.
- Zipper: One 8-inch (20 cm) nylon coil zipper. Nylon zippers are easy to sew and can be trimmed if too long.
- Interfacing (Optional but Recommended): 1/4 yard (0.23 meters) of fusible fleece (for a soft, padded pouch) or medium-weight fusible woven interfacing (for a firmer, more structured pouch).
- Thread: All-purpose polyester thread that matches or complements your fabrics.
- Tools:
- Sewing machine with a zipper foot
- Fabric scissors or rotary cutter, quilting ruler, and mat
- Fabric marker or tailor’s chalk
- Pins or fabric clips
- Iron and ironing board
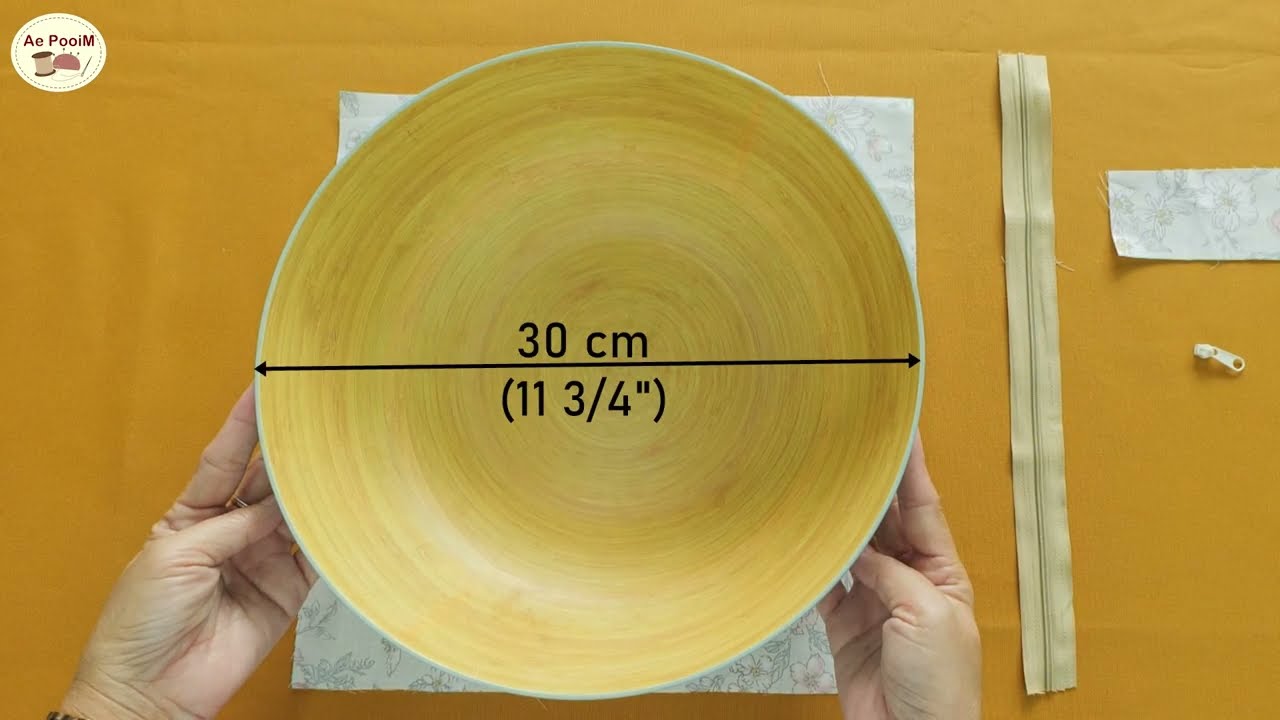
Understanding the Pouch Design & Cutting Dimensions:

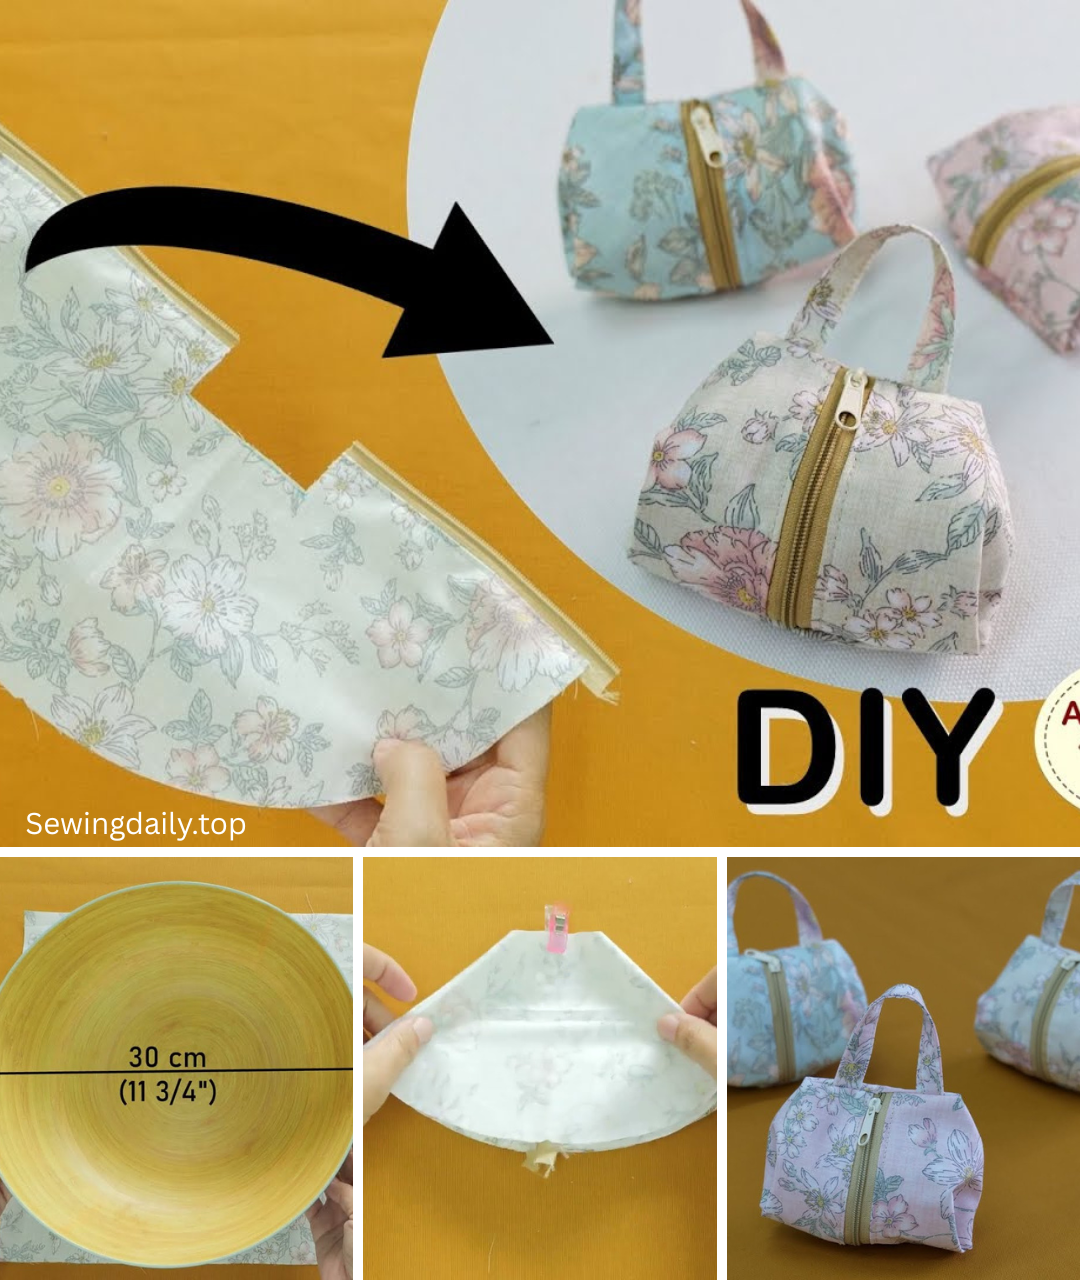
This tutorial will create a pouch approximately 8 inches wide x 5 inches tall x 2 inches deep (20 cm x 12.7 cm x 5 cm). You can easily adjust these dimensions, just remember to maintain the proportion for your zipper and ensure the width of your main panels matches the zipper length.
- Main Exterior Fabric (Cut 2): 9″ W x 6″ H (23 cm x 15 cm)
- Lining Fabric (Cut 2): 9″ W x 6″ H (23 cm x 15 cm)
- Interfacing (Optional – Cut 2): 9″ W x 6″ H (23 cm x 15 cm)
Note: All seam allowances are 1/2 inch (1.25 cm) unless otherwise stated.
Step-by-Step Sewing Instructions:
1. Prepare Your Fabrics & Fuse Interfacing
- Cut all fabric pieces according to the dimensions provided.
- Fuse interfacing (if using): If you’re using fusible interfacing (fleece or woven), fuse it to the wrong side of your Main Exterior Fabric pieces now. Follow the manufacturer’s instructions for pressing time and heat. This step gives your pouch body and helps it hold its shape.
2. Install the Zipper
This is often the trickiest part for beginners, but take it slow, and your zipper will look great!
- First Side of Zipper:
- Take one Exterior Fabric piece. Place it right side up on your work surface.
- Place your zipper on top of the exterior fabric, right side down, aligning the top edge of the zipper tape with the top raw edge of the fabric. The zipper pull should be facing down onto the fabric. Pin in place.
- Take one Lining Fabric piece. Place it on top of the zipper and the exterior fabric, right side down, aligning all three top raw edges (exterior fabric, zipper tape, lining fabric). Pin.
- Using your zipper foot, stitch along this edge with a 1/2 inch (1.25 cm) seam allowance. Sew slowly and carefully, guiding the fabric. When you approach the zipper pull, stop with your needle down, lift the presser foot, slide the zipper pull past your needle, lower the presser foot, and continue stitching.
- Press & Topstitch (First Side):
- Gently open the fabric pieces so the exterior and lining are pulled flat, with the zipper now between them. Press the fabric away from the zipper teeth.
- Topstitch along the folded edge, 1/8 inch (0.3 cm) from the zipper teeth, through all layers (exterior, zipper tape, lining). This secures the fabric, prevents it from getting caught in the zipper, and gives a professional finish.
- Second Side of Zipper:
- Repeat steps 2.1 and 2.2 for the other side of the zipper, using the remaining Exterior Fabric piece and Lining Fabric piece. Make sure the exterior fabrics are aligned with each other, and the lining fabrics are aligned with each other.
- You should now have a long piece of fabric with the zipper in the middle, exterior fabric on one side, and lining fabric on the other.
3. Assemble the Pouch Body
- Align Layers:
- Open the zipper about halfway. This is CRUCIAL! If you don’t open it, you won’t be able to turn your pouch right side out later.
- Fold the entire piece so that the two Exterior Fabric pieces are right sides together, and the two Lining Fabric pieces are also right sides together.
- Align all raw edges perfectly. Make sure the zipper seam lines match up. Pin securely around all three open sides (the two short sides and the bottom long side).
- Stitch & Leave Opening:
- Starting from one side of the lining, stitch down the side, across the bottom, and up the other side using a 1/2 inch (1.25 cm) seam allowance.
- Important: When sewing the bottom seam of the lining fabric, leave a 3-4 inch (7.6-10 cm) opening in the middle. This opening is where you’ll turn the pouch right side out. Remember to backstitch securely at the beginning and end of this opening.
- Trim Corners: Clip the exterior fabric corners diagonally, close to the stitching line but without cutting the stitches. This reduces bulk when you turn the pouch.
4. Create the Boxed Corners (Optional but Recommended)
This step gives your pouch a flat, stable bottom.
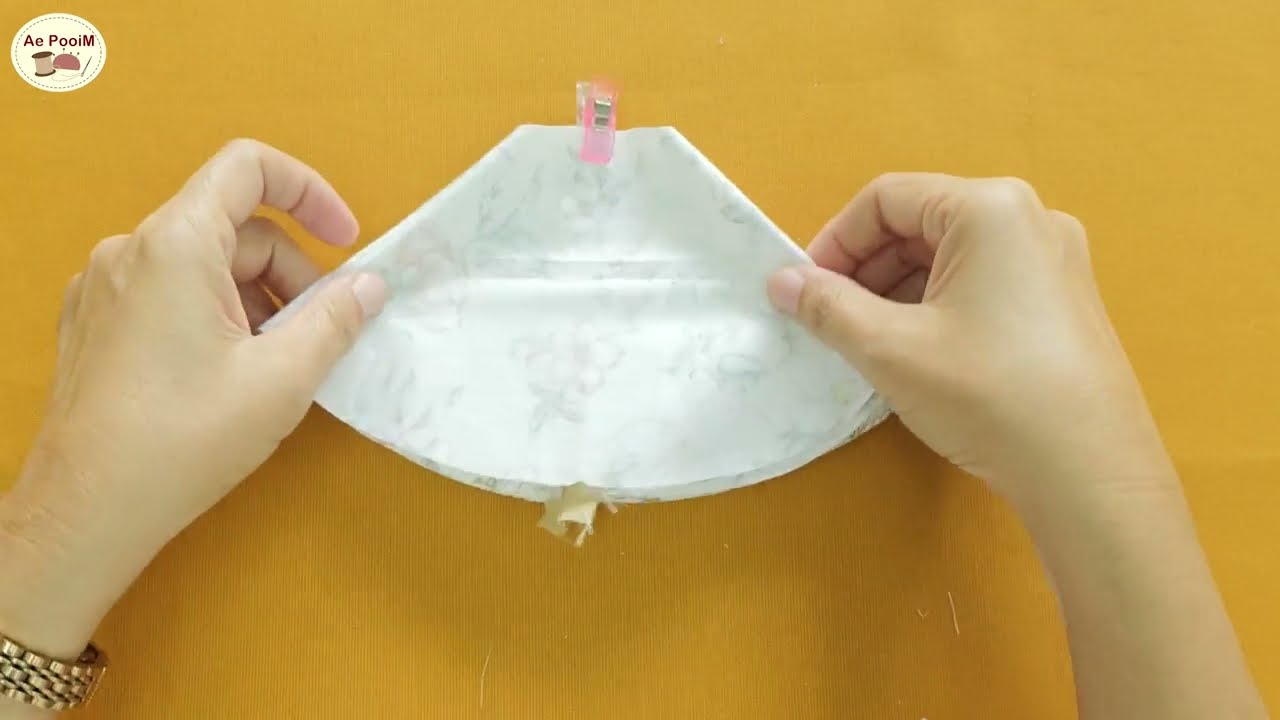
- At each of the four corners (two on the exterior, two on the lining), flatten the corner so the side seam meets the bottom seam. This will form a triangle with the seam running down its center.
- Measure 1 inch (2.5 cm) from the tip of the triangle (where the seams cross) and draw a line perpendicular to the seam. This line should be 2 inches (5 cm) long across the corner.
- Stitch directly along this marked line.
- Trim the excess fabric from the corner, leaving a 1/2 inch (1.25 cm) seam allowance.
- Repeat for all four corners.
5. Finish the Pouch
- Reach into the opening you left in the bottom of the lining. Carefully pull the entire pouch through this opening until it’s right side out.
- Gently push out all corners and seams to create a neat, defined shape for your pouch. Use a point turner or a blunt stick if needed.
- Press the entire pouch thoroughly, paying special attention to the zipper and all seams.
- Close the opening in the lining: Press the raw edges of the opening inwards by 1/2 inch (1.25 cm). Stitch the opening closed either by machine (topstitch very close to the edge) or by hand using an invisible ladder stitch for a seamless finish.
- Push the lining down into the pouch. Press the top edge of the pouch again.
Customization & Embellishment Ideas:
- Wristlet Strap: Before stitching the top opening (Step 3.2), fold a 1″ x 10″ fabric strip (or 1/2″ webbing) in half lengthwise. Insert the raw ends into one of the side seams of the exterior pouch (with a D-ring or swivel clasp attached to the loop). Stitch securely when sewing the side seam.
- Appliqué/Embroidery: Add a cute appliqué design or embroidered initials to the exterior fabric before assembling the pouch.
- Quilted Exterior: If you want a padded, quilted look, layer your exterior fabric with a thin batting and quilt it before starting Step 1.
- Different Shapes: Apply the same zipper-and-box-corner principles to make rounded pouches, trapezoid shapes, or larger cases.
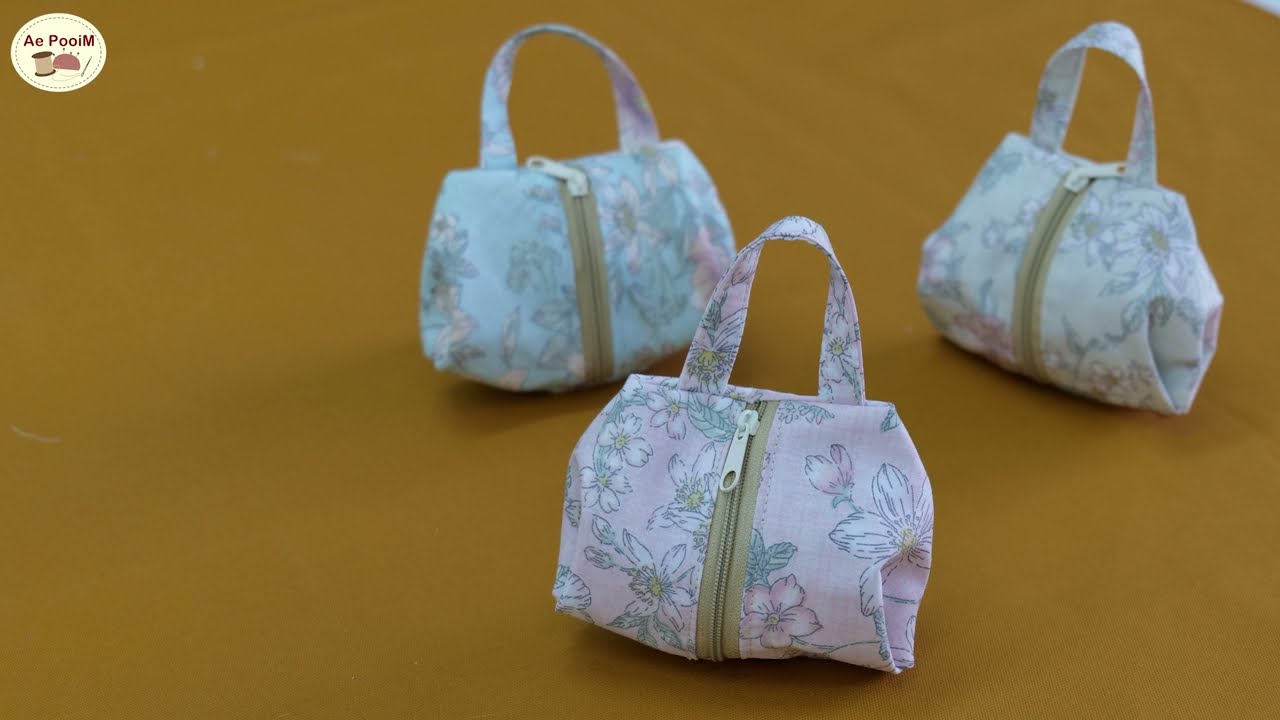
You’ve now created a super cute and functional zippered pouch! This little bag is perfect for organizing your life or bringing a smile to someone’s face as a thoughtful, handmade gift. What will you store in your new pouch?
Video tutorial: