by
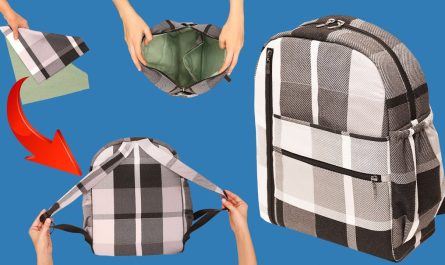
by Creating a simple shoulder bag with just one pattern piece is a fantastic project for beginners and experienced sewists alike! It’s an excellent way to use up fabric scraps, and the result is a versatile accessory perfect for everyday use. This detailed guide will walk you through each step, from choosing your materials to adding the finishing touches.
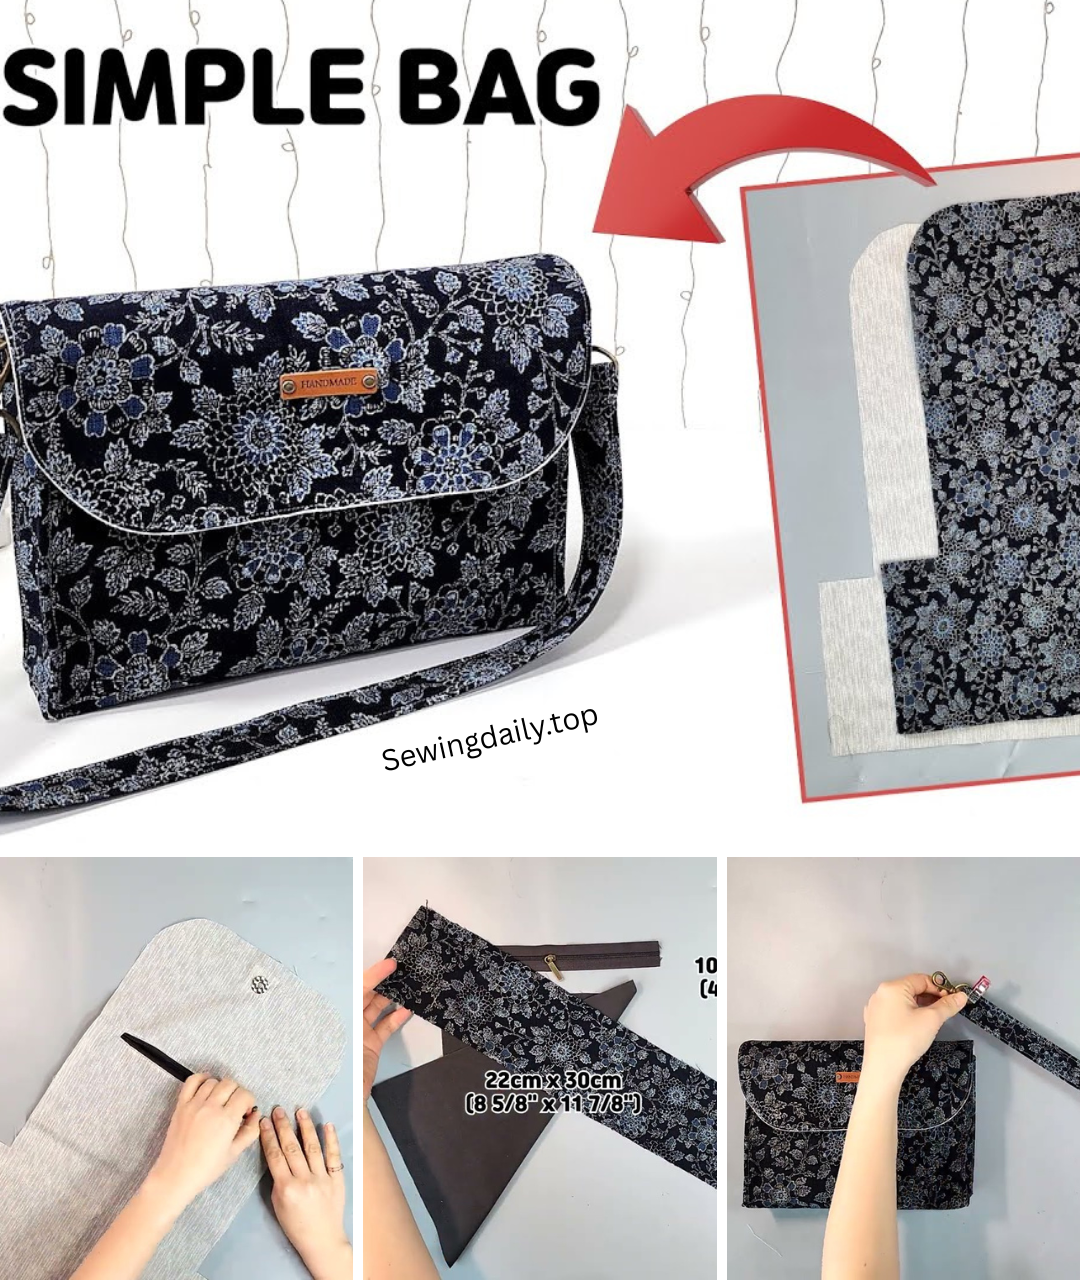
How to Make a Simple Sewing Shoulder Bag with One Pattern
A shoulder bag is a timeless accessory, and the beauty of this project lies in its simplicity. By using a single, cleverly designed pattern piece, we can create a functional and stylish bag without the need for complex construction or multiple seams. Let’s get started!

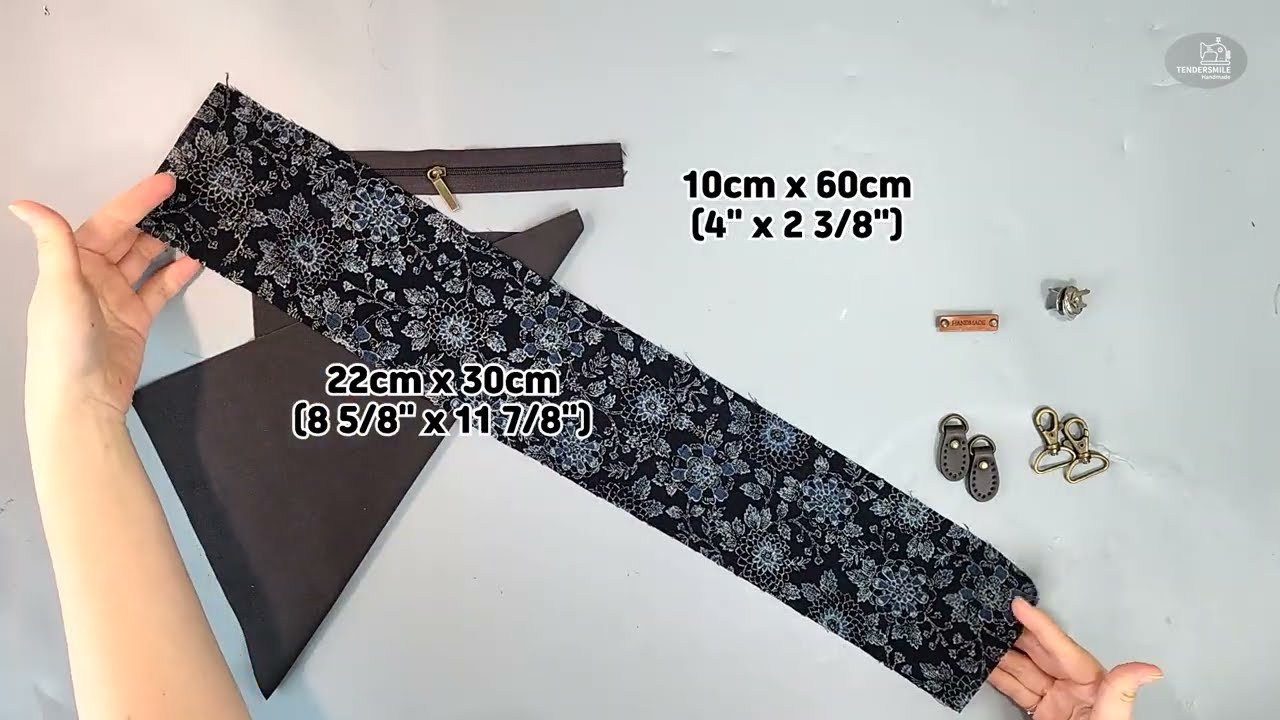
What You’ll Need:
Before diving into the sewing, gather all your materials. Having everything ready will make the process much smoother.
-
Fabric:
- Main Fabric: Approximately 1 yard (0.9 meters) of a medium-weight woven fabric. Cotton canvas, denim, twill, or a sturdy home décor fabric are excellent choices. Choose a fabric that you love the look and feel of!
- Lining Fabric: Approximately 1 yard (0.9 meters) of a lightweight woven fabric. Cotton broadcloth, quilting cotton, or even an old sheet would work well. The lining can complement or contrast with your main fabric.
- Optional: Fusible interfacing (light to medium weight) if your main fabric is a bit too soft and you want more structure. About 1 yard (0.9 meters) will suffice.
-
Thread: All-purpose polyester thread that matches or complements your fabric colors.
-
Tools:
- Sewing machine
- Fabric scissors or rotary cutter and mat
- Measuring tape or ruler
- Fabric markers or tailor’s chalk
- Pins or fabric clips
- Iron and ironing board
- Safety pin or bodkin (for turning strap)
Understanding the Single Pattern Piece
The genius of this bag lies in its single pattern piece. This piece will be a long rectangle that forms the body of the bag and the strap. The length of this rectangle will determine the length of your strap and the depth of your bag, while the width will determine the width of your bag.
Calculating Your Pattern Dimensions:
Let’s break down how to determine the size of your single pattern piece.
-
Bag Width (W): Decide how wide you want your finished bag to be. A good starting point is 12-14 inches (30-35 cm).
- Pattern Piece Width: Your desired Bag Width (W) + 1 inch (2.5 cm) for seam allowances (0.5 inch or 1.25 cm on each side).
- Example: If you want a 12-inch wide bag, your pattern piece width will be 13 inches.
-
Bag Depth (D): Decide how deep you want your finished bag to be. A common depth is 10-12 inches (25-30 cm).
-
Strap Length (S): This is crucial for comfort. Measure a bag you already own, or drape a measuring tape over your shoulder to determine your preferred strap length. Consider whether you want it to be a true shoulder bag or more of a cross-body style. A typical shoulder strap might be 25-30 inches (63-76 cm) per side when laid flat, meaning the total length of the strap part of your pattern will be 50-60 inches (126-152 cm).
- Remember: The strap will be folded in half lengthwise, so the total length of the strap section on your pattern piece needs to be double your desired finished strap length.
-
Pattern Piece Length (L): This is where everything comes together.
- Your Bag will have two depths (front and back).
- Your Strap will have a total length (as calculated above).
- Formula: L = (2 * D) + S + 1 inch (2.5 cm) for seam allowances (0.5 inch or 1.25 cm at each top edge of the bag).
- Example: If D = 10 inches and S = 50 inches: L = (2 * 10) + 50 + 1 = 20 + 50 + 1 = 71 inches.
Let’s assume for this tutorial we’ll use these example dimensions for your pattern piece:
- Pattern Piece Width: 13 inches (for a 12-inch wide bag)
- Pattern Piece Length: 71 inches (for a 10-inch deep bag and a 50-inch total strap length)
Step-by-Step Instructions:
1. Cut Your Fabric
-
Main Fabric:
- Lay your main fabric flat and smooth it out.
- Using your measuring tape/ruler and fabric marker, draw a rectangle with the dimensions you calculated (e.g., 13 inches wide x 71 inches long).
- Carefully cut out this rectangle. This is your single pattern piece.
-
Lining Fabric:
- Repeat the process for your lining fabric, cutting out an identical rectangle with the exact same dimensions.
-
Optional: Interfacing:
- If using fusible interfacing, cut out an identical rectangle. Follow the manufacturer’s instructions to fuse it to the wrong side of your main fabric piece. This will add structure and durability to your bag.
2. Prepare the Strap
-
Fold and Press:
- Take your main fabric rectangle. Lay it wrong side up.
- Along the length of the fabric, fold each long edge inwards towards the center by 0.5 inches (1.25 cm) and press firmly. This creates clean edges for your strap.
- Now, fold the entire length of the fabric in half again, matching the newly pressed edges. Press well. You should have a long, narrow strip that will become your strap, with raw edges enclosed.
-
Stitch the Strap:
- Topstitch along both long edges of the folded strap, about 1/8 inch (0.3 cm) from the edge. This will secure the strap and give it a professional finish.
3. Form the Bag Body
-
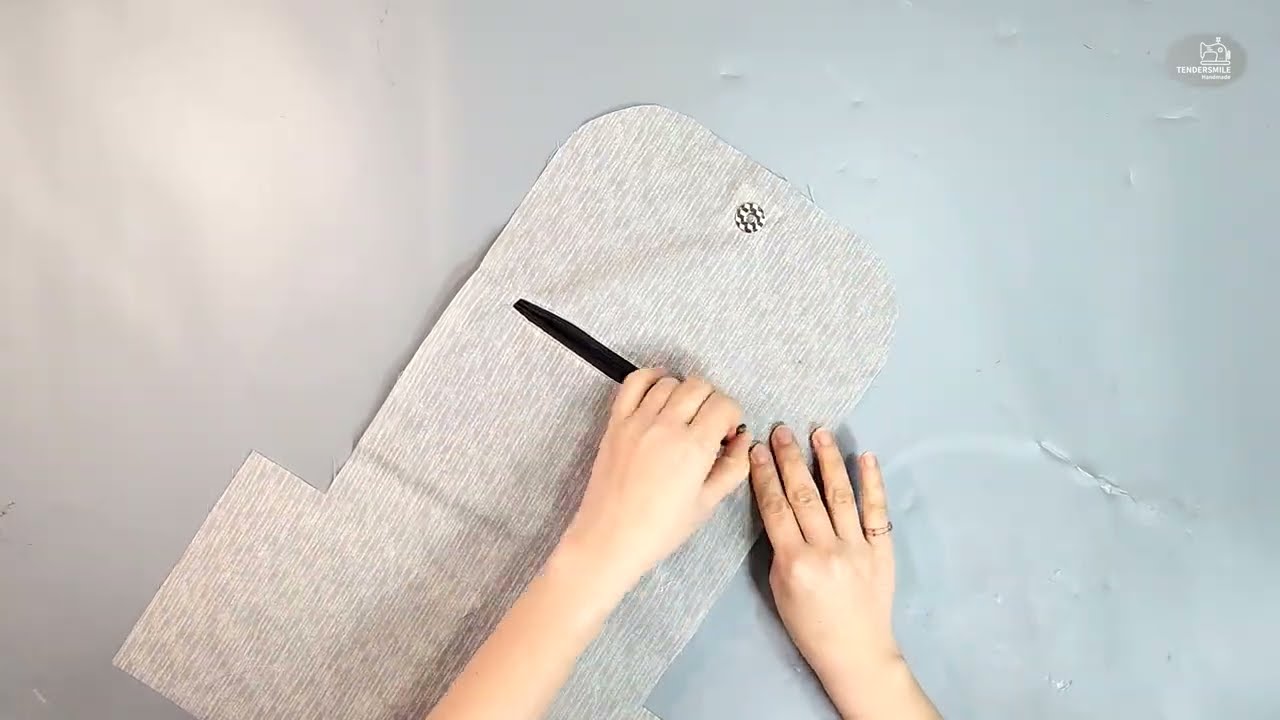
Fold and Mark:
- Lay your main fabric piece (now with the strap sewn) right side up.
- Referring to your Bag Depth (D), measure up from each short end of the rectangle. Mark these points. These marks indicate where the bottom of your bag will be.
- Example: If your Bag Depth (D) is 10 inches, measure 10 inches from one short end and make a mark. Do the same from the other short end.
-
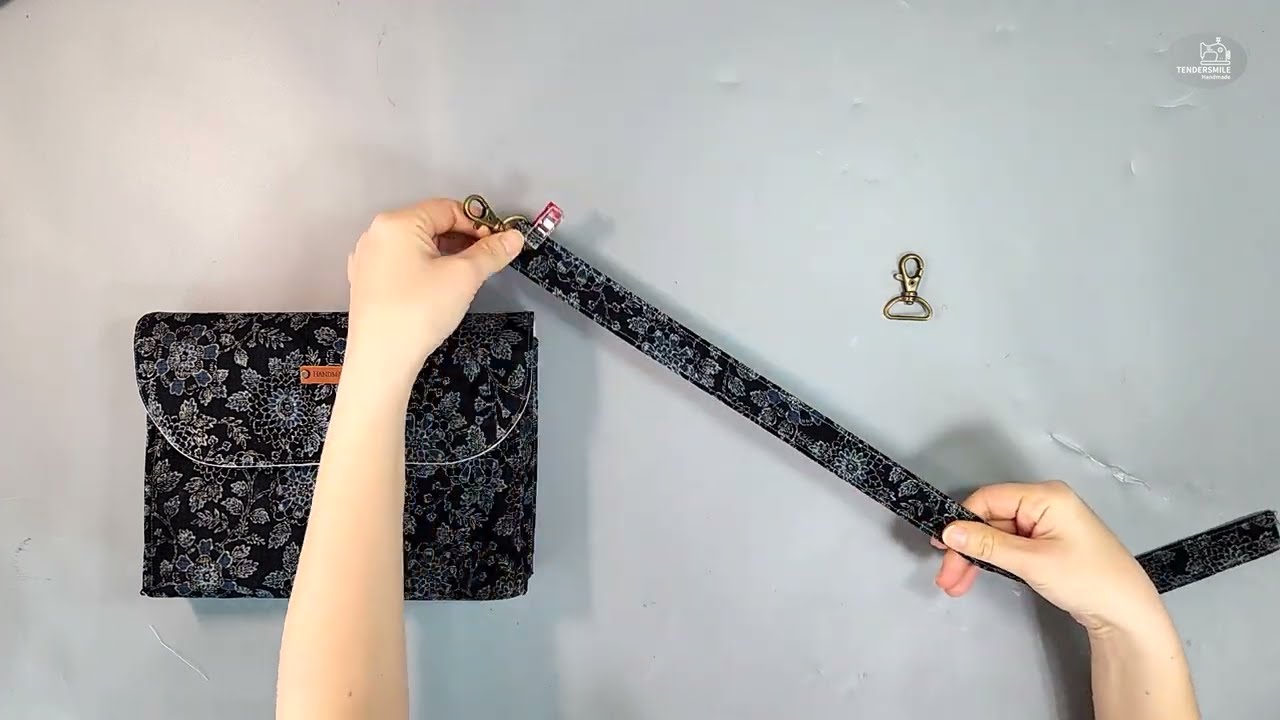
Align Strap and Bag:
- Take one end of your sewn strap. Bring it down towards one of your marked points on the main fabric rectangle.
- Align the raw edge of the strap (the end that hasn’t been sewn into the strap yet) with the marked line. The strap should be lying on top of the right side of the main fabric, pointing inwards towards the center of the rectangle.
- Pin the strap end securely in place.
- Repeat this process with the other end of the strap and the other marked point on the rectangle. Ensure the strap is not twisted! It should form a continuous loop.
-
Sew the Sides of the Bag (Main Fabric):
- Fold the main fabric rectangle in half, right sides together, so that the two short ends meet. The strap should be sandwiched inside.
- Align the long raw edges of the rectangle. Pin securely along both sides.
- Sew down each long side using a 0.5 inch (1.25 cm) seam allowance. Backstitch at the beginning and end of each seam to secure.
- Press the seams open.
4. Create the Bag Lining
- Repeat for Lining:
- Take your lining fabric rectangle.
- Fold it in half, right sides together, matching the short ends.
- Align the long raw edges and pin securely along both sides.
- Sew down each long side using a 0.5 inch (1.25 cm) seam allowance. Remember to backstitch.
- Important: On one of the lining side seams, leave a 4-5 inch (10-12 cm) opening in the middle. This will be used later for turning the bag right side out. Backstitch before and after the opening.
- Press the seams open.
5. Assemble the Bag
-
Insert Lining into Main Bag:
- Turn your main fabric bag (with the strap attached) right side out.
- Keep your lining bag wrong side out.
- Carefully insert the main fabric bag into the lining bag, so that the right sides of both fabrics are facing each other. The strap will be tucked inside.
- Align the top raw edges of the main fabric bag and the lining bag. Make sure the side seams of both bags match up as closely as possible. Pin all around the top edge.
-
Sew the Top Edge:
- Sew all around the top raw edges of the bag, using a 0.5 inch (1.25 cm) seam allowance. Backstitch at the beginning and end.
6. Finishing Touches
-
Turn Right Side Out:
- Reach into the opening you left in the lining side seam.
- Carefully pull the entire bag (main fabric and strap) through this opening. It will seem a bit awkward at first, but keep pulling gently until the entire bag is right side out.
-
Close the Lining Opening:
- Once the bag is turned, gently push out all the corners and seams.
- Press the raw edges of the opening in the lining seam inwards by 0.5 inches (1.25 cm).
- Stitch the opening closed. You can do this by machine (topstitching close to the edge) or by hand with a ladder stitch for an invisible finish.
-
Final Press and Topstitch:
- Push the lining down into the bag.
- Carefully press the top edge of the bag, ensuring the seam is crisp and flat.
- For a professional finish and added durability, topstitch around the entire top edge of the bag, about 1/8 to 1/4 inch (0.3-0.6 cm) from the folded edge.
Your Simple Shoulder Bag is Complete!
You’ve just created a functional and stylish shoulder bag using just one pattern piece! This versatile bag is perfect for carrying your essentials, whether you’re heading to the market, a casual outing, or simply need a handy carry-all.
Tips for Customization:
- Pockets: Before sewing the side seams of your main fabric or lining, you can add patch pockets to the inside or outside of your bag for extra organization.
- Closures: Add a magnetic snap, a zipper, or a button and loop closure to the top of your bag for added security.
- Embellishments: Experiment with embroidery, fabric paint, patches, or tassels to personalize your bag even further.
- Interfacing: For a more structured bag, use a heavier weight fusible interfacing on your main fabric.
Enjoy your new handmade shoulder bag, and revel in the satisfaction of creating something beautiful and practical with your own hands!
Video tutorial: