by
by Hello, minimalist makers and efficient sewists! Are you looking for a super-speedy bag project that uses no visible seams on the sides or bottom and results in a beautiful, reversible tote? I’m excited to share the pattern for the Origami Fold Tote—a chic, deep bag that is constructed from just a few large rectangles, utilizing clever folding and minimal stitching.
Inspired by a fantastic tutorial that claims to be the easiest way to sew a bag, this design relies on the principle of turning the main body inside out and then folding the corners to create a squared, structured base without ever needing a separate bottom piece. This is an ideal project for beginners or anyone needing a quick, custom-sized carryall.

Grab your favorite durable fabric (two contrasting colors work best for reversibility!) and let’s get folding!
Why You’ll Love Making This Bag:
- Seamless Sides: The main body and lining are sewn together first, resulting in a single piece that is then folded.
- Reversible Design: By using two different outer fabrics, you get two bags in one!
- Fastest Construction: No complex gussets, zipper panels, or separate bottom pieces.
- Structured Base: A simple fold and stitch creates a defined, squared bottom that allows the bag to stand.
What You’ll Need:
- Fabric 1 (Outer Shell): 1 yard of sturdy fabric (canvas, denim, twill, or upholstery fabric).
- Fabric 2 (Lining/Reversible Shell): 1 yard of contrasting cotton print or a coordinating canvas.
- Fusible Interfacing (Optional): 1 yard of medium-weight interfacing (highly recommended if using lightweight cotton).
- Straps:
- Option A: 2 yards (1.8 meters) of 1.5-inch wide cotton or nylon webbing.
- Option B: Fabric strips cut from Fabric 1/Fabric 2 (see measurements).
- Tools:
- Sewing Machine and strong thread.
- Iron and Ironing Board (essential for crisp folds).
- Ruler and Fabric Marker/Chalk.
- Pins or Clips.

Measurements & Cutting List
The final bag size will be approximately 14 inches wide x 16 inches high x 4 inches deep. All measurements include a 1/2-inch (1.2 cm) seam allowance, unless noted.
| Piece | Fabric | Dimensions (Width x Height) | Quantity | Notes |
| A: Main Body | Fabric 1 | 30 in. x 36 in. | 1 | This forms the outer front, back, and sides. |
| B: Lining Body | Fabric 2 | 30 in. x 36 in. | 1 | This forms the lining front, back, and sides. |
| C: Fabric Straps (Optional) | Fabric 1 or 2 | 4 in. x 30 in. | 2 | If not using webbing. |
Construction: Building the Origami Fold Tote
Part 1: Preparing Fabric and Straps
- Fuse Interfacing (If Used): Apply medium-weight fusible interfacing to the wrong side of the entire (A) Main Body panel.
- Prepare Fabric Straps (C, Optional): If using fabric straps, take the two (C) strips. Press the long edges inward by 1/4 inch, then fold the strip in half lengthwise and press again. Topstitch along both long edges.
Part 2: Sewing the Body and Lining Together
- Sew Top Edges: Place the (A) Main Body panel and the (B) Lining Body panel right sides together, aligning the two 30-inch sides. Sew these two edges together with a 1/2-inch seam allowance.
- Fold and Sew Side Seams:
- Open the long piece. It is now 30 inches wide by 72 inches long.
- Fold the entire piece in half so that Fabric 1 is now on the outside and Fabric 2 is on the inside, aligning the two remaining 30-inch edges.
- Sew the two 36-inch long side seams, from top to bottom, using a 1/2-inch seam allowance.
Part 3: Creating the Turning Hole and Final Seam
- The Opening: On the Fabric 2 (Lining) side, unpick a small section of the side seam you just sewed, creating a 6-inch (15 cm) turning hole near the center.
- Close Bottom: Bring the two bottom raw edges of the piece together (one edge is Fabric 1, one edge is Fabric 2). Pin and sew the final bottom seam closed with a 1/2-inch seam allowance. The body is now a fully enclosed, very long tube.
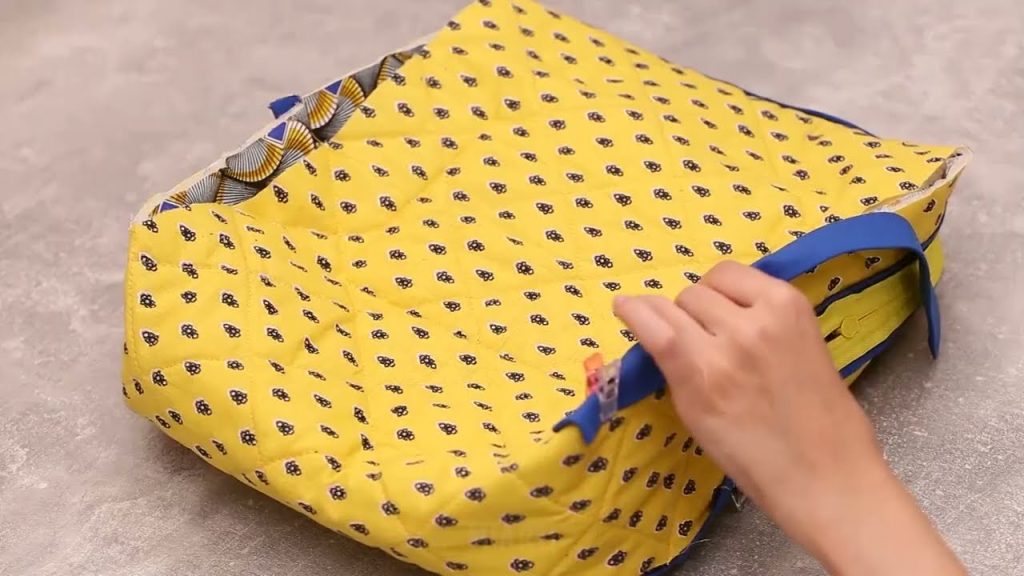
- Turn Right-Side Out: Reach into the 6-inch turning hole in the lining and gently pull the entire piece right-side out. Give it a good press, ensuring the top seam and the two side seams are crisp.
Part 4: Defining the Squared Bottom
- Find the Corners: Lay the piece flat, with the Fabric 1 (Outer) side facing up. Flatten the bottom seam so the bag is lying perfectly square.
- The Fold (Origami Step!): Pinch the corner of the bag so that the bottom seam is perfectly aligned with the side seam, forming a neat triangle at the corner.
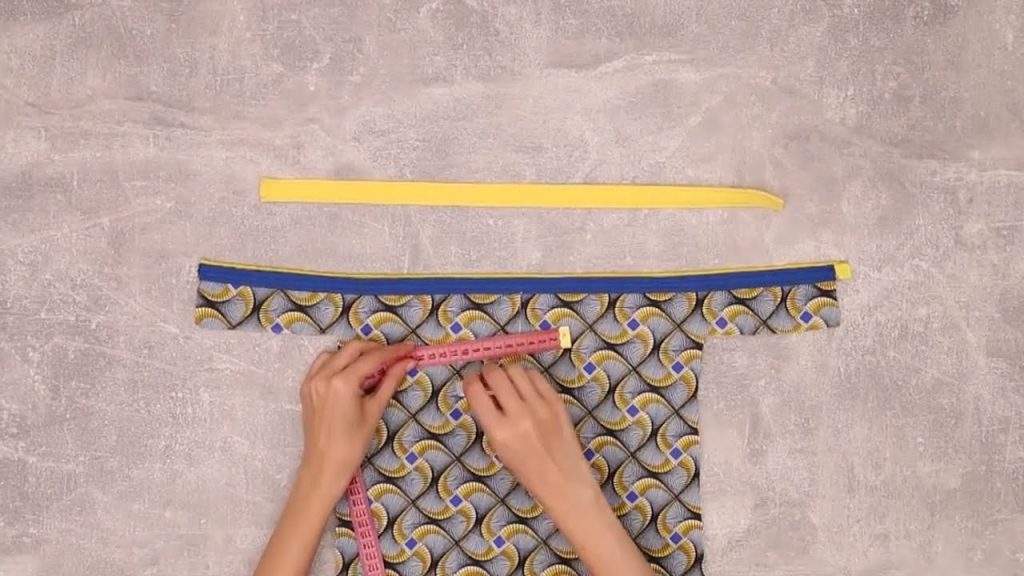
- Measure and Mark: Measure 2.5 inches (6 cm) down from the tip of the corner triangle and draw a straight line across. This line defines your 5-inch box depth.
- Stitch the Box: Sew along this 2.5-inch line. Repeat this boxing process for all four corners (two on the outer side, two on the lining side).
- Trim: Trim the excess triangular fabric, leaving a 1/2-inch seam allowance outside your new seam line.
Part 5: Attaching Handles and Finishing
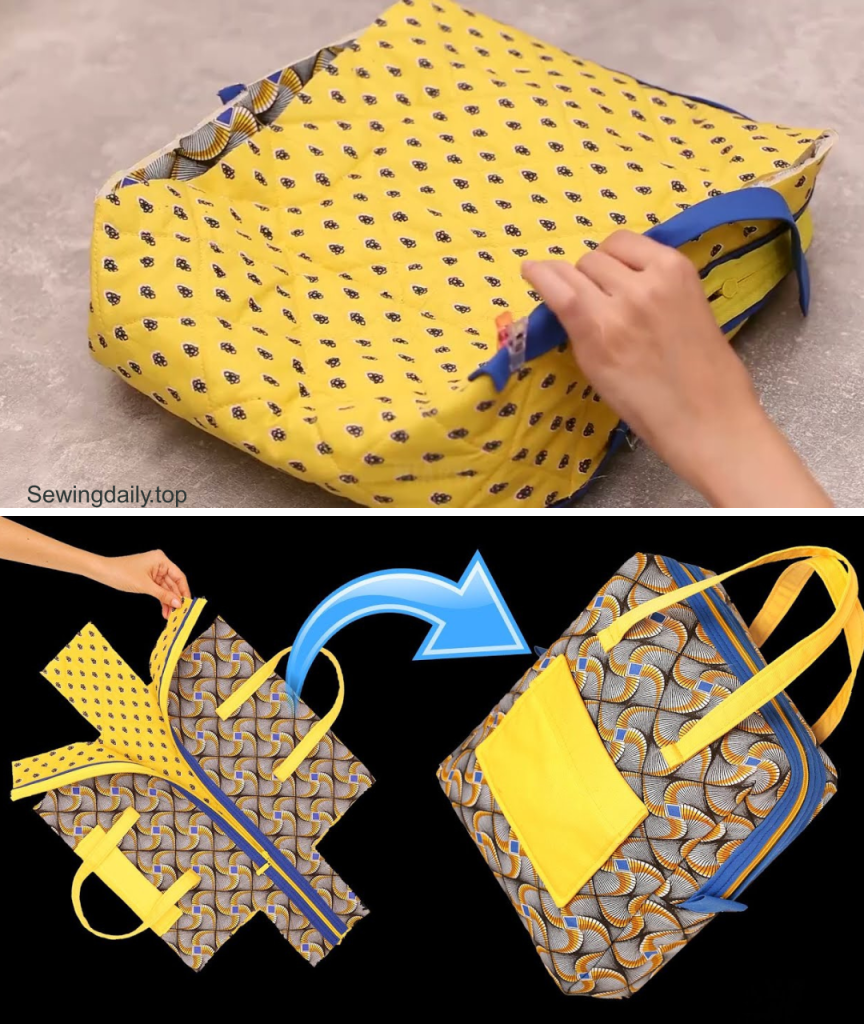
- Attach Straps: Turn the bag so the outer shell (Fabric 1) is showing.
- Webbing Straps: Pin the ends of the webbing straps to the top opening, approximately 4 inches (10 cm) in from the side seams.
- Fabric Straps (C): Pin the ends of the fabric straps to the top opening, approximately 4 inches (10 cm) in from the side seams.
- Baste securely.
- Close Turning Hole: Hand stitch or machine stitch the 6-inch turning hole on the lining side closed.
- Final Topstitch: Push the lining down inside the bag. Press the top edge flat and perform a final topstitch all the way around the top perimeter of the bag, approximately 1/4 inch from the edge, to secure the lining and the straps. Stitch a second line of topstitching 1/2 inch below the first one for added durability.
Congratulations! Your Origami Fold Tote is complete—a simple-to-sew, reversible, and structurally sound bag ready for anything!
Video tutorial: