 by
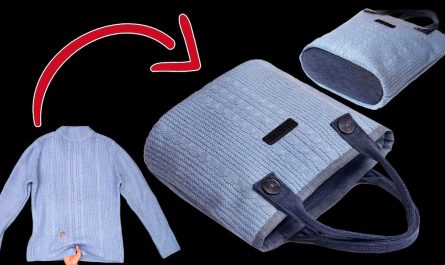
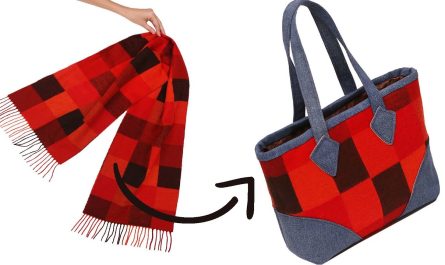
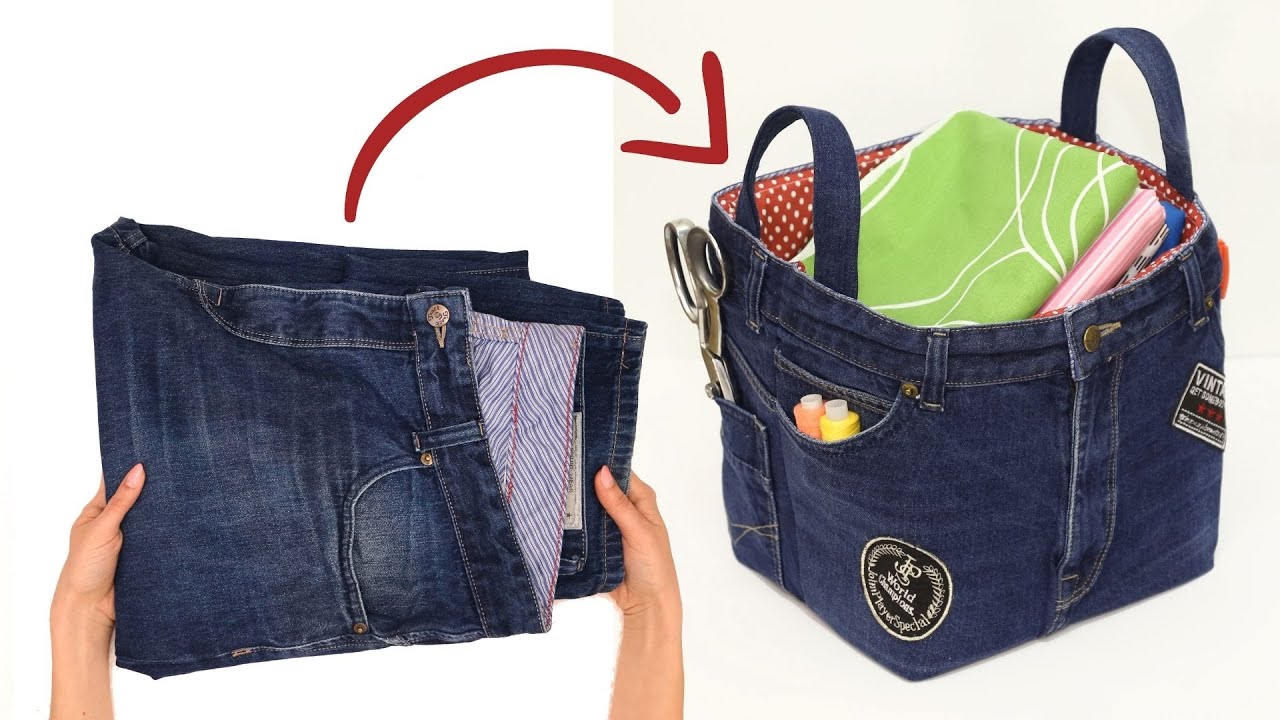
by Before you toss out that old pair of jeans with frayed cuffs or a worn-out knee, consider giving them a stylish new life! Upcycling old denim is a fantastic way to be sustainable while creating a unique, durable accessory. This detailed guide will walk you through transforming old jeans and leftover fabric scraps into a versatile, sturdy organizer that can be a handbag, a craft caddy, or even a chic storage box.

This project is perfect for confident beginners who are ready to tackle a multi-step project or for seasoned sewers looking for a fun and practical way to use up their fabric stash.
1. Planning Your Project: What to Look For
The key to a successful upcycle is choosing the right starting materials. Not all denim is created equal when it comes to bag-making.
- Jeans: Look for a pair of straight-leg or boot-cut jeans. Skinny jeans don’t provide as much usable fabric. The thicker the denim, the sturdier your final project will be. If the jeans have interesting seams or pockets, you can incorporate them into your design.
- Leftover Fabric: This is your chance to use up those fabric scraps! Look for a medium-weight cotton, canvas, or linen for the lining and any exterior decorative panels. A mix of fun patterns and colors will give your organizer a beautiful, patchwork feel.
- Thread: Choose a strong, contrasting thread for topstitching to highlight the seams, just like on a real pair of jeans.
2. Materials & Tools You’ll Need
Gathering your supplies before you start will make the process much smoother.
- 1 pair of old jeans
- Assorted fabric scraps for the lining and decoration
- Sewing machine
- Fabric scissors or a rotary cutter
- Measuring tape or ruler
- Straight pins or sewing clips
- Durable thread (denim or topstitching thread is ideal)
- Iron and ironing board
- Optional: Interfacing for added structure, or a heavy-duty needle for thick seams.
3. Let’s Get Started: The Step-by-Step Tutorial
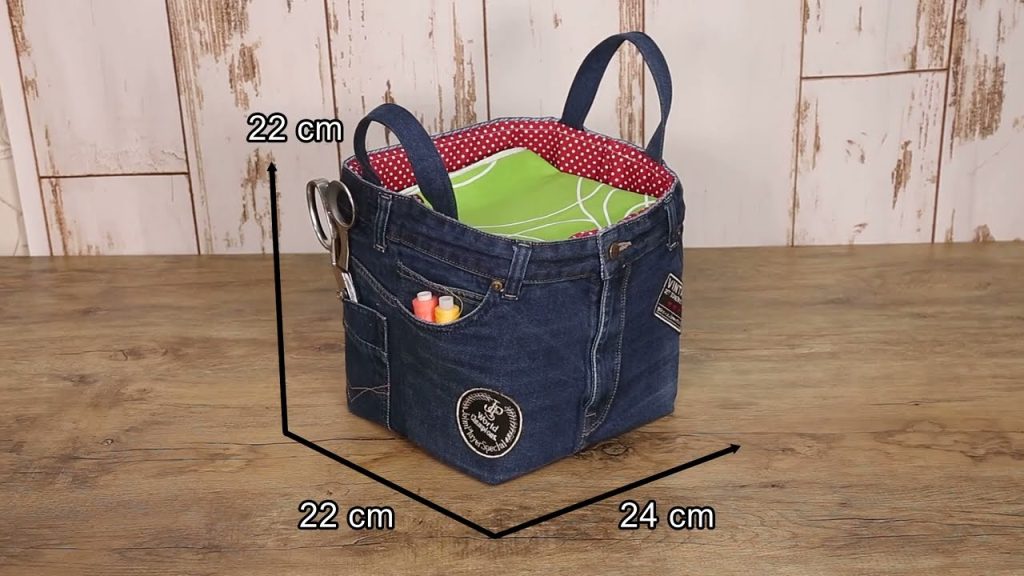
This pattern is for a large, rectangular box-style organizer with two handles, perfect for carrying or storing.
Part 1: Deconstruct & Cut
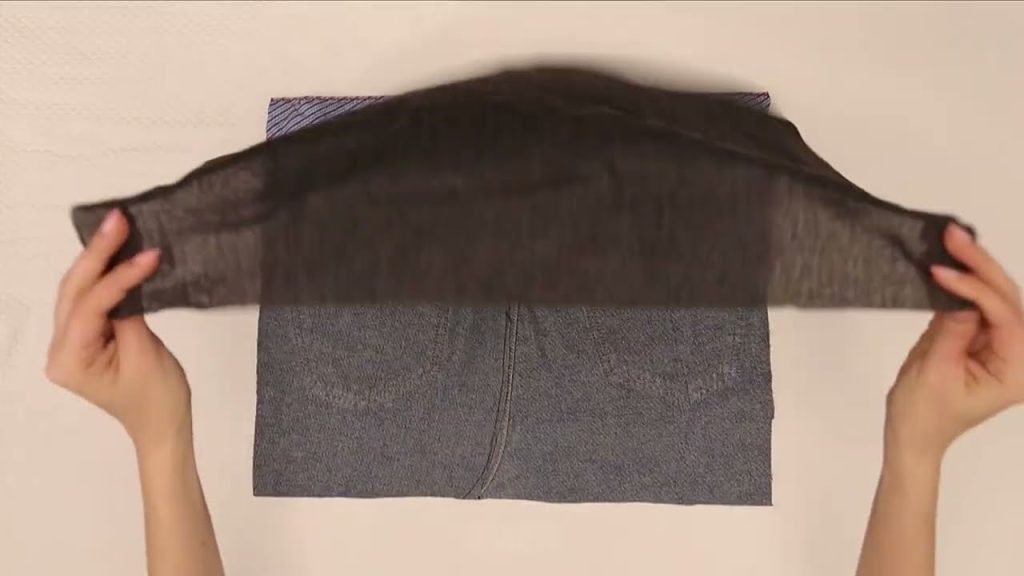
- Deconstruct the Jeans: Lay the jeans flat. Use your scissors to cut off the legs just below the crotch seam. Cut open each pant leg along the inner seam to get two large, flat rectangles of denim. You can also carefully unpick the back pockets and waist band to use them later.
- Cut the Exterior Panels: From the flattest parts of the denim, cut the following pieces:
- Body: 1 rectangle measuring 20 inches by 15 inches.
- Sides: 2 rectangles measuring 10 inches by 15 inches.
- Bottom: 1 rectangle measuring 20 inches by 10 inches.
- Cut the Lining Panels: From your leftover fabric scraps, cut the same four pieces as the exterior panels.
Part 2: Assemble the Exterior Bag
- Sew the Side Panels: Pin the two side panels to the body piece, with the right sides together. Sew them together along the 15-inch sides, using a 1/2-inch seam allowance. Use a straight stitch and backstitch at the start and end of each seam. You should now have a long, U-shaped piece.
- Sew the Bottom: Pin the bottom panel to the long U-shaped piece, right sides together. Start from one corner and pin all the way around, making sure the corners align. Sew all four sides of the bottom panel to the body and sides, creating a box shape.
- Create the Handles: Cut two strips of denim (or use the waistband of the jeans) for the handles. A good size is 2 inches wide by 24 inches long. Fold each strip in half lengthwise and sew a seam down the long edge.
- Attach the Handles: Place the handles on the exterior body of the bag, approximately 4 inches from each side seam. Baste them in place with a straight stitch.
Part 3: Assemble the Lining
- Repeat the Process: Follow the same steps from Part 2 to assemble the lining pieces. Do not attach the handles to the lining.
- Leave an Opening: When sewing the last seam of the lining (the last side seam or a seam on the bottom), leave a 4-inch opening in the middle. This will be used to turn the bag right-side-out later.
Part 4: Final Assembly
- Join the Bag and Lining: Turn the denim exterior bag right-side-out. Insert it into the lining bag, so that the right sides of both bags are facing each other. The handles should be tucked inside.
- Sew the Top: Align the top edges of the bag and lining. Pin them together and sew a straight stitch all the way around the top edge, using a 1/2-inch seam allowance.
- Turn & Finish: Carefully pull the entire bag through the 4-inch opening you left in the lining. The bag will now be right-side-out. Tuck the lining into the bag and press the top edge.
- Close the Opening: Hand-sew the opening in the lining shut using a ladder stitch.
- Topstitch: For a professional, polished look, topstitch around the top of the bag, about 1/4 inch from the edge.
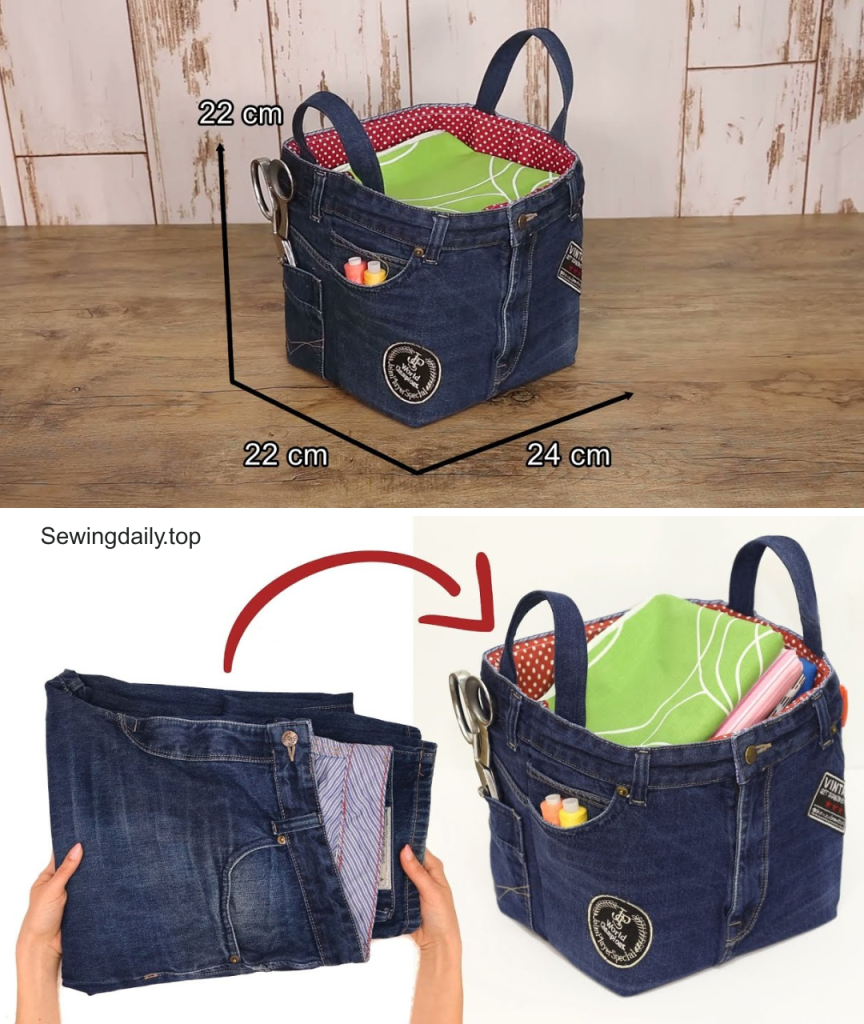
And that’s it! You’ve successfully transformed old jeans and fabric scraps into a beautiful and functional bag. This new creation is a perfect accessory for carrying groceries, organizing crafts, or simply as a stylish box to store your things.
Video tutorial: