by
by Do you have a beloved skirt in your closet that’s a little too short, or maybe a stain you just can’t get out? Before you toss it, consider giving it a new life as a stylish, one-of-a-kind bag! Repurposing old clothing is not only a fantastic way to be sustainable, but it also allows you to create a unique accessory with a story.

This detailed guide will walk you through transforming an old skirt into a beautiful and functional tote bag. The best part? You don’t need to be a master seamstress. This project is perfect for confident beginners and those who are new to upcycling.
1. Planning Your Bag: What to Look For
The key to a successful upcycle is choosing the right starting material. Not all skirts are created equal when it comes to bag-making.
- Fabric: Look for a skirt with a sturdy, medium-weight fabric. Denim, corduroy, canvas, or even a heavy cotton blend works best. Lightweight fabrics like rayon or silk might be too flimsy unless you plan on adding a lining.
- Style: Skirts with a wide A-line or straight cut are the easiest to work with. They give you a good amount of fabric to create the bag’s body. Skirts with pleats or intricate designs can also work, but you’ll need to be more creative with your pattern placement.
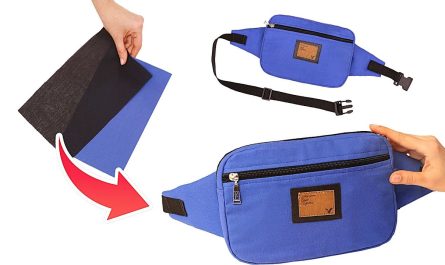
- Details: The original details of the skirt—like a zipper, button, or pockets—can become a part of your bag’s design. This is a great way to save time and add character.
2. Materials & Tools You’ll Need
Gathering your supplies before you start will make the process much smoother.
- Old skirt: Your chosen upcycling project!
- Sewing machine: While a skilled hand-sewer could manage, a machine will make this project much faster and sturdier.
- Fabric scissors or rotary cutter: For clean, precise cuts.
- Measuring tape or ruler: To ensure your pieces are the right size.
- Straight pins or sewing clips: To hold your fabric in place.
- Matching thread: Or a contrasting color for a bold look.
- Iron and ironing board: Essential for getting clean, crisp seams.
- Optional: Interfacing (for added structure), lining fabric, or a small piece of leather for the strap.
3. Let’s Get Started: The Step-by-Step Tutorial
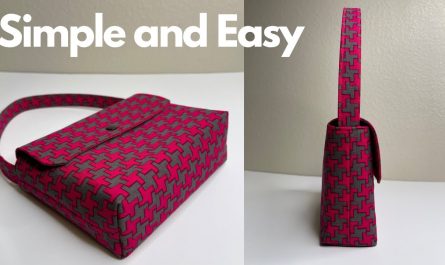
This pattern is for a simple, boxy tote bag with a built-in pocket, using the hem of the skirt as the bag’s opening.
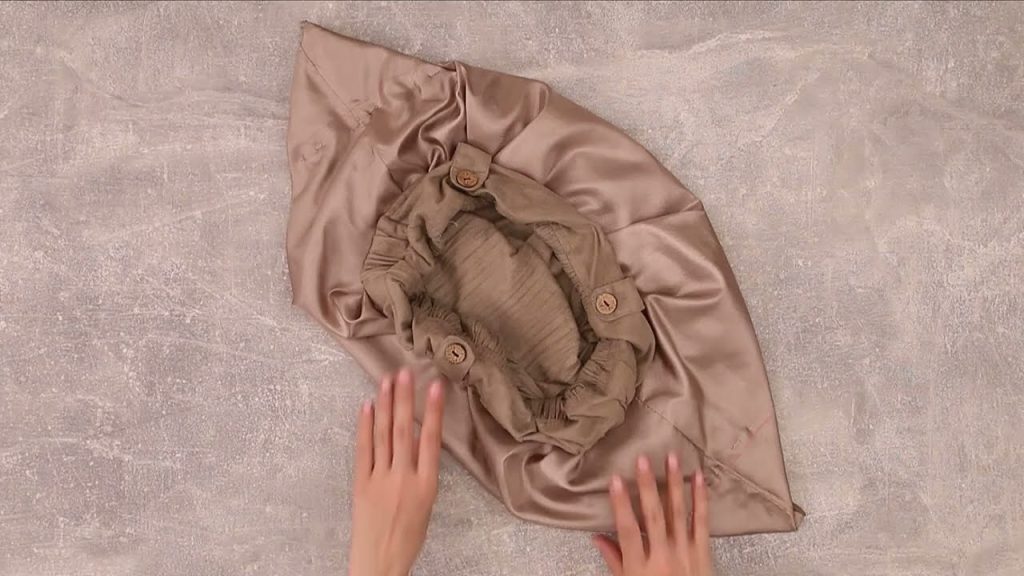
Part 1: Deconstruct & Measure
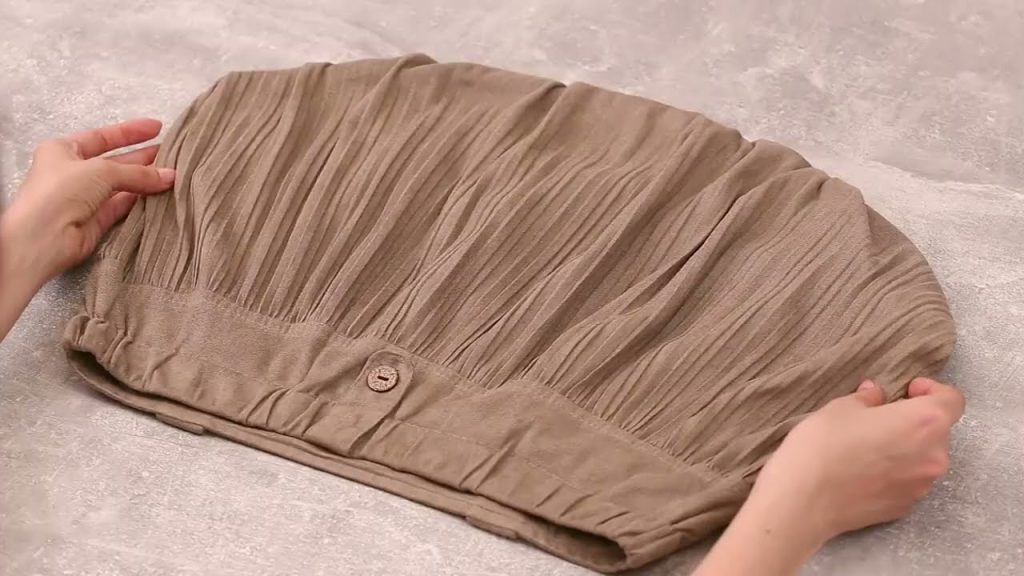
- Deconstruct: Lay your skirt flat. Unpick the zipper or button closure if you want to use it as part of your bag’s design. Unpick the hem if you want to use the fabric, but for this tutorial, we will be leaving the hem intact to use as the top of the bag.
- Cut the Bag Body: With the skirt laid flat and the waistband at the top, measure and cut a rectangle from the main body of the skirt. For a standard tote, a good size is 16 inches wide by 20 inches tall. This will give you a good amount of depth.
- Cut the Straps: From the leftover fabric, cut two long strips for the handles. A good size is 20 inches long by 3 inches wide. You can adjust this for a longer or wider strap.
- Cut the Bottom Piece: If your skirt is a little narrow, you can cut a separate rectangular piece for the bottom of the bag. Cut a rectangle that is 16 inches long by 4 inches wide.
Part 2: Sew the Straps
- Fold & Press: Take one of your strap pieces. Fold each long edge to the center and press. This will hide the raw edges.
- Fold Again & Sew: Fold the strap in half lengthwise, enclosing the raw edges. Press and then topstitch along both long edges, about 1/8 inch from the edge. Repeat for the second strap.
Part 3: Sew the Bag Body
- Sew the Sides: With the right sides of the fabric facing each other, pin the two short ends of the main bag body piece together. Sew a straight seam down the side, leaving a 1/2-inch seam allowance.
- Create the Boxed Corners: This step gives your bag a flat, structured bottom. Lay your bag flat and press the side seam. Fold the bottom corner so the side seam lines up with the bottom seam. Mark a line 2 inches from the tip of the corner. Sew along this line, backstitching at the start and end. Trim the excess fabric. Repeat for the other bottom corner.
- Attach the Straps: Turn your bag right side out. Pin the two straps to the top opening of the bag, approximately 4 inches from each side seam. Make sure the straps are not twisted. Sew the straps in place with a straight stitch and a square box stitch for added reinforcement.
Part 4: Final Touches
- Reinforce: Go over all of your seams with a zigzag stitch or a serger for added durability.
- Weave in Ends: Use a yarn needle to weave in any loose threads.
- Add a Lining (Optional): If you’d like to add a lining, cut a second set of bag body pieces from a lining fabric. Follow the same steps to sew the lining, but leave a small opening in the side seam to turn it right-side-out. Insert the lining into the bag, pin the top edges together, and topstitch around the opening.
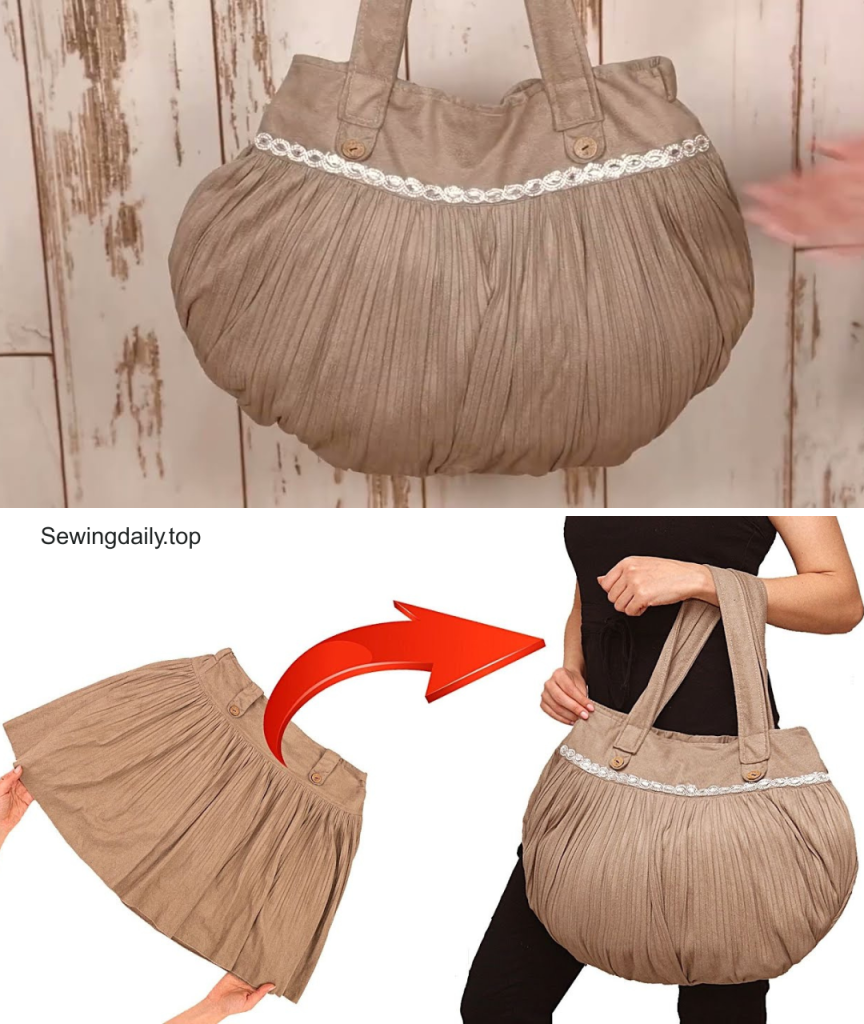
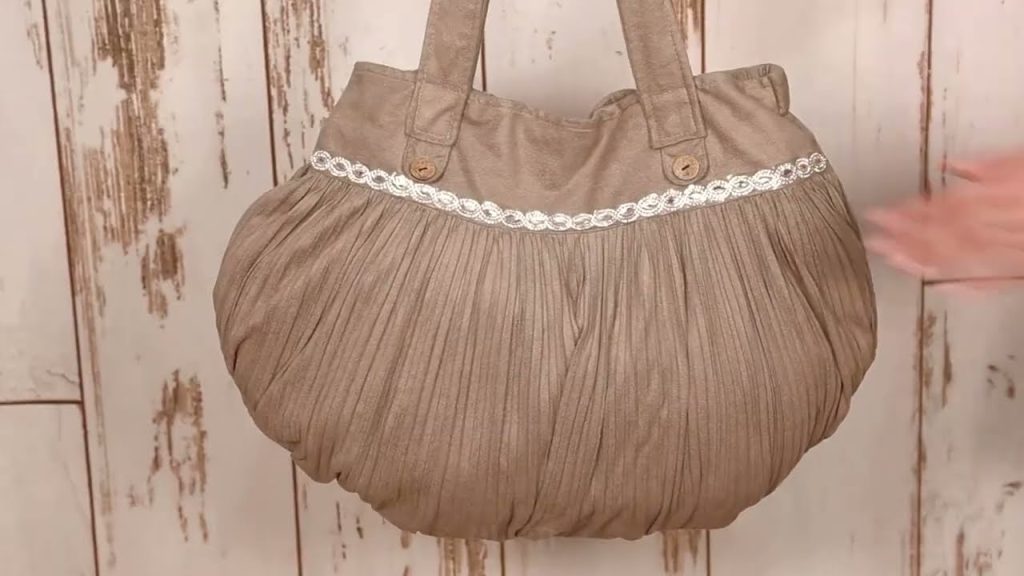
And that’s it! You’ve successfully transformed an old skirt into a unique and stylish bag. This new creation is a perfect accessory for market trips, beach days, or just as an everyday tote.
Video tutorial: