by
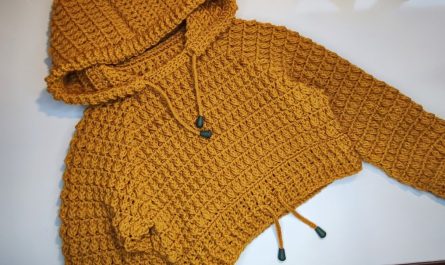
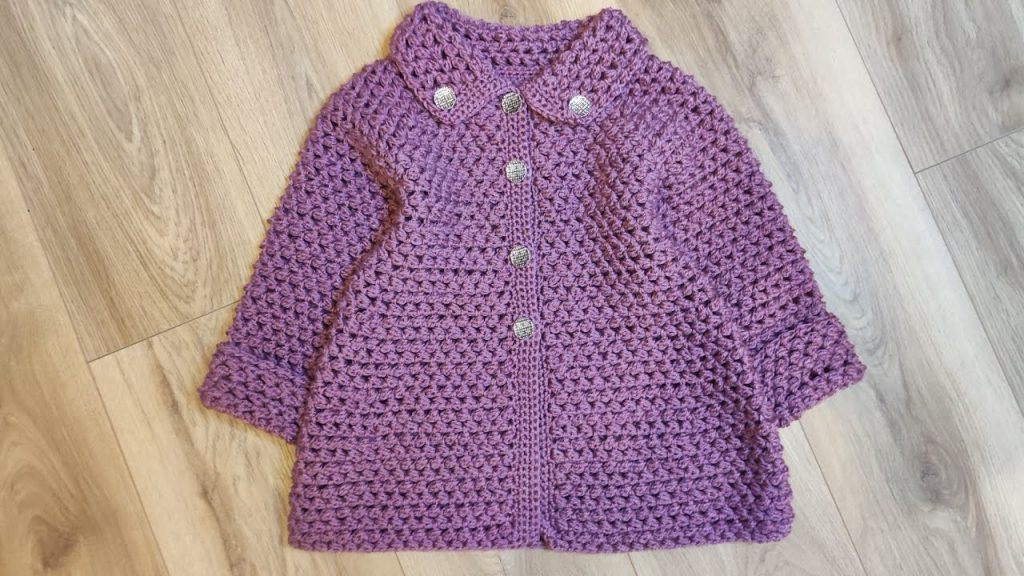
by There is something truly magical about a child’s garment that is made by hand, and a cozy cardigan or coat with a touch of sparkle is a project that’s both fun to make and wonderful to give. This article will serve as your guide to crocheting a beautiful beaded cardi-coat for a girl, breaking down the essential techniques from selecting your materials to weaving in the last thread. This isn’t a strict pattern, but rather a comprehensive tutorial on the process so you can design your own, or follow a pattern with confidence.
The Essentials: Planning Your Project
Before you pick up your hook, a little preparation goes a long way.
1. Choosing Your Yarn and Hook
For a garment that will be worn often and washed, selecting the right yarn is crucial.
- Weight: A DK (double knit) or worsted weight yarn is a great choice. DK will give you a lighter, drapier coat, while worsted will result in a cozier, sturdier fabric.
- Fiber: Look for yarn that is soft against a child’s skin. Acrylic is a fantastic option because it’s soft, durable, and machine washable. Cotton or cotton blends are also excellent for warmer climates, and superwash wool provides warmth without the scratchiness.
- Hook Size: Match your hook to your yarn’s recommended size, but be prepared to adjust to achieve the correct gauge.
2. Selecting and Preparing Your Beads
This is the special touch that makes this project unique. The beads must have a hole large enough for your yarn to pass through.
- Size: Smaller seed beads work for thinner yarns, while a larger bead, like an E-bead or a 6mm round bead, is perfect for DK or worsted weight yarn.
- Preparation: You must string your beads onto your yarn before you start crocheting. This is the key to bead crochet. Thread a beading needle with your yarn and slide all the beads onto the entire skein. You won’t know exactly how many you’ll need, so it’s best to have plenty ready.
3. Taking Measurements and a Gauge Swatch
To ensure the cardigan fits perfectly, you’ll need a few simple measurements.
- Chest: Measure around the fullest part of her chest.
- Length: Measure from her shoulder down to where you want the hem to fall.
- Sleeve: Measure from her shoulder to her wrist.
- Gauge Swatch: Crochet a small square (about 5×5 inches) using your chosen stitch pattern and beads. Wash and block it just as you would the finished garment. Then, measure how many stitches and rows are in a 4×4-inch square. This will be your guide for all future calculations.
The Crochet Process: Creating the Panels
A cardi-coat is typically constructed from five main pieces: a back panel, two front panels, and two sleeves. We will seam them together at the end.
1. The Back Panel
Using a simple stitch like single crochet (sc) or double crochet (dc), crochet a large rectangle. Use your gauge swatch to determine how many stitches you need for the chest measurement and how many rows you need for the desired length.
2. The Front Panels
You’ll make two smaller, mirrored rectangles for the front. The total width of the two front panels, plus the back panel, should equal the chest measurement. Remember to factor in a little extra for an overlap if you’re planning on a button closure. You can shape the neckline by gradually decreasing stitches on the inner edge of each panel.
3. The Sleeves
Crochet two sleeves, either by working in the round or in rows and seaming them later. You can start with a chain for the cuff and increase stitches evenly to create a tapered shape that fits the arm.

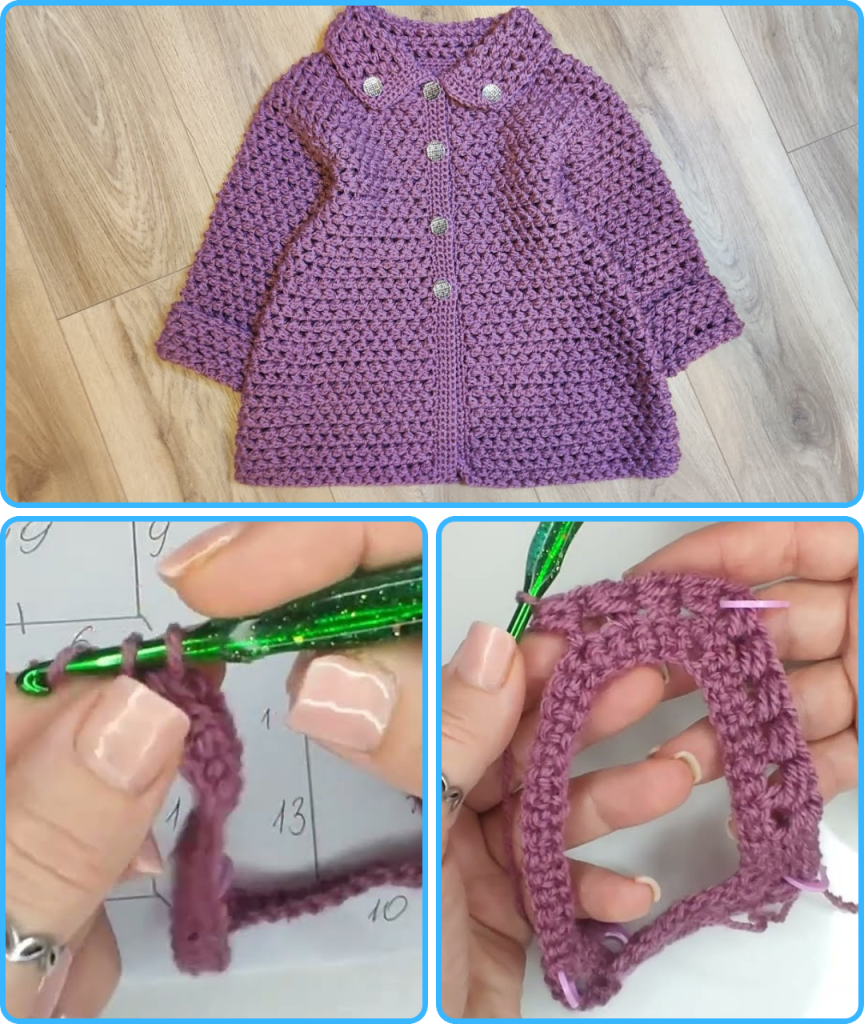
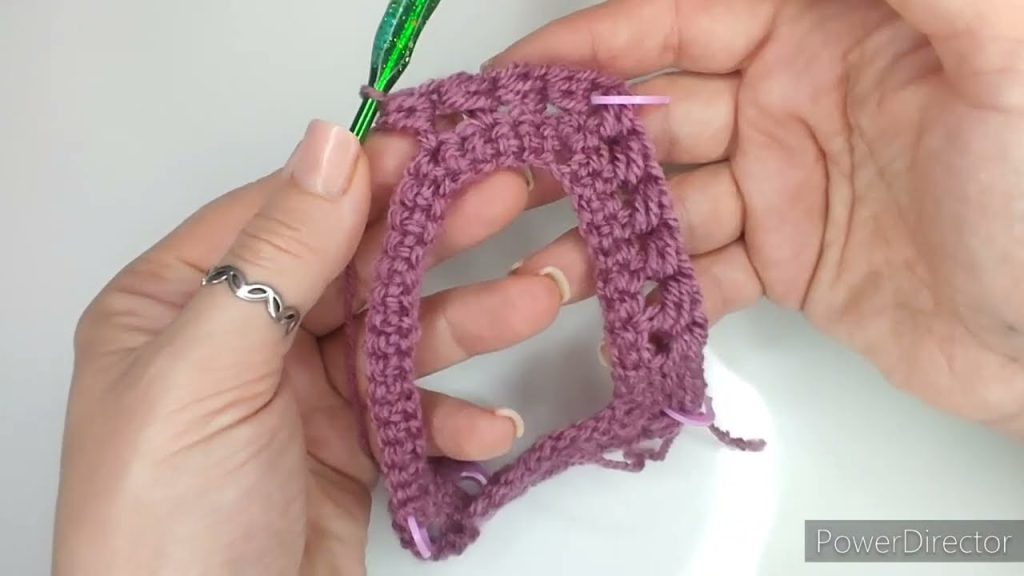
The Special Technique: Adding the Beads
Once your beads are pre-strung on the yarn, adding them into your work is surprisingly simple.
To add a bead to a stitch (for example, a single crochet):
- Insert your hook into the stitch and yarn over.
- Pull the loop through the stitch. You should have two loops on your hook.
- Slide a bead up the yarn right next to your hook.
- Yarn over again and pull through both loops on the hook, trapping the bead in place.
You can add beads in a repeating pattern, in a cluster, or randomly for a scattered sparkle effect.
Assembly and Finishing Touches
This is the final stretch where your pieces become a beautiful garment.
- Seaming: Using a yarn needle and a long strand of yarn, sew the shoulder seams first, then the side seams, and finally the sleeves into the armholes. The mattress stitch creates an almost invisible seam.
- Front Band & Collar: To give the cardigan a professional finish, crochet a band all the way up the front opening, around the neckline, and back down the other side. This is a great place to add a few more rows of beads or to create buttonholes. A simple single crochet or a ribbed stitch works beautifully.
- Final Details: Weave in all loose ends. Attach any buttons, toggles, or other closures. If the fabric seems a bit wavy, a gentle blocking will help even out the stitches and give the cardigan a beautiful drape.
Your beaded cardi-coat is now complete, a unique and sparkling garment that’s ready to be loved.
Video tutorial: