by
by Tote bags are the ultimate accessory: stylish, practical, and a fantastic way to cut down on plastic consumption. If you’ve been looking for a sewing project that’s beginner-friendly but produces a high-quality, professional-looking result, you’ve found it. Inspired by the super-fast and efficient tutorial from Miarti – Reuse, we’ve broken down the perfect pattern to create a durable and beautiful tote bag that you can personalize a million different ways!
Say goodbye to complicated instructions and hello to your new favorite everyday bag.
Project Overview: The Miarti Quick Tote
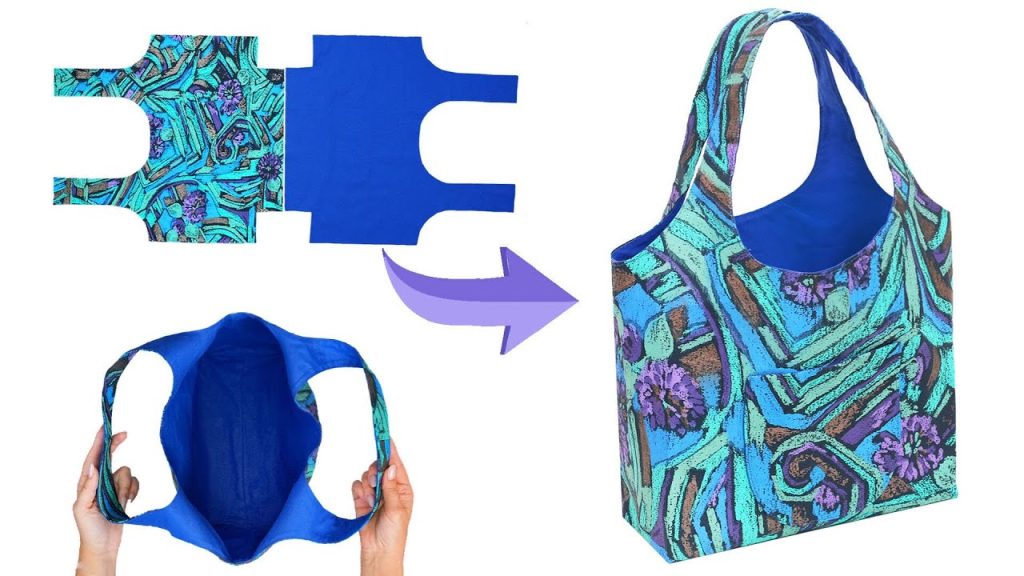
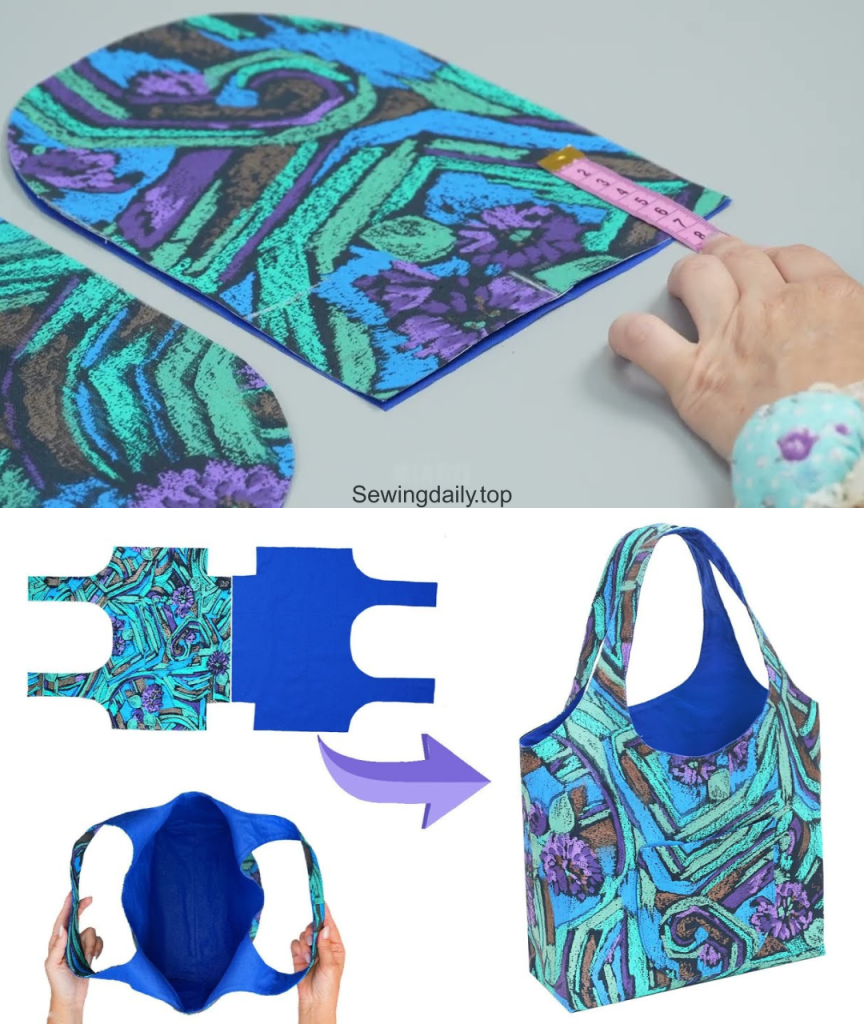
The beauty of this pattern lies in its simplicity. We’ll be using a single piece of fabric for the main body (folded at the bottom to eliminate one seam!) and a technique called boxing the corners to give your bag a professional, flat base that stands up on its own. It’s a method designed for speed without sacrificing structure.
- Project Time: 45 minutes to 1 hour
- Skill Level: Beginner
- Finished Size (Approximate): 14″ wide x 15″ tall x 4″ deep
Materials and Tools Checklist
To get started, you’ll need just a few key items. The tutorial highlights the importance of fabric choice, emphasizing durability.
Materials
- Main Fabric:Cotton Fabric is perfect for this project due to its sturdiness and print variety.
- Recommendation: 1 yard (or 1 meter) of medium-to-heavyweight cotton canvas, duck cloth, denim, or twill.
- Interfacing (Optional but recommended):Fusible or iron-on interfacing to add stiffness to your fabric, especially if your cotton is light-to-medium weight. This will help the bag hold its shape.
- Recommendation: 1 yard of Pellon 808 Craft-Fuse or a similar medium-weight fusible interfacing.
Tools
- Sewing Machine & Thread (color matched to your fabric)
- Iron and Ironing Board
- Fabric Scissors or Rotary Cutter and Mat
- Clear Ruler and Fabric Marker/Chalk
- Pins or Sewing Clips

The Easy & Quick Tote Bag Pattern: Step-by-Step Guide
Follow these steps for a simple, yet sturdy tote bag. We will be using a 1/2 inch (1.2 cm) seam allowance throughout the project unless otherwise noted.
Step 1: Cutting and Prepping the Fabric
The key to a quick tote is simple cuts.
- Cut the Main Body: Cut one large rectangle of your main fabric: 34 inches long x 16 inches wide (86.5 cm x 40.5 cm). Note: The length will be folded in half to create the bottom of the bag.
- Cut the Handles: Cut two long strips for the handles: 25 inches long x 4 inches wide (63.5 cm x 10 cm).
- Apply Interfacing (If using): Apply the fusible interfacing to the wrong side of the main bag piece and both handle pieces, following the manufacturer’s instructions. This step happens quickly in the video and provides critical structure.
Step 2: Assembling the Handles
Durable handles require careful pressing and a clean edge stitch.
- Prep the Handle Strips: Take one 4-inch wide handle strip. Fold it in half lengthwise (hotdog style) and press well. Open the fold.
- Fold the Edges: Fold each long raw edge in towards the center crease line you just created and press again. This hides the raw edges inside.
- Final Fold & Stitch: Fold the strip in half again along the original center crease. The strip should now be 1 inch wide and have no raw edges showing. Press firmly.
- Edge Stitch: Stitch down both long edges of the handle strip, 1/8 of an inch from the edge. Repeat for the second handle.
Step 3: Sewing the Main Bag Seams
Now we turn the flat fabric into a 3D bag shape.
- Fold the Bag: Place the main fabric rectangle right side up on your workspace. Fold it in half lengthwise (to 17″ long x 16″ wide) with the right sides together.
- Sew the Sides: Pin or clip the two side seams. Sew down both side seams using a 1/2 inch seam allowance. Leave the top open.
- Finish Seams: You can finish the raw edges of your side seams with a zigzag stitch or a serger to prevent fraying. Keep the bag inside out.

Step 4: Creating the Boxed Base (The Structural Secret)
This step is crucial for giving your tote a flat, sturdy bottom.
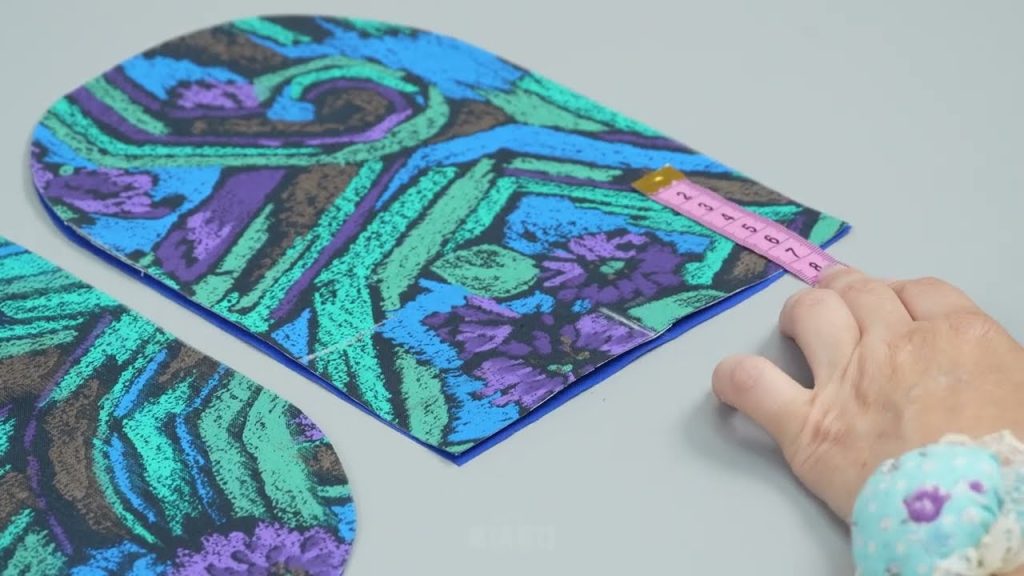
- Mark the Corners: At the bottom corner of your bag (where the side seam and bottom fold meet), flatten the corner so that the side seam is perfectly centered. You are creating a triangle shape with the point at the corner.
- Measure and Mark: Using your ruler, measure and mark a line 4 inches long perpendicular to the seam. This line represents the desired width of your box (4 inches for a 2-inch deep box on each side).
- Sew the Box: Sew directly across the marked 4-inch line. Repeat this process for the other bottom corner.
- Trim: Trim the excess fabric triangles off, leaving a 1/2 inch seam allowance, and finish the raw edges.
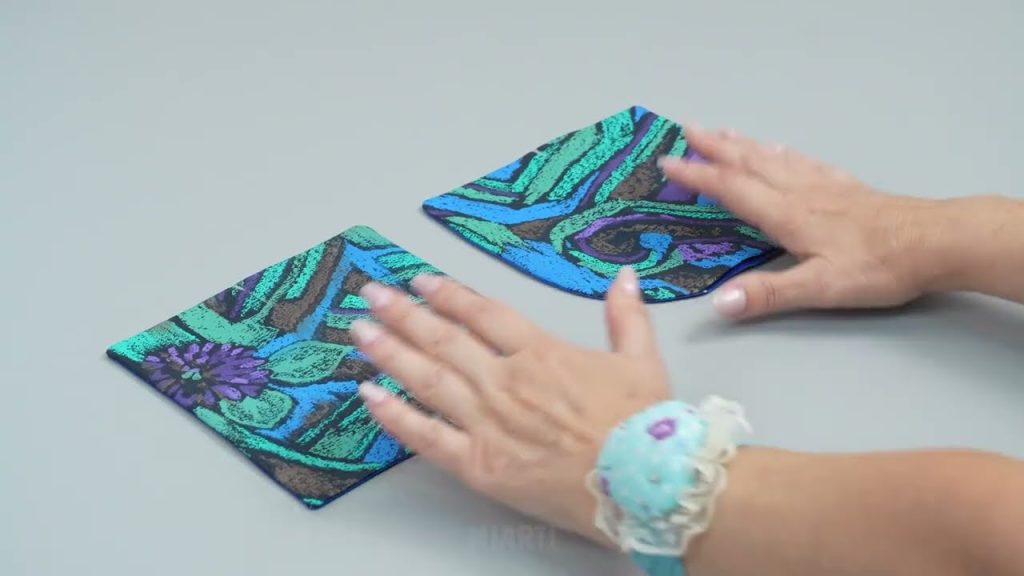
- Turn Out: Turn the bag right side out. You now have a perfectly boxed, flat bottom!
Step 5: The Top Hem and Attaching the Straps
The final steps secure the top and place the handles.
- Press the Hem: Turn the raw top edge of the bag under by 1/2 inch, and press. Turn it under another 1 1/2 inches and press firmly again. This creates a neat, double-folded hem that will hold the straps securely.
- Pin the Straps: Lay the bag flat, right side out. Measure 3 inches in from each side seam and mark. This is where the outer edge of your handle will align.
- Secure the Straps: Pin the raw end of one handle down onto the front of the bag, aligning its edges with your 3-inch marks, and tucking the end under the top fold of the hem. Repeat for the back of the bag with the same handle, and then with the second handle on the opposite side.
- Sew the Hem: Starting at a side seam, stitch all the way around the top opening of the bag, approximately 1/8 of an inch from the bottom fold of the hem.
- Secure the Handles: To fully secure the handles, sew a second row of stitching 1/8 of an inch from the top edge of the bag opening. Create a small square or ‘X’ box stitch at the top of each strap attachment point for maximum durability and reinforcement.
You’re done! In just a few simple steps, you have an original, handmade tote bag that is ready for the farmer’s market, the library, or your daily commute.
Video tutorial: