 by
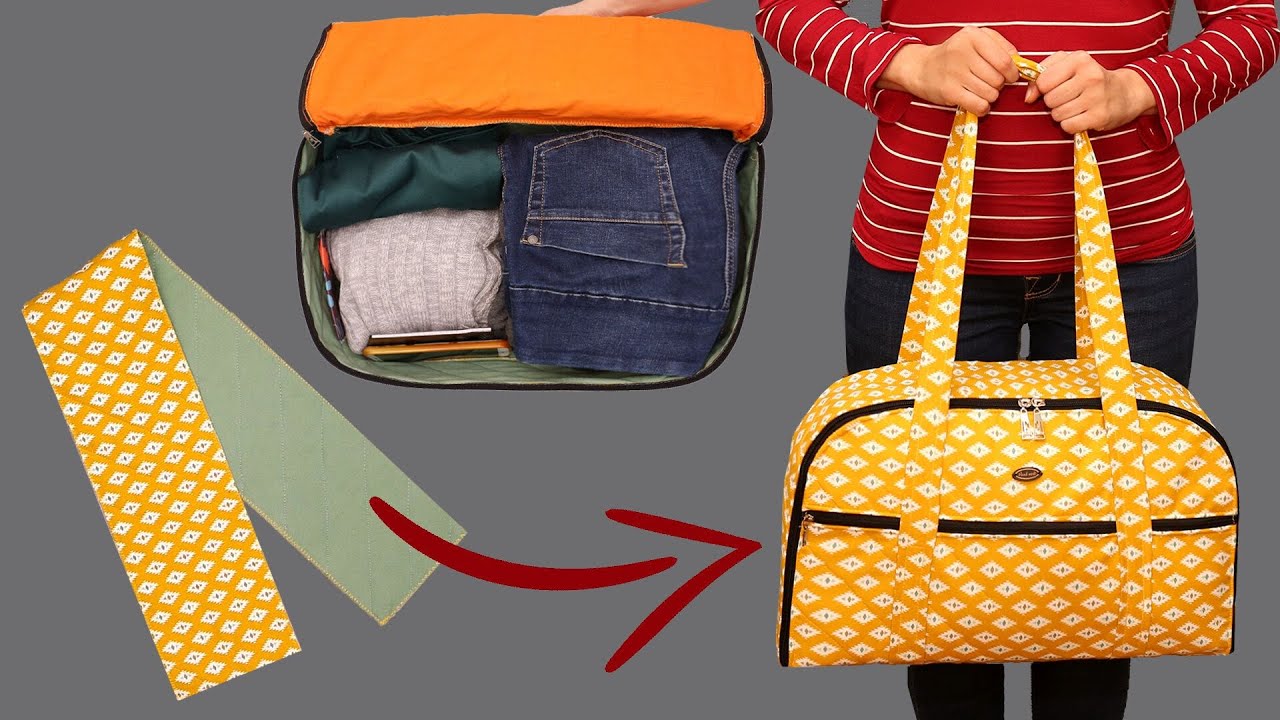
by Hello, travel enthusiasts and sewing adventurers! Are you in need of a chic, spacious bag that’s perfect for a short trip, the gym, or a weekend visit? I’m excited to share the pattern for the Weekend Getaway Barrel Bag—a simple, structured duffle that is incredibly easy to assemble using just a few rectangular and circular pieces.
Inspired by a fantastic tutorial on sewing a travel bag easily, this design focuses on maximizing interior space and achieving a clean, professional finish with contrasting fabrics. The rounded ends give it that classic duffle shape, while the fully-lined construction ensures durability.

Grab your favorite sturdy fabric, your zipper, and let’s create your new favorite travel companion!
Why You’ll Love Making This Bag:
- Barrel Shape: The cylindrical design maximizes interior volume, making it surprisingly roomy.
- Simple Pieces: Uses only rectangles and basic circles—no complex drafting required.
- Fully Lined: The bag is finished with a clean lining, concealing all raw seams.
- Versatile Use: Perfect size for a carry-on, overnight bag, or sports duffle.
What You’ll Need:
- Main Fabric (Outer Body): 1 yard of heavy cotton canvas, twill, or upholstery fabric.
- Contrast Fabric (Ends & Handles): 1/2 yard of a coordinating, sturdy fabric.
- Lining Fabric: 1 yard of lightweight cotton or nylon lining fabric.
- Fusible Interfacing: 1 yard of heavy-weight fusible interfacing (for all outer pieces).
- Zipper: 1 zipper, 24–28 inches (60–70 cm) long.
- Webbing/Straps: 2 yards (1.8 meters) of 1.5-inch wide cotton or nylon webbing.
- Tools:
- Sewing Machine and Zipper Foot.
- Iron, Ruler, and Fabric Marker/Chalk.
- Large compass or plate (to draw the circular end panels).
- Pins and Clips.
Measurements & Cutting List
The final bag size will be approximately 18 inches long x 10 inches in diameter. All measurements include a 1/2-inch (1.2 cm) seam allowance.
| Piece | Fabric | Dimensions (Width x Height) | Quantity | Interfacing? | Notes |
| A: Main Outer Body | Main Fabric | 37 in. x 11 in. | 1 | Yes | The piece that wraps around the body. |
| B: End Panels | Contrast Fabric | 11-inch diameter circle | 2 | Yes | The side circles that form the duffle ends. |
| C: Lining Body | Lining Fabric | 37 in. x 11 in. | 1 | No | Lining piece. |
| D: Lining End Panels | Lining Fabric | 11-inch diameter circle | 2 | No | Lining circles. |
| E: Zipper Panel | Contrast Fabric | 26 in. x 4 in. | 2 | Yes | The strips that frame the zipper. |
| F: Handles/Straps | Webbing | 30 in. x 1.5 in. | 2 | N/A | Main carry straps. |
| G: Handle Tabs | Contrast Fabric | 4 in. x 3 in. | 2 | Yes | Used to cover the webbing ends. |
Construction: Building the Barrel Bag
Part 1: Preparing the Zipper Panel and Handles
- Fuse Interfacing: Apply the fusible interfacing to the wrong side of all Outer Pieces (A, B, E) and the (G) Handle Tabs.
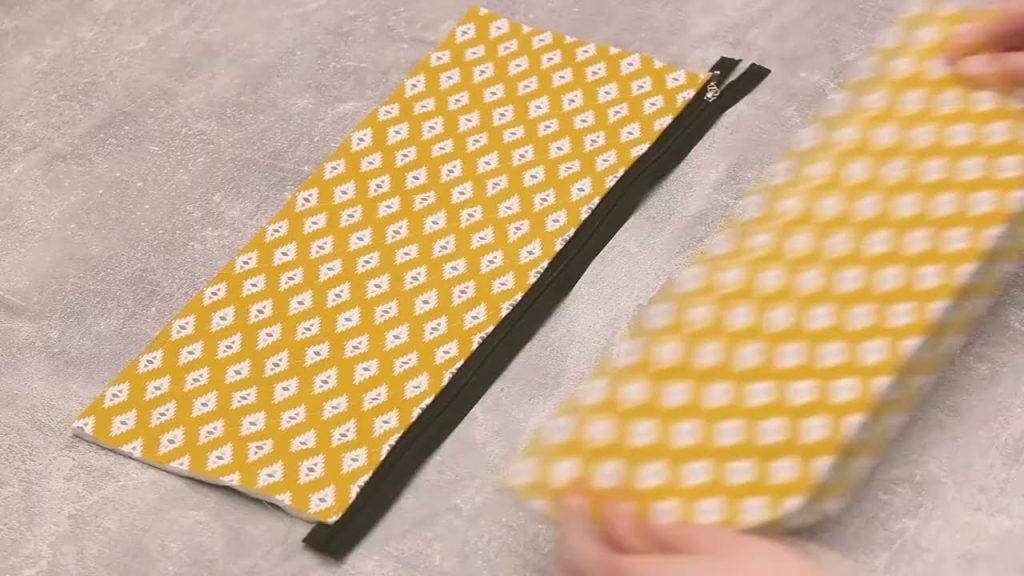
- Attach Zipper: Take the zipper and the two (E) Zipper Panels. Place one Zipper Panel right-side up. Lay the zipper right-side down along the long 26-inch edge. Sew with a zipper foot. Press the seam flat. Repeat with the second Zipper Panel on the other side of the zipper.
- Topstitch: Topstitch along both sides of the zipper, securing the fabric away from the zipper teeth. This combined piece is now the Zipper Assembly.
Part 2: Assembling the Outer Shell
- Sew Zipper to Body: Take the (A) Main Outer Body piece. Align one long 37-inch edge with one long edge of the Zipper Assembly, right sides together. Sew using a 1/2-inch seam allowance.
- Close Body: Bring the remaining long edge of the Main Outer Body piece to the remaining edge of the Zipper Assembly, right sides together, and sew the final seam. This forms the main body tube.
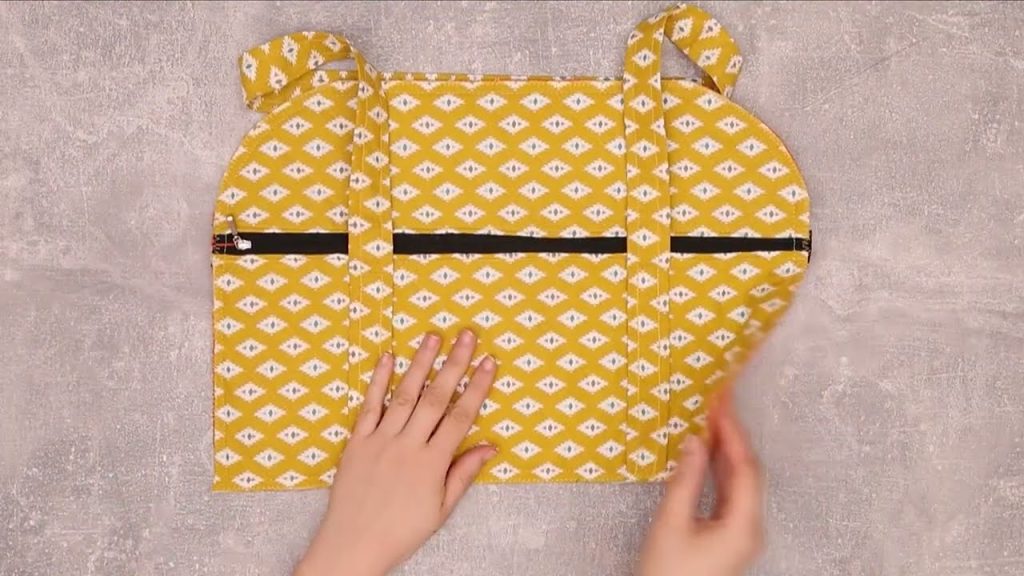
- Attach Handles (F): Lay the body tube flat, with the zipper centered on top. Pin the (F) Webbing Handles to the body, running down the sides. The handles should be centered approximately 8 inches (20 cm) apart. Sew them down with a sturdy square or X-box stitch at the top and bottom of the bag.
- Cover Handle Ends (G): Fold the (G) Handle Tabs in half lengthwise. Use them to cover the raw ends of the webbing straps at the bottom of the bag, sewing the tabs securely over the webbing.
Part 3: Attaching the Circular Ends
- Pin Ends: Take one (B) End Panel (Circle) and one end of the main body tube. Match the side seams and the top/bottom centers of the circle to the body, pinning frequently all the way around the circle.
- Sew Ends: Sew the End Panel to the body tube carefully, maintaining a 1/2-inch seam allowance. Go slowly around the curve. Repeat for the second End Panel. Turn the Outer Shell right-side out.
Part 4: The Lining and Finish
- Sew Lining Shell: Repeat the construction steps (Part 2 and Part 3) with the (C) Lining Body and (D) Lining End Panels. Do not attach the zipper! Simply join the two long 37-inch sides of the Lining Body piece together to form a tube, and then sew the two Lining End Panels onto the ends of the tube.
- Crucial Turning Hole: When joining the two long sides of the Lining Body piece, leave a 6-inch (15 cm) unstitched opening along the middle of this seam.
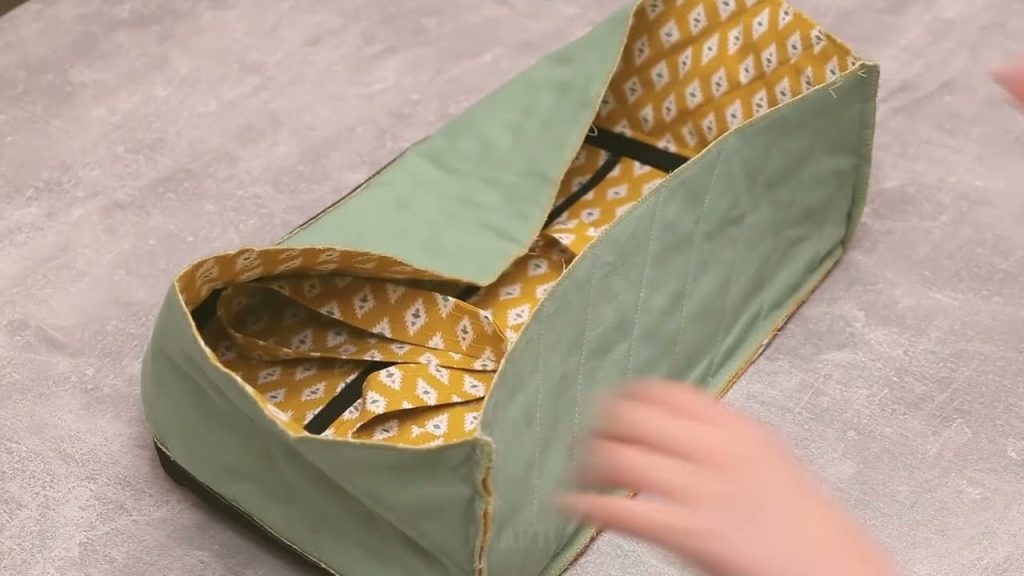
- Nest and Sew: Keep the Lining Bag inside out. Insert the Outer Bag (right-side out) into the Lining Bag, matching the side seams and the top zipper edges. The zipper is now sandwiched between the Outer and Lining bags. Pin securely all around the perimeter of the zipper opening.
- Final Seam: Sew the top perimeter seam all the way around.
- Turn Right-Side Out: Reach into the 6-inch opening in the lining seam. Gently pull the entire bag through this hole.
- Close Hole: Stitch the turning hole in the lining closed (by hand or machine).
- Final Press: Tuck the lining neatly inside the Outer Bag. Press the zipper area flat and give the bag a final overall press.
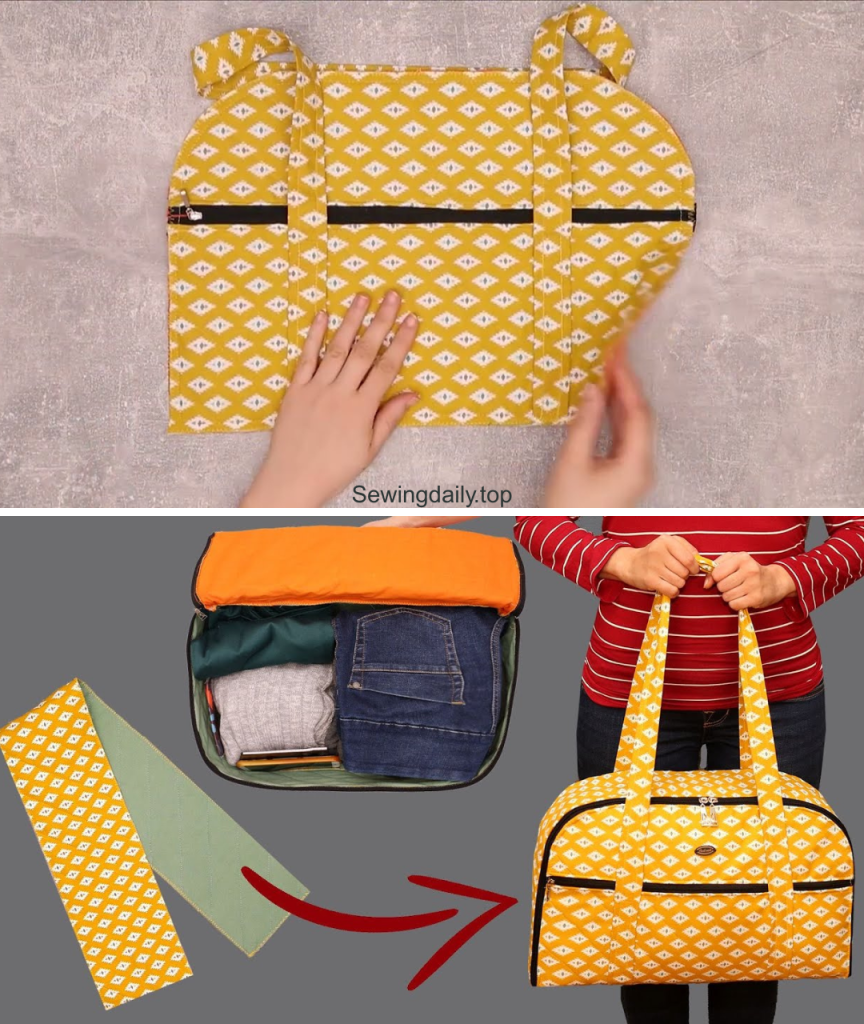
Congratulations! Your elegant Weekend Getaway Barrel Bag is complete—ready to pack and show off on your next trip!
Video tutorial: