 by
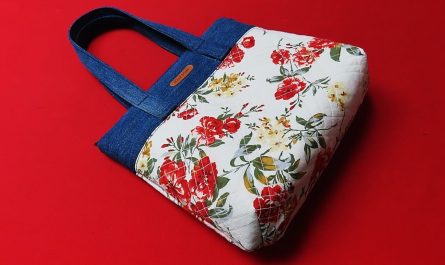
by This pattern makes a spacious shoulder tote with:
- Multiple exterior pockets (including jean pockets and patch pockets)
- Interior lining with compartments
- Reinforced bottom and side gussets for structure
- A wide, comfortable shoulder strap
- Decorative detail using jean seams, belt loops, and edge topstitching
Skill level: Intermediate. Best if you are comfortable sewing thicker fabric, sewing through multiple layers, using heavy thread, doing topstitching and attaching hardware (snaps or rivets optional).

Finished Size Approximation
| Dimension | Approximate Measurement |
|---|---|
| Width (across bottom) | 15 in (~38 cm) |
| Height (body, excluding strap) | 12 in (~30.5 cm) |
| Depth (bottom gusset) | 5 in (~12.5 cm) |
| Height including pockets above body | ~14 in, depending on pocket height |
| Strap drop (from top of body to where it rests on shoulder) | ~10 in (~25 cm), or longer if making cross‑body style |
Materials & Supplies
| Item | Details / Suggested Sizes & Quantities |
|---|---|
| Old jeans | One pair, medium to heavy denim (more fabric is better; use seat/thigh area) |
| Lining fabric | Cotton, canvas, or duck cloth, about ½ yard (≈ 45×20 in) |
| Fusible interfacing | Medium weight; used to stiffen flap (if you add one), bottom base, and maybe pockets |
| Thread | Heavy‑duty (denim or upholstery) thread; possibly contrasting color |
| Needle for sewing machine | Jeans/denim needle, size ~90/14 or heavier depending on machine |
| Magnetic snap or heavy snap/clasp | Optional; for top closure if desired |
| Rivets / snaps / D‑rings (optional decoration & reinforcement) | Use for pocket corners, strap ends, etc. |
| Strap hardware (optional) | If making adjustable strap, or using webbing/leather |
| Sewing tools | Scissors or rotary cutter, ruler, chalk/fabric marker, pins or clips (clips are better for thick layers), iron & ironing board, seam ripper |
Pattern Pieces & Cutting Plan
Below are the pieces you’ll cut, both from denim (exterior) and lining. Plan the layout to maximize material from your jeans (reuse pockets, seams, belt loops, etc.).
| Pattern Piece | Qty | Size (inches) | From Denim or Lining | Notes / Features |
|---|---|---|---|---|
| Exterior – Front Panel | 1 | 15 × 12 | Denim | You may position 1 or 2 jean pockets here for external storage |
| Exterior – Back Panel | 1 | 15 × 12 | Denim | |
| Bottom/Base Panel | 1 | 15 × 5 | Denim | Use a piece from thigh or seat; reinforce with interfacing |
| Side Gussets | 2 | 12 × 5 | Denim | These give the tote its box shape |
| Exterior Patch Pocket | 1‑2 | ~6 × 6 each | Denim | Optional, for extra pocket outside |
| Belt Loop Pieces | enough for decorative or functional loops (2‑4) | recycled from waistband or belt loops | Denim | |
| Lining – Front/Back Panels | 2 | 15 × 12 each | Lining fabric | |
| Lining – Bottom & Side Gussets | same size as denim ones | 15 × 5 and 12 × 5 | Lining fabric | |
| Interior Pocket(s) | 1‑2 | e.g., 7 × 8 or 5 × 6 | Lining fabric | for phone, keys, etc. |
| Strap | 1 | ~ 52 × 3 | Denim or cotton webbing or combination | Wide and thick for comfort; reinforce ends |
Cutting & Marking Tips
- Lay your jeans flat, cutting along the seams to get large continuous panels (seat, thighs) for front/back.
- Retain pocket sections intact if you plan to show them on the exterior.
- Use chalk to mark areas for patch pockets or where belt loops will go.
- If you’re going to use belt loops decoratively, cut them off cleanly, remove stitching, flatten them.
- Pre‑wash the lining and interface (if needed) to avoid shrinkage later.
Sewing Steps
Step 1: Prepare Pockets & Decorations
- Jean Pockets: Unpick from jeans if reusing, leaving some seam lines to blend in. Clean edges; trim away excess fringe.
- Patch Pockets: Hem top edge (fold over twice ~½ in), topstitch hem. Position on front panel: perhaps two side by side or one centered. Reinforce top corners.
- Decorative Elements:
- Belt loops: place them above patch pockets or near strap join points as loops for holding things or for decor.
- Use old jeans’ seam lines (chain stitch, etc.) as decorative topstitching.
Step 2: Assemble the Exterior Body
- Bottom + Gussets: Sew each side gusset to the edges of the bottom base panel. Press seams toward gusset or bottom.
- Attach Front & Back Panels: Sew front panel to base/gussets; then back panel similarly. Now you have a basic tote body.
Step 3: Reinforce & Interface
- Interfacing: Apply interfacing under bottom base (exterior) so bottom holds weight. Possibly also under pockets (exterior) to keep them from sagging.
Step 4: Create Lining
- Construct lining exactly like exterior (bottom + side gussets + front/back), but leave the top edge open.
- Interior Pockets: On lining front or side, add one or two pockets: hem tops, position ~2‑3 in from top edge, stitch on three sides, reinforce corners.
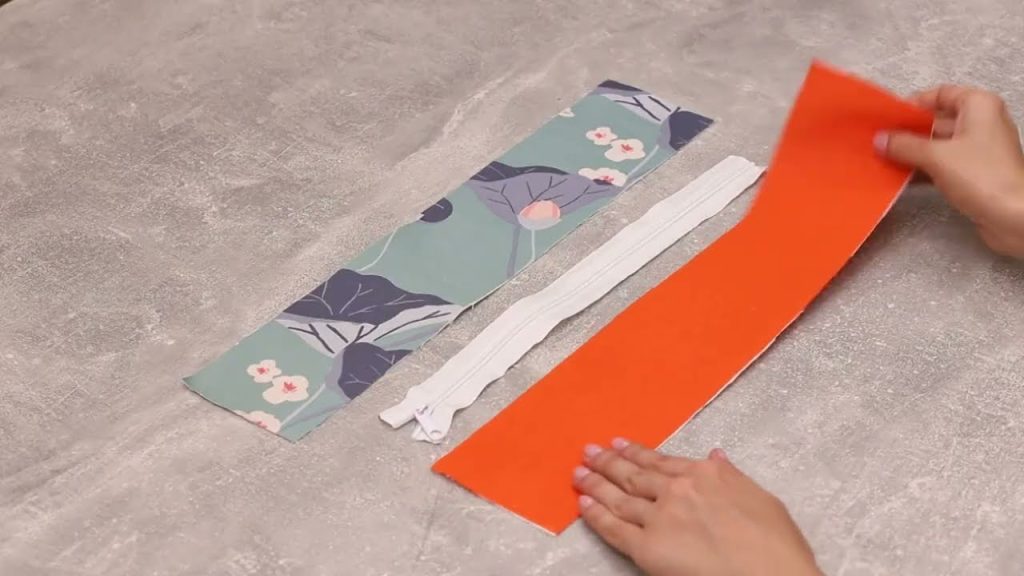
Step 5: Strap Construction
- Strap: If making from denim, fold long strip in half lengthwise, sew edges, turn and topstitch. Or use webbing. Ends should be reinforced; you might use small rectangular denim patches at ends, or rivets.
Step 6: Join Exterior & Lining, Add Strap & Closure
- Attach strap ends to exterior body: position them on side gussets or upper side seams, ensure they are even, no twists. Reinforce with multiple rows of stitching (box‑X or bar‑tack style).
- Closure: If using a top closure, mark center of body front (just below top edge), attach one half of snap or clasp. On your flap (if you add flap) or on other side, attach corresponding half. This bag could be open top too, or you could add a zipper across the top edge before lining if desired.
Step 7: Final Assembly
- Insert Lining into Exterior: With exterior right side out and lining inside out, place exterior inside lining so wrong sides touch. Strap ends should be between these layers.
- Sew around top edge of bag (all layers), leaving a seam allowance (approx ½ in).
- Turn bag through opening in lining (if you left a gap), or pull externally if you flipped inside. Push lining inside bag, align top edges, press.
- Close lining gap by hand or by machine.
- Topstitching Finish: Optional but adds durability: topstitch around top edge of bag, edges of pockets, bottom seams; do double rows if you want more rugged look.
Variations & Optional Features
- Flap Option: Add a flap across the top instead of open top; flap could be ~15×6 in, sewn at back top edge. Finish flap edges, add closure (magnetic snap or buckle).
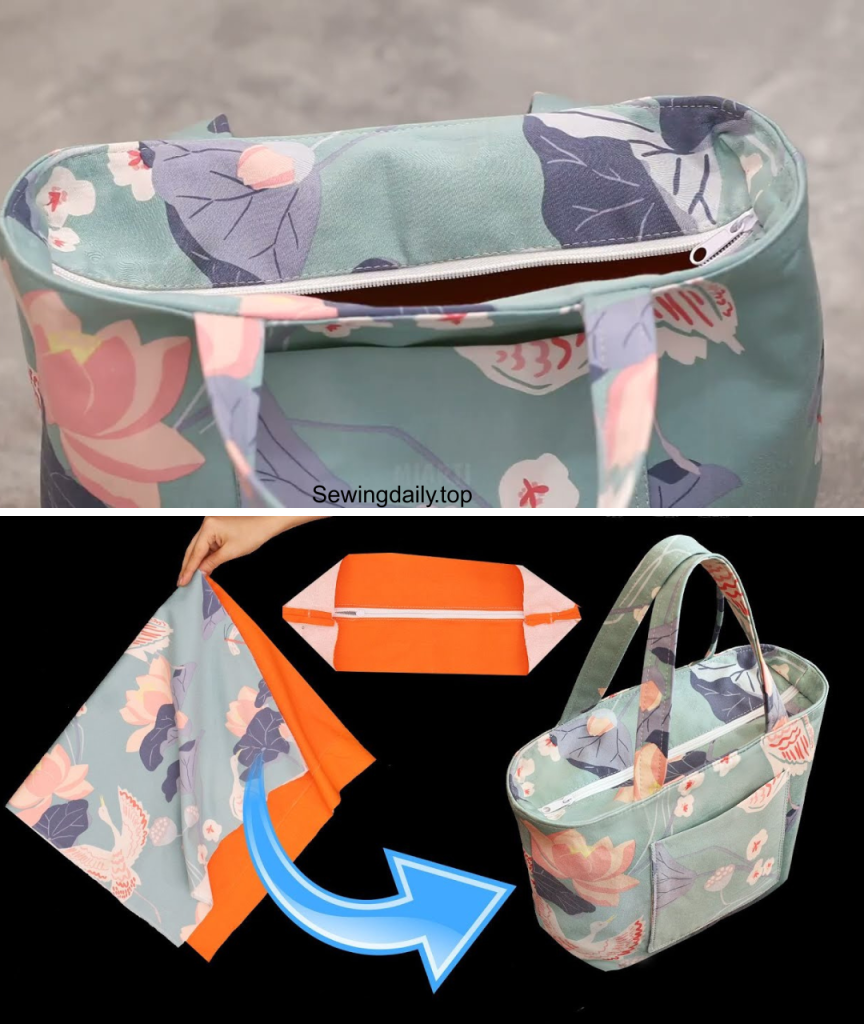
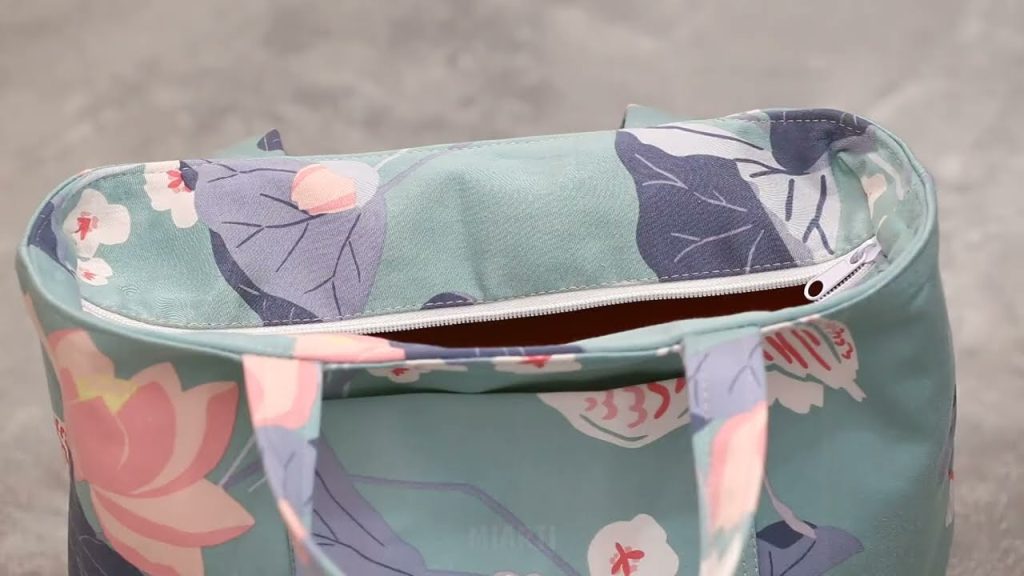
- Zip Top: For more security, add a zipper across the top before attaching lining.
- Adjustable Strap: Use hardware to make strap length adjustable.
- Side Pocket Bellow / Expansion: Add gusseted side pocket or expandable pleats for water bottle etc.
- Decorative Stitching: Use contrast thread, visible topstitching using old jeans’ chain or felled seam designs.
- Mixed Denim Shades / Patchwork: Use lighter denim and darker denim panels for contrasting effect.
Finishing Touches & Care
- Trim bulky seam allowances, especially inside bottom corners. Grade seams if needed to reduce thickness.
- Clip corners or notch curves (if you have curved edges) to let seams lie flat.
- Reinforce stress points (strap attachments, pocket tops, bottom corners) with backstitching or bar‑tacks.
- Wash sparingly; turn inside out, cold water; dry flat or low heat to preserve shape and avoid fading.
- Store with slight stuffing so bag holds its shape when not in use.
Summary
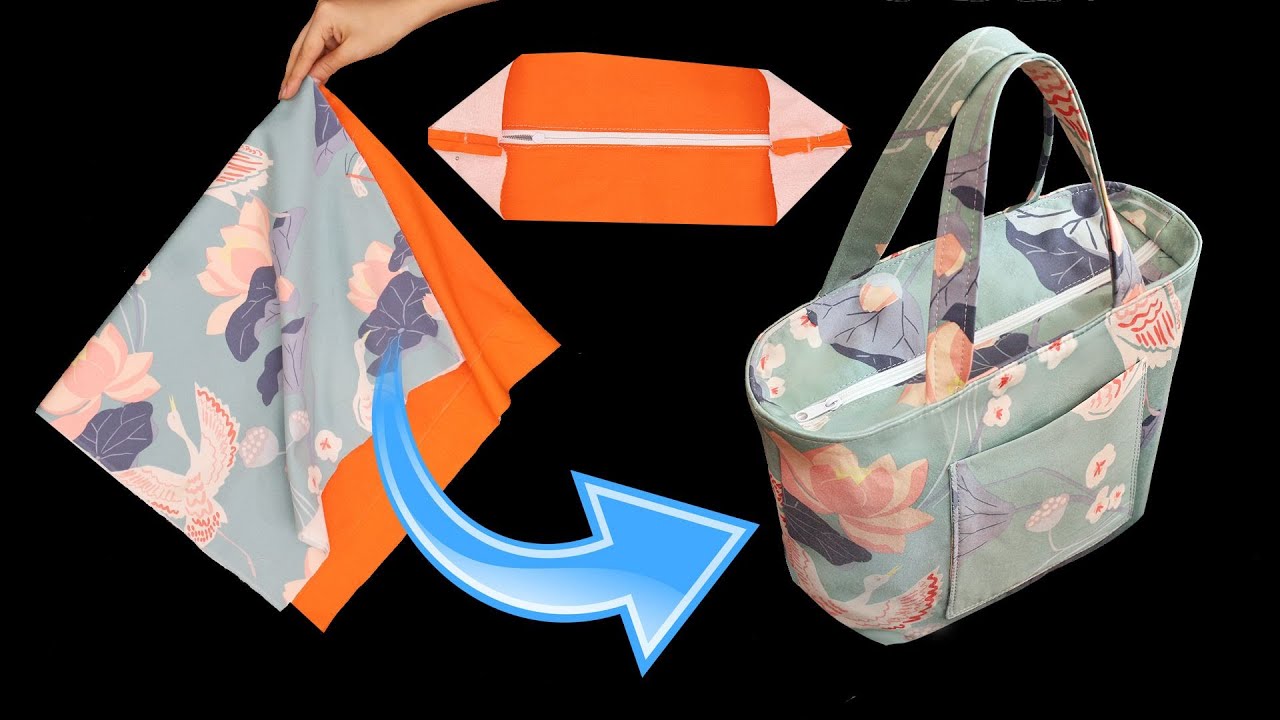
With this pattern, you’ll end up with a roomy, strong, multi‑pocket shoulder tote—ideal for everyday carry, shopping, or even travel. The use of old jeans gives texture and character; lining and reinforcements give you durability; and the multiple pockets and strap design make it truly functional.
Video tutorial: