by
by Whether you’re crocheting for your baby, a loved one, or a baby shower gift, a “Cuddle Bear” baby hoodie is the perfect project. It’s soft, cozy, irresistibly cute, and best of all — handmade with love. With a simple hood, practical sleeves, and charming bear ears, this hoodie becomes both a useful garment and a keepsake.
In this detailed guide, you’ll learn how to crochet a baby hoodie from scratch with step-by-step instructions, material recommendations, sizing guidance, and plenty of customization options.

🧸 What Is a “Cuddle Bear” Baby Hoodie?
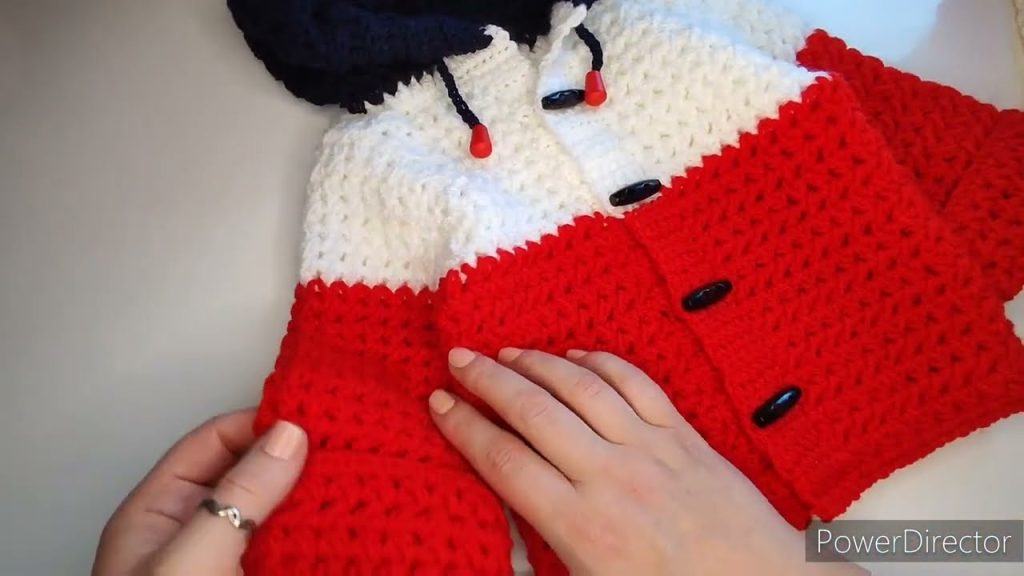
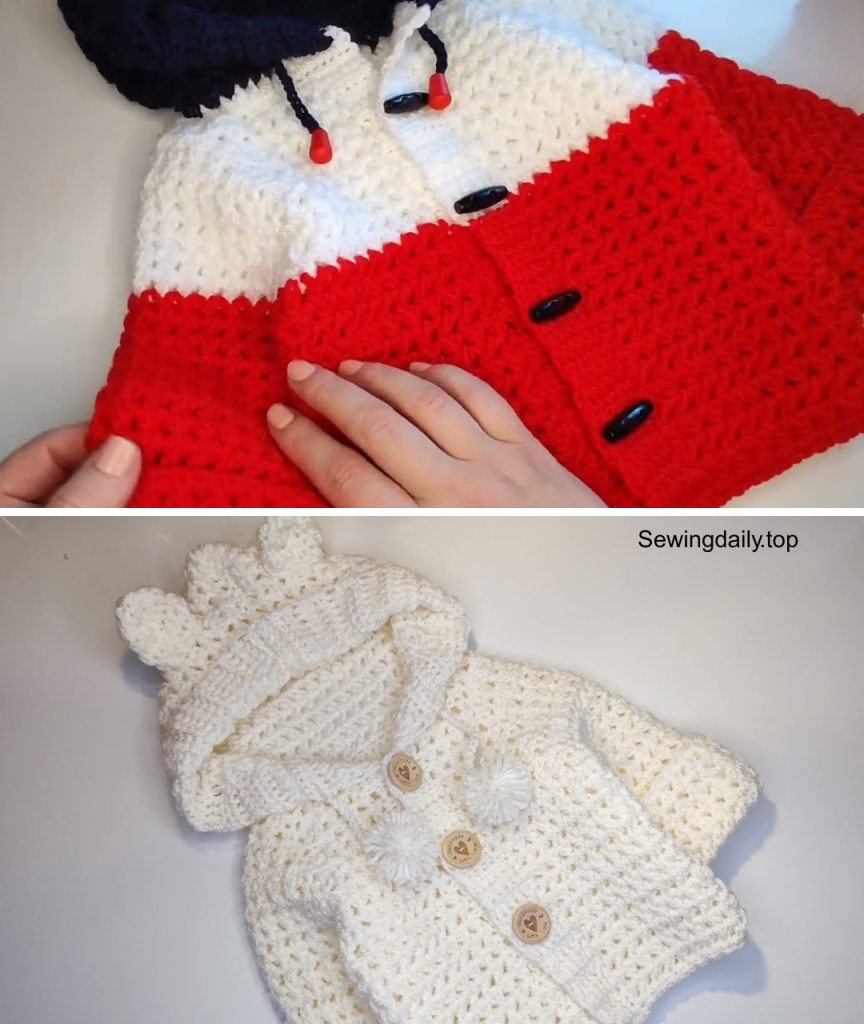
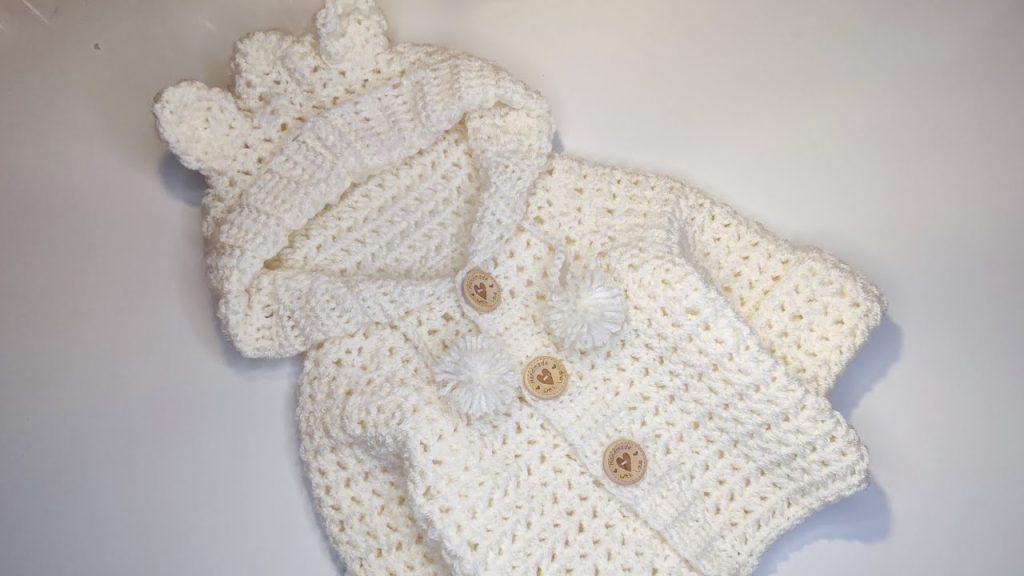
The “Cuddle Bear” hoodie is a soft baby sweater with a hood and crocheted bear ears, typically made from plush or soft cotton-blend yarn. It is designed for warmth and comfort, making it ideal for newborns to toddlers. The hoodie can be open-front (with buttons) or pullover-style, and can include cute embellishments like a tail, paw appliqués, or textured sleeves.
🧵 Materials & Tools
🧶 Yarn:
For a soft, huggable finish, use:
- Category 4 (Worsted) or Category 5 (Bulky) yarn
- Choose baby-safe yarns: hypoallergenic, washable, and soft to touch.
Recommended Yarns:
- Bernat Baby Velvet
- Paintbox Yarns Simply Aran
- Lion Brand Baby Soft
- Premier Yarn Everyday Baby
📐 Yardage Estimate (approximate):
- 0–3 months: 300–350g
- 3–6 months: 350–400g
- 6–12 months: 400–450g
- 12–24 months: 450–500g
🧰 Tools:
- Crochet hook (size 5mm – 6.5mm, depending on yarn)
- Yarn needle (for sewing parts)
- Stitch markers
- Scissors
- Measuring tape
- 3–5 small buttons (optional)
- Safety eyes or black yarn for face (optional)
📏 Sizing Guide
| Size | Chest Circumference | Length (shoulder to hem) | Sleeve Length |
|---|---|---|---|
| 0–3 months | 16–17 inches | 9 inches | 5 inches |
| 3–6 months | 17–18 inches | 10 inches | 5.5 inches |
| 6–12 months | 18–19 inches | 11 inches | 6 inches |
| 12–24 months | 19–20 inches | 12 inches | 6.5 inches |
Adjust the number of stitches and rows based on your gauge and desired size.
🔍 Stitch Abbreviations (US Terms)
- ch – chain
- sl st – slip stitch
- sc – single crochet
- hdc – half double crochet
- dc – double crochet
- inc – increase (2 stitches in one stitch)
- dec – decrease (2 stitches together)
- st(s) – stitch(es)
🌟 Design Overview
The “Cuddle Bear” hoodie is constructed as follows:
- Back and front panels (worked flat)
- Sleeves (worked in rounds or flat)
- Hood (seamed at the top)
- Bear ears
- Optional button band
🧥 Part 1: The Body (Front & Back Panels)
Work two front panels and one back panel.
➤ Back Panel:
- Foundation chain:
Chain enough to match the desired width (e.g., 36 chains for 6–12 months) - Row 1:
Hdc in 2nd chain from hook, and across. Turn. - Rows 2–X:
Ch 1, hdc across. Continue until the panel reaches desired height (shoulder to hem, e.g., 11 inches).
➤ Front Panels (Make 2):
Chain half the amount of the back panel + 3.
Repeat as for back panel, but stop 1–1.5 inches shorter at the top for neckline shaping.
🧶 Part 2: Join Shoulders
With right sides facing in, sew the front panels to the back panel at the shoulders using whip stitch or mattress stitch.
Leave space in the middle for the neck opening (usually 3–4 inches).
🧵 Part 3: Sleeves
You can make sleeves two ways: flat or in the round.
➤ Flat Method (easier for beginners):
- Chain to the desired width (e.g., 20–25 chains).
- Hdc across, turn.
- Work straight or gradually increase 1 stitch at each side every 2–3 rows.
- Continue until sleeve reaches the desired length.
- Fold and seam along the long edge to form a tube.
Sew the sleeve into the armhole of the hoodie.
🐻 Part 4: Hood
- Attach yarn at the neckline and evenly hdc around the collar opening.
- Work hdc rows back and forth, turning after each row.
- Continue until hood measures approx. 6–8 inches from the neckline.
To shape the hood:
- Fold the piece in half vertically and seam the top edge together.
🐾 Part 5: Bear Ears (Make 2)
You can use single or double-layered ears.
➤ Simple Flat Ears:
- Magic ring, ch 2.
- 10 dc into ring. Join. (10 sts)
- Round 2: Ch 2, 2 dc in each st around. Join. (20 sts)
- Fold the circle in half and sew onto the top corners of the hood.
Optional: Add inner ear color with a smaller round in a different yarn.
🧷 Part 6: Button Band (Optional)
Attach yarn to one front edge and work rows of sc or hdc vertically up and down the edge. Work 2–3 rows for stability.
On the buttonhole side, ch 2, skip 1 or 2 sts to create small holes every few inches.
Sew on buttons to match buttonholes.
🧼 Finishing Touches
- Weave in all loose ends with a yarn needle.
- Block gently if necessary (especially for cotton or plant-based yarns).
- Add decorative nose, eyes, and mouth if desired, using safety eyes or black embroidery thread.
🎨 Optional Customizations
| Feature | How to Add |
|---|---|
| Paw Appliqués | Crochet small ovals and sew onto sleeves or hoodie pocket |
| Tail | Crochet a small circle and stuff lightly before sewing onto back |
| Lining | Sew soft flannel fabric inside the hood for extra warmth |
| Crochet a square or bear-paw-shaped patch and attach to front |
🧠 Tips for Success
- Make a gauge swatch before starting.
- Use stitch markers to track armhole depth and sleeve placements.
- If making for gifting, go a size up to ensure a comfortable fit.
- Use lightweight or anti-pilling yarn for easy care and durability.
💝 Why This Makes a Perfect Gift
A handmade “Cuddle Bear” hoodie is more than a garment — it’s a memory stitched with love. Whether it’s a baby shower gift, a holiday present, or a first birthday surprise, it’s guaranteed to be treasured by the parents and adored by the child.
🧶 Conclusion
Crocheting a “Cuddle Bear” baby hoodie is a heartwarming project that combines functionality with creativity. With basic stitches, cozy yarn, and just a touch of whimsy (hello, bear ears!), you can create a piece that is as useful as it is cute.
It’s a rewarding, customizable project suitable for beginners with a few projects under their belt or intermediates looking for their next adorable baby make.
Video tutorial: