 by
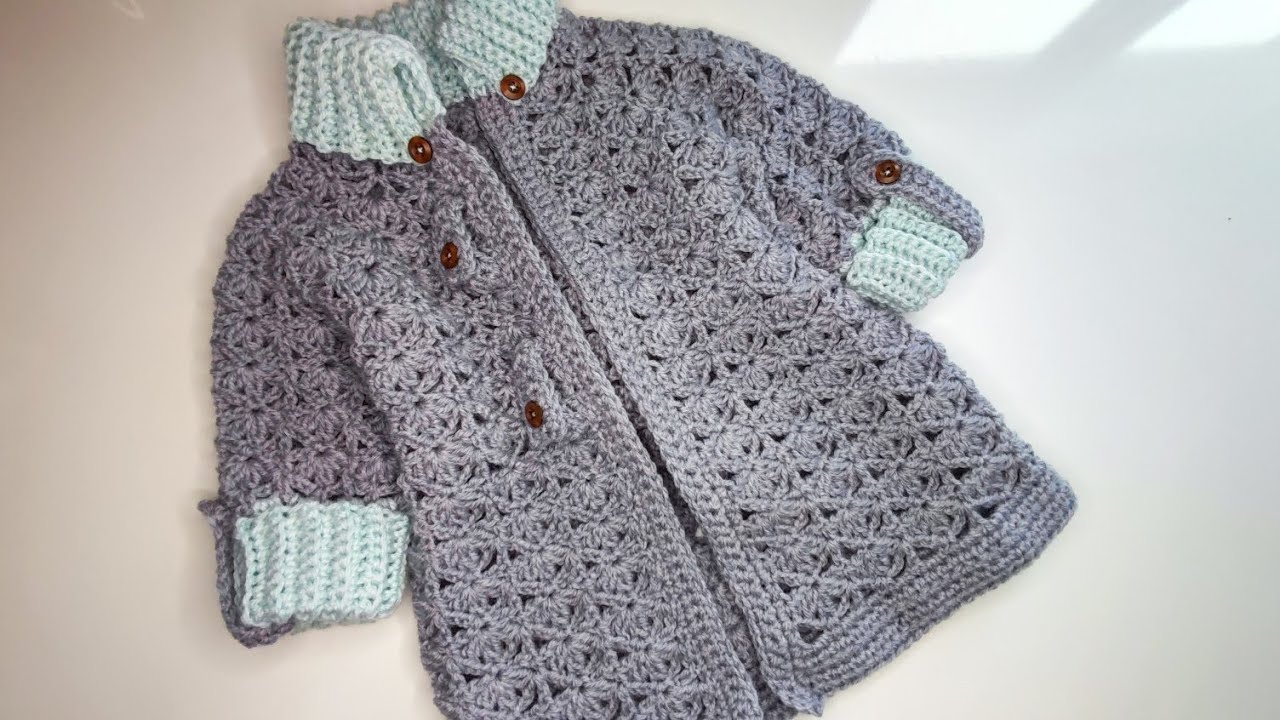
by Crocheting a spring or summer cardigan for girls is not only a delightful project but also a practical one. A lightweight cardigan adds just enough warmth for breezy evenings while serving as a stylish layer over sundresses, tanks, or t-shirts. This article provides a step-by-step guide, helpful tips, and pattern customization options to help you create a handmade, breathable cardigan that any girl would love to wear.

🌼 Why Crochet a Summer Cardigan?
While heavier yarns dominate winter wear, spring and summer offer the opportunity to work with lighter yarns, open stitches, and lacy textures. Crocheted cardigans are:
- Comfortable and breathable
- Customizable in style and color
- Perfect for layering
- Great handmade gifts
This guide is suitable for adventurous beginners to intermediate crocheters and includes sizing tips for girls aged 2 to 12.
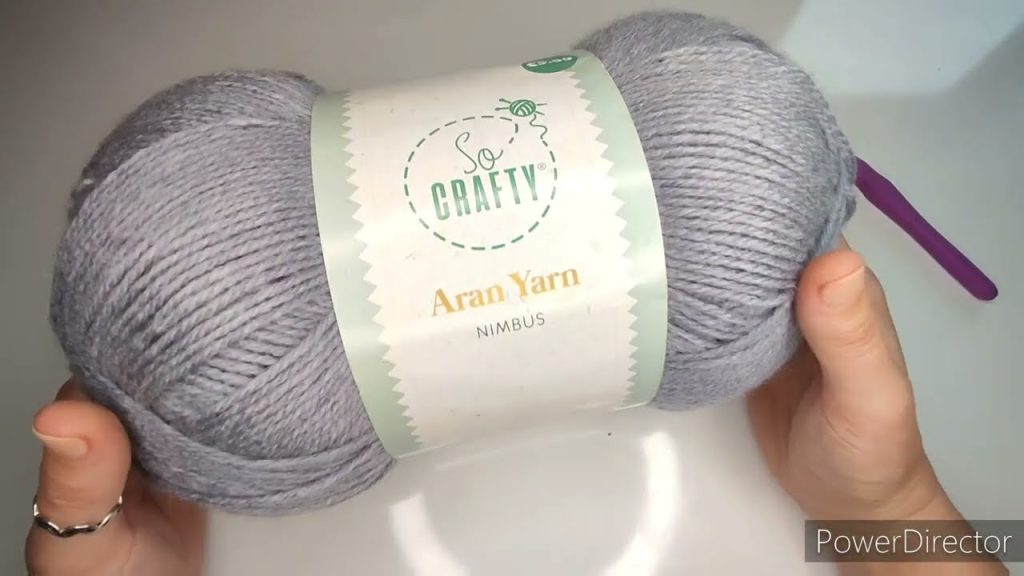
🧵 Materials You’ll Need
🧶 Yarn:
- Cotton or bamboo blend yarns are ideal for warm-weather garments.
- Choose DK (double knit/light worsted) or sport weight yarn.
- Amount needed (approximate):
- 2–3 years: 300–350g
- 4–6 years: 400–500g
- 7–10 years: 500–600g
- 11–12 years: 600–700g
🪡 Tools:
- Crochet hook (usually size 3.5mm to 4.5mm, check yarn label)
- Yarn needle
- Stitch markers
- Scissors
- Measuring tape
- Buttons (optional)
🧶 Suggested Yarns:
- Scheepjes Catona (100% cotton)
- Paintbox Yarns Cotton DK
- Lion Brand Coboo (cotton/bamboo blend)
- Drops Muskat
📏 Measuring and Sizing
For a custom fit, take the following measurements:
- Chest circumference
- Armhole depth
- Cardigan length (shoulder to hem)
- Sleeve length (optional: make it sleeveless or short-sleeved)
Use a sizing chart or the child’s measurements. Add 2–3 inches of ease for a relaxed fit.
✨ Stitch Pattern Suggestions
For spring/summer, choose airy, open stitches. Some great options:
| Stitch | Texture | Skill Level |
|---|---|---|
| V-Stitch | Lacy and stretchy | Beginner |
| Mesh Stitch | Light and airy | Beginner |
| Shell Stitch | Decorative and feminine | Intermediate |
| Granny Stitch | Classic openwork | Beginner |
| Filet Crochet | Open blocks | Intermediate |
🧥 Cardigan Construction Styles
You can build a cardigan in various ways:
1. Top-Down Raglan (Seamless)
- Starts at the neckline, works downward
- Easy to try on as you go
- Great for adjusting length/sleeves
2. Panel Construction
- Back panel + 2 front panels + sleeves
- Sewn together at the end
- More structure and shaping control
3. Granny Square Assembly
- Modular squares joined together
- Fun and customizable
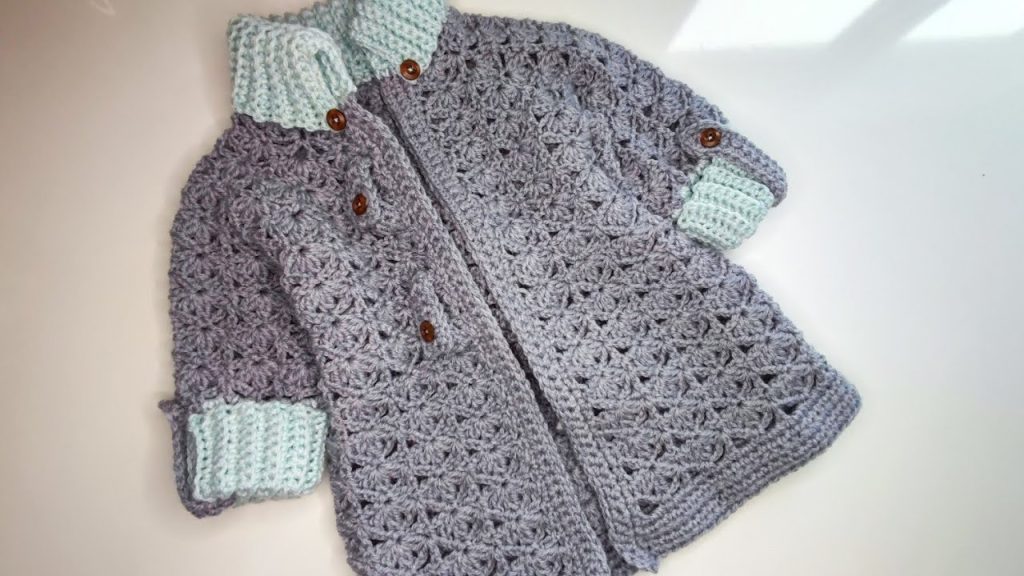
For this guide, we’ll walk through a simple top-down raglan cardigan with short sleeves, open front, and optional button loops.
🧵 Step-by-Step Guide: Crochet Spring/Summer Cardigan for Girls
🔹 Step 1: Swatch and Gauge
Make a 4×4 inch (10x10cm) swatch in your chosen stitch to measure gauge.
Example for V-Stitch:
- Gauge: 16 stitches and 8 rows = 4 inches (10 cm)
🎯 Adjust your hook size to match the required gauge. This ensures the cardigan fits properly.
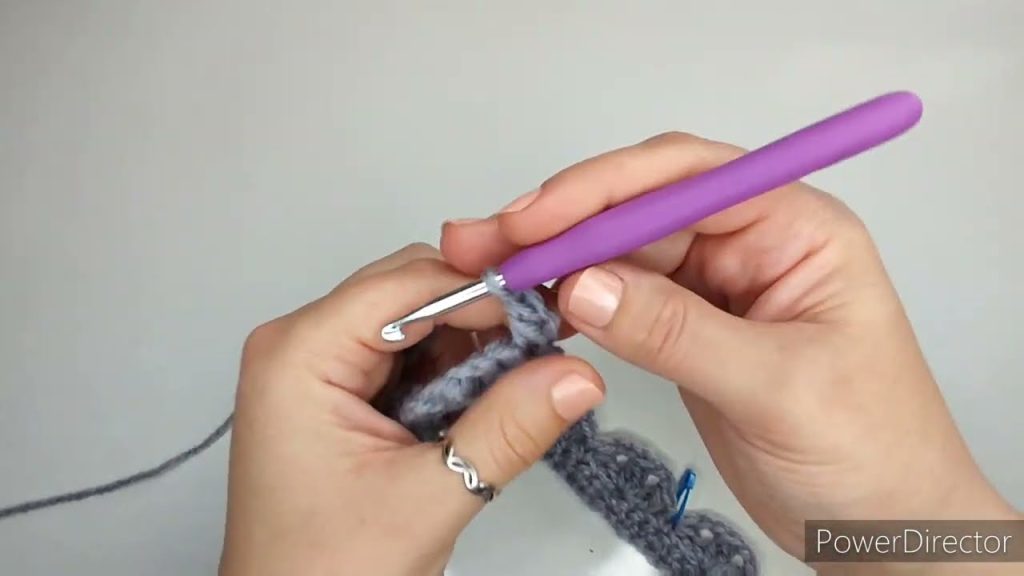
🔹 Step 2: Start the Yoke (Top)
Using the V-Stitch:
Foundation Chain (for approx. 3–4T size):
Chain 60 (or adjust based on measurement + stitch multiple)
Row 1:
Double crochet (dc) in 4th chain from hook, ch 1, skip 1, dc in next. Repeat to end. Turn.
Row 2 (Start raglan increases):
Use stitch markers to place increases at 4 raglan points (e.g., 12 stitches for left front, 4 for sleeve, 24 for back, 4 for sleeve, 12 for right front).
Each row, increase at the raglan points (2 dc, ch 1, 2 dc) in the same chain space to form shoulder shaping.
Repeat rows, continuing raglan increases until the piece reaches the desired armhole depth (approx. 5–6 inches for 3–5 years, more for older children).

🔹 Step 3: Separate for Body and Sleeves
At the desired yoke depth:
- Place stitches for sleeves on stitch holders or scrap yarn
- Continue crocheting the body in rows
🔹 Step 4: Work the Body
Continue in your stitch pattern (V-stitch, mesh, or shell) until the cardigan reaches the desired length (waist-length or hip-length).
Optional: Add shaping by decreasing one stitch at each end every few rows.
Finishing the hem:
Add a shell border or single crochet row for a neat edge.
🔹 Step 5: Crochet the Sleeves
Return to the sleeve stitches:
- Attach yarn and work in the round (or rows)
- For short sleeves, crochet 5–6 rounds
- End with a neat border or scallop edge
Want long sleeves? Keep going!
🔹 Step 6: Front Edging & Button Loops
To finish the front edges:
- Work 1–2 rows of single crochet or half double crochet along the neckline and down both front sides
Optional Button Loops:
- Chain 6, skip 1–2 stitches, attach to form loops for buttons
- Sew buttons opposite each loop
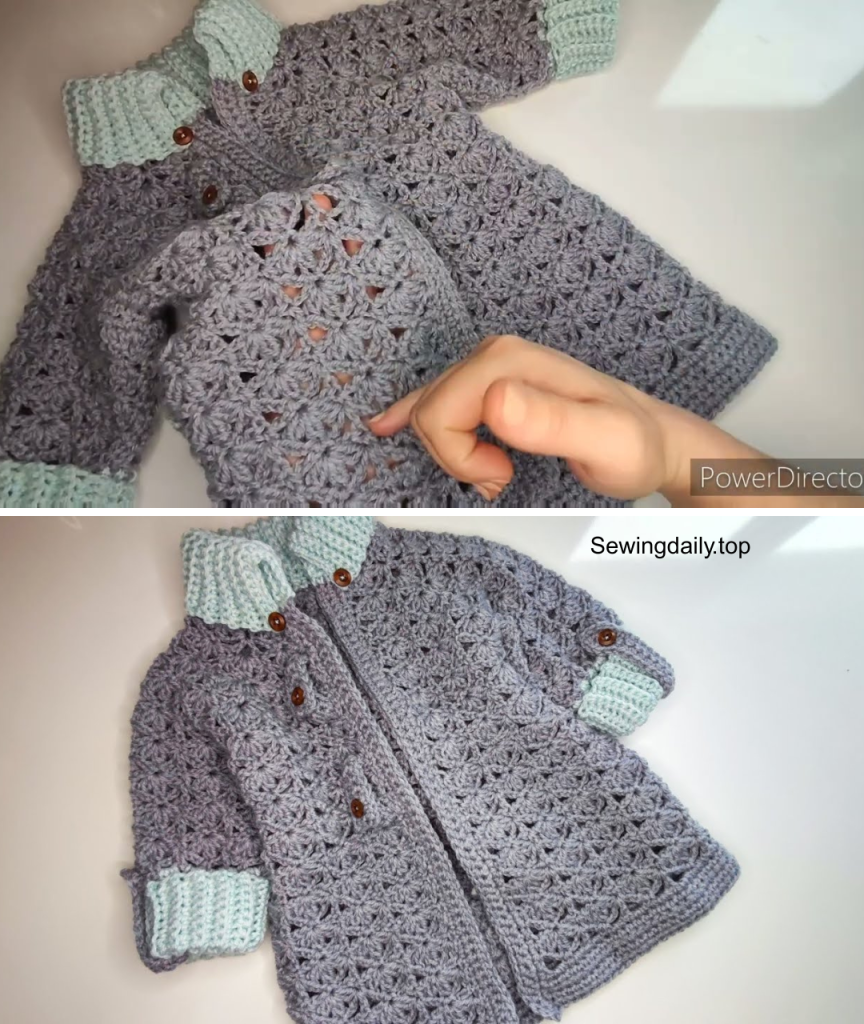
🎨 Customization Options
- Add a hood: Extend from the neckline using the same stitch
- Decorate with flowers: Crochet tiny daisies or motifs and sew on
- Create a peplum: Add flare by increasing stitches at the waist
- Mix colors: Use stripes or color blocks
- Add pockets: Simple squares sewn on the front
🧺 Care Instructions
Use yarns that are:
- Machine washable (check label)
- Colorfast
- Soft against the skin
Wash in cool water and lay flat to dry to maintain the shape.
🧠 Tips for Success
- Use stitch markers to track raglan points
- Try the cardigan on (or measure against a shirt) as you go
- Choose yarns that drape well
- Don’t worry about perfection — handmade means heart-made!
🧒 Sizing Guide (Approximate Chest Measurements)
| Age | Chest (inches) | Chain Count (starting point) |
|---|---|---|
| 2–3 | 20–21″ | 56–60 |
| 4–5 | 22–23″ | 64–68 |
| 6–7 | 24–25″ | 72–76 |
| 8–10 | 26–28″ | 80–86 |
| 11–12 | 29–30″ | 88–92 |
Adjust based on gauge and yarn weight.
🌟 Conclusion
Crocheting a spring or summer cardigan for a girl is a fun and meaningful project that offers endless customization possibilities. By using breathable yarns, open stitches, and a simple top-down or panel construction, you can create a beautiful, wearable piece that’s perfect for warm days and cool breezes.
Whether you’re making it for your daughter, niece, granddaughter, or as a gift, the love you put into every stitch will be felt every time she wears it.
Video tutorial: