by
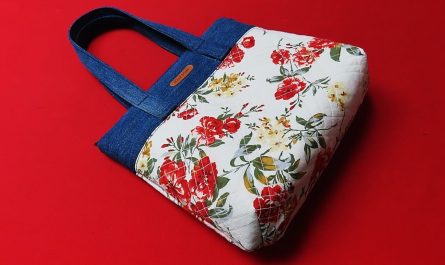
by Recycling old jeans into a new bag is one of the fastest and most satisfying DIY sewing projects you can do. In this tutorial, we’ll walk through how to quickly sew a denim bag with two compartments — functional, stylish, and sustainable!
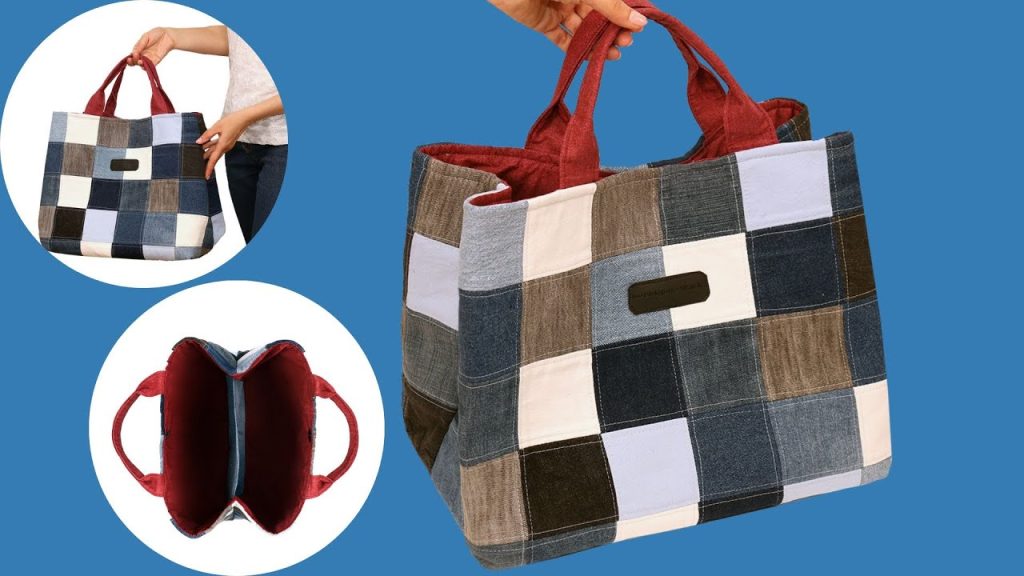
Whether you want a small shoulder bag or a rugged tote, this guide will show you how to make a double-compartment bag from one pair of jeans, using simple sewing techniques and minimal materials.
✂️ Materials & Tools You’ll Need
Materials:
- 1 pair of old jeans
- Lining fabric (optional, for a more polished finish)
- Matching thread
- Fabric straps, webbing, or belt (for handles)
- Optional: snap button, Velcro, or zipper for closure
Tools:
- Sewing machine (or hand sewing needle)
- Fabric scissors
- Pins or clips
- Measuring tape or ruler
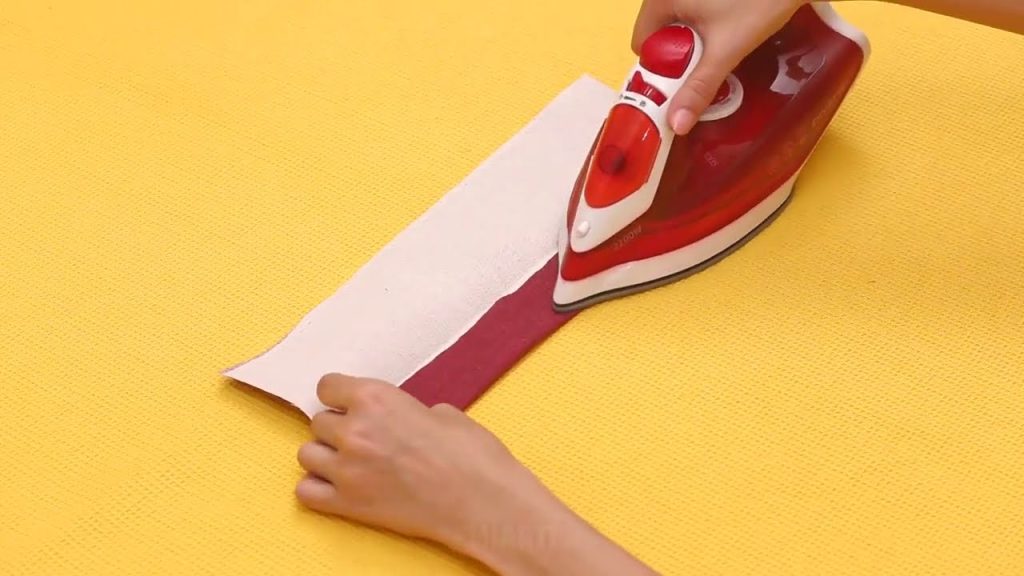
- Iron (optional but helps with clean lines)
- Chalk or fabric marker
🧭 Project Overview
- Skill level: Beginner to Intermediate
- Time needed: 1 to 2 hours
- Bag size: Approx. 12” x 10” (adjustable)
- Key features: Two separate compartments in one main body
🪡 Step-by-Step Instructions
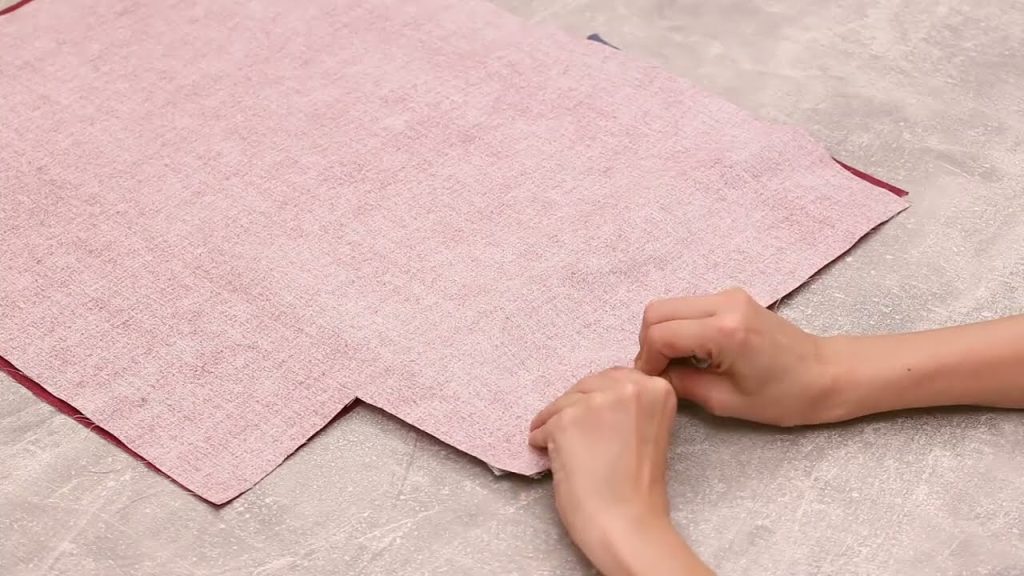
🔹 Step 1: Cut the Bag Pieces
Main Body (with 2 compartments):
- Cut two large rectangles from the legs of the jeans.
- Suggested size: 14” wide x 11” high (each)
- Cut one more piece of the same size — this will act as the center divider to create the two compartments.
- You’ll have three identical denim panels in total.
💡 Tip: Keep the bottom hems for the top edge of the bag if you want a decorative finish.
Optional: Lining
- Cut three matching rectangles from your lining fabric (same size as denim).
🔹 Step 2: Prepare the Compartments
Assemble the Divider:
- Stack the middle panel (center divider) onto one of the outer panels, wrong sides together.
- Pin or baste them together at the sides and bottom.
- This combo will act as one side of the bag with a built-in divider.
🔹 Step 3: Sew the Outer Bag
- Lay the two outer pieces right sides together (the one with the divider and the second plain one).
- Sew the two sides and the bottom edge with a ½” seam allowance.
- Finish raw edges with a zigzag stitch or overlock if desired.
🧠 At this point, you have a single bag body with two compartments separated by the center divider sewn into the side seam.
🔹 Step 4: Box the Corners (Optional)
To give the bag some depth:
- Pinch each bottom corner of the bag into a triangle, with the side seam centered.
- Measure about 1.5 to 2 inches from the point, and draw a straight line across.
- Sew along this line, then trim the excess fabric.
This will give your bag a flat bottom.
🔹 Step 5: Add Lining (Optional but Recommended)
If you’re using a lining:
- Sew the three lining pieces together the same way: one panel with the divider, sewn to a single panel.
- Leave a 3-inch opening in the bottom of the lining for turning.
- Insert the lining inside the denim bag, right sides facing each other.
- Align the top edges and pin.
🔹 Step 6: Attach Handles
You can use:
- Denim strips (cut and sew into straps),
- Canvas webbing, or
- Old leather belt
To Attach:
- Insert the strap ends between the outer bag and lining (about 2–3 inches from the side seams).
- Pin securely in place.
- Make sure both straps are equal length and aligned.
🔹 Step 7: Sew the Top Edge
- Sew all around the top edge of the bag (through both the outer fabric and lining), securing the handles in place.
- Turn the bag right-side out through the hole in the lining.
- Push the lining inside the bag and topstitch around the top edge for a neat finish.
🔹 Step 8: Close the Lining Opening
Sew the hole in the lining shut with a topstitch or invisible ladder stitch.
🔹 Step 9: Add Closure (Optional)
For extra security, you can:
- Sew a magnetic snap in the center
- Add Velcro tabs
- Insert a zipper between the outer and lining layers before final topstitching
✅ Final Touches
- Iron your finished bag if needed.
- Add decorative stitching, patches, or embellishments.
- Use back pockets from the jeans for additional exterior pockets!
🧠 Why This Bag Works
- Fast: Can be made in under 2 hours.
- Practical: Two compartments help you stay organized.
- Upcycled: Saves denim from the landfill.
- Stylish: Each bag is totally unique.
📌 Customization Ideas
- Add a zippered pocket to the divider.
- Use different colored linings for each compartment.
- Make a crossbody strap with adjustable hardware.
- Add a key clip or pouch inside.

✨ Conclusion
Making a quick, double-compartment bag from old jeans is a creative and functional way to upcycle denim. It’s easier than it sounds — and once you’ve made one, you’ll probably start saving every old pair of jeans for more!
With basic sewing skills, some imagination, and a pair of scissors, you’ll end up with a one-of-a-kind bag that’s both sturdy and stylish.
Video tutorial: