by
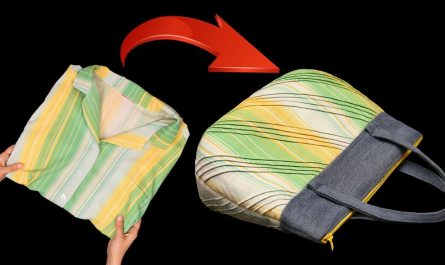
by In today’s world of sustainable living and mindful fashion, repurposing old clothing is not only eco-friendly but also a fun and satisfying creative outlet. One of the easiest and most stylish ways to upcycle your wardrobe is by sewing a cute tote bag from an old shirt. This project is perfect for beginners, requires minimal supplies, and gives new life to garments that might otherwise go to waste.
Whether you want to reduce textile waste, create a personalized accessory, or enjoy a relaxing weekend craft, this guide will walk you through the process step-by-step.
🌿 Why Make a Tote Bag from an Old Shirt?
Before diving into the instructions, let’s explore why this DIY project is worth your time:
✅ Eco-Friendly
-
Reduces landfill waste
-
Extends the life of clothing
-
Encourages mindful consumption
✅ Budget-Friendly
-
Uses materials you already have
-
No need to buy expensive fabrics
✅ Personal & Unique
-
Each bag carries the history of a favorite shirt
-
Add your own embellishments, embroidery, or patches
✅ Practical
-
Great for groceries, books, gym, or everyday use
-
Lightweight and washable
👕 Choosing the Right Shirt
Not all shirts are created equal for this project. Here’s what to look for:
🧢 Best Shirt Types
-
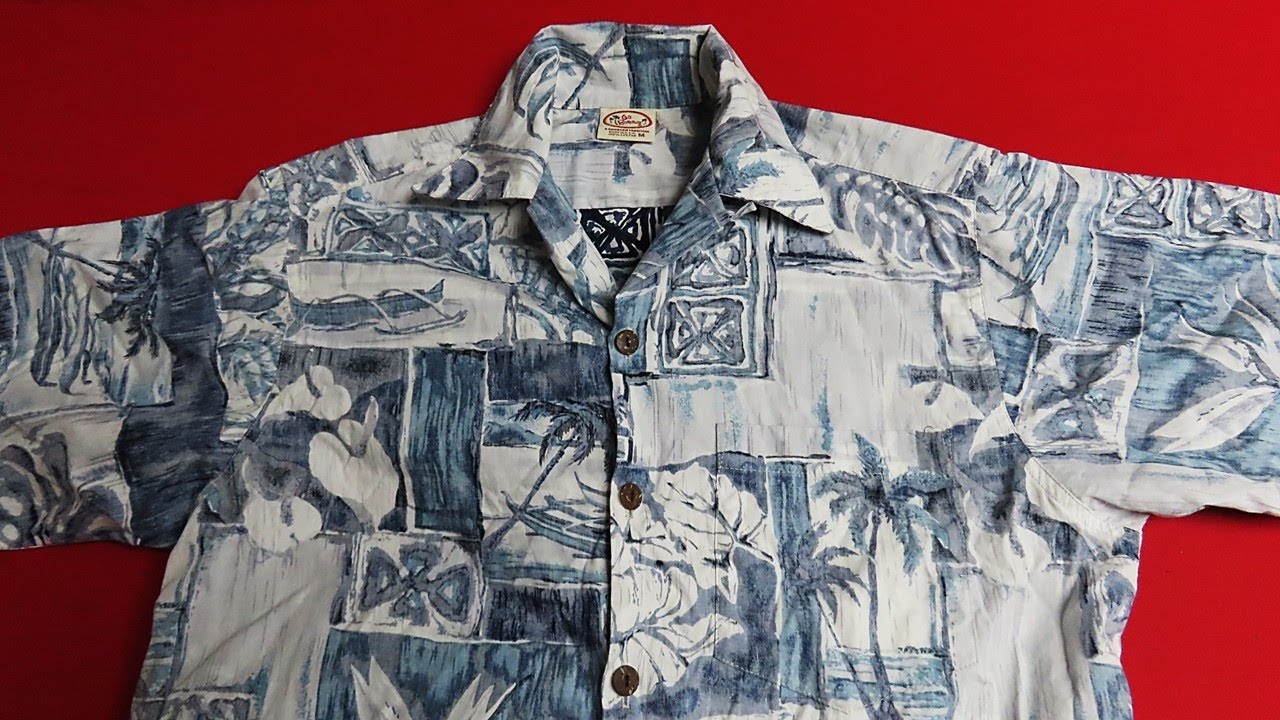
Button-down shirts (men’s or women’s)
-
Oversized T-shirts
-
Cotton or cotton-blend fabric for durability
-
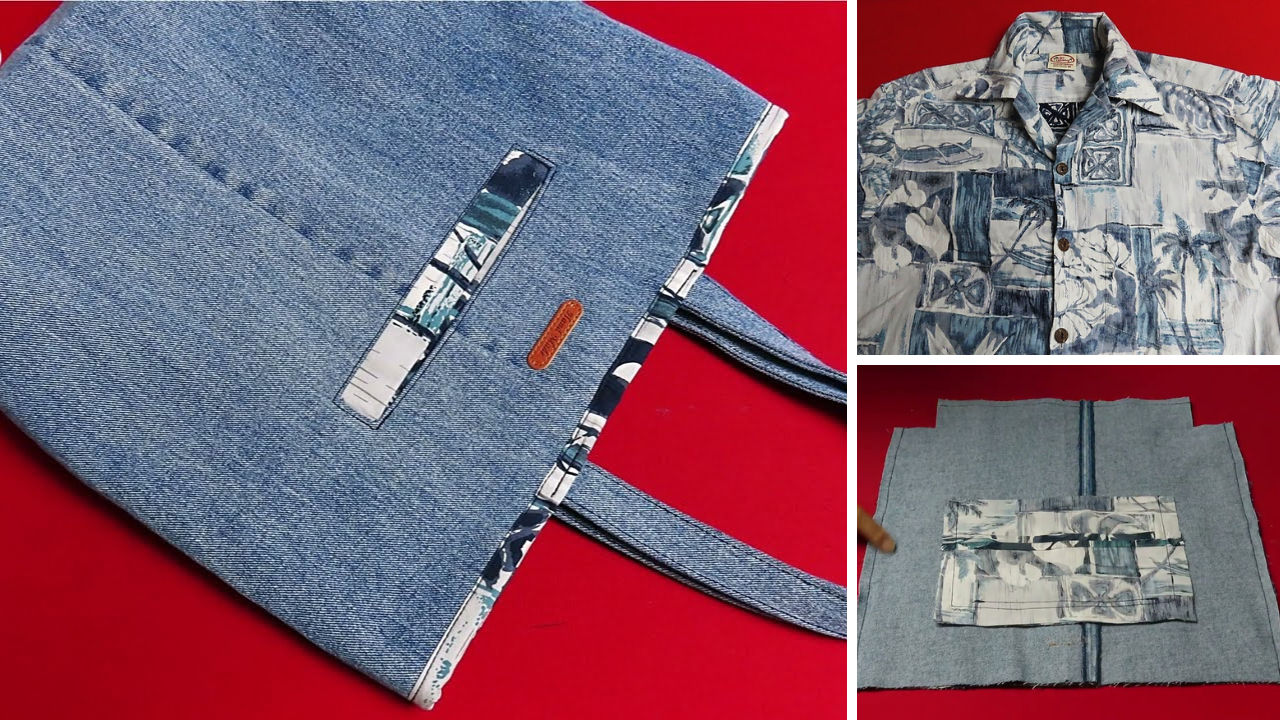
Thicker materials like flannel, denim, or chambray for structure
❌ Shirts to Avoid
-
Thin, stretchy, or slippery materials (e.g., silk, rayon)
-
Very worn-out or holey shirts
💡 Pro Tip: Shirts with pockets, patterns, or embroidery make especially charming bags.

✂️ Materials and Tools
Here’s what you’ll need to get started:
Materials
-
1 old shirt (preferably adult size)
-
Matching or contrasting thread
-
Optional: Fusible interfacing for extra sturdiness
-
Optional: Lining fabric (can be from another old shirt or sheet)
Tools
-
Sewing machine (or needle for hand sewing)
-
Fabric scissors
-
Pins or clips
-
Measuring tape or ruler
-
Iron and ironing board
-
Chalk or washable fabric marker
📐 Step-by-Step Instructions
Let’s walk through the basic process of transforming a shirt into a stylish tote bag.
🪡 Step 1: Prep the Shirt
-
Wash and iron the shirt to remove wrinkles and shrinkage.
-
Lay the shirt flat on a clean, flat surface.
-
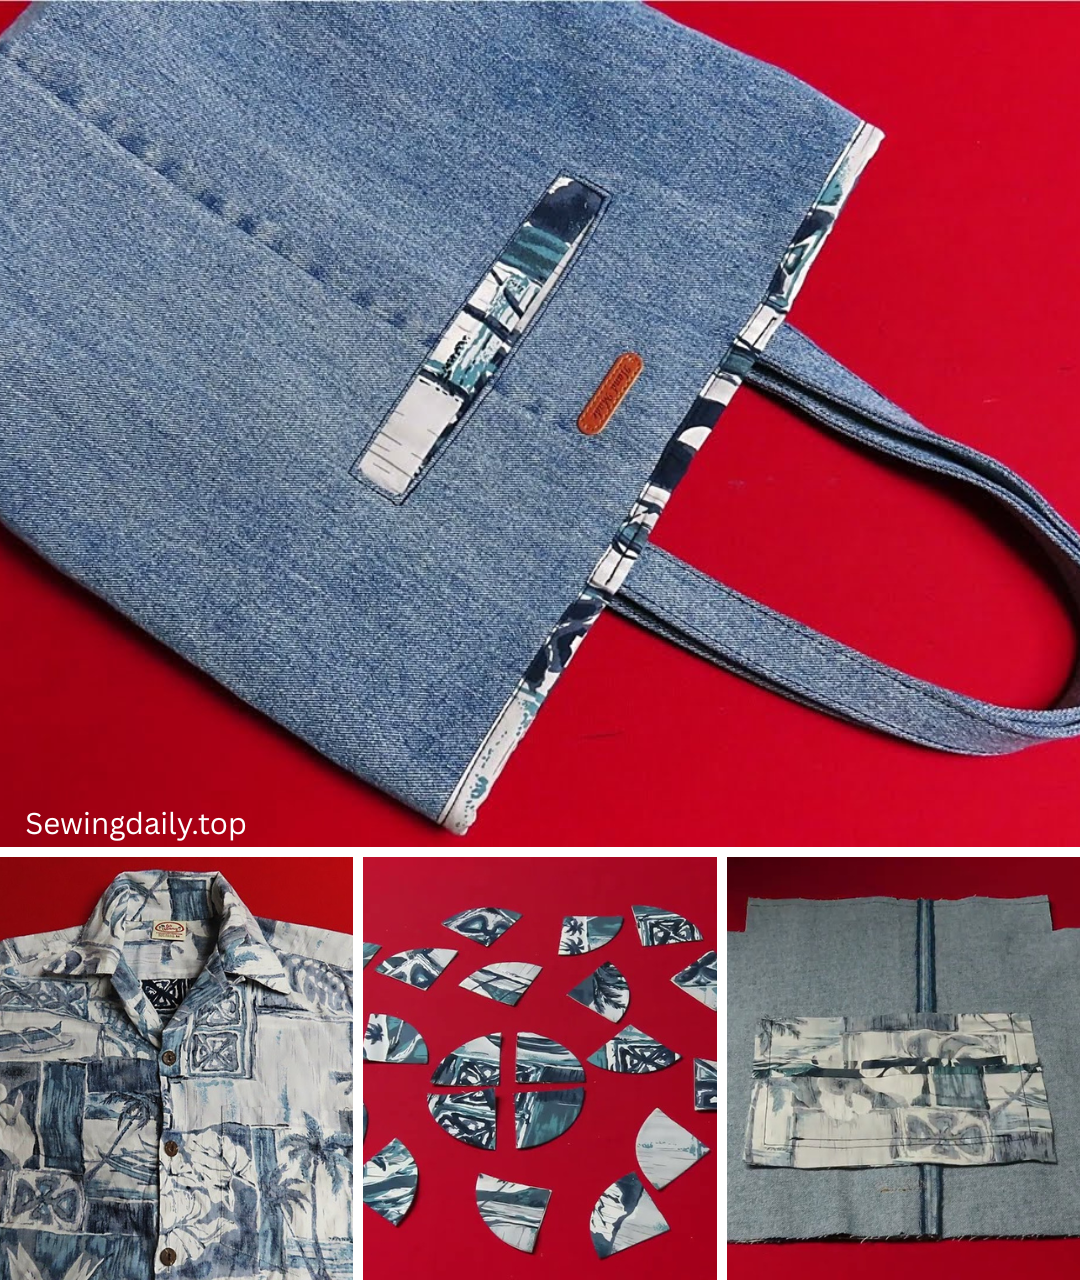
Cut away the sleeves, collar, and yoke if using a button-down.
-
Save the sleeves for making straps or pockets!
-
🧺 Step 2: Cut the Bag Body
-
Decide the size of your tote:
-
Standard: 14–16 inches wide x 16–18 inches tall
-
-
Measure and cut a rectangle from the shirt’s body.
-
Fold the shirt in half vertically.
-
Measure and mark your rectangle using chalk/ruler.
-
Cut through both layers so you have two identical rectangles.
-
💡 Optional: If the shirt has a pocket you love, cut it into one of your rectangles to include it on the front.

🎒 Step 3: Add Interfacing or Lining (Optional)
For added durability:
-
Cut fusible interfacing the same size as your rectangles and iron onto the wrong side.
-
Or cut two lining rectangles from coordinating fabric and sew them together separately to insert later.
🧷 Step 4: Sew the Tote Bag
-
Place rectangles right sides together.
-
Pin or clip along three sides (left, bottom, and right).
-
Sew using a 1/2″ seam allowance.
-
Reinforce corners by backstitching or adding triangle seams (optional).
-
Turn the bag right side out and press.
💡 Want a boxed bottom for extra space?
-
After sewing the sides and bottom, fold each bottom corner into a triangle and sew straight across 1.5″–2″ from the point.

🧵 Step 5: Create the Straps
Use the shirt’s leftover fabric for eco-conscious straps.
Option 1: From Shirt Sleeves
-
Cut two strips approx. 20″–24″ long and 2.5″–3″ wide.
-
Fold each strap lengthwise, right sides together.
-
Sew along the long edge, then turn right side out.
-
Press and topstitch for a clean finish.
Option 2: Use Existing Hem or Button Placket
-
The bottom hem or button strip can make charming, sturdy handles.
🪡 Step 6: Attach the Straps
-
Turn down the top edge of the tote bag about 1/2″, then another 1″ to form a hem. Press and pin.
-
Insert the raw ends of each strap about 2.5″ from each side seam.
-
Tuck straps under the hem and pin in place.
-
Topstitch all around the top edge, securing straps as you go.
-
Reinforce strap ends with an X-box stitch (a square with an X) for strength.
🎨 Step 7: Add Decorative Touches (Optional)
-
Iron-on patches or appliqué
-
Embroidery (initials, flowers, quotes)
-
Buttons or lace trim
-
Use contrast thread for visible topstitching
👜 Variations & Styling Ideas
1. Reversible Tote
-
Sew a lining and turn the bag inside out for two styles in one!
2. Drawstring Bag
-
Instead of handles, add a casing and string for a cute gym or laundry bag.
3. Patchwork Tote
-
Combine several shirt scraps to make a quilted-style bag.
4. Mini Totes for Kids
-
Use a child-size shirt and shorten the straps.
🧺 Care Instructions
-
Wash on a gentle cycle
-
Air dry or tumble dry low
-
Iron if needed (especially cotton or denim)
💡 Tips for Success
-
Iron often: Pressing each seam gives your tote a polished look.
-
Stabilize stretchy fabrics with interfacing or lining.
-
Pre-plan your cuts: Maximize usable fabric, especially if you want matching handles.
-
Double stitch the bottom seam if you plan to carry heavy items.
🎁 Perfect Uses for Your Tote Bag
-
Grocery or market bag
-
Book or library tote
-
Beach bag
-
Baby essentials bag
-
Reusable gift wrap
-
Everyday handbag
-
Handmade gift!
🌎 Final Thoughts
Transforming an old shirt into a tote bag is a fulfilling way to combine sustainability, style, and creativity. It’s a small act with big impact—helping reduce textile waste while giving you a one-of-a-kind accessory that tells a story. With just a shirt, a sewing machine, and a little imagination, you can turn forgotten clothing into something fresh and functional.
So go ahead—raid your closet, grab those scissors, and start stitching. A charming tote bag is just a few seams away!
Video tutorial: