by
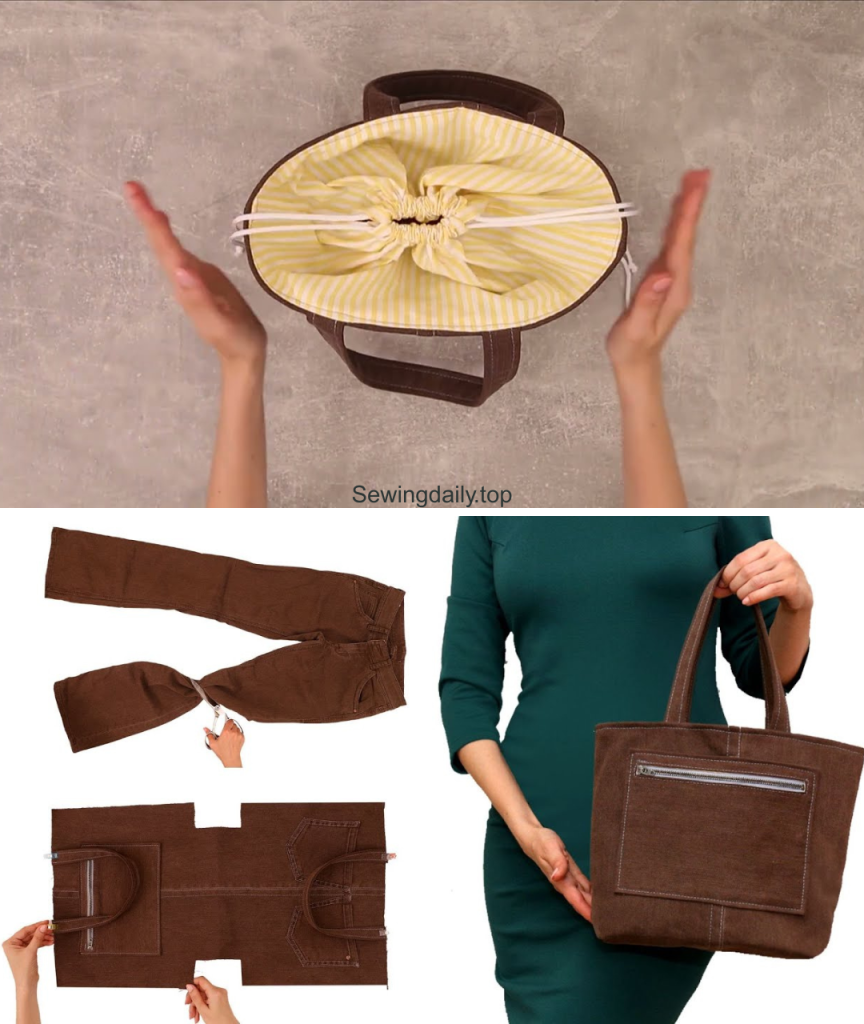
by Hello, clever upcyclers and bag enthusiasts! Ready to transform those old, forgotten jeans into a stunning, functional fashion statement? I’m excited to share the pattern for the Denim Dynamo Crossbody Sling—a medium-sized, highly structured bag that cleverly integrates the original details of the jeans, such as the waistband and pockets, into its design.
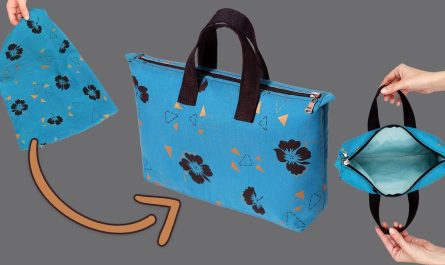
Inspired by a fantastic tutorial on sewing a bag out of old jeans, this design features a clean, simple body with a defined bottom, a sturdy zipper closure, and uses the original denim waistband to form the upper body and strap anchor. This results in a bag that looks professional, durable, and truly one-of-a-kind.
Grab those old jeans, your seam ripper, and let’s craft a beautiful, sustainable accessory that can’t be bought in any store!

Why You’ll Love Making This Bag:
- Maximum Upcycle: Uses major components of the jeans (waistband, pockets, legs) for a zero-waste project.
- Integrated Structure: The original denim waistband is used to create a naturally firm top opening.
- Functional Pockets: You can integrate the original back pockets of the jeans for instant, usable exterior storage.
- Professional Finish: Fully lined with a zipper closure for durability and a neat interior.
What You’ll Need:
- Fabric Source: 1 pair of old jeans (medium to large size works best).
- Lining Fabric: 1 yard of lightweight cotton or nylon lining fabric.
- Fusible Interfacing: 1/2 yard of heavy-weight fusible interfacing (for the lower body panels).
- Zipper: 1 zipper, 14–16 inches (35–40 cm) long.
- Webbing/Straps: 2 yards (1.5 meters) of 1.5-inch wide cotton or nylon webbing for the adjustable crossbody strap.
- Hardware:
- 1 x 1.5-inch rectangular ring (D-ring is also acceptable).
- 1 x 1.5-inch slide adjuster (tri-glide).
- Tools:
- Sewing Machine (with a denim or heavy-duty needle).
- Seam Ripper (essential for dismantling the jeans).
- Iron, Ruler, and Fabric Marker/Chalk.
- Heavy-duty thread (topstitching thread recommended).
- Pins and heavy-duty clips.
Measurements & Cutting List
The final bag size will be approximately 13 inches wide x 11 inches high x 3 inches deep. All measurements include a 1/2-inch (1.2 cm) seam allowance, unless noted.
| Piece | Fabric | Dimensions (Width x Height) | Quantity | Notes |
| A: Lower Body Front | Denim (from legs) | 14 in. x 7 in. | 1 | Interfaced. |
| B: Lower Body Back | Denim (from legs) | 14 in. x 7 in. | 1 | Interfaced. |
| C: Bottom Gusset | Denim (from legs) | 26 in. x 4 in. | 1 | Interfaced. |
| D: Waistband Top | Denim (Original Waistband) | 15 in. long (Use the finished edge) | 2 | Cut from the jeans waistband, ideally with a finished edge. |
| E: Lining Body | Lining Fabric | 14 in. x 11 in. | 2 | Front and back. |
| F: Lining Gusset | Lining Fabric | 30 in. x 4 in. | 1 | Sides and bottom. |
| G: Strap Anchor Loop | Denim/Webbing | 5 in. x 1.5 in. | 1 | For the bottom D-ring attachment. |
| H: Waistband/Strap Connector | Denim/Webbing | 4 in. x 1.5 in. | 1 | Top loop to attach the main strap. |
Note on Waistband: If your original waistband is not long enough, use the zipper portion of the jeans and cut two 15-inch strips of double-layered denim for piece D.

Construction: Building the Denim Dynamo
Part 1: Preparing Denim Pieces
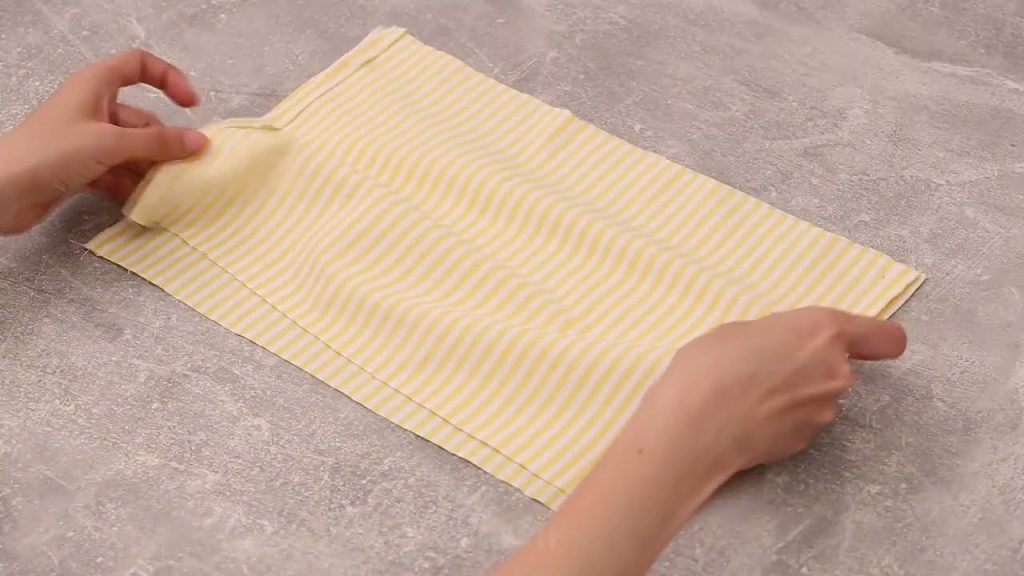
- Dismantle Jeans: Cut and seam-rip the jeans to harvest flat panels from the legs. Save the waistband.
- Fuse Interfacing: Apply heavy-weight fusible interfacing to the wrong side of the (A) Lower Body Front, (B) Lower Body Back, (C) Bottom Gusset, and (G & H) strap connectors.
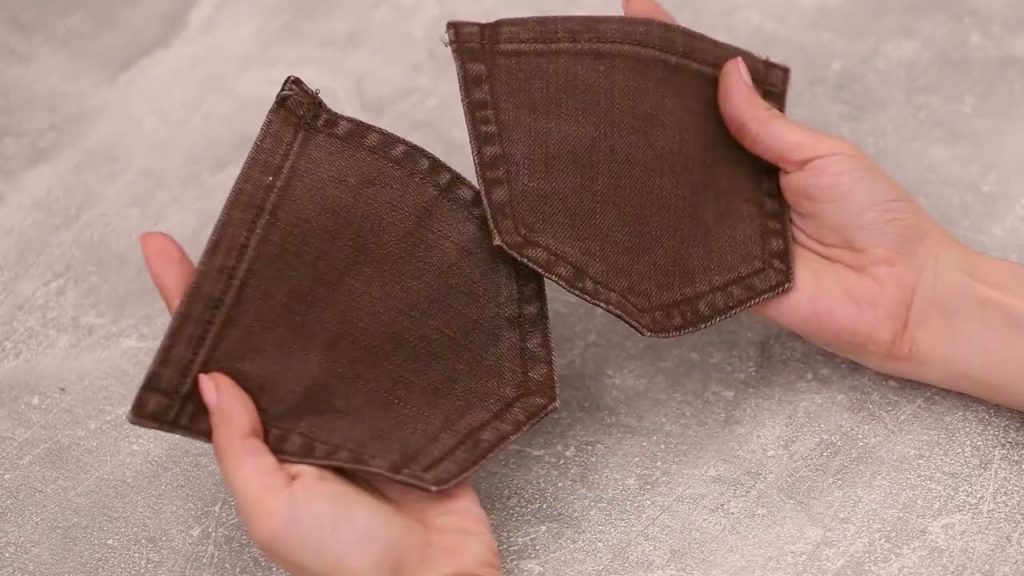
- Attach Pockets (Optional): Cut out one or two back pockets, leaving a 1/2-inch seam allowance around the top opening. Sew the pocket onto the center of the (B) Lower Body Back piece using a topstitching thread.
Part 2: Assembling the Outer Shell
- Sew Lower Body: Place the (A) Lower Body Front and (B) Lower Body Back right sides together. Sew the side seams with a 1/2-inch seam allowance.
- Attach Gusset (C): Pin the (C) Bottom Gusset strip to the bottom raw edge of the assembled body. Sew around the perimeter to create the 3D base of the bag. The top edge remains open.
- Prep Waistband (D) for Zipper:
- Take the two (D) Waistband pieces. If using the original finished waistband, cut it down to 1.5 inches tall.
- Pin one waistband piece to one side of the zipper (right sides together). Sew with a zipper foot. Repeat with the second waistband piece on the other side. This creates the zipper assembly.
- Attach Gusset/Strap Anchors (G & H):
- Take (G). Loop it through the rectangular ring and baste the raw ends to the bottom side seam of the bag.
- Take (H). Loop it through the D-ring and baste the raw ends to the opposite side seam of the bag.
- Attach Zipper Assembly: Pin the zipper assembly (from step 3) to the top raw edge of the Lower Body shell, right sides together. Sew all the way around.
Part 3: Final Assembly
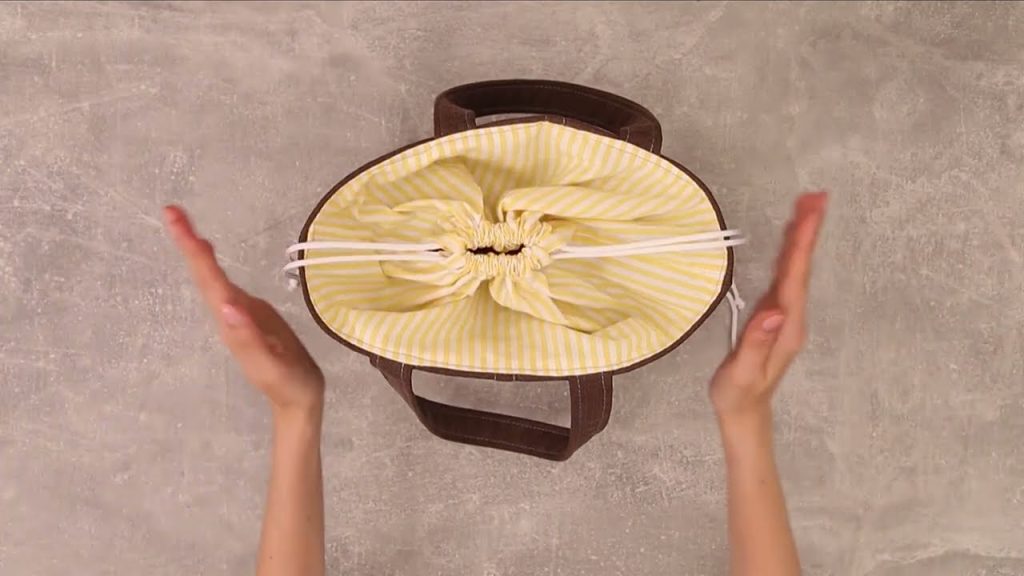
- Create the Lining: Sew the (E) Lining Body panels and (F) Lining Gusset together exactly as you did the outer shell (Part 2, steps 1-2). Leave a 6-inch (15 cm) unstitched opening along the bottom seam of the lining gusset.
- Nest and Sew: Turn the Outer Shell right-side out. Insert the Outer Shell into the Lining Shell (still inside out), aligning the top raw edges (right sides facing). The zipper is now sandwiched between the Outer and Lining bags. Pin securely all around the top perimeter.
- Final Seam: Sew the top seam all the way around.
- Turn Right-Side Out: Reach into the 6-inch opening in the lining bottom. Gently pull the entire bag through this hole.
- Close and Topstitch: Stitch the turning hole in the lining closed. Tuck the lining neatly inside the Outer Bag. Press the top edge flat and perform a final topstitch around the entire top opening, close to the zipper, for a professional finish.
Part 4: The Crossbody Strap
- Assemble Strap: Take the long webbing strap (2 yards). Thread one end through the slide adjuster. Thread the same end through the D-ring (on connector H) and back up through the slide adjuster.
- Connect Final End: Take the remaining end of the webbing strap and thread it through the rectangular ring at the bottom anchor (G). Fold the raw end of the webbing over itself by 1 inch and sew it securely down with a box stitch.
Congratulations! Your Denim Dynamo Crossbody Sling is complete—a sturdy, stylish, and sustainable bag ready for urban exploration!
Video tutorial: