 by
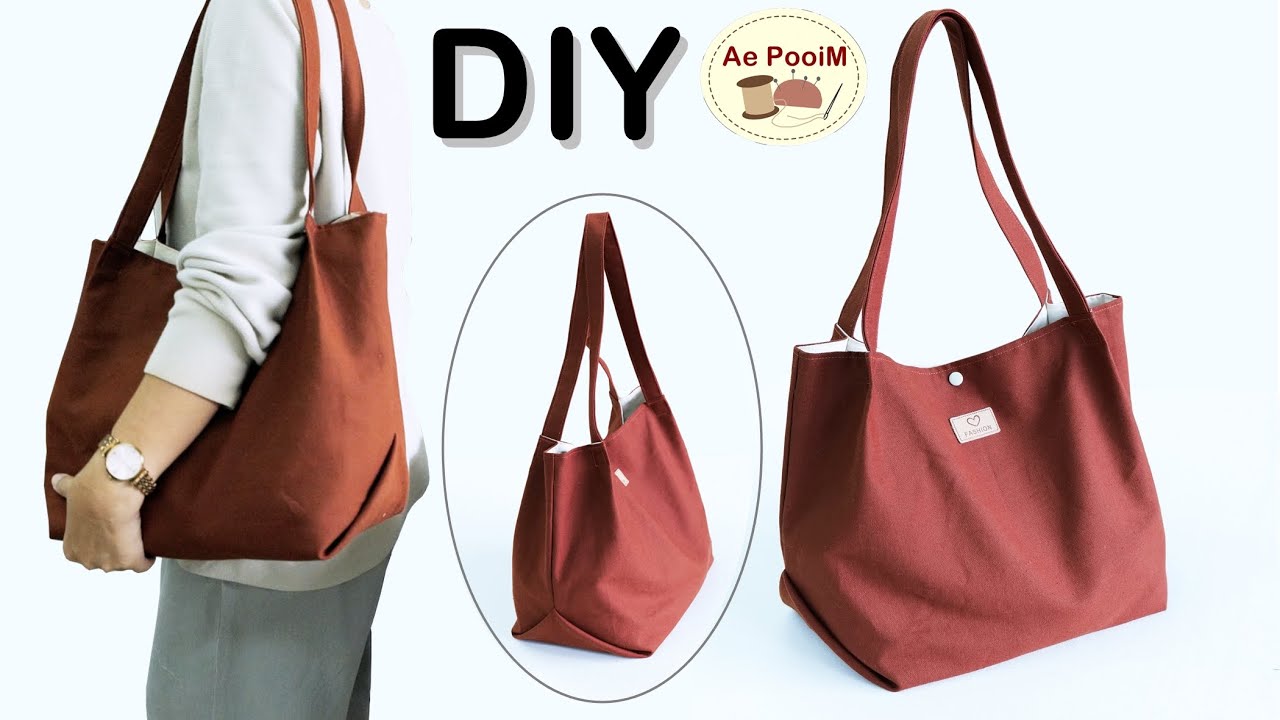
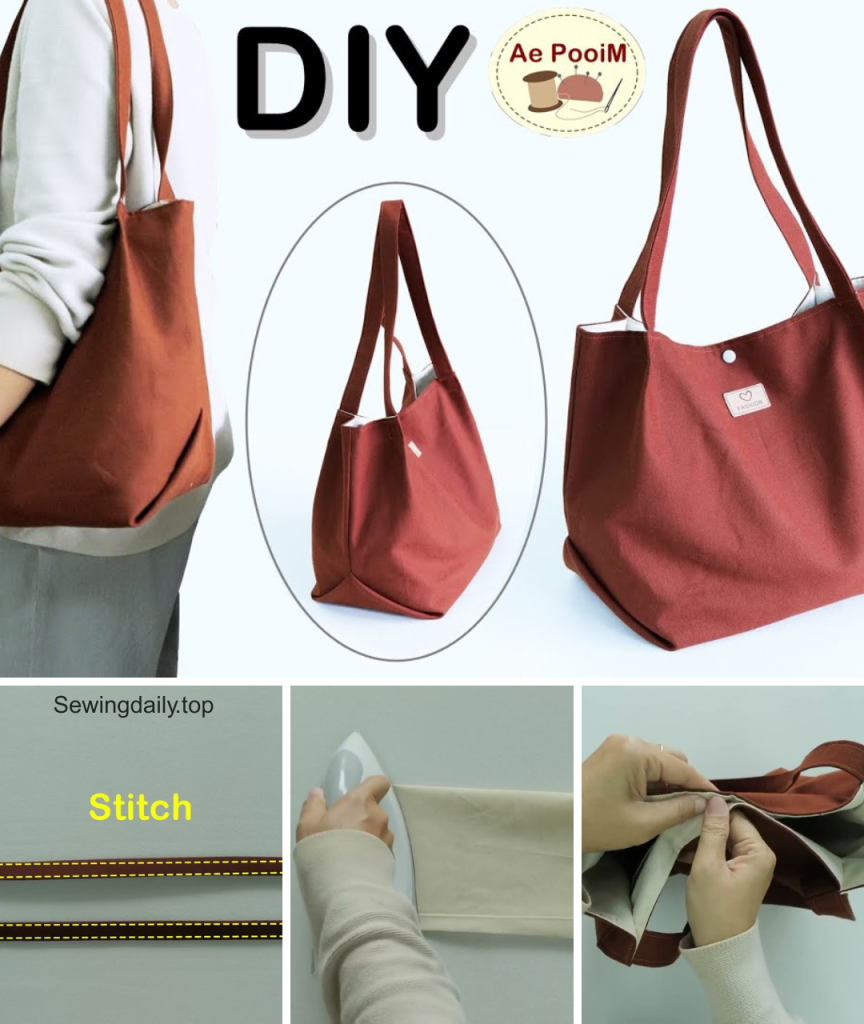
by In an age where sustainability is more important than ever, a reusable shopping tote bag is an absolute essential. Not only does it help you reduce plastic waste, but it also offers a fantastic opportunity to create a practical, personalized accessory. This tutorial focuses on a straightforward design for a simple daily shopping tote, making it an ideal project for beginners and anyone looking for a quick and satisfying sew.

Why Sew Your Own Daily Shopping Tote?
- Eco-Friendly Impact: Say goodbye to single-use plastic bags and embrace a greener way to shop.
- Customization: Choose fabrics that reflect your personality, whether it’s a bold print, a classic solid, or a quirky pattern.
- Durability: Handmade totes are often sturdier and more reliable than flimsy store-bought options.
- Cost-Effective: Often cheaper to make than to buy, especially if you use fabric you already have.
- Beginner-Friendly: This project uses basic straight stitching and simple construction, perfect for building confidence.
What You’ll Need:
- Main Fabric: 1 yard (0.9 meters) of medium to heavy-weight fabric. Canvas, duck cloth, denim, or sturdy cotton twill are excellent choices for durability.
- Lining Fabric (Optional but Recommended): 1 yard (0.9 meters) of quilting cotton or a lightweight durable fabric. A fun print can add a pop of personality inside!
- Webbing for Straps: 2 yards (1.8 meters) of 1.5-inch (3.8 cm) wide cotton or polyester webbing. This provides comfortable and strong handles.
- Thread: Strong, all-purpose polyester thread that matches or complements your chosen fabrics.
- Sewing Machine: Any standard sewing machine capable of handling medium-weight fabrics. A walking foot can be helpful for thicker materials.
- Tools:
- Sharp fabric scissors or a rotary cutter with a new blade and cutting mat.
- Measuring tape or a long clear ruler.
- Fabric marker or tailor’s chalk.
- Plenty of strong pins or fabric clips (clips are great for thick layers).
- Iron and ironing board.
Understanding the Bag Design & Cutting Dimensions:
This tutorial creates a finished tote bag approximately 15 inches wide x 16 inches tall, with a 5-inch deep boxed bottom. This is a versatile size, great for daily essentials or a trip to the market.
- Main Exterior Panels (Cut 2): 16″ W x 17″ H (40.6 cm x 43.2 cm) from your main fabric.
- Main Lining Panels (Cut 2): 16″ W x 17″ H (40.6 cm x 43.2 cm) from your lining fabric.
- Straps (Cut 2): 28″ L (71 cm) from your webbing.
Note: All seam allowances are 1/2 inch (1.25 cm) unless otherwise stated.
Step-by-Step Sewing Instructions:
1. Prepare & Cut Your Fabrics
- Pre-Wash & Press (Optional but Recommended): For canvas or cotton fabrics, pre-washing helps prevent future shrinkage. Wash and dry your fabric according to its care instructions, then iron out any wrinkles.
- Cut Your Pieces: Lay your fabrics flat and use your ruler and rotary cutter (or sharp scissors) to cut your two main exterior panels, two lining panels, and two strap pieces to the specified dimensions. Accuracy is key for a neat bag.
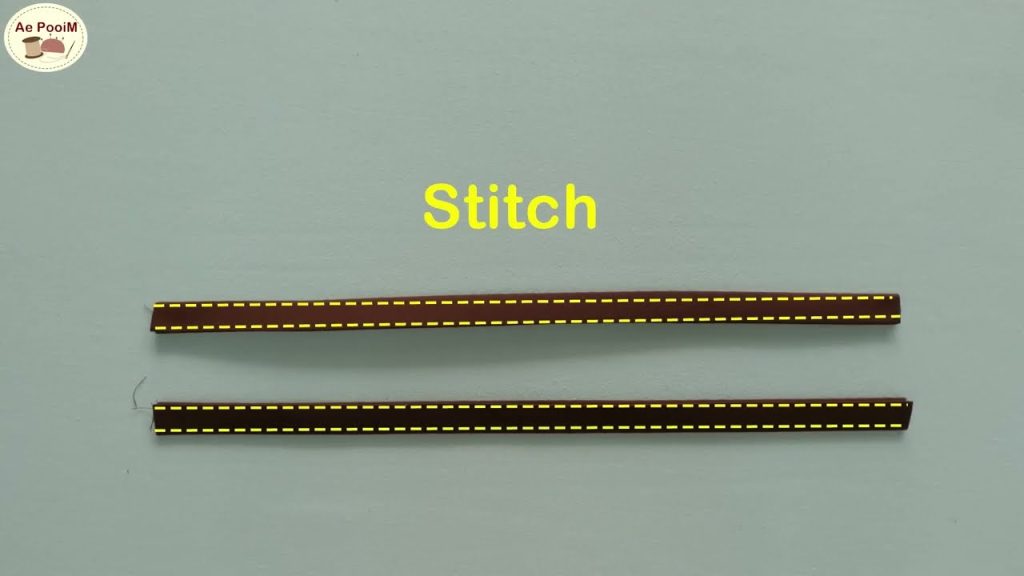
2. Prepare the Straps
- Take your two webbing strap pieces. To prevent fraying, carefully melt the cut ends with a lighter (briefly and carefully!) or apply a dab of fray check. If your webbing is cotton, you can also fold and stitch the ends.
3. Assemble the Exterior Bag
- Sew Side and Bottom Seams:
- Place your two Main Exterior Panels right sides together, aligning all edges perfectly.
- Pin along the two side edges and the bottom edge securely.
- Stitch these three edges using a 1/2 inch (1.25 cm) seam allowance. Backstitch at the beginning and end of each seam for reinforcement.
- Tip: For a stronger tote, you can double-stitch these seams by sewing a second line of stitches just inside the first, within the seam allowance.
- Create Boxed Corners: This step gives your tote a flat, defined bottom.
- At each of the two bottom corners of your exterior bag, flatten the corner so the side seam meets the bottom seam. This forms a triangle with the seam running down its center.
- Measure 2.5 inches (6.3 cm) from the tip of the triangle (where the two seams cross) and draw a line perpendicular to the seam. This line should be 5 inches (12.7 cm) long across the corner.
- Stitch directly along this marked line. Backstitch securely.
- Trim the excess fabric from the corner, leaving a 1/2 inch (1.25 cm) seam allowance. You can zigzag stitch or serge this raw edge to prevent fraying.
- Repeat for the other bottom corner.
4. Assemble the Lining Bag
- Repeat all steps from Section 3 (Assemble the Exterior Bag) for your two Main Lining Panels.
- Important: Leave an Opening! When sewing the bottom seam of the lining bag, leave a 5-6 inch (12.7-15 cm) opening in the middle of the seam. This opening is crucial for turning the entire bag right side out later. Remember to backstitch securely at the beginning and end of this opening.
5. Attach the Straps to the Exterior Bag
- Turn your exterior bag right side out.
- On the top raw edge of the bag, measure in 4 inches (10 cm) from each side seam on both the front and back. Mark these points with your fabric marker. These marks indicate where the outer edge of your straps will be placed.
- Place the raw ends of one prepared strap on the right side of the exterior bag at these marked points. The strap should be pointing downwards into the bag. Pin the strap ends securely in place. Ensure the strap is not twisted.
- Repeat for the second strap on the opposite side of the bag.
- Baste (stitch temporarily) the strap ends in place within the 1/4 inch (0.6 cm) seam allowance. This holds them securely until the final assembly.
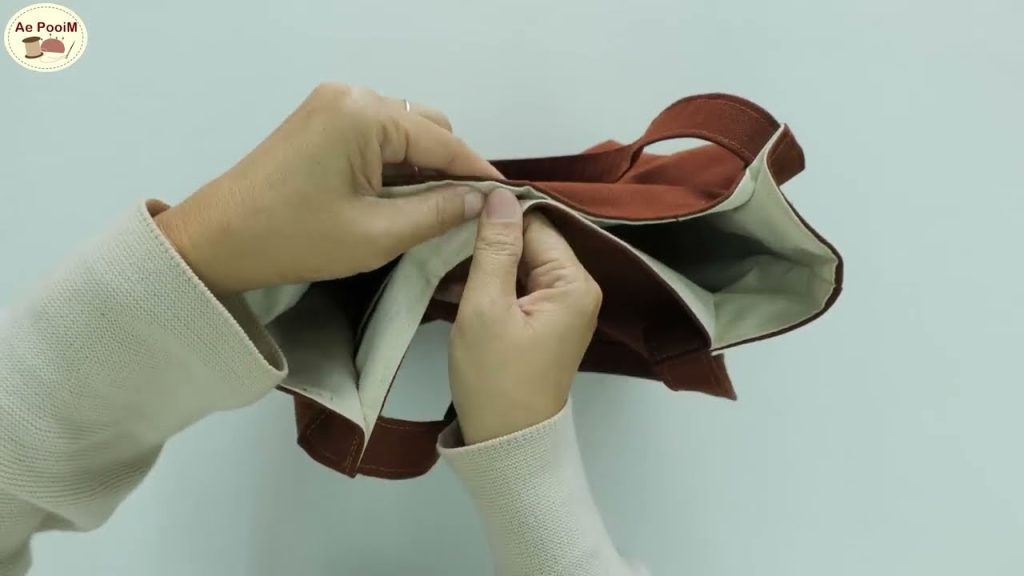
6. Combine Exterior and Lining Bags
- Keep the exterior bag right side out, with the straps tucked neatly inside.
- Keep the lining bag wrong side out.
- Carefully insert the exterior bag into the lining bag, so their right sides are facing each other. The raw edges of the straps will be sandwiched between the two layers.
- Align the top raw edges of both bags perfectly. Match the side seams and boxed corners. Pin securely all around the top opening.
- Stitch around the entire top opening with a 1/2 inch (1.25 cm) seam allowance. Backstitch at the start and end.
7. Finish the Tote Bag
- Reach into the opening you left in the bottom of the lining. Carefully pull the entire bag through this opening until it’s right side out.
- Gently push out all corners and seams to create a neat, defined shape for your tote. Use a point turner or a blunt stick if needed.
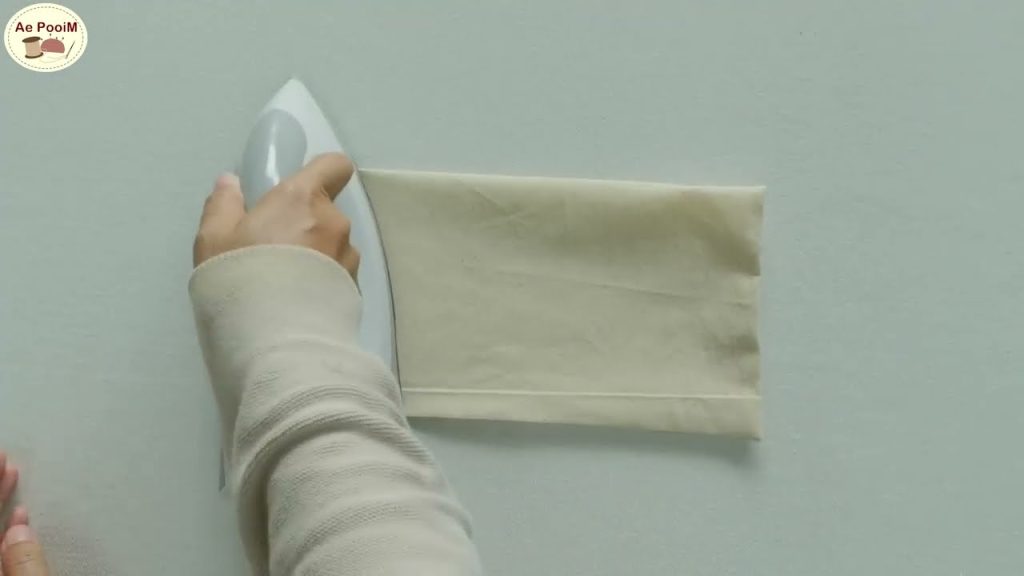
- Press the entire bag thoroughly, especially the top seam where the lining meets the exterior.
- Close the lining opening: Press the raw edges of the opening inwards by 1/2 inch (1.25 cm). Stitch the opening closed either by machine (topstitch very close to the edge for speed) or by hand (using an invisible ladder stitch for a seamless finish).
- Push the lining down into the bag. Press the top edge of the bag again.
- Topstitch: For a professional finish and added durability, topstitch around the entire top opening of the bag. Stitch about 1/8 to 1/4 inch (0.3-0.6 cm) from the edge. This secures the lining to the exterior and prevents it from rolling out. For extra strap strength, stitch a box with an “X” through it at each strap attachment point through all layers.
Customization & Embellishment Ideas:
- Outer Pockets: Add a simple patch pocket to the exterior of your bag before assembling the main exterior panels for quick access to your phone or keys.
- Inner Pockets: Sew a slip pocket or a zippered pocket to one of your lining panels before assembling the lining bag for better organization inside.
- Fabric Play: Mix and match different canvas colors or patterns for the exterior and lining.
- Personal Touches: Embellish your finished bag with fabric paint, embroidery, patches, or even some cool pins.
Your sturdy, stylish, and sustainable simple daily shopping tote bag is now complete! Enjoy the satisfaction of using a handmade item that’s perfectly suited for your everyday needs. What will be the first treasure you carry in your new tote?
Video tutorial: