by
by BloomBerry Bliss: Sewing Your Own Zipper Pouch Panel
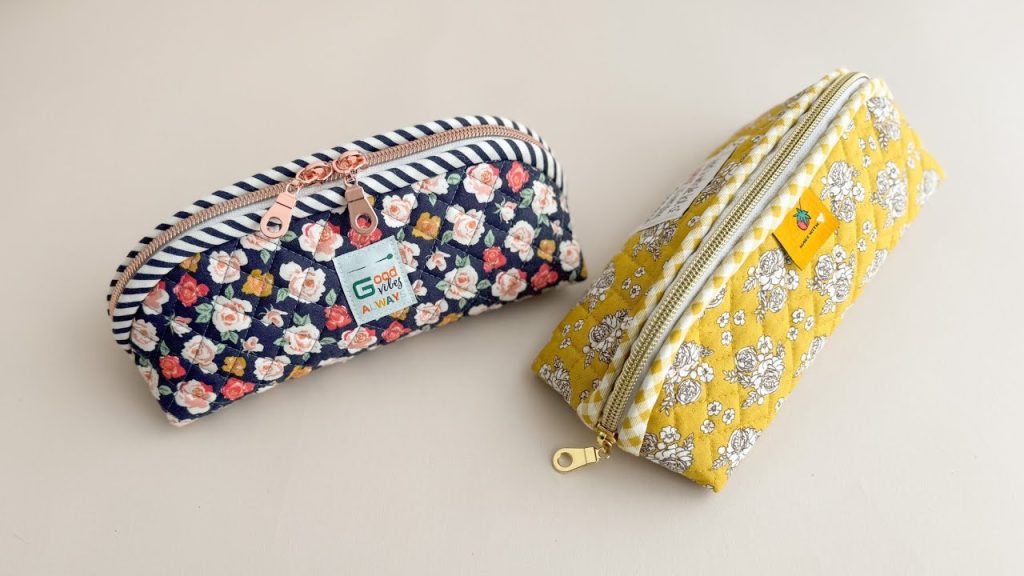
The BloomBerry Zipper Pouch Panel isn’t just a project; it’s a delightful journey into creating something both functional and truly charming. Imagine a beautifully coordinated fabric panel, designed specifically to be transformed into a zippered pouch, often featuring an adorable print, a unique shape, or a clear focus on a central motif. These pre-designed panels take the guesswork out of fabric choices and cutting, allowing you to focus on the joy of sewing and the satisfaction of seeing a lovely design come to life as a practical accessory.
Why Sew a BloomBerry Zipper Pouch Panel?
- Designer Appeal, DIY Ease: BloomBerry panels often feature exclusive, adorable artwork, giving you a designer-quality pouch without the complex design work.
- Perfectly Coordinated: No need to stress over matching fabrics; the panel typically includes all the necessary pieces, perfectly scaled and coordinated.
- Skill Builder: It’s an excellent way to practice precise cutting, zipper installation, and achieving crisp seams, even for beginners.
- Quick & Satisfying: Since the design is laid out for you, these pouches come together relatively quickly, offering instant gratification.
- Versatile Gifts: A handmade BloomBerry pouch makes a thoughtful and personal gift for friends, family, or teachers.
What You’ll Need:
Before you begin, gather your materials. The beauty of a BloomBerry panel is that it usually specifies the exact pieces you’ll need, but here’s a general list:
- BloomBerry Zipper Pouch Panel: This is the star of the show! Make sure you have the full panel.
- Lining Fabric: The panel will often recommend a specific amount, but generally 1/4 to 1/2 yard (0.23 to 0.45 meters) of coordinating quilting cotton.
- Interfacing (Optional but Recommended):
- Medium-weight fusible woven interfacing (e.g., Pellon SF101): For the main exterior pieces to add structure and durability. The panel instructions will usually specify if and where to use it.
- Fusible Fleece (e.g., Pellon TP971F): For a softer, more padded pouch, especially if you want it to stand up on its own.
- Zipper: A nylon coil zipper (usually 7-9 inches / 18-23 cm, but check your panel’s instructions for the exact size). Nylon zippers are easier to sew over.
- Matching Thread: High-quality polyester thread that blends with your fabrics.
- Tools:
- Sewing machine with a zipper foot.
- Rotary cutter, cutting mat, and clear ruler (or sharp fabric scissors).
- Fabric marker or tailor’s chalk.
- Pins or fabric clips.
- Iron and ironing board.
- Seam ripper (just in case!).
Step-by-Step Construction Guide:
While specific BloomBerry panels may have unique features, the general process for sewing a zippered pouch from a panel follows these steps. Always refer to your specific panel’s instructions for exact cutting lines and dimensions.
1. Prepare Your Panel Pieces
- Read Instructions First: Unpack your BloomBerry panel and carefully read any included instructions. They will specify cutting lines, seam allowances, and any unique steps.
- Cut Panel Pieces: Precisely cut out all the designated pieces from your BloomBerry panel. These typically include the main exterior front and back, possibly side panels or bottom pieces, and often a zipper placket.
- Cut Lining & Interfacing: Cut your lining fabric pieces to match the dimensions of your exterior main body pieces. Cut interfacing to match your exterior pieces as recommended by the panel or your preference (fusible woven for crispness, fusible fleece for padding).
- Fuse Interfacing: Adhere the fusible interfacing to the wrong side of your exterior fabric pieces. Follow the interfacing manufacturer’s instructions for heat and pressing time.
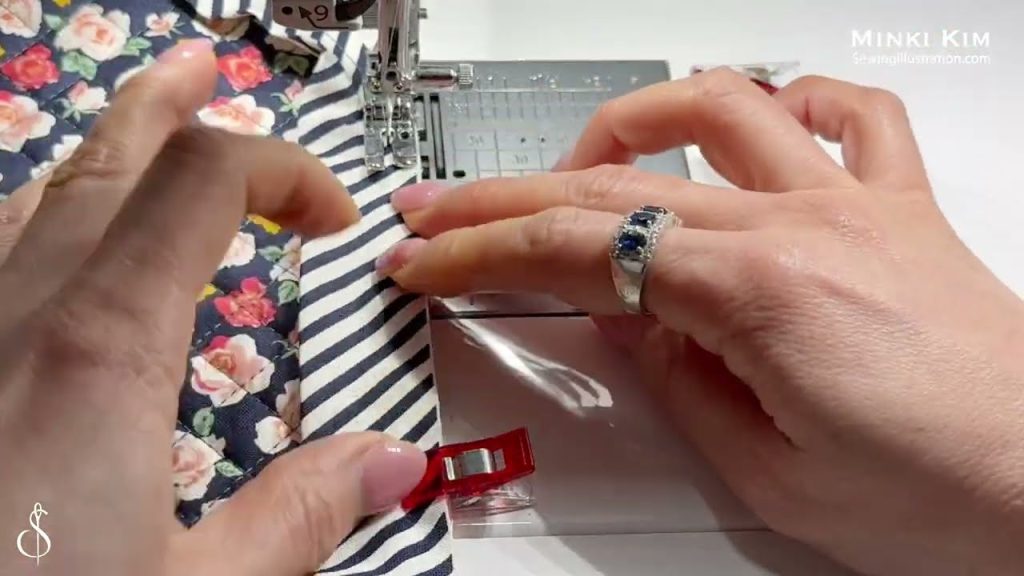
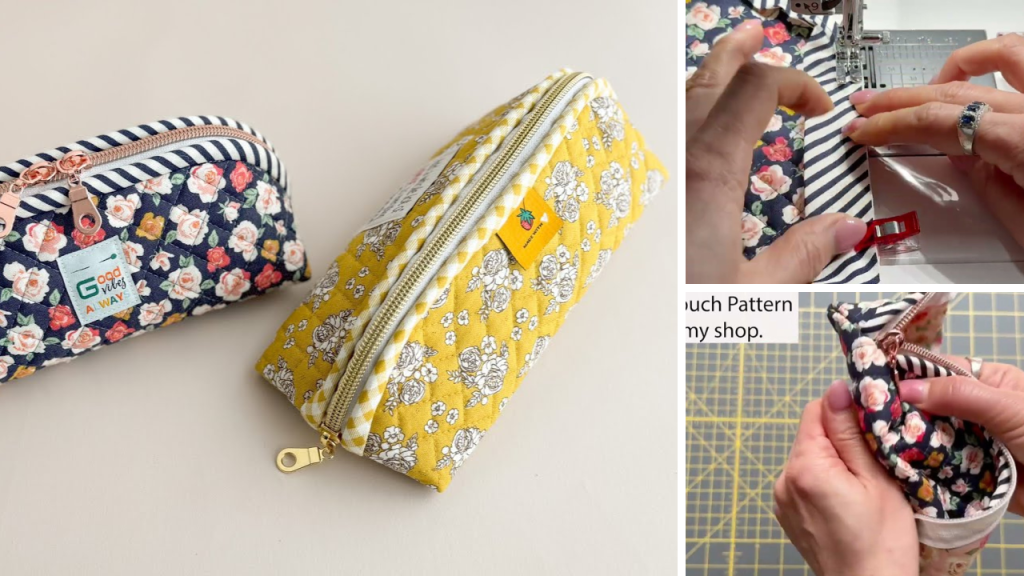
2. Install the Zipper
This is a key step, made easier with a zipper foot!
- First Side of Zipper:
- Take your exterior front panel (or the designated zipper panel piece). Place it right side up.
- Place your zipper on top, right side down, aligning the top edge of the zipper tape with the top raw edge of the fabric. Pin in place.
- Take one lining panel (or corresponding zipper lining piece). Place it on top of the zipper and the exterior fabric, right side down, aligning all three top raw edges. Pin securely.
- Using your zipper foot, stitch along this edge with the specified seam allowance (usually 1/4″ or 3/8″). When you approach the zipper pull, stop with your needle down, lift the presser foot, slide the zipper pull past the needle, lower the presser foot, and continue sewing.
- Press & Topstitch (First Side): Gently open the fabric pieces so the exterior and lining are pulled flat, with the zipper now between them. Press the fabric neatly away from the zipper teeth. Topstitch along the folded edge, about 1/8 inch (0.3 cm) from the zipper teeth, through all layers. This prevents fabric from getting caught in the zipper.
- Second Side of Zipper: Repeat steps 2.1 and 2.2 for the other side of the zipper, using the remaining exterior and lining pieces. Ensure your exterior fabrics are aligned with each other, and your lining fabrics are aligned with each other.
You will now have a long piece of fabric with the zipper in the middle, exterior fabric on one side, and lining fabric on the other.
3. Assemble the Pouch Body
- Open the zipper about halfway. This is CRUCIAL! If you don’t, you won’t be able to turn your pouch right side out later.
- Align Layers:
- Fold the entire piece so the two exterior fabric pieces are right sides together, and the two lining fabric pieces are also right sides together.
- Align all raw edges perfectly. Make sure the zipper seams match up. Pin securely around all three open sides (the two short sides and the bottom long side).
- Stitch & Leave Opening:
- Stitch around the perimeter, starting from one side of the lining (near the bottom), stitching down the side, across the entire bottom (both exterior and lining), and up the other side. Use the seam allowance specified by your panel (often 1/4″ or 3/8″).
- Important: Leave a 3-4 inch (7.6-10 cm) opening along the bottom seam of the lining fabric. This is where you’ll turn the pouch right side out. Remember to backstitch securely at the beginning and end of this opening.
- Clip Corners: Trim the exterior fabric corners diagonally, close to the stitching line but without cutting the stitches. This reduces bulk when turning.
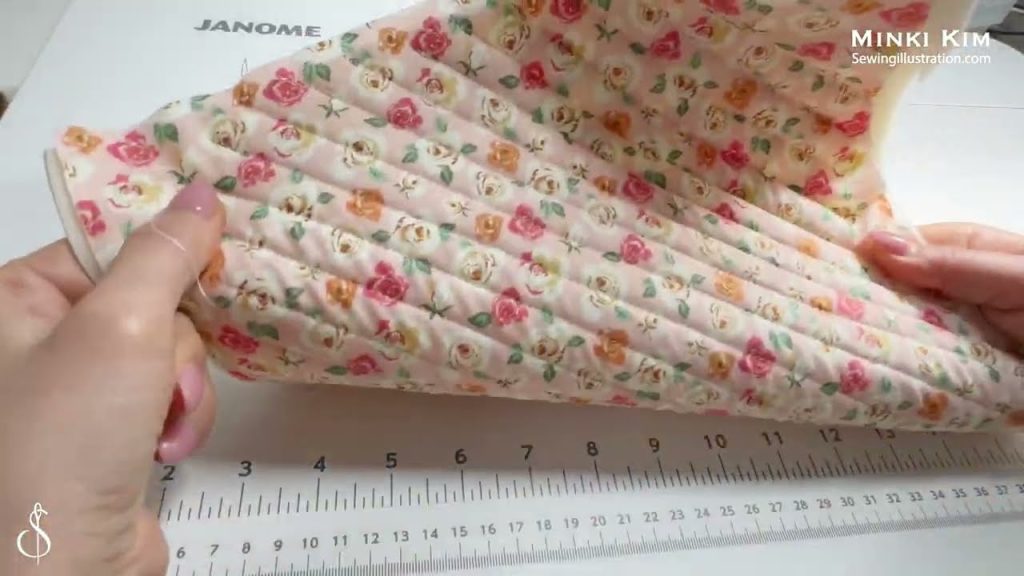
4. Create Boxed Corners (Optional, but common in panels)
If your panel is designed for a flat-bottomed pouch, you’ll create boxed corners.
- At each of the four corners (two on the exterior, two on the lining), flatten the corner so the side seam meets the bottom seam. This forms a triangle with the seam running down its center.
- Measure the distance from the tip of the triangle and draw a line perpendicular to the seam, as specified by your panel’s instructions (e.g., 1 inch / 2.5 cm from the tip for a 2-inch deep box).
- Stitch directly along this marked line.
- Trim the excess fabric from the corner, leaving a 1/4″ to 1/2″ (0.6-1.25 cm) seam allowance.
- Repeat for all four corners.
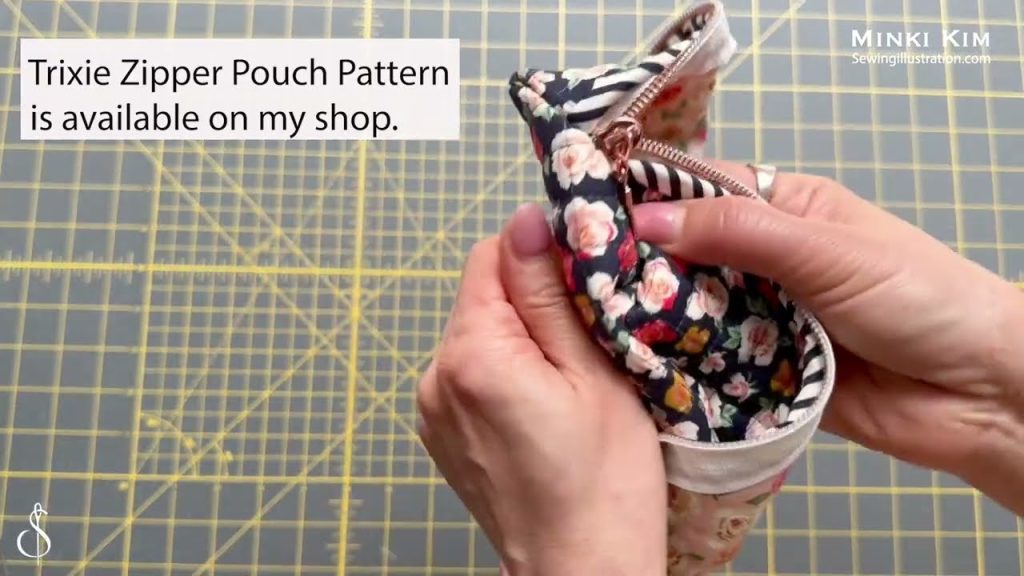
5. Finish the Pouch
- Reach into the opening you left in the bottom of the lining. Carefully pull the entire pouch through this opening until it’s right side out.
- Gently push out all corners and seams to create a neat, defined shape. Use a point turner or a blunt stick if needed.
- Press the entire pouch thoroughly, especially the zipper and all seams.
- Close the lining opening: Press the raw edges of the opening inwards (by the seam allowance). Stitch the opening closed either by machine (topstitch very close to the edge) or by hand (using an invisible ladder stitch for a seamless finish).
- Push the lining down into the pouch. Press the top edge again.
- Final Topstitch: For a professional finish and added durability, topstitch around the entire top opening of the pouch, about 1/8 inch (0.3 cm) from the zipper.
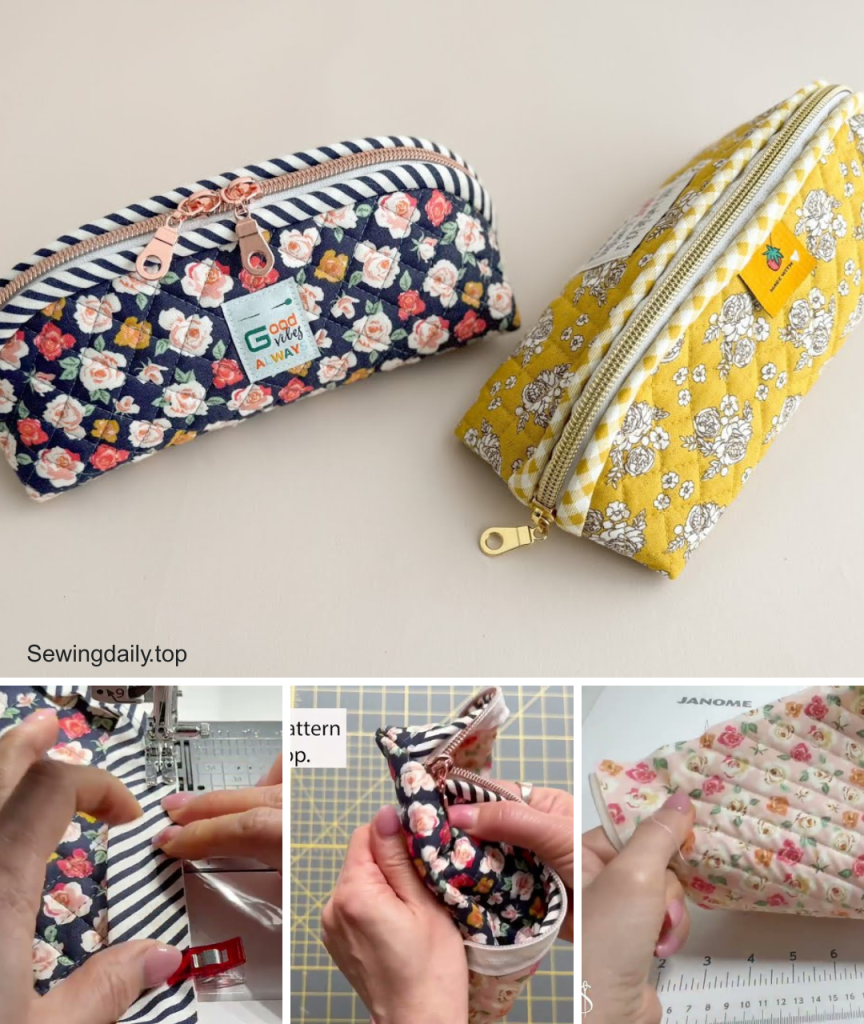
Your delightful BloomBerry Zipper Pouch Panel is now a finished, functional, and utterly adorable pouch bag! Whether you use it for makeup, notions, electronics, or simply as a cute accessory, you’ll enjoy the charm and the satisfaction of having created something beautiful with your own hands.
Video tutorial: