 by
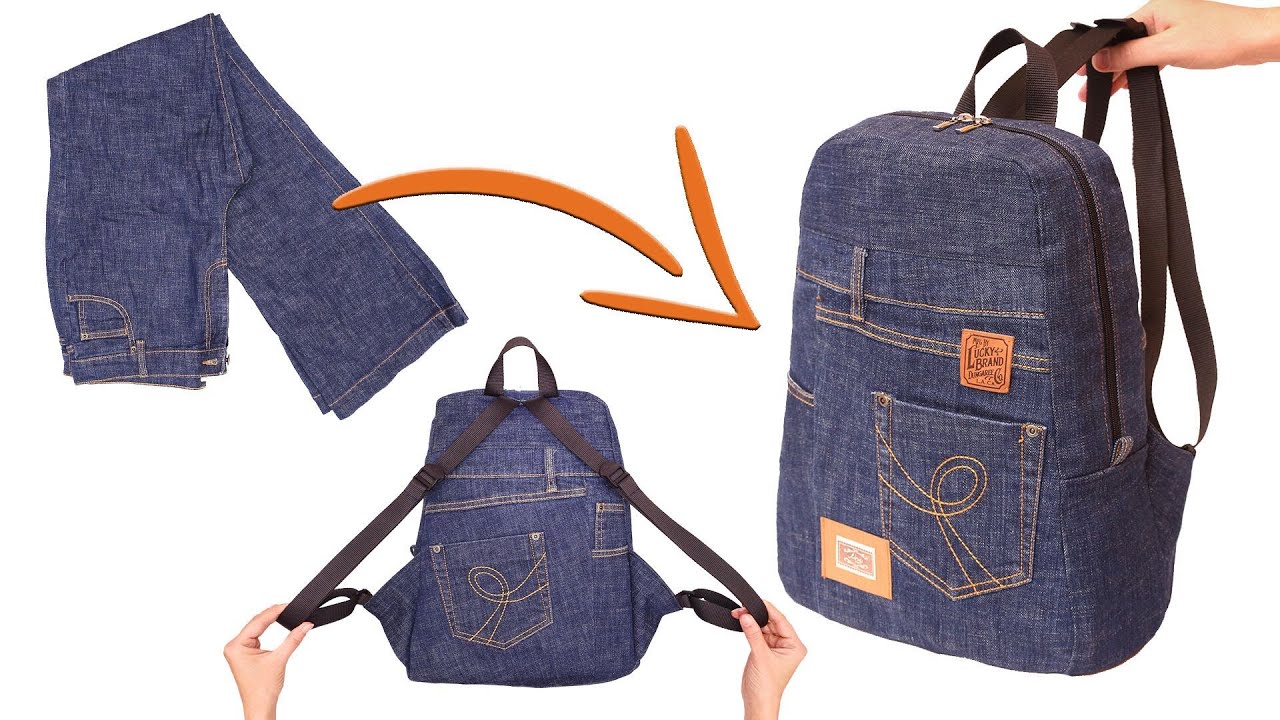
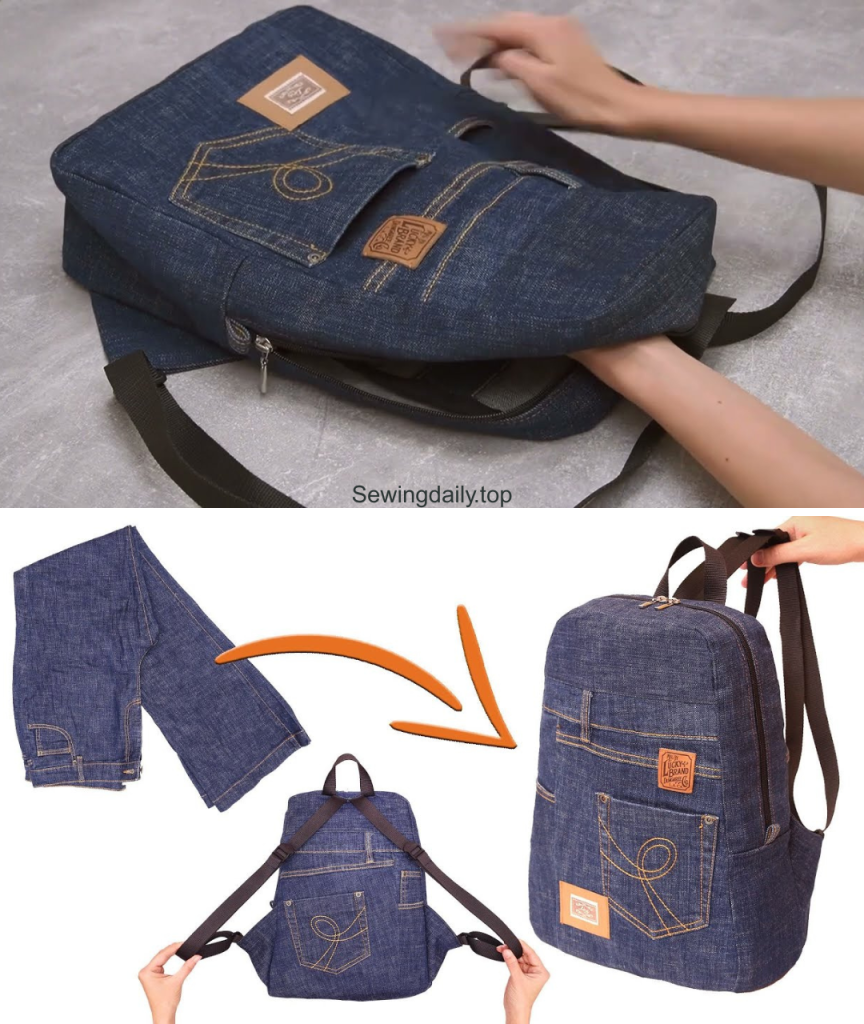
by Hello, upcycling enthusiasts and denim lovers! Have a stack of old jeans waiting for a second life? I’m excited to share the pattern for the Urban Explorer Denim Backpack—a sturdy, rectangular bag that utilizes the unique textures and seams of reclaimed denim.
Inspired by a fantastic tutorial on sewing a simple backpack out of old jeans, this design focuses on a clean silhouette with a flap closure, making it perfect for daily commutes, school, or weekend outings. By strategically using different shades of denim, you can achieve a sophisticated, patched look without complex piecing.
Grab those old jeans, your seam ripper, and let’s create a sustainable, stylish accessory!

Why You’ll Love Making This Backpack:
- Ultimate Upcycle: Gives new life to old, worn-out denim jeans.
- Built-in Detail: Utilizes the original seams, pockets, and waistbands of the jeans for unique, rugged detail.
- Structured Shape: The rectangular body with a defined bottom gusset holds its shape well.
- Customizable: Easily adjust the size based on the denim pieces you have available.
What You’ll Need:
- Fabric Source: 2–3 pairs of old jeans (different shades of blue or black denim work well).
- Lining Fabric: 1 yard of lightweight cotton or canvas lining fabric.
- Fusible Interfacing: 1 yard of heavy-weight fusible interfacing (for the flap and main panels).
- Drawstring Cord/Rope: 1.5 yards (1.4 meters) of sturdy cord or thick drawstring rope.
- Webbing/Straps: 2 yards (1.8 meters) of 1.5-inch wide cotton or nylon webbing (or use denim strips cut from the jeans).
- Hardware:
- 2 x 1.5-inch slide adjusters (tri-glides).
- 2 x 1.5-inch rectangular or D-rings.
- 1 x Magnetic snap closure or buckle for the flap.
- Tools:
- Sewing Machine (with a denim or heavy-duty needle).
- Iron, Ruler, and Fabric Marker/Chalk.
- Heavy-duty thread (topstitching thread recommended).
- Pins and heavy-duty clips.
Measurements & Cutting List
The final bag size will be approximately 12 inches wide x 14 inches high x 4 inches deep. All measurements include a 1/2-inch (1.2 cm) seam allowance.
| Piece | Fabric | Dimensions (Width x Height) | Quantity | Notes |
| A: Main Body Panels | Denim | 13 in. x 15 in. | 2 | Front and back. Use a section with a pocket for the back. |
| B: Gusset Strip | Denim | 35 in. x 5 in. | 1 | Sides and bottom. (May need to piece multiple strips). |
| C: Flap Outer | Denim | 10 in. x 8 in. | 1 | Use a back pocket or waist seam for texture. |
| D: Flap Lining | Lining | 10 in. x 8 in. | 1 | Lining for the flap. |
| E: Drawstring Casing | Denim | 13 in. x 3 in. | 2 | Casing strips for the top opening. |
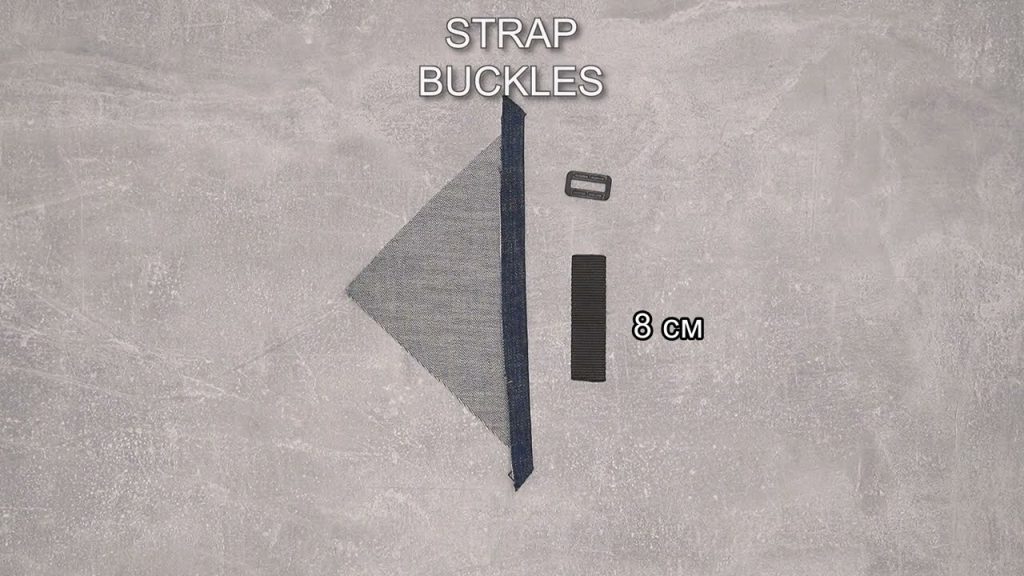
| F: Strap Anchors | Denim/Webbing | 5 in. x 1.5 in. | 2 | Bottom loop for adjuster hardware. |
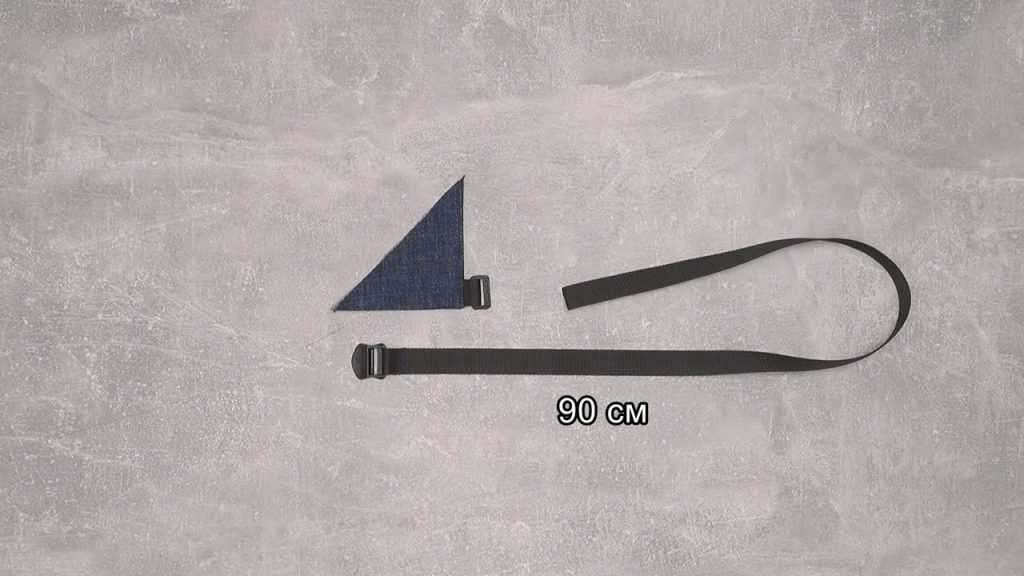
| G: Straps | Webbing | 30 in. x 1.5 in. | 2 | Main adjustable strap length. |
Note on Denim: If your pieces aren’t large enough, piece smaller rectangles together before cutting to size. This adds to the patchwork effect!
Construction: Building the Urban Explorer
Part 1: Preparing the Flap and Drawstring Casing
- Fuse Interfacing: Apply heavy-weight fusible interfacing to the wrong side of the (A) Main Body Panels, (B) Gusset Strip, (C) Flap Outer, and (E) Casing strips.
- Make the Flap: Place (C) Flap Outer and (D) Flap Lining right sides together. Mark the two bottom corners with a gentle curve. Sew along the sides and curved bottom, leaving the top 10-inch edge open. Clip the curves, turn right-side out, and press well. Topstitch along the curved edge.
- Prepare Casing (E): Take the two (E) Casing strips. Press one long edge in by 1/4 inch, then press the strip in half lengthwise. This creates a finished edge.
Part 2: Sewing the Outer Bag Shell
- Prep Anchors (F): Take the two (F) Anchor strips. Loop one end through a rectangular ring. Fold the webbing over and stitch down to secure the ring. Pin these two anchors to the bottom edge of the back (A) Main Body Panel, approximately 3 inches (7.5 cm) from the side edges. Baste securely.
- Sew Gusset: Take the two (A) Main Body Panels and the long (B) Gusset Strip. Pin the Gusset Strip all around the perimeter of one (A) panel (bottom and both sides). Sew using a 1/2-inch seam allowance to create a three-sided box shape. Repeat with the second (A) panel to complete the 3D main shell. The top edge remains open.
- Attach Flap: Find the center back of the bag opening. Pin the raw, open edge of the (C) Flap to the top, back edge of the Outer Shell. Baste securely.
- Attach Casing: Pin one (E) Casing strip to the remaining raw top edge (the front side and half the back side), aligning the raw edges. Sew the casing to the top edge. Fold the casing up and press. The flap sits centered on the back, and the casing runs around the rest of the perimeter.
Part 3: Final Assembly
- Create the Lining: Cut lining pieces to match the Outer Shell panels (12×14 in. panels and 35×5 in. gusset). Sew the lining panels together exactly as you did the outer shell, but leave a 6-inch (15 cm) unstitched opening along the bottom gusset seam for turning the bag later.
- Attach Straps (G): Pin the unsecured ends of the two (G) Webbing Straps to the top back edge of the bag, approximately 2.5 inches (6 cm) from the center line, just below the flap/casing line. Baste securely.
- Nest and Sew: Turn the Outer Shell right-side out. Insert the Outer Shell into the Lining Shell (still inside out), aligning the top raw edges perfectly (right sides facing). Pin all around the top perimeter. Sew the top seam with a 1/2-inch seam allowance.
- Turn Right-Side Out: Reach into the 6-inch opening in the lining bottom. Gently pull the entire bag through this hole.
- Close and Topstitch: Stitch the lining hole closed. Tuck the lining inside the outer bag. Press the top edge flat and perform a final topstitch around the entire top opening to secure the lining and the strap tops.
Part 4: Finishing and Drawstring
- Thread Drawstring: Using a safety pin, thread the Drawstring Cord through the casing channel, starting and ending at the center front. Tie the ends together. This provides the closure for the main compartment.
- Assemble Adjustable Straps: Thread the two (G) Webbing Straps through the slide adjusters, then the rectangular rings at the bottom anchors, and back up through the adjusters.
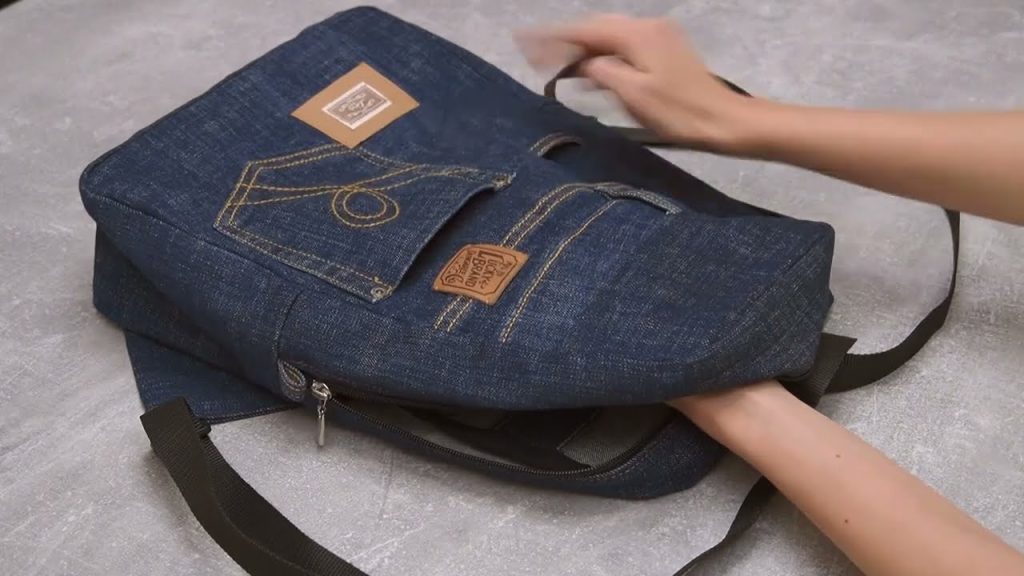
- Flap Closure: Install your chosen magnetic snap or buckle onto the flap and the corresponding spot on the front of the bag.

Your Urban Explorer Denim Backpack is complete—a stylish, durable, and one-of-a-kind creation from your old jeans!
Video tutorial: