by
by Introduction: Giving New Life to Your Favorite Tee
We all have that t-shirt—the one that’s too stained, too worn, or too holey to wear, but carries too many memories to toss. Perhaps it’s a concert tee, a faded college shirt, or just a super-soft cotton blend you can’t part with.
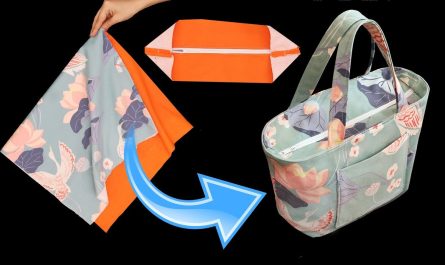
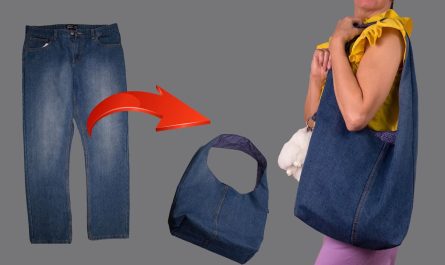
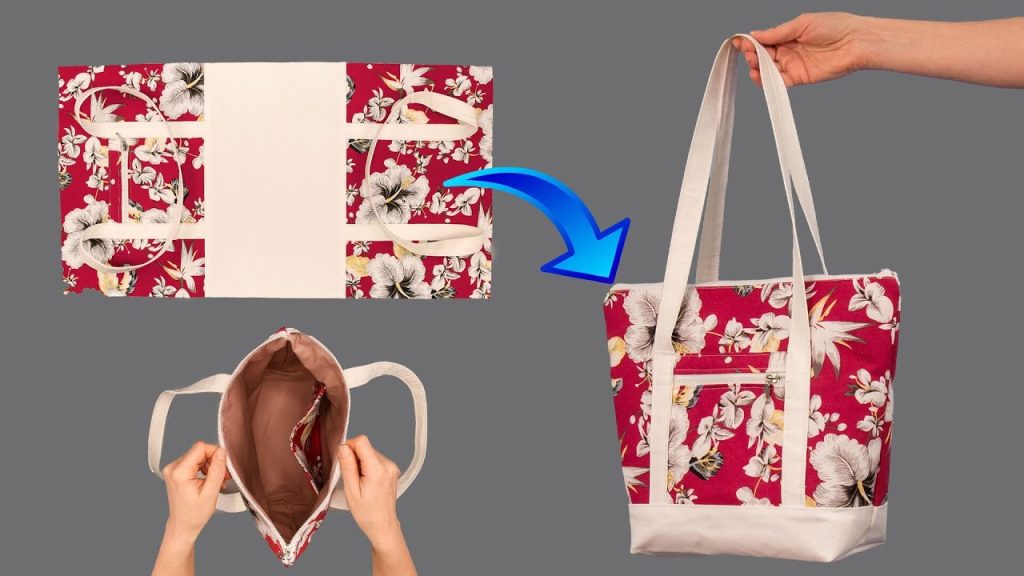
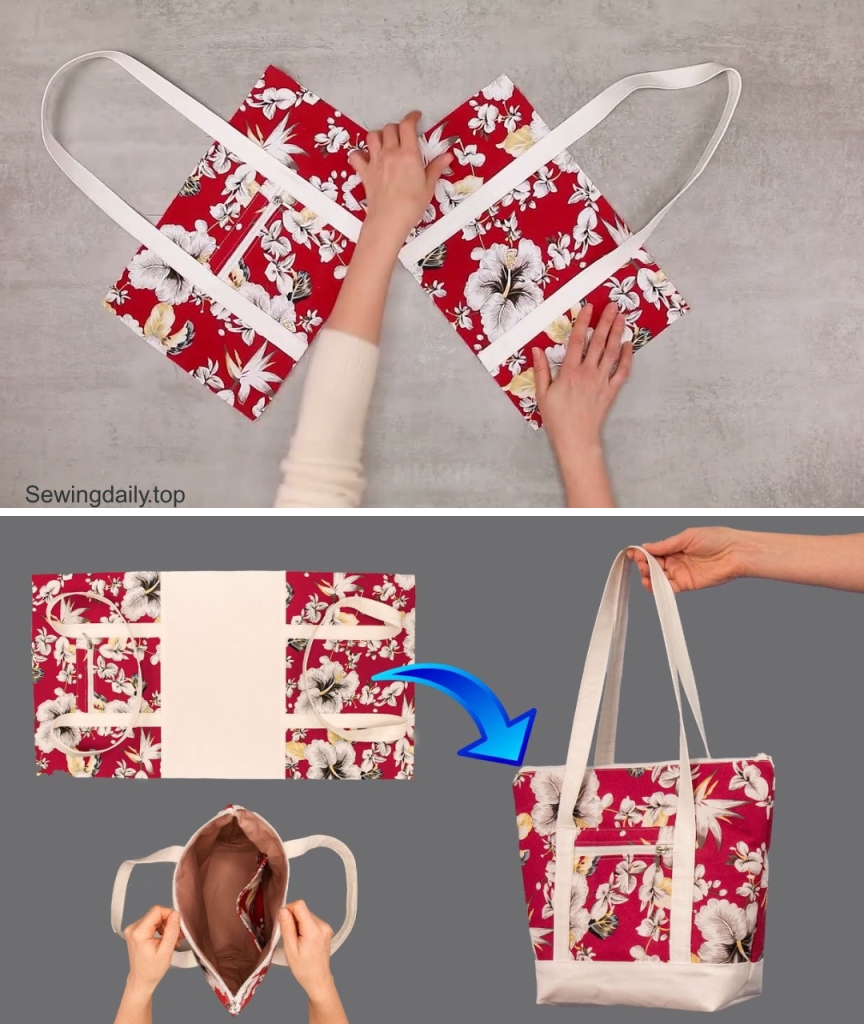
Inspired by the brilliant simplicity and commitment to reuse demonstrated in projects like the easy-sew tote bag tutorial (see the link to our inspiration video below), we’ve designed an original pattern to transform those sentimental fabrics into something functional, durable, and stylish: The Upcycled T-Shirt Zipper Pouch!
This project is a fantastic way to honor your favorite threads. By adding structure with interfacing and a simple zipper, you create a perfect travel case, makeup bag, pencil pouch, or small clutch. It’s an ideal beginner sewing project that maximizes your fabric and minimizes waste.
Ready to turn that pile of memory tees into a collection of practical pouches? Let’s get started!
Section 1: The Philosophy of T-Shirt Transformation
The Miarti – Reuse channel champions the use of existing materials to create new, high-quality goods. T-shirts are a particularly great material for this philosophy because:
- Softness & Comfort: The fabric is already broken in and incredibly soft.
- Unique Graphics: You can center a favorite graphic or logo on your pouch for a truly unique look.
- Accessibility: T-shirts are abundant and virtually free!
This pattern is a celebration of that simple, impactful reuse, ensuring your old favorites become new necessities.
Section 2: Gathering Your Supplies (The Pouch Prep)
The key to a high-quality finished pouch is adding structure to the thin t-shirt material using interfacing.
The Material Checklist
| Item | Quantity | Notes |
| Old T-Shirt | 1 Shirt | Choose an adult-sized shirt (M or larger) to ensure enough fabric. |
| Nylon Zipper | 1 Zipper | Must be at least 1 inch longer than your desired pouch width (e.g., for an 11″ wide pouch, use a 12″ zipper). |
| Fusible Interfacing | 1/4 Yard | Use Medium-Weight Woven or Heavy-Weight Non-Woven interfacing to give the stretchy knit fabric body and structure. |
| Basic Thread | 1 Spool | Polyester thread in a color that matches your shirt or zipper. |
| Optional Lining Fabric | 1/4 Yard | Use a basic cotton or nylon to create a cleaner inside (highly recommended). |
The Tool Checklist
- Sewing Machine (with a Zipper Foot)
- Fabric Scissors or Rotary Cutter
- Measuring Tape and Clear Ruler
- Pins or Fabric Clips
- Iron and Ironing Board (Absolutely necessary for the interfacing!)
Section 3: The Step-by-Step Tutorial (The Zipper Pouch Pattern)
We will create a standard, simple 10-inch by 7-inch rectangular pouch.
Stage 1: Measuring and Cutting the Fabric
Accuracy in cutting is vital, especially when working with stretchy knit fabric.
- Stabilize Your Fabric: Lay your t-shirt flat. Cut off the sleeves, collar, and hem. You want a large, flat rectangle of shirt body.
- Cut the Interfacing: For a 10″ wide x 7″ tall pouch, we need two exterior panels and two lining panels.
- Cut two rectangles of fusible interfacing, each 11 inches wide by 8 inches tall. Adding 1 inch of seam allowance to your desired final size (10×7).
- Fuse the Interfacing: Place the interfacing (glue side down) onto the wrong side of your cut t-shirt fabric. Use your iron and follow the interfacing manufacturer’s directions (usually medium heat with steam). The interfacing should now be securely fused to your fabric. This turns your stretchy knit into a stable, workable material.
- Cut the Exterior Pieces: Using the stabilized t-shirt fabric, cut two rectangles, each 11 inches wide by 8 inches tall. These are your Exterior Panels.
- Cut the Lining Pieces (If using): Cut two rectangles from your lining fabric, each 11 inches wide by 8 inches tall. These are your Lining Panels.
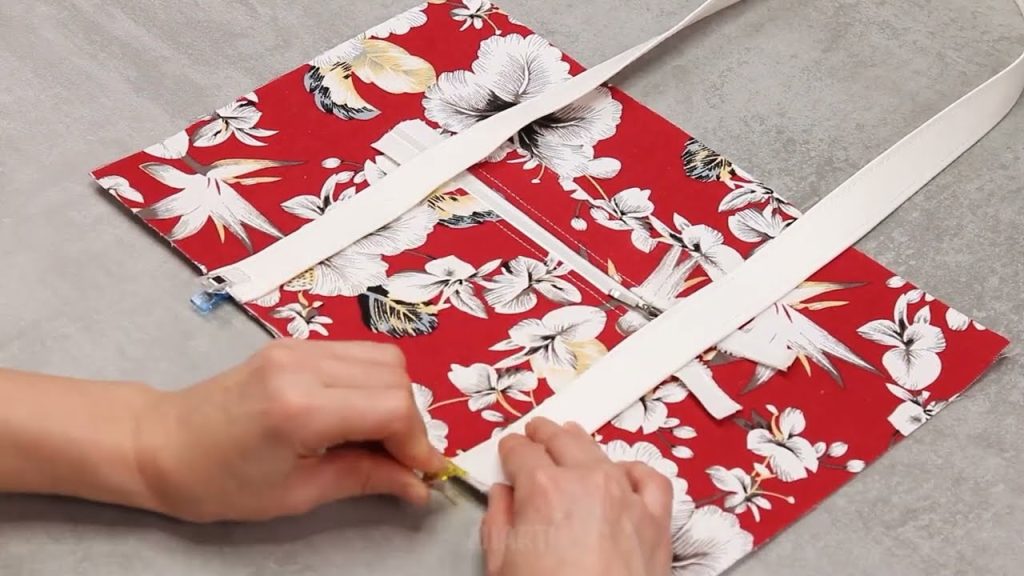
Stage 2: Installing the Zipper (The Core Skill)
This is the most crucial step. A zipper foot is required here.
- Layer the First Side: Lay one Exterior Panel right side up. Place your Zipper face down (pull tab pointing to the left) along the top 11-inch edge. Now, place one Lining Panel face down on top of the zipper and the exterior fabric, creating a “sandwich.”
- Layer order: Exterior (right side up) -> Zipper (face down) -> Lining (wrong side up).
- Pin and Sew: Pin all three layers together along the zipper edge. Using your zipper foot, stitch a straight seam as close to the zipper teeth as possible.
- Tip: If you reach the zipper pull, stop, put your needle down, lift the presser foot, slide the pull behind the foot, and continue sewing.
- Press and Topstitch (Securing the Zipper):
- Open the layers so the lining is on one side of the zipper and the exterior is on the other. Press the fabric away from the zipper teeth.
- Topstitch: Sew a second line of stitching along the edge of the fabric, about 1/8 inch away from the zipper teeth. This secures the zipper tape and gives a professional, crisp finish.
- Repeat for the Second Side: Attach the remaining Exterior Panel and Lining Panel to the other side of the zipper tape, repeating steps 1-3. When finished, you should have the two exterior pieces connected by the zipper, and the two lining pieces connected by the zipper.
- Timestamp Highlight: This careful stitching process, ensuring straight, even seams, mirrors the attention to detail around [00:05:58] in the inspiration video.
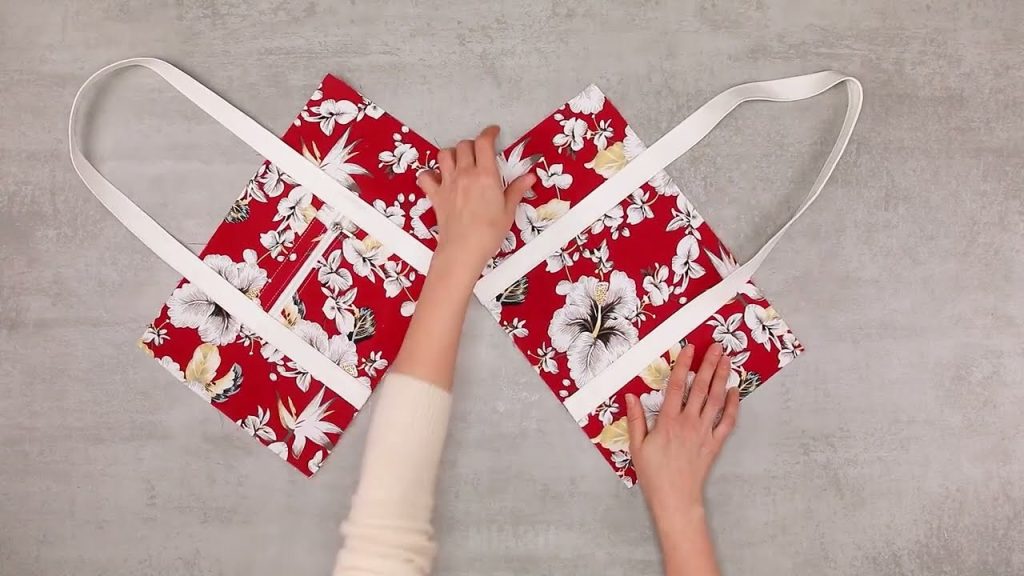
Stage 3: Closing the Pouch
We will sew the exterior pieces together and the lining pieces together in a separate step.
- Open the Zipper: VERY IMPORTANT: Open the zipper about halfway before you sew the final seams. This allows you to turn the bag right-side out later.
- Align the Panels: Lay the entire piece flat. Pull the two Exterior Panels together, right sides facing. Pull the two Lining Panels together, right sides facing. The zipper tape will be folded inward.
- Crucial Alignment: Make sure the seam line where the zipper was attached matches up perfectly on both the exterior and lining sides. Pin well.
- Sew the Perimeter: Starting on the bottom of the lining section, sew a 1/2-inch seam allowance all the way around the perimeter, securing the exterior pieces together and the lining pieces together.
- The Opening: STOP and LEAVE A 4-INCH GAP in the center of the lining’s bottom seam. This hole is how you will turn the pouch right-side out.

Stage 4: Finishing Touches (The Boxed Bottom)
This optional step adds a professional, structured bottom to your pouch.
- Box the Corners: At all four corners (two exterior, two lining), pinch the corner so the bottom seam lines up with the side seam, forming a triangle shape.
- Measure and Mark: Measure 1.5 inches down from the tip of the triangle and draw a straight line across.
- Sew and Trim: Sew directly along this line. Trim off the excess fabric triangle, leaving a 1/2-inch seam allowance. You have now created a boxed corner!
Stage 5: Turning and Closing
The magic moment!
- Turn the Pouch: Reach into the hole you left in the lining seam. Gently pull all the exterior fabric through this hole, turning the bag right-side out.
- Shape and Press: Push out the boxed corners and the lining corners. Press the edges of the zipper tape again.
- Close the Lining: Stitch the 4-inch hole in the lining shut. You can do this by machine (close to the edge) or by hand with an invisible ladder stitch for the neatest finish.
- Stuff the Lining: Push the lining completely inside the exterior pouch. Zip it up and marvel at your professional, upcycled creation!
Section 4: Customization Corner (Embrace the Reuse Style)
Your t-shirt pouch is now a blank canvas. Here are a few ways to personalize it:
- Wristlet Strap: Before sewing the final side seams, insert a loop of webbing or an old t-shirt strip into the seam near the zipper for a convenient wrist strap.
- Split the Graphics: Use two different t-shirts for the front and back panels to combine graphics or colors.
- Zipper Pull Flair: Tie a piece of colorful twine, an old shoelace, or a scrap of leather to the zipper pull for easy grabbing and a decorative touch.
Conclusion: Wear Your Craft with Pride!
You’ve taken a beloved but worn-out piece of clothing and given it a second, functional life. This detailed pattern, inspired by the simple, high-impact approach of upcycling tutorials, provides a sturdy, stylish, and practical item you’ll use every day. Congratulations on your no-waste wonder!
Video tutorial: