 by
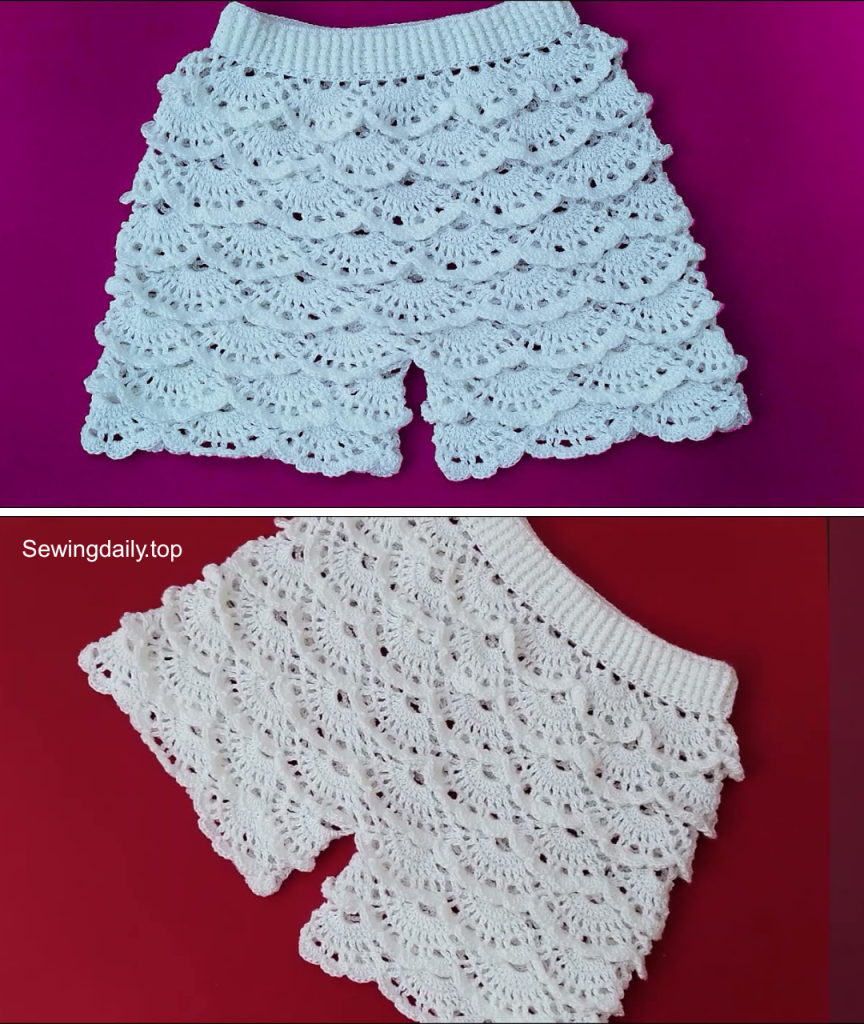
by Crochet isn’t just for scarves and blankets—it’s a gateway to stunning, fashionable, and wearable pieces that are handmade and custom-fit. One of the most versatile and fun summer projects you can try is crocheting your own shorts. Whether you’re lounging at home, heading to a festival, or hitting the beach, crocheted shorts are a trendy and comfortable option you can proudly say you made yourself.
In this in-depth guide, you’ll learn how to crochet your own shorts, step by step, with clear explanations, sizing tips, and customization ideas along the way. From choosing the right yarn to weaving in the last end, we’ve got you covered.
✨ Why Crochet Your Own Shorts?
- Custom Fit – Adjust to your body shape with ease.
- Personal Style – Choose your colors, stitches, and length.
- Eco-Friendly – Create slow fashion with sustainable materials.
- Fun & Functional – Perfect for beachwear, lounging, or layering.
- Skill Building – A great way to expand your crochet skills beyond squares and scarves.
🧰 Materials & Tools
Before we get started, let’s gather everything you’ll need.
🧶 Yarn
- Cotton yarn is ideal for breathability and stretch recovery. Look for worsted weight (Category 4) or DK weight (Category 3) yarn.
- Amount: ~300–600 yards depending on size and length.
Recommended yarns:
- Lily Sugar’n Cream (cotton, worsted)
- Lion Brand 24/7 Cotton
- Paintbox Yarns Cotton DK
🪡 Tools
- Crochet hook (size depends on yarn weight; usually 4.0 mm – 5.5 mm)
- Tapestry needle (for weaving in ends)
- Stitch markers
- Measuring tape
- Scissors
- Drawstring or elastic (optional, for waistband)
📏 Sizing & Measurements
Crocheted shorts are incredibly forgiving and customizable. To get a good fit, take the following measurements:
- Waist circumference – where you want the waistband to sit.
- Hip circumference – fullest part of the hips.
- Rise – from crotch to top of waistband (front and back).
- Thigh circumference – for the leg opening.
- Inseam length – how long you want the shorts to be.
Tip: Write down your measurements. We’ll reference them as we go.
🧶 Stitches Used
This pattern uses beginner-friendly stitches:
- Chain (ch)
- Single Crochet (sc)
- Half Double Crochet (hdc)
- Slip Stitch (sl st)
- Optional: Shell stitch, granny stitch, or puff stitch for design
If you’re new to any of these, practice a small swatch first.
🪡 Step-by-Step: How to Crochet Your Own Shorts
Let’s dive into the process. We’ll make these shorts in two panels (front and back) and seam them together, then add the waistband and legs.
🧵 Step 1: Create a Gauge Swatch
Gauge = stitches per inch
Crochet a 4”x4” swatch in hdc to check how many stitches and rows you get per inch. Measure and adjust hook size if needed.
Example gauge: 14 hdc x 10 rows = 4” x 4”
🧵 Step 2: Make the First Panel (Front)
- Chain to desired width
- Use your hip measurement ÷ 2 + 2” for ease.
- Multiply that number by your stitch gauge (stitches per inch).
- Row 1: Hdc in 2nd ch from hook, and across. Ch 1, turn.
- Rows 2 to [rise length]: Hdc across. Ch 1, turn.
- Continue until you reach your desired rise measurement (e.g. 11–13 inches).
- Shaping the crotch:
- Find the center 10–12 stitches.
- For the next row, stop at the center, skip 10 stitches, then continue to the end.
- This leaves a gap for the crotch curve.
🧵 Step 3: Repeat for Back Panel
- Follow the same instructions as the front.
- Some prefer a slightly longer back rise (add 1–2 more rows if needed for better fit).
🧵 Step 4: Seam the Panels Together
- Lay both panels flat, right sides facing in.
- Seam the sides using slip stitch or whip stitch from the waistband to the bottom.
- Seam the inseam (crotch area to the hem of each leg).
- Turn inside-out.
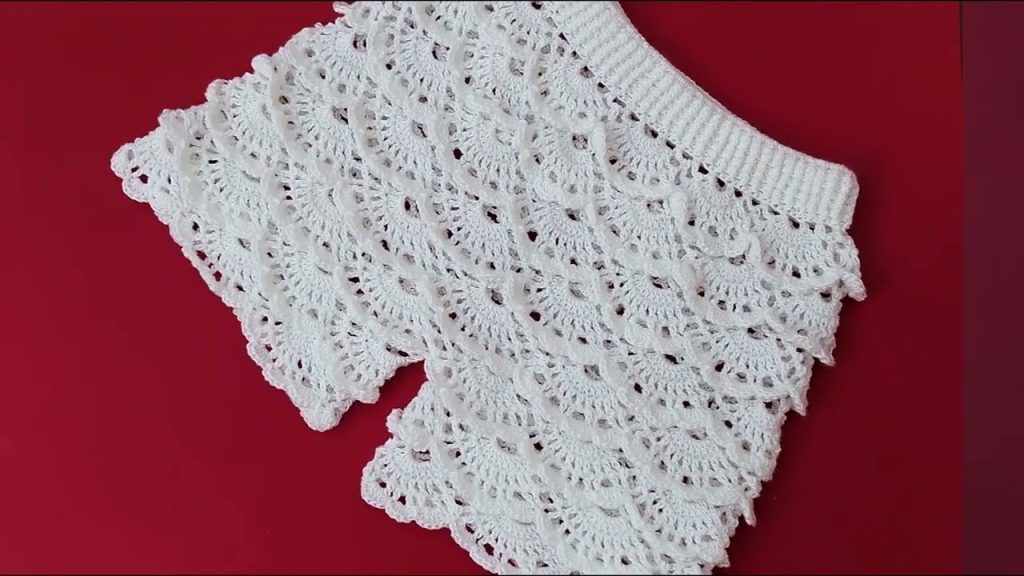
You now have a basic pair of crochet shorts!
🧵 Step 5: Add the Waistband
- Join yarn to the top edge.
- Row 1: Sc evenly around the entire waistband opening. Join with sl st.
- Rows 2–5 (or more): Work sc or hdc in the round for a ribbed waistband.
- Optional: Fold waistband in half inward, and slip stitch it down to create a casing for elastic or a drawstring.
Add a crocheted cord or insert elastic with a safety pin.
🧵 Step 6: Finish the Legs
- Join yarn at bottom of leg opening.
- Sc or hdc evenly around each leg. Join with sl st.
- Repeat for 3–5 rows depending on desired finish.
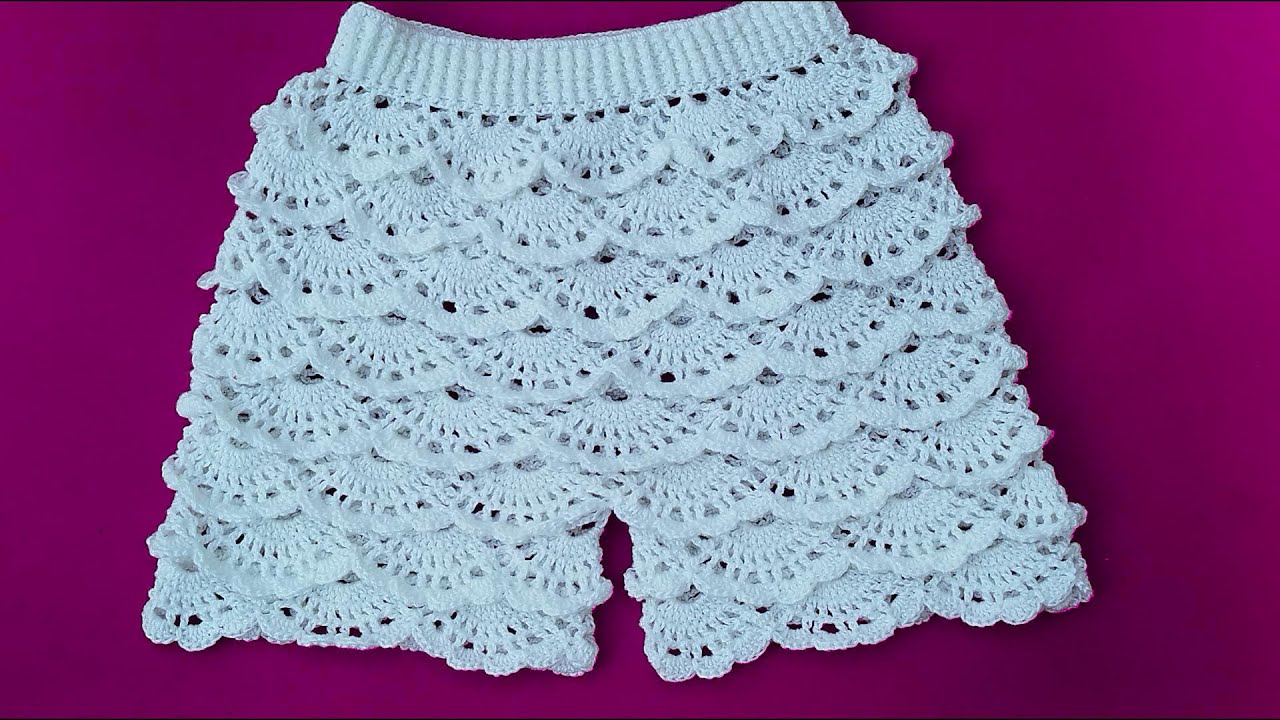
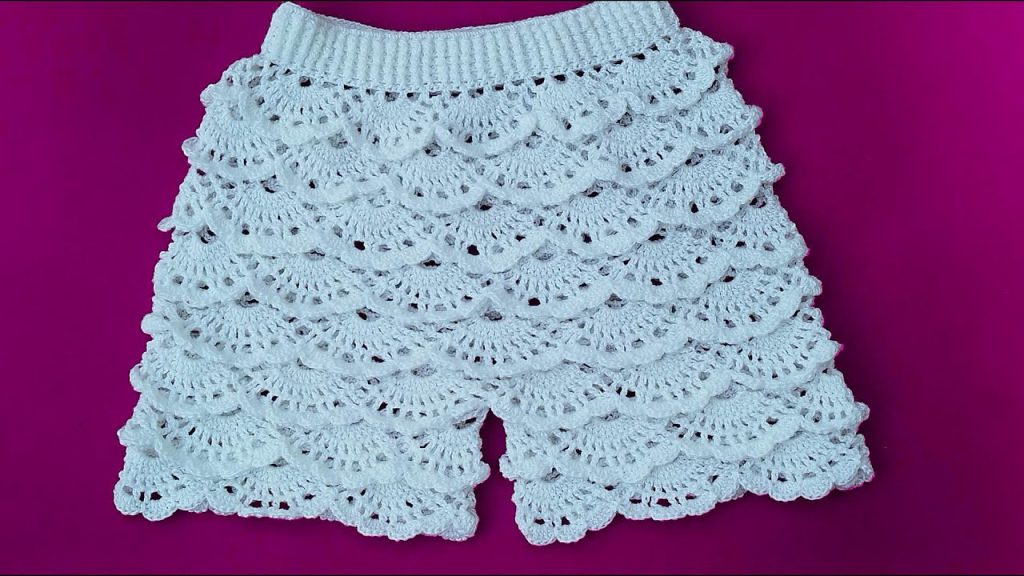
- Optional: Add a decorative stitch (e.g., shell stitch border) for flair.
Repeat for the second leg.

🧵 Step 7: Finishing Touches
- Weave in all ends using a tapestry needle.
- Lightly block the shorts by spraying with water and laying flat to dry for shape.
🧵 Customization Ideas
Want to make them your own? Try these variations:
🌀 Style Options
- High-Waisted: Add extra rows to the rise
- Granny Square Panels: Use squares for front or back
- Color Blocking: Use a different color for each leg or stripes
- Drawstring Detail: Crochet a chain cord or use ribbon
- Lacy Look: Use an openwork stitch like filet or mesh
🧵 Embellishments
- Appliqué (flowers, hearts)
- Fringe or tassels at the hem
- Beads woven into the yarn
❓ FAQs & Troubleshooting
Q: My shorts are too tight!
A: Crochet can have less stretch than knit—add more rows or chains next time and always check gauge.
Q: The crotch feels uncomfortable.
A: Make sure the rise is tall enough. You can also round the crotch seam more gently by curving your seam stitch path.
Q: Can I line crochet shorts?
A: Yes! Lightweight cotton or jersey fabric lining can add modesty and shape.
🧶 Care Instructions
Crocheted shorts made from cotton yarn should be:
- Washed gently by hand or on delicate
- Air-dried flat
- Stored folded, not hung (to avoid stretching)
📸 Share Your Work!
You just made a piece of handmade fashion! Wear it with pride and don’t forget to:
- Snap a picture 📷
- Share on Instagram or Pinterest with the hashtag #MyCrochetShorts
- Tag crochet communities to inspire others!
🪡 Final Thoughts
Crocheting your own shorts is not just a satisfying creative project—it’s also a way to embrace slow fashion, build new skills, and make something that fits you. No fast fashion brand can beat that level of comfort and authenticity.
Whether you’re lounging on the couch or heading to the beach, your handmade shorts will turn heads and start conversations. So grab your yarn, turn on some music, and get stitching.
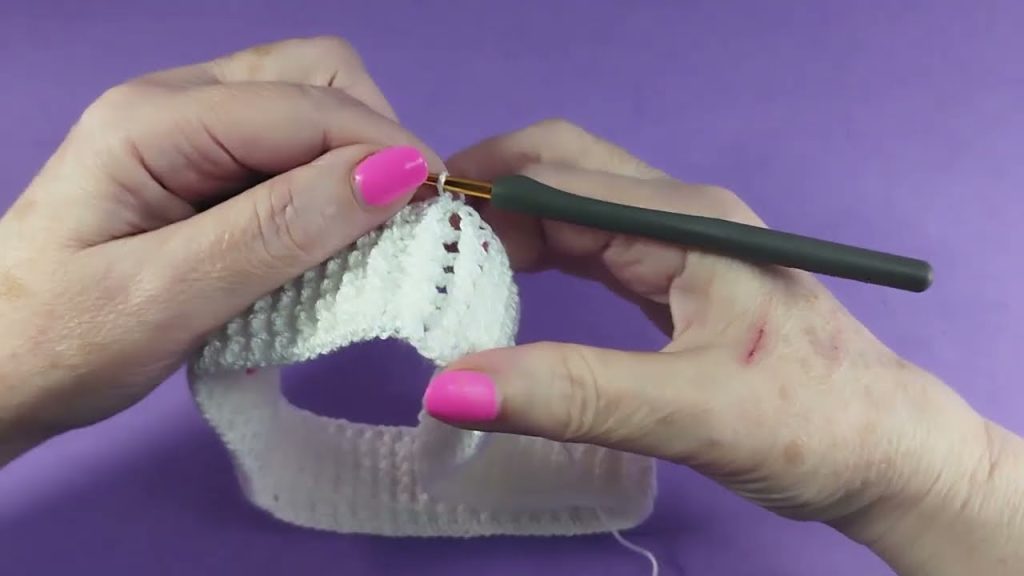
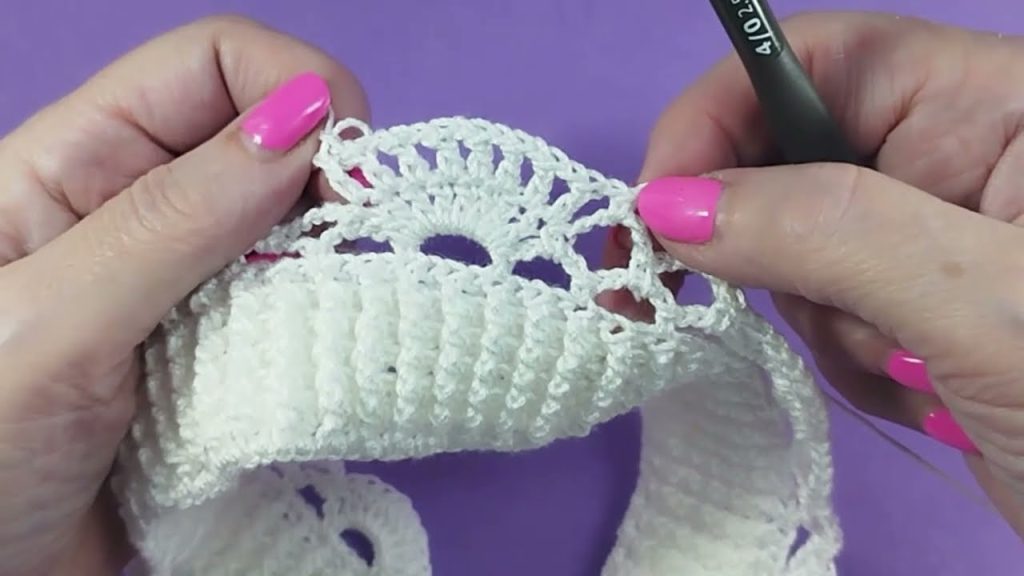
Video tutorial: