by
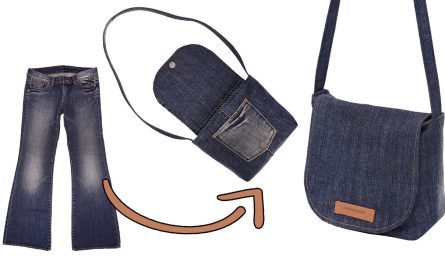
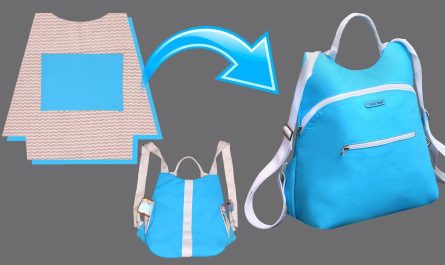
by Have you ever looked at a pair of old jeans and wondered what else they could be? Instead of throwing them out, you can upcycle them into a unique, stylish, and functional backpack! This DIY project is a fantastic way to give new life to old denim and create a one-of-a-kind accessory.

This guide is based on a fantastic video tutorial that walks you through every step of the process.
What You’ll Need:
- An old pair of jeans
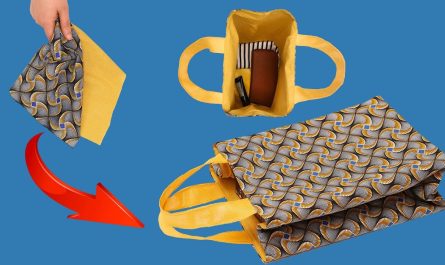
- Lining fabric (a blue paisley pattern was used in the video)
- A zipper for the main compartment
- A zipper for the front pouch
- Nylon webbing for the straps
- Plastic buckles
- Sewing machine
- Scissors
- Pins
- Measuring tape
Step 1: Prepare the Denim
First, you need to cut your old jeans into the basic pieces for the backpack. The main body of the backpack is made from two rectangular pieces of denim, measuring approximately 30×40 cm. For added padding and structure, you can also cut two identical pieces of a synthetic winterizer to place behind the denim.
Step 2: Create the Front Pouch
Next, you’ll create the front pouch for the backpack. Cut a separate piece of denim, about 36×18.5 cm, and sew a zipper to it to form the pouch. To add a touch of detail, you can attach the back pockets from the original jeans to the front of this pouch.
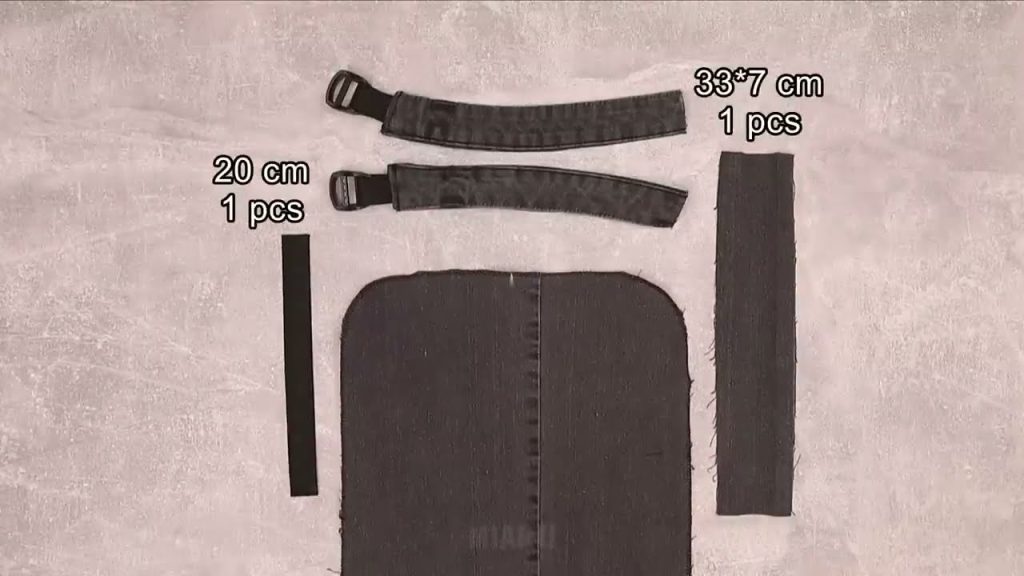
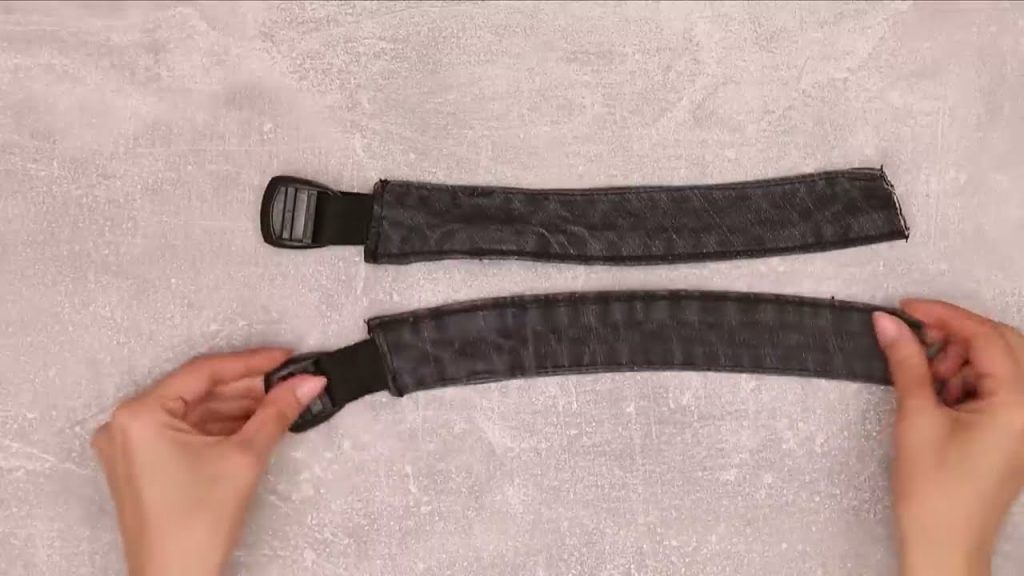
Step 3: Craft the Straps
The straps are an essential part of the backpack. Cut strips from the top portion of the jeans and use the black nylon webbing for reinforcement. The video shows how to properly attach the plastic buckles to the straps. Pin the straps to the top of the main backpack piece before sewing them on to ensure they are securely in place.
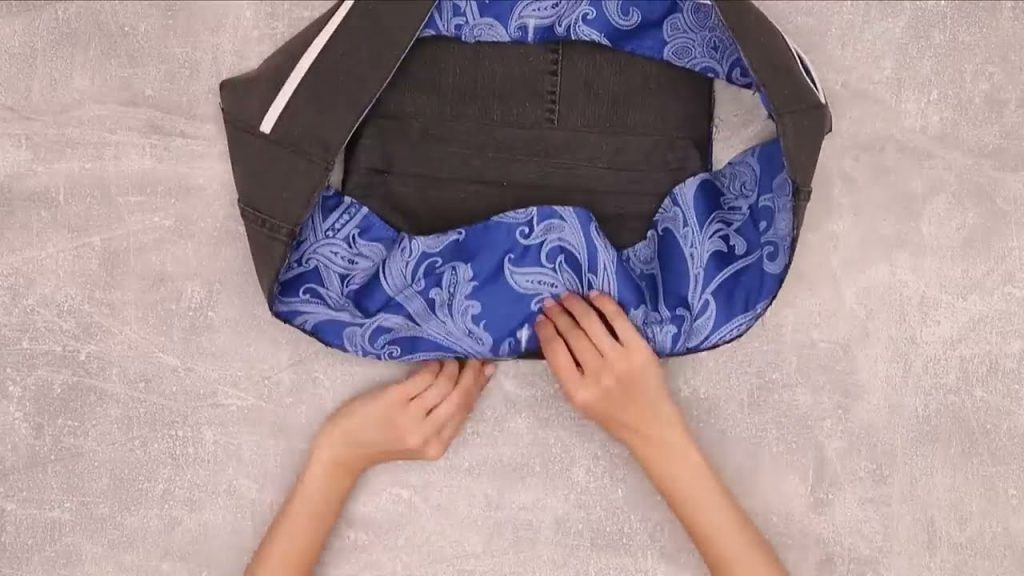
Step 4: Sew the Lining
Now it’s time to work with your lining fabric. Cut the lining to the same size as the main denim pieces of the backpack. Sew the lining pieces together with a zipper. Also, sew a separate lining for the front pouch to keep everything neat. This step ensures your backpack has a finished, professional look on the inside.
Step 5: Final Assembly
This is where all your hard work comes together! Pin the denim and lining pieces together, making sure to place the straps and pouch between the layers. Sew the entire backpack together around the edges, leaving a small opening so you can turn it right-side out.
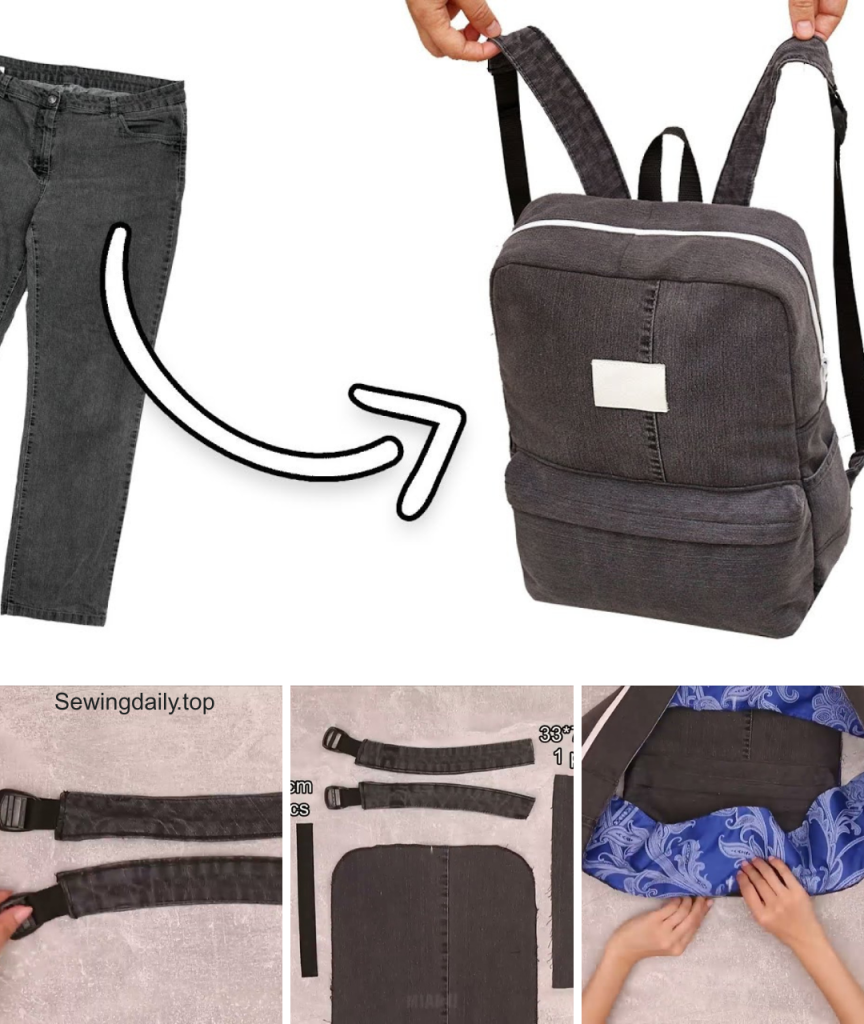
After turning it right-side out, you can sew the final opening closed. And that’s it! You’ve successfully transformed a pair of old jeans into a brand-new backpack. The video showcases the final product, complete with all its components, zippers, and pockets . The finished backpack is a great example of a practical and eco-friendly DIY project.
Video tutorial: