 by
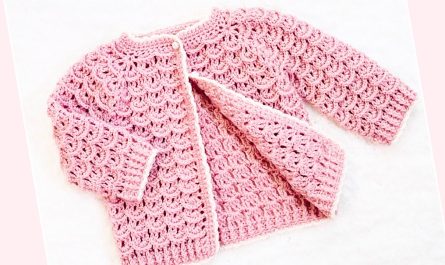
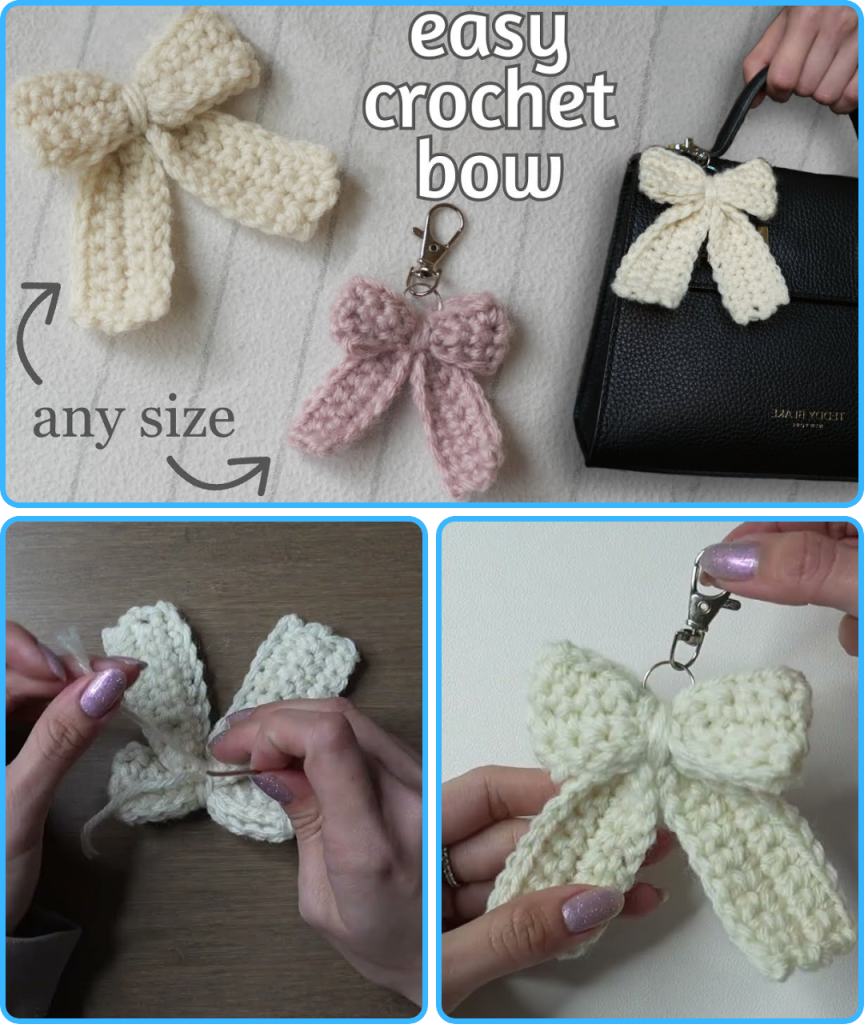
by You’re looking for a quick and charming crochet project that adds a decorative touch to anything from hair accessories to gift wrapping! An easy crochet bow is a fantastic choice. It’s simple enough for beginners, uses minimal yarn, and can be customized in countless ways.
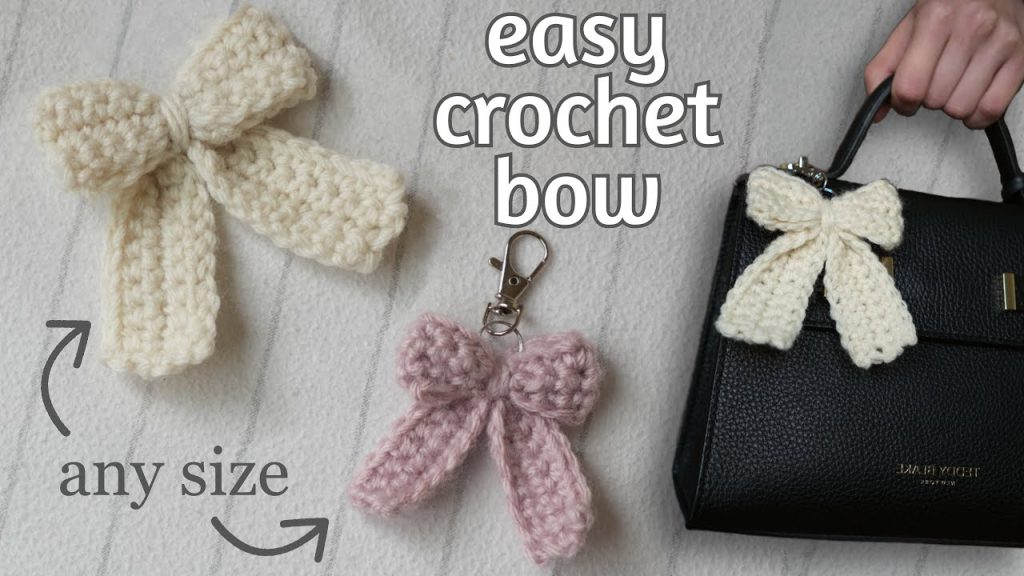
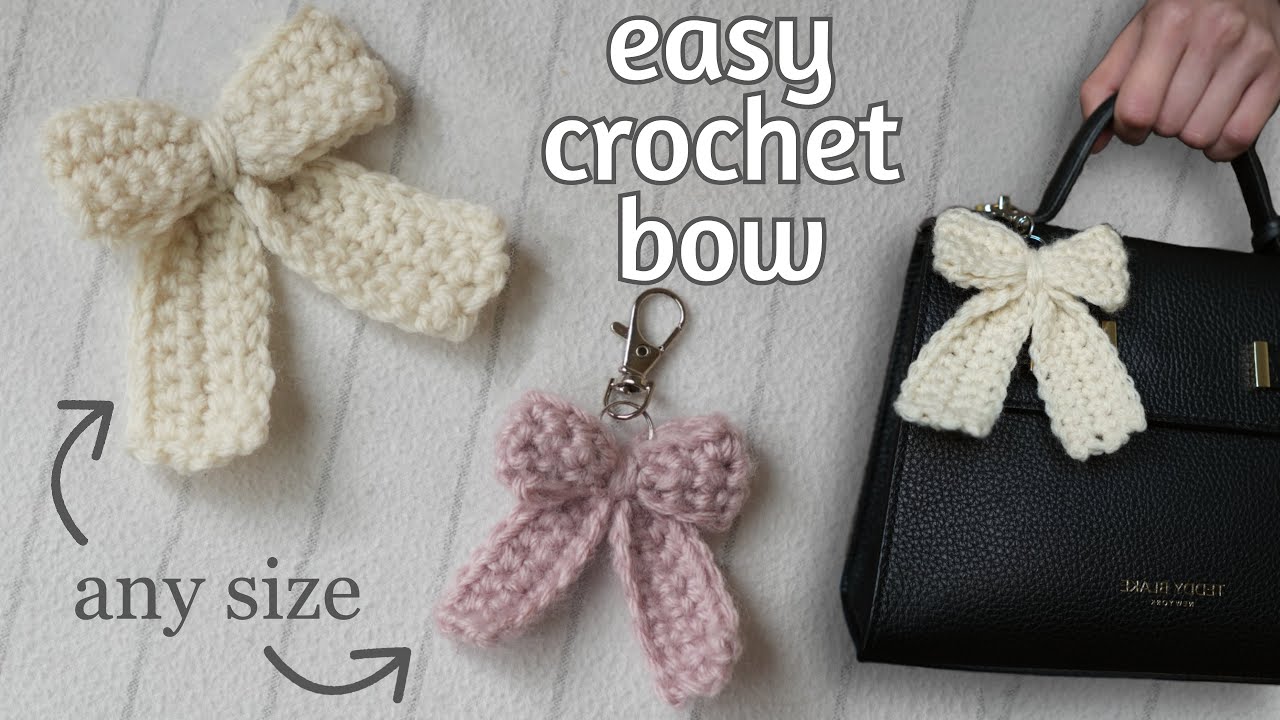
Tie It Up: Your Easy Crochet Bow Tutorial
Bows are the ultimate embellishment, adding a touch of sweetness, elegance, or playful charm to anything they adorn. And when they’re handmade with crochet, they carry an extra special touch! This easy crochet bow tutorial is perfect for absolute beginners looking to practice basic stitches, and for seasoned crocheters who need a quick, satisfying project. You’ll be able to whip up a collection of these adorable bows in no time, ready to beautify headbands, gifts, garments, or even home decor.
Why Crochet Your Own Bows?
- Quick & Rewarding: Most bows can be completed in just a few minutes, making them incredibly satisfying projects.
- Stash Buster: They use very little yarn, making them ideal for utilizing those small leftover bits from other projects.
- Highly Customizable: Easily change the size, color, or texture to match any project or occasion.
- Versatile Embellishment: Perfect for hair clips, headbands, hats, scarves, gift wrapping, clothing, or even as miniature appliques.
- Beginner-Friendly: Relies on fundamental crochet stitches, making it an excellent skill-building exercise.
What You’ll Need:
- Yarn: Any weight of yarn will work, but DK (light worsted) or worsted weight cotton or acrylic yarn is generally recommended for good stitch definition and durability. Choose a color that makes your heart happy!
- Small amounts are all you need, so it’s perfect for scraps.
- Crochet Hook: A hook size appropriate for your chosen yarn. For worsted weight, a G (4.0 mm) or H (5.0 mm) hook is common. Always check your yarn label for recommendations.
- Tools:
- Yarn needle (for weaving in ends).
- Scissors.
Step-by-Step Tutorial: The Classic Flat Bow
This design creates a simple, elegant bow shape by working a flat rectangle and then cinching it in the middle.
Common Abbreviations:
- ch: chain
- sl st: slip stitch
- sc: single crochet
- hdc: half double crochet
- dc: double crochet
- st(s): stitch(es)
Part 1: Crocheting the Bow Shape (Rectangle)
For a Medium Bow (adjust hook and chain length for different sizes):
- Chain (ch) 21. (This determines the width of your bow’s loops. Chain more for wider loops, less for narrower loops.)
- Row 1: Work a double crochet (dc) into the 3rd chain from your hook. Continue to dc in each chain across. (You should have 19 dc).
- Alternatively, you can use hdc for a flatter bow or sc for a very small, dense bow.
- Row 2: Ch 2 (counts as first dc). Turn your work. Work 1 dc into each stitch across. (19 dc).
- Repeat Row 2 until your piece measures approximately 3-4 inches (7.5-10 cm) tall. (This determines the height of your bow. Adjust for a taller or shorter bow).
- For a consistent look, aim for a square or slightly rectangular shape that’s wider than it is tall.
- Fasten off, leaving a long tail (at least 12-15 inches / 30-38 cm). This tail will be used to cinch the bow and secure it.

Part 2: Shaping and Finishing the Bow
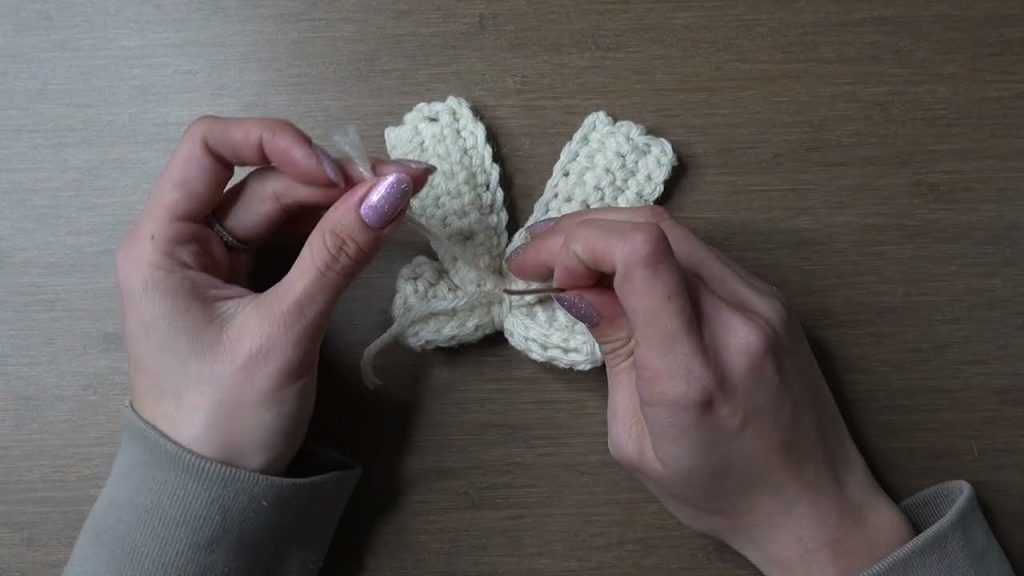
- Cinch the Center:
- Lay your crocheted rectangle flat.
- Take the long yarn tail you left. Using your yarn needle, thread the tail through the center of the rectangle, from one long side to the other.
- Wrap the tail tightly around the center of the rectangle several times, cinching it to create the bow shape. Pull firmly to get a defined “waist.”
- Once you’re happy with the shape, bring the tail to the back of the bow.
- Create the Center Wrap (Optional but Recommended):
- Instead of just wrapping, you can crochet a small separate strip for the center for a neater finish.
- Alternative for center wrap: With your bow cinched, make a slip knot with a new small piece of yarn. Single crochet (sc) around the cinched center a few times until you’ve created a small band that covers the cinching yarn. Sl st, fasten off, and weave in ends. This creates a clean, professional look.
- If you’re not making a separate center wrap, simply secure the long tail at the back of the bow with a few knots, then weave in the remaining tail securely.
- Weave in Ends: Using your yarn needle, carefully weave in all remaining yarn ends into the back of your bow. Take your time to make them invisible and secure.
Customization & Embellishment Ideas:
- Size Adjustment:
- Larger Bow: Chain more stitches for your starting chain, and/or crochet more rows.
- Smaller Bow: Chain fewer stitches for your starting chain, and/or crochet fewer rows.
- Stitch Variation: Experiment with different stitches for the main rectangle:
- Half Double Crochet (hdc): Creates a slightly denser, less open fabric than dc.
- Single Crochet (sc): Will make a very dense and much smaller bow for the same number of stitches/rows.
- Adding Tails: Before cinching, you can cut two small triangles (or other shapes) from felt or fabric and sew them to the back of the bow’s loops to create hanging tails. Or, crochet separate small rectangles and attach them.
- Embellish the Center: Sew a small button, bead, or a pearl to the very center of the bow for extra sparkle or a decorative touch.
- Two-Tone Bow: Crochet the main rectangle in one color, then use a contrasting color for the center wrap.
- Attaching:
- Hair Clip/Barrette: Hot glue or sew the finished bow onto a plain hair clip or barrette.
- Headband: Sew or hot glue to a fabric-covered headband.
- Garment: Stitch directly onto a hat, scarf, sweater, or a child’s dress.
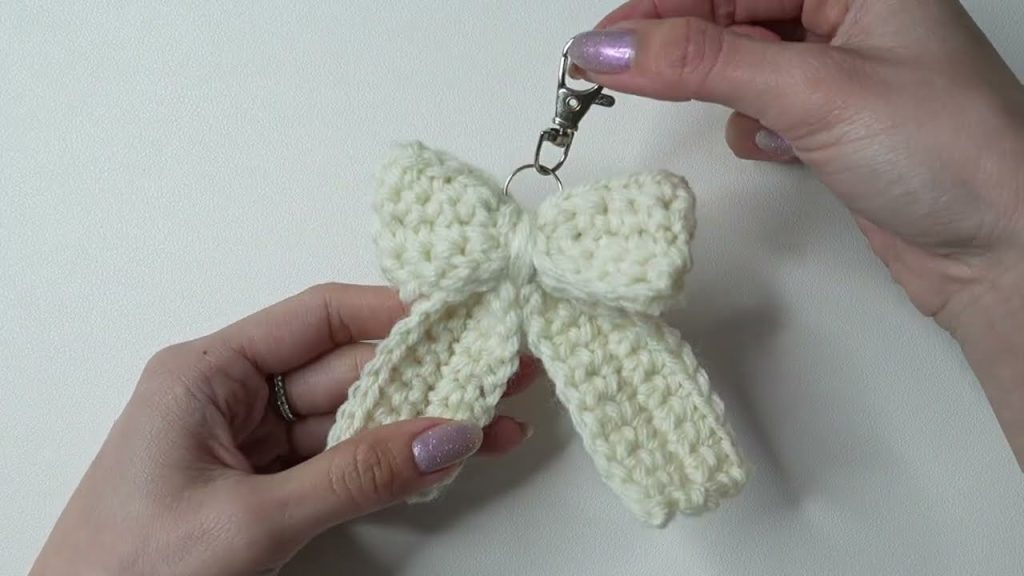
You’ve now created a delightful and versatile crochet bow! These little beauties are perfect for adding a handmade accent to almost anything.
And there you have it! From a simple chain to a charming embellishment, you’ve now mastered the art of crocheting an adorable bow. This quick and easy project is a testament to the magic of a hook and yarn, proving that even the simplest stitches can create something truly delightful. So go ahead, stitch up a rainbow of bows for headbands, gifts, or just to add a touch of handmade sweetness to your day.
Video tutorial: