by
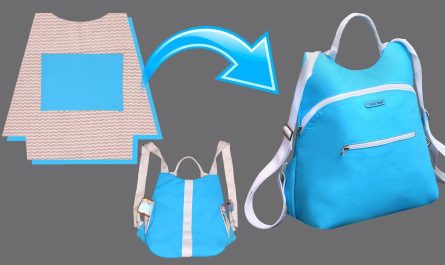
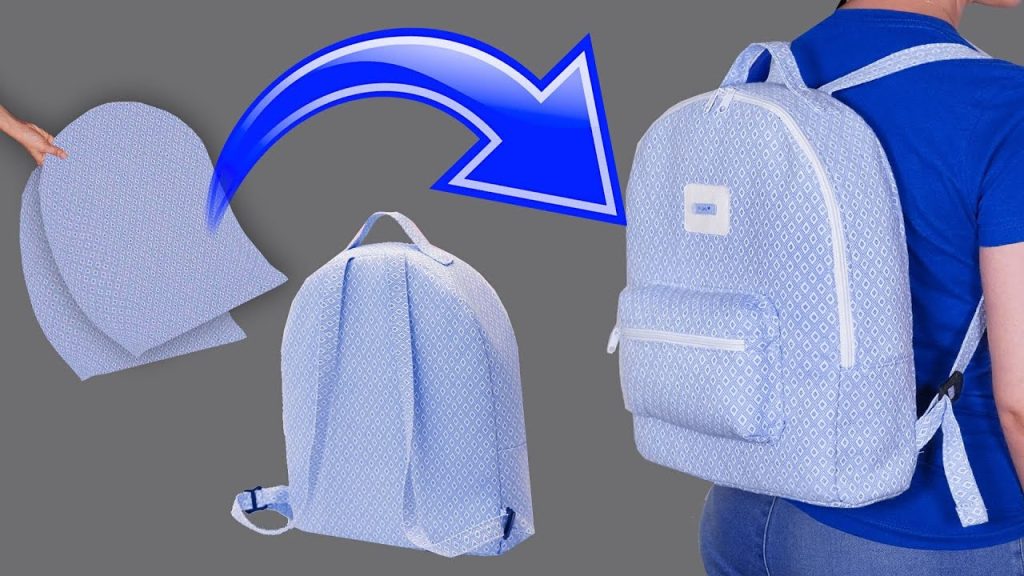
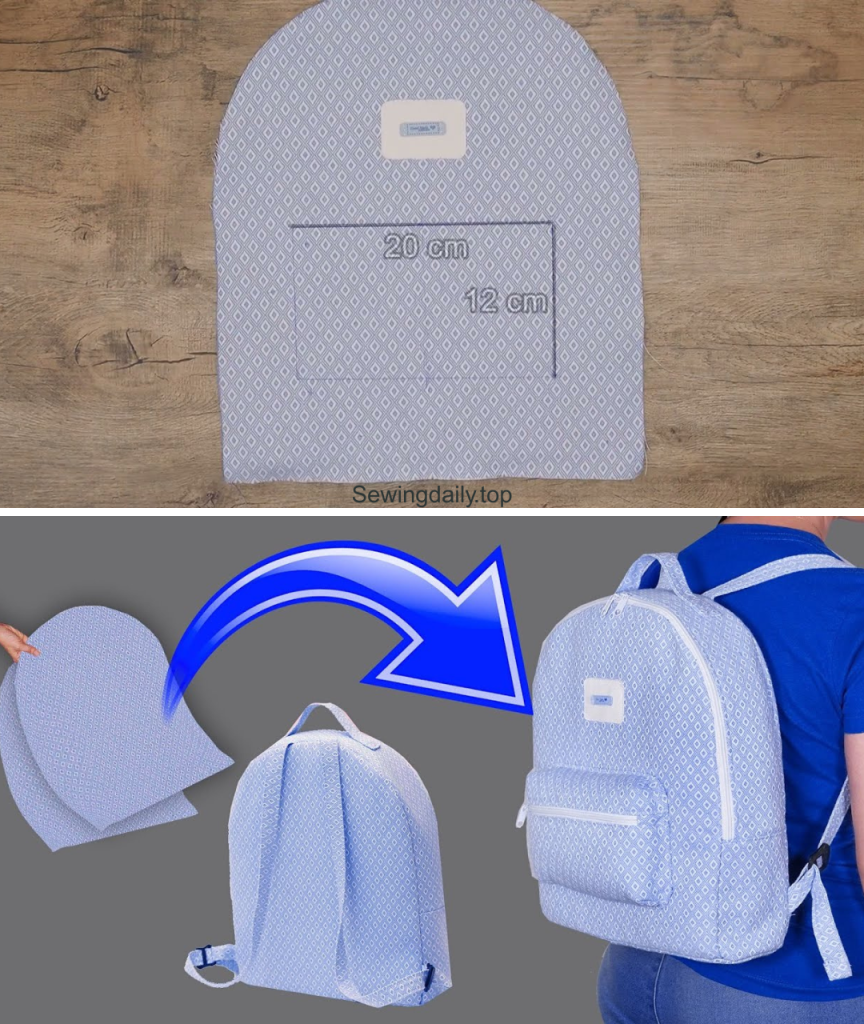
by Hello, adventurous sewists and bag makers! If you’re looking for a practical, mid-sized backpack that combines a pleasing curved top with solid structure, I’m excited to share the pattern for the Trailblazer Utility Backpack.
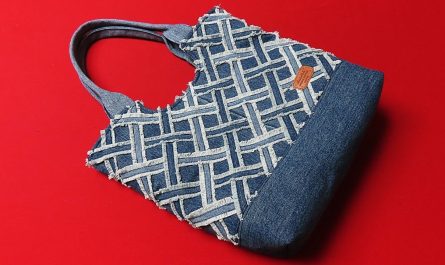
Inspired by a fantastic tutorial on easily sewing a handmade backpack, this design features a main body with a squared bottom and a clean, rounded zipper top. It utilizes foam/polyester batting and interfacing to ensure it maintains its shape, making it perfect for daily use, school, or a lightweight hike.
Grab your sturdy cotton, your padding, and let’s create a durable, professional-looking daypack!
Why You’ll Love Making This Backpack:
- Structured Shape: The use of fusible interfacing and polyester padding ensures the bag stands up on its own.
- Pleasing Curves: The top zipper is enclosed in a rounded panel, giving the bag a soft, yet defined shape.
- Interior Lining: Fully lined with an inner pocket for organization.
- Adjustable Straps: Features adjustable shoulder straps with strap buckles for a custom fit.
What You’ll Need:
- Main Fabric (Outer): 1.5 yards of heavy cotton canvas, twill, or denim.
- Lining Fabric: 1.5 yards of lightweight cotton or nylon lining fabric.
- Fusible Interfacing: 1 yard of heavy-weight fusible interfacing (for outer fabric).
- Polyester Batting/Foam: 1 yard of thin polyester batting or bag foam (for the main body panels).
- Zipper: 1 zipper, 24 inches (60 cm) long.
- Webbing/Straps: 2 yards (1.8 meters) of 1.5-inch wide cotton or nylon webbing.
- Hardware:
- 2 x 1.5-inch rectangular rings (D-rings are also acceptable).
- 2 x 1.5-inch slide adjusters (tri-glides).
- 1 x Buckle or clasp for the top carry loop.
- Tools:
- Sewing Machine and strong thread (heavy-duty needle recommended).
- Iron, Ruler, and Fabric Marker/Chalk.
- Pins and Clips.
Measurements & Cutting List
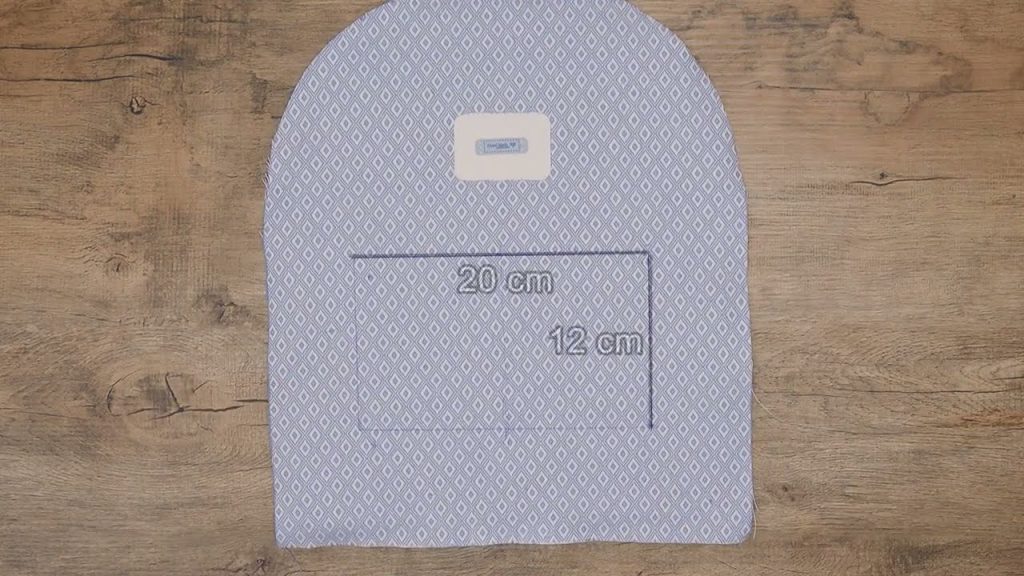
The final bag size will be approximately 12 inches wide x 16 inches high x 5 inches deep. All measurements include a 1/2-inch (1.2 cm) seam allowance.
| Piece | Fabric | Dimensions (Width x Height) | Quantity | Notes |
| A: Main Body Panels | Outer | 13 in. x 17 in. | 2 | Front and back. |
| B: Gusset Strip | Outer | 40 in. x 6 in. | 1 | Sides and bottom. |
| C: Top Zipper Panel | Outer | 25 in. x 4 in. | 2 | This will be curved to fit the zipper. |
| D: Lining Body | Lining | 13 in. x 17 in. | 2 | Interior front and back. |
| E: Lining Gusset | Lining | 40 in. x 6 in. | 1 | Interior sides and bottom. |
| F: Inner Pocket | Lining | 10 in. x 16 in. | 1 | Rectangle for the inner pocket. |
| G: Strap Anchors | Webbing | 4 in. x 1.5 in. | 2 | Bottom loop for adjuster hardware. |
| H: Straps | Webbing | 30 in. x 1.5 in. | 2 | Main adjustable strap length. |
| I: Carry Loop | Webbing | 6 in. x 1.5 in. | 1 | Top carry handle/loop. |
Construction: Building the Trailblazer Backpack
Part 1: Preparing the Fabric and Shaping
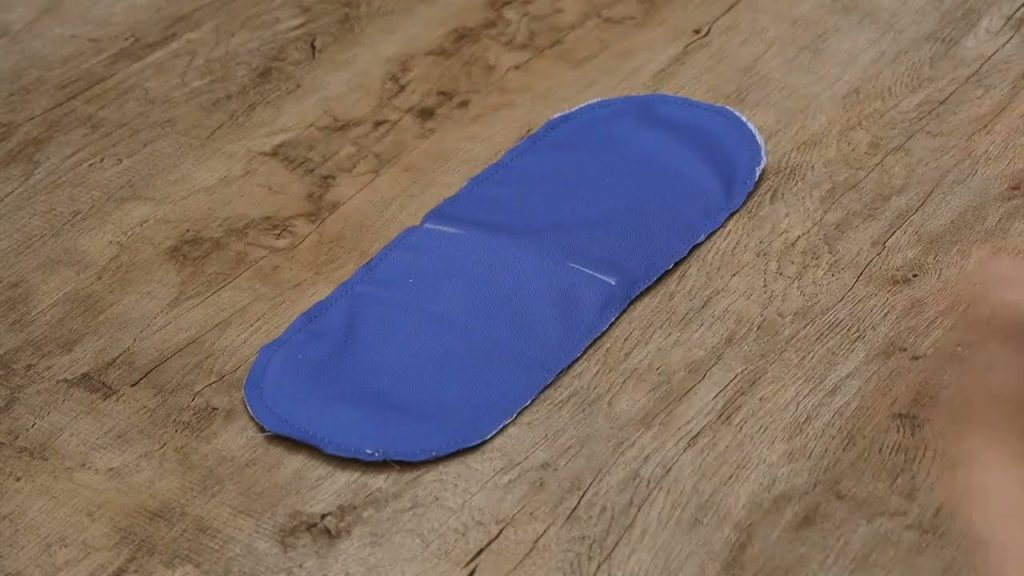
- Fuse and Pad: Apply fusible interfacing to the wrong side of all Outer Pieces (A, B, C). Then, baste a layer of polyester batting/foam to the wrong side of the two (A) Main Body Panels.
- Round the Top: Take the two (A) Main Body Panels. Use a plate or large mug to trace a gentle curve on the two top corners of each panel. Cut these curves.
- Box Corners: On the bottom corners of the (A) Main Body Panels, measure 2.5 inches (6 cm) square and cut out the squares. (This creates the boxed corner holes.)
- Prep Zipper Panel (C): Sew the two (C) Top Zipper Panels together on the short ends to create one long loop. Repeat for the lining zipper panel.
Part 2: Sewing the Outer Bag Shell
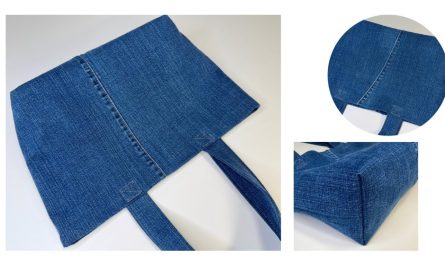
- Box the Gusset (B): On the (B) Gusset Strip, cut 2.5-inch squares from the bottom two corners. Sew the corresponding seams closed to create a 3D rectangular box bottom.
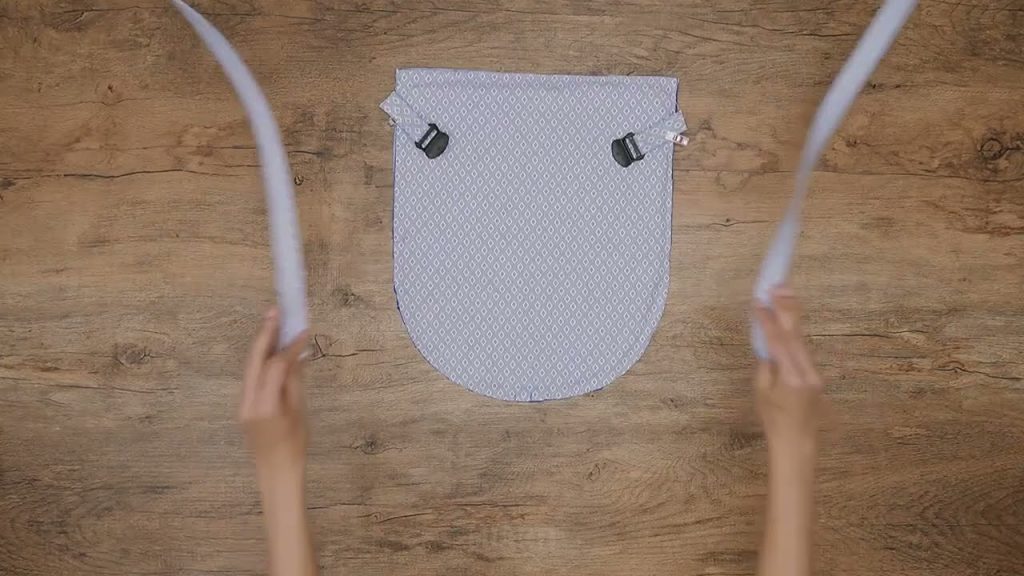
- Attach Bottom Anchors (G): Take the two (G) Webbing loops. Loop one end through a rectangular ring. Fold the webbing over and stitch down to secure the ring. Pin these two anchor loops to the bottom back edge of one (A) Main Body Panel (the back panel). Baste securely.
- Attach Gusset: Pin and sew the long (B) Gusset Strip to the (A) Main Body Panels. Start at the bottom center and work your way up and around the corners. The Gusset will fit the 90-degree squared corners at the bottom and the gentle curves at the top. Do not close the top curved edge yet.
Part 3: Attaching the Zipper and Straps
- Attach Zipper: Take the 24-inch zipper. Pin the (C) Top Zipper Panel loop (Outer fabric) to one side of the zipper. Sew with a zipper foot. Pin the other side of the loop to the other side of the zipper. This creates a fabric tube with the zipper running through the middle.
- Attach Carry Loop (I): Fold the (I) Carry Loop in half. Pin the raw ends to the center back seam of the zipper loop assembly. Baste securely.
- Attach Top Zipper to Body: Pin the Outer Shell (from Part 2) to the outside edge of the zipper loop assembly, right sides together. Sew all the way around, carefully easing the curves.
Part 4: The Lining and Finish
- Sew Lining Shell: Repeat the construction steps (Part 2 and Part 3) for the Lining Pieces (D and E), but do not use batting/foam. Crucial: Leave a 6-inch (15 cm) opening along the bottom edge of the lining gusset (E) for turning the bag later.
- Make Inner Pocket (F): Take the (F) Lining Pocket piece. Fold it in half (10 in. x 8 in.). Sew around three sides, leaving a small opening for turning. Clip corners, turn right-side out, and press. Sew the turning hole closed. Pin the pocket to the inside back (D) Lining Panel and sew along the sides and bottom.
- Nest and Sew: Turn the Outer Bag right-side out. Insert the Outer Bag into the Lining Bag (still inside out), aligning the top zipper seam perfectly. Pin all around.
- Final Seam (Top Zipper): Stitch the top perimeter together (the raw edges where the zipper assembly meets the bag). Wait, this is incorrect for a fully enclosed zipper.
Correction for Final Seam (Enclosing Zipper):
- Zipper Flap Lining: Insert the lining zipper assembly into the outer bag assembly, right sides together, sandwiching the zipper tape between the outer bag and the lining bag.
- Sew Seams: Sew the lining gusset to the lining zipper panel on one side. Repeat for the other side. This encloses the raw edges of the zipper tape within the bag.
- Turn Right-Side Out: Reach into the 6-inch opening in the lining gusset. Gently pull the entire bag through this hole.
- Close Hole: Stitch the lining hole closed (by hand slipstitch or machine stitch).
- Finish Straps (H): Thread the two (H) Webbing Straps through the slide adjusters, then the rectangular rings, and back through the adjusters. Sew the secured ends of the straps to the top of the bag (just below the carry loop).

Your Trailblazer Utility Backpack is complete—a professional, structured bag ready for action!
Video tutorial: