by
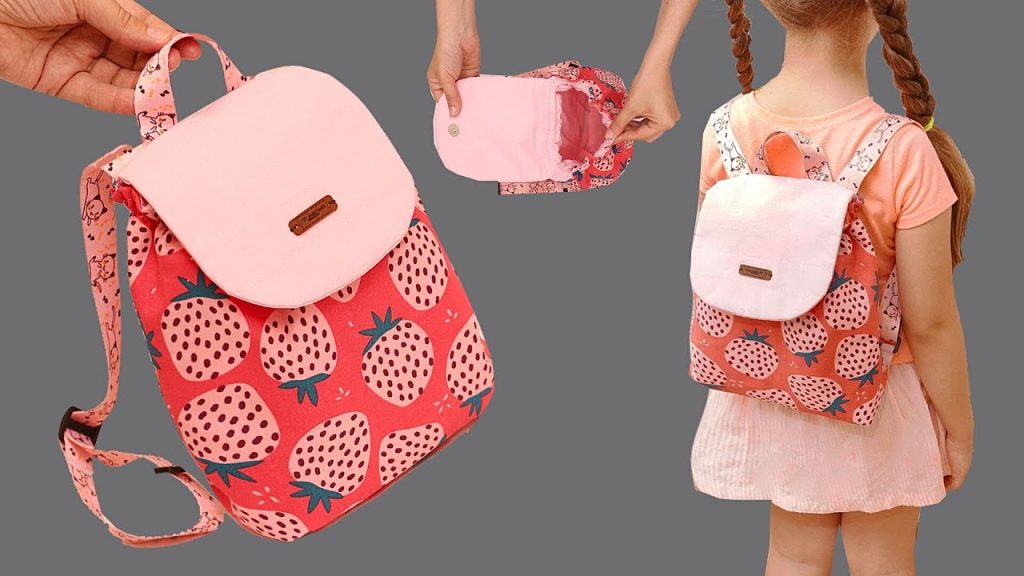
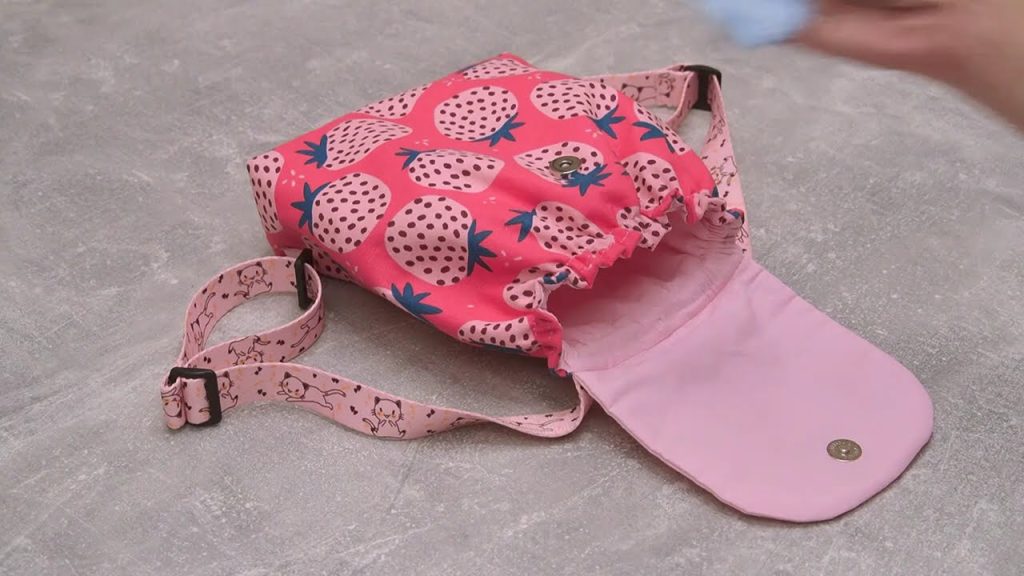
by Hello, fellow makers and urban explorers! If you’re searching for a stylish, minimalist bag that’s perfect for carrying just the essentials, I’ve got the perfect project for you. I’m excited to share the pattern for the City Slicker Mini-Sling—a structured, small backpack/sling bag that is incredibly simple to construct.
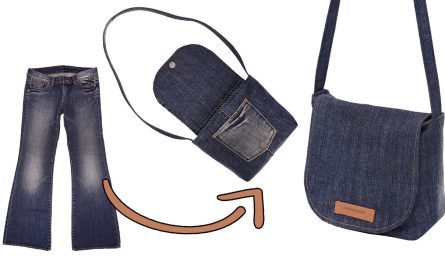
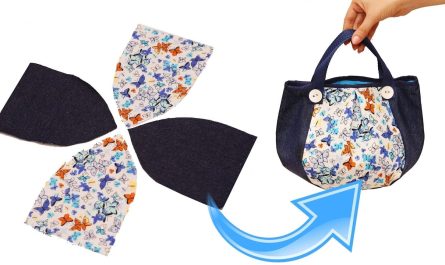
Inspired by a fantastic tutorial showing an easy way to sew a small backpack, this design features a clean rectangular body, a quick drawstring closure, and adjustable shoulder straps. It’s the ideal project for using up smaller, sturdy fabric remnants like canvas, twill, or old denim. It’s simple enough for a motivated beginner and fast enough for a seasoned sewist looking for quick gratification!
Grab your favorite medium-weight fabric and let’s create a chic, hands-free accessory!
Why You’ll Love Making This Mini-Sling:
- Minimalist Design: Clean lines and a structured shape make it highly versatile.
- Beginner-Friendly: Uses only straight-line sewing and simple box-corner construction.
- Quick Finish: The entire bag can be completed in a few hours.
- Perfect Size: Ideal for a phone, wallet, keys, and a few small essentials.
What You’ll Need:
- Main Fabric: 1/2 yard of canvas, twill, denim, or faux leather/vinyl. (A structured fabric is highly recommended).
- Lining Fabric: 1/2 yard of lightweight cotton or similar lining material.
- Webbing/Straps: 2 yards (1.8 meters) of 1-inch wide cotton or nylon webbing for the adjustable straps.
- Drawstring Cord: 1.5 yards (1.4 meters) of thick cord or rope for the closure.
- Hardware:
- 2 x 1-inch D-Rings or Rectangular Rings.
- 2 x 1-inch Slide Adjusters (Tri-Glides).
- Tools:
- Sewing Machine and strong thread.
- Scissors/Rotary Cutter, Ruler, and Fabric Marker/Chalk.
- Pins and Clips.
Measurements & Cutting List
The final bag size will be approximately 8 inches wide x 9 inches high x 3 inches deep. All measurements include a 1/2-inch (1.2 cm) seam allowance.
| Piece | Fabric | Dimensions (Width x Height) | Quantity | Notes |
| A: Main Body Panels | Main Fabric | 9 in. x 10 in. | 2 | Front and Back of the bag. |
| B: Side/Bottom Gusset | Main Fabric | 25 in. x 4 in. | 1 | Long strip for sides and bottom. |
| C: Lining Body Panels | Lining Fabric | 9 in. x 10 in. | 2 | Interior front and back. |
| D: Lining Gusset | Lining Fabric | 25 in. x 4 in. | 1 | Interior side and bottom strip. |
| E: Drawstring Casing | Main Fabric | 9 in. x 2 in. | 2 | Top casing for the drawstring. |
| F: Bottom Anchor Loops | Webbing | 3 in. x 1 in. | 2 | Loops for the D-Rings. |
| G: Straps | Webbing | 30 in. x 1 in. | 2 | Adjustable strap length. |
Construction: Building the Mini-Sling
Part 1: Preparing the Hardware and Casings
- Bottom Anchor Loops: Take the two (F) Webbing loops. Loop one end through a D-Ring. Fold the webbing over and stitch it down to secure the ring. Repeat for the second loop and ring.
- Attach Anchors: Pin and stitch these two anchor loops to the bottom edge of the (A) Back Main Body Panel, spaced approximately 2 inches (5 cm) from the side edges. Baste securely.
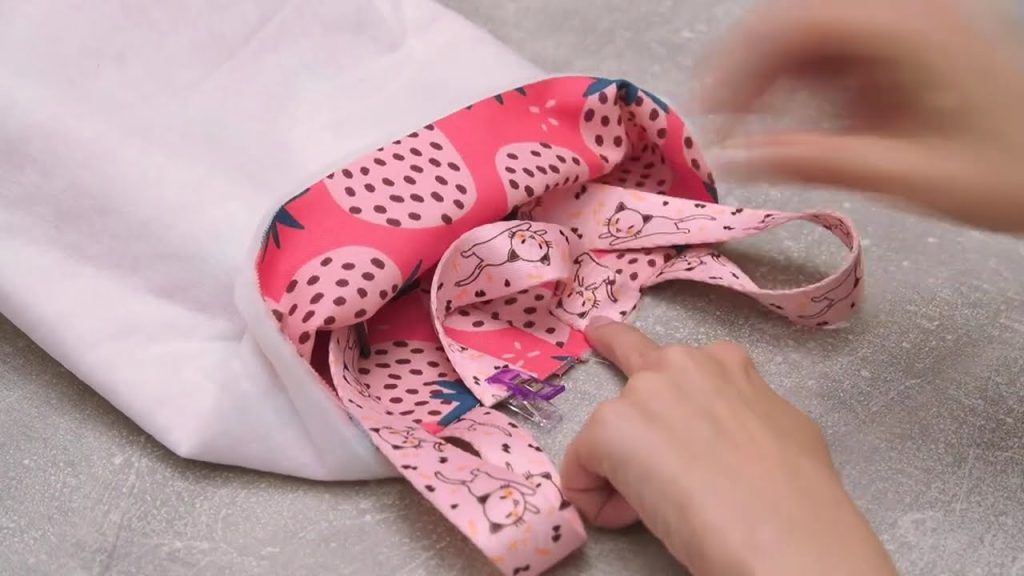
- Prepare Casing: Take the two (E) Casing strips. Press both long edges inward by 1/4 inch, then fold the strip in half lengthwise and press again. Set aside.

Part 2: Sewing the Bag Shell and Lining
- Sew the Main Shell: Take the two (A) Main Body Panels and the long (B) Gusset Strip.
- Pin the Gusset Strip all around the perimeter of one (A) panel (bottom and both sides). Sew using a 1/2-inch seam allowance to create a three-sided box shape.
- Repeat with the second (A) panel, closing the three-sided box to form the 3D main shell. The top edge remains open.
- Create the Lining: Repeat Step 1 using the (C) Lining Panels and (D) Lining Gusset. Crucially, leave a 4-inch (10 cm) opening along the middle of the lining’s bottom seam for turning the bag later.
Part 3: Attaching the Casing and Straps
- Attach Casing to Shell: Pin one (E) Casing strip to the top edge of the (A) Front Main Body Panel, aligning the raw edges. Sew the casing to the panel edge.
- Attach Straps to Back: Take the two (G) Webbing Straps. Pin the unsecured ends of these two straps to the top edge of the (A) Back Main Body Panel, approximately 2.5 inches (6 cm) from the side edges. Baste securely.
- Complete the Casing (Back): Pin the second (E) Casing strip over the basted strap ends and align it with the top edge of the (A) Back Main Body Panel. Sew this casing to the back panel edge.
Part 4: Final Assembly
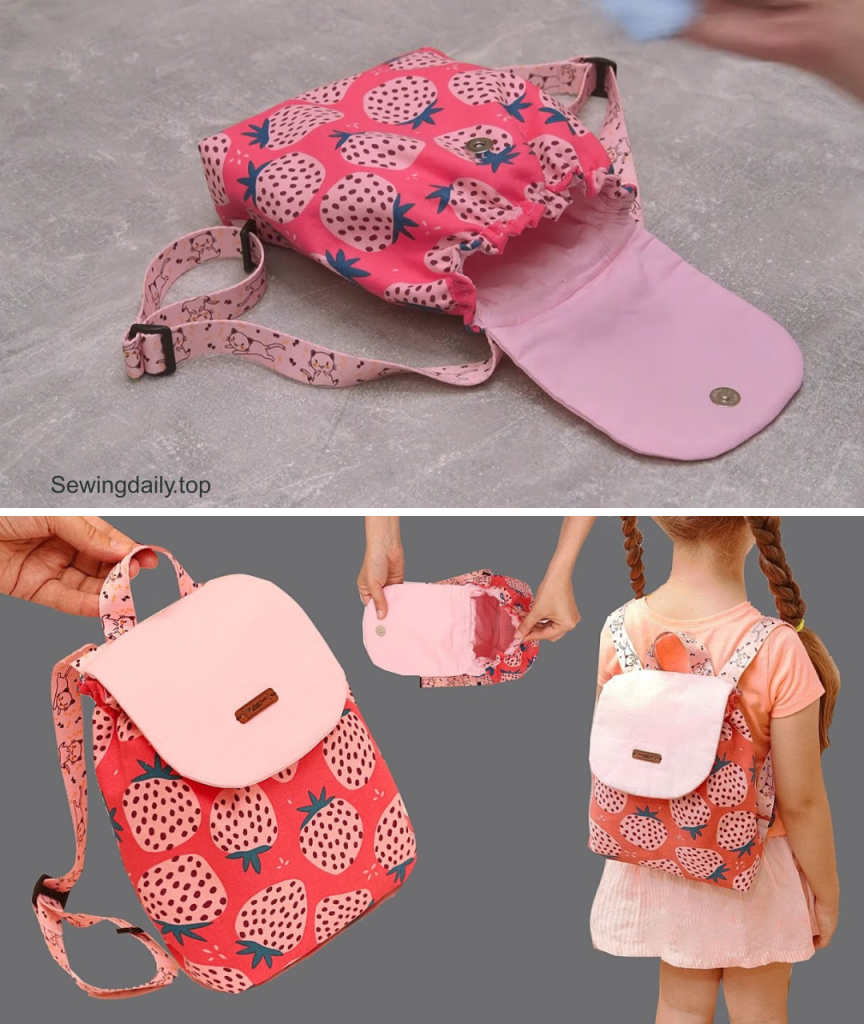
- Thread Straps: Before assembling the final layers, assemble the adjustable straps: Thread the opposite end of the webbing straps (G) through the Slide Adjuster, then through the D-Ring at the bottom anchor, and back up through the Slide Adjuster. Leave the adjustable mechanism complete but separate from the bag for now.
- Insert Lining: Turn the Main Bag Shell right-side out. Place the Lining Shell (still inside out) over the Main Bag Shell. The right sides of the main fabric and lining should be facing each other, with the straps and casing tucked inside.
- Sew the Top Edge: Align the top raw edges. Pin all around. Sew the top seam using a 1/2-inch seam allowance, attaching the lining to the shell.
- Turn Right-Side Out: Reach into the lining bag and pull the entire bag through the 4-inch opening left in the lining’s bottom seam.
- Close and Finish:
- Stitch the opening in the lining closed (by machine or hand slipstitch).
- Tuck the lining neatly into the backpack shell.
- Topstitch around the entire top opening to secure the casing, straps, and lining.
- Insert Drawstring: Feed the Drawstring Cord through the casing, starting at one corner, going all the way around, and exiting at the same corner. Knot the ends securely.

Your City Slicker Mini-Sling is complete! Perfect for a quick trip or a stylish, hands-free day out.
Video tutorial: