by
by Hello, upcycling adventurers and sewing savants! If you’re looking for a project that transforms old clothing into a functional masterpiece, you’ve come to the right place. Inspired by a fantastic tutorial that repurposes an old coat, I’ve created the detailed pattern for the Heritage Hiker Backpack.
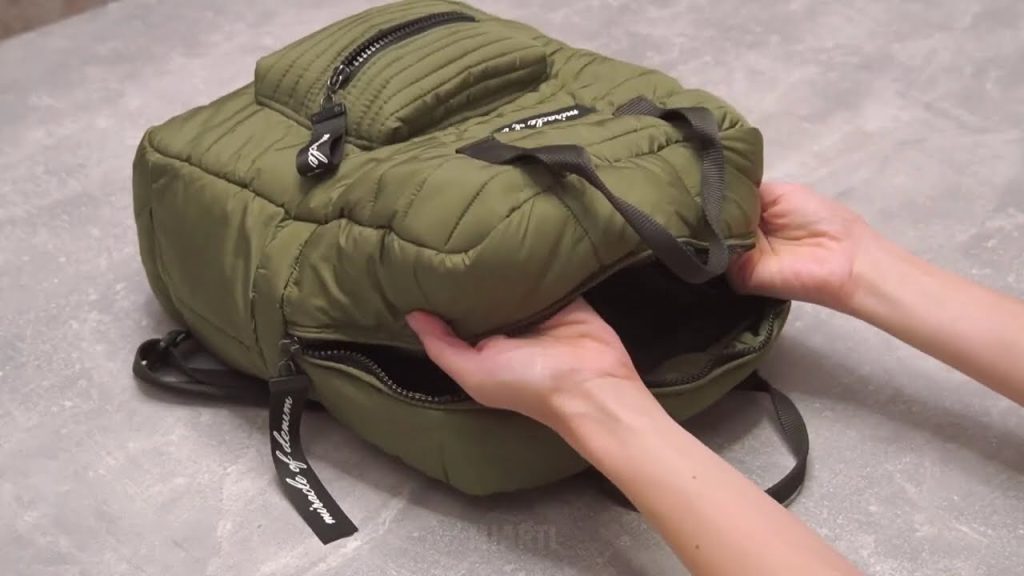
This stylish backpack is designed to maximize the sturdy, built-in features of a coat—like collars, button plackets, and thick fabric—giving you a unique, durable bag with minimal effort. It’s a great way to give new life to a beloved but retired coat!
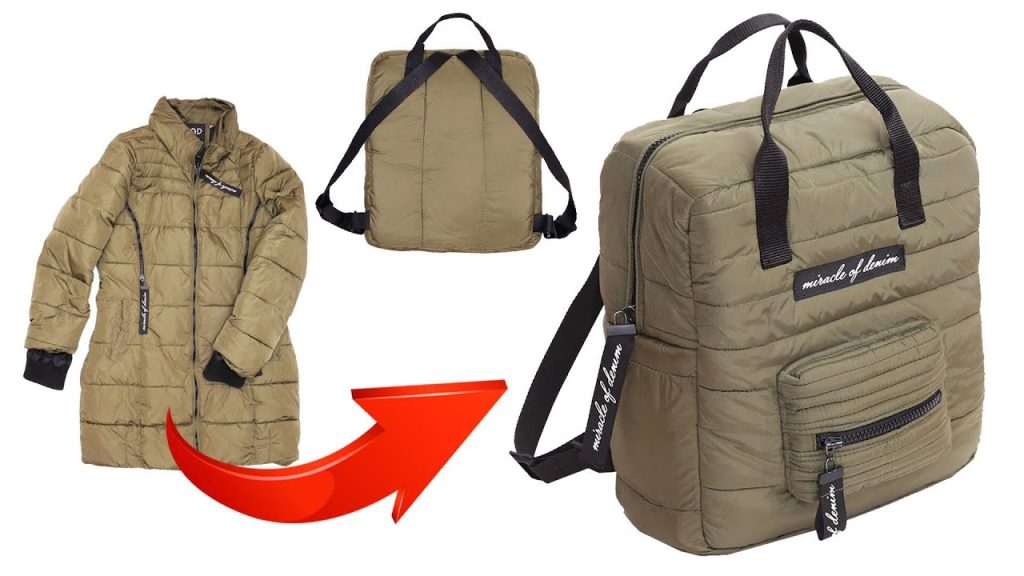
Grab that old trench coat, peacoat, or jacket and let’s turn it into your new favorite hiking companion or urban commuter bag!
Why You’ll Love Making This Backpack:
- High-End Look, Low Cost: Repurposing coat fabric gives you a high-quality, professional finish.
- Built-in Structure: Coat fabric (wool, twill, canvas) is naturally durable and holds its shape well.
- Beginner-Friendly Components: The pattern relies on simple rectangles and straight seams.
- Maximum Sustainability: A perfect zero-waste project for cherished garments.
What You’ll Need:
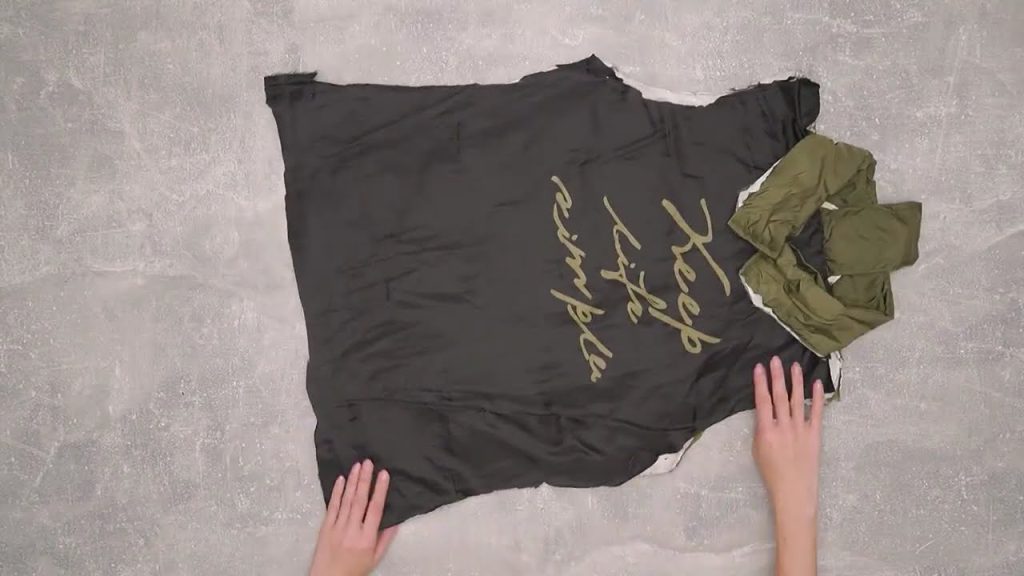
- Fabric Source: One large, old coat (trench coat, peacoat, or similar). Look for a coat with a sturdy main body and a collar/placket we can use for the flap.
- Lining Fabric: 1 yard of sturdy cotton or nylon lining fabric.
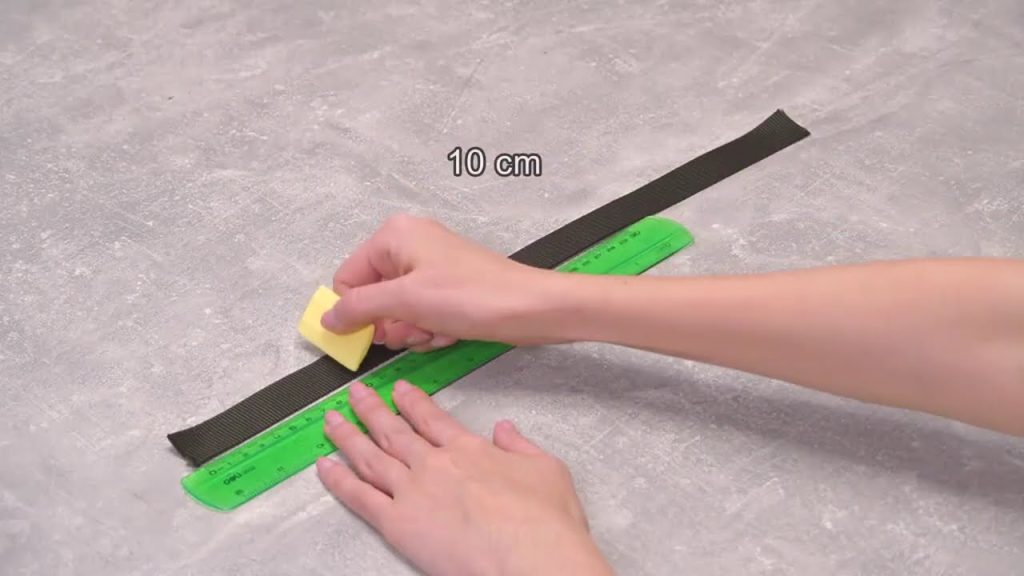
- Webbing/Straps: 2 yards (1.8 meters) of 1.5-inch wide cotton or nylon webbing for the straps.
- Hardware:
- 2 x 1.5-inch rectangular rings (D-rings are also acceptable).
- 2 x 1.5-inch slide adjusters (tri-glides).
- 1 x Snap, magnetic closure, or buckle for the main flap.
- Tools:
- Sewing Machine (with heavy-duty needle if using thick fabric).
- Strong Thread (polyester or topstitching thread).
- Scissors/Rotary Cutter, Ruler, and Fabric Marker/Chalk.
- Pins and Clips.
Measurements & Cutting List
The final bag size will be approximately 13 inches wide x 16 inches high x 5 inches deep. All measurements include a 1/2-inch (1.2 cm) seam allowance.

| Piece | Fabric | Dimensions (Width x Height) | Quantity | Notes |
| A: Main Body Panels | Coat Fabric | 14 in. x 16.5 in. | 2 | Front and back panels. |
| B: Gusset Strip | Coat Fabric | 38 in. x 5.5 in. | 1 | This strip forms the sides and bottom. |
| C: Main Flap | Coat Fabric | 10 in. x 10 in. | 1 | Cut from the collar/placket section if possible. |
| D: Lining Panels | Lining Fabric | 14 in. x 16.5 in. | 2 | Interior front and back. |
| E: Lining Gusset | Lining Fabric | 38 in. x 5.5 in. | 1 | Interior sides and bottom. |
| F: Flap Lining | Lining Fabric | 10 in. x 10 in. | 1 | Interior of the flap. |
| G: Handle/Loop | Coat Fabric | 4 in. x 8 in. | 1 | Used for the top loop and strap anchors. |
| H: Straps | Webbing | 30 in. x 1.5 in. | 2 | Main adjustable strap length. |
| I: Bottom Strap Anchors | Webbing | 4 in. x 1.5 in. | 2 | Bottom loop for adjuster hardware. |
Construction: Building the Backpack
Part 1: The Main Bag Shell
- Sew the Shell: Take the two (A) Main Body Panels and the long (B) Gusset Strip.
- Pin the Gusset Strip all around the perimeter of one (A) panel (bottom and both sides). Sew using a 1/2-inch seam allowance to create a three-sided box shape.
- Repeat with the second (A) panel, closing the third side of the box. The top edge remains open.
- Box Corners (Optional): Pinch the corner seams flat and stitch across the point to reinforce.
- Create the Lining: Repeat Step 1 with the (D) Lining Panels and (E) Lining Gusset, but leave a 5-inch (12 cm) opening along the bottom edge of the lining’s gusset strip for turning the bag later.
Part 2: The Flap and Straps
- Make the Flap: Place (C) Main Flap and (F) Flap Lining right sides together. Sew around the sides and bottom curve, leaving the top straight edge open. Clip the curves, turn right-side out, and press well. Topstitch the curved edge.
- Prepare the Top Handle: Take the (G) Handle/Loop piece. Fold it lengthwise, sew, and turn it into a flat loop. Cut this into a 4-inch carry handle and two 2-inch pieces for the strap anchors.
- Attach Flap and Handle: Mark the center top of the backpack’s back panel. Pin the Main Flap (C) to the outside edge, centered. Pin the Top Handle (G) on top of the flap, also centered. Baste both in place.
Part 3: Attaching the Straps and Anchors
- Prepare Strap Anchors: Take the two (I) Bottom Strap Anchors. Loop one end through a rectangular ring. Fold the webbing over and stitch down to secure the ring.
- Attach Anchors: Pin and stitch these two anchor loops to the bottom front of the backpack shell, spaced approximately 4 inches (10 cm) from the center line.
- Assemble Straps (H): Thread one end of a 30-inch webbing strap (H) through a slide adjuster. Thread the same end through a rectangular ring, then back through the slide adjuster. The opposite end of the strap will be sewn to the top of the bag. Referencing your hardware is key here.
- Attach Straps to Top: Pin the unsecured ends of the two (H) Webbing Straps to the top back of the bag, approximately 2.5 inches (6 cm) from the center line, over the basted Flap and Handle. Baste securely.
Part 4: Final Assembly
- Insert Lining: Turn the Main Bag Shell right-side out. Place the Lining Shell (still inside out) over the Main Bag Shell. The right sides of the main and lining fabric should be facing each other, and all straps/flaps should be tucked inside.
- Sew the Top Edge: Align the top raw edges perfectly. Pin all around. Sew the top seam using a 1/2-inch seam allowance, attaching the lining to the shell.
- Turn Right-Side Out: Reach into the lining bag and pull the entire bag through the 5-inch opening left in the lining’s bottom gusset.
- Close and Finish:
- Stitch the opening in the lining closed (either by machine or hand slipstitch).
- Tuck the lining neatly into the backpack shell.
- Topstitch around the entire top opening of the bag to give it a crisp, professional finish and secure all handles and straps.
- Add Closure: Install your chosen closure (snap, magnetic button, or buckle) onto the flap and the corresponding spot on the front of the bag.
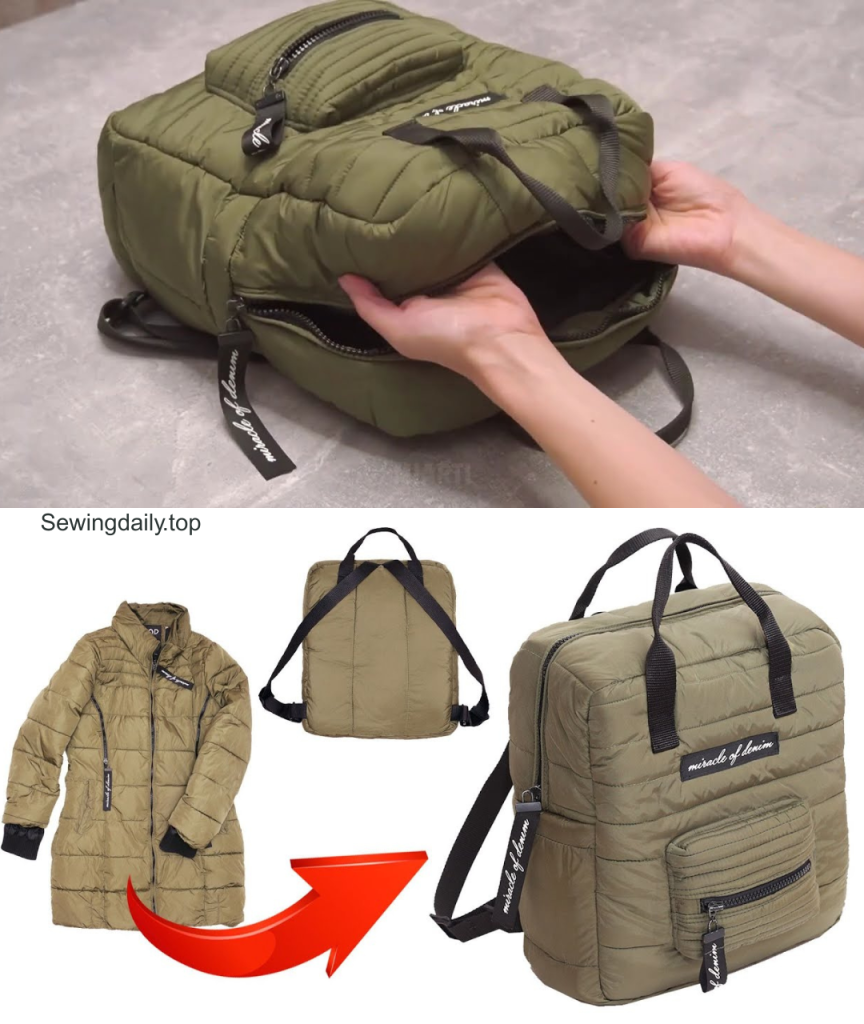
Congratulations! Your Heritage Hiker Backpack is complete—a sturdy, stylish, and sustainable piece of wearable history.
Video tutorial: