by
by You’re looking to create your own eco-friendly and stylish tote bag from canvas – that’s a fantastic idea! A DIY canvas tote is incredibly versatile, durable, and a wonderful way to reduce your reliance on single-use plastic bags. It’s also a surprisingly straightforward sewing project, perfect for beginners and experienced sewists alike.
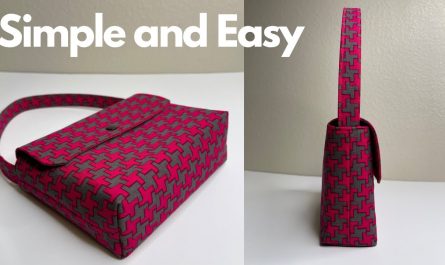
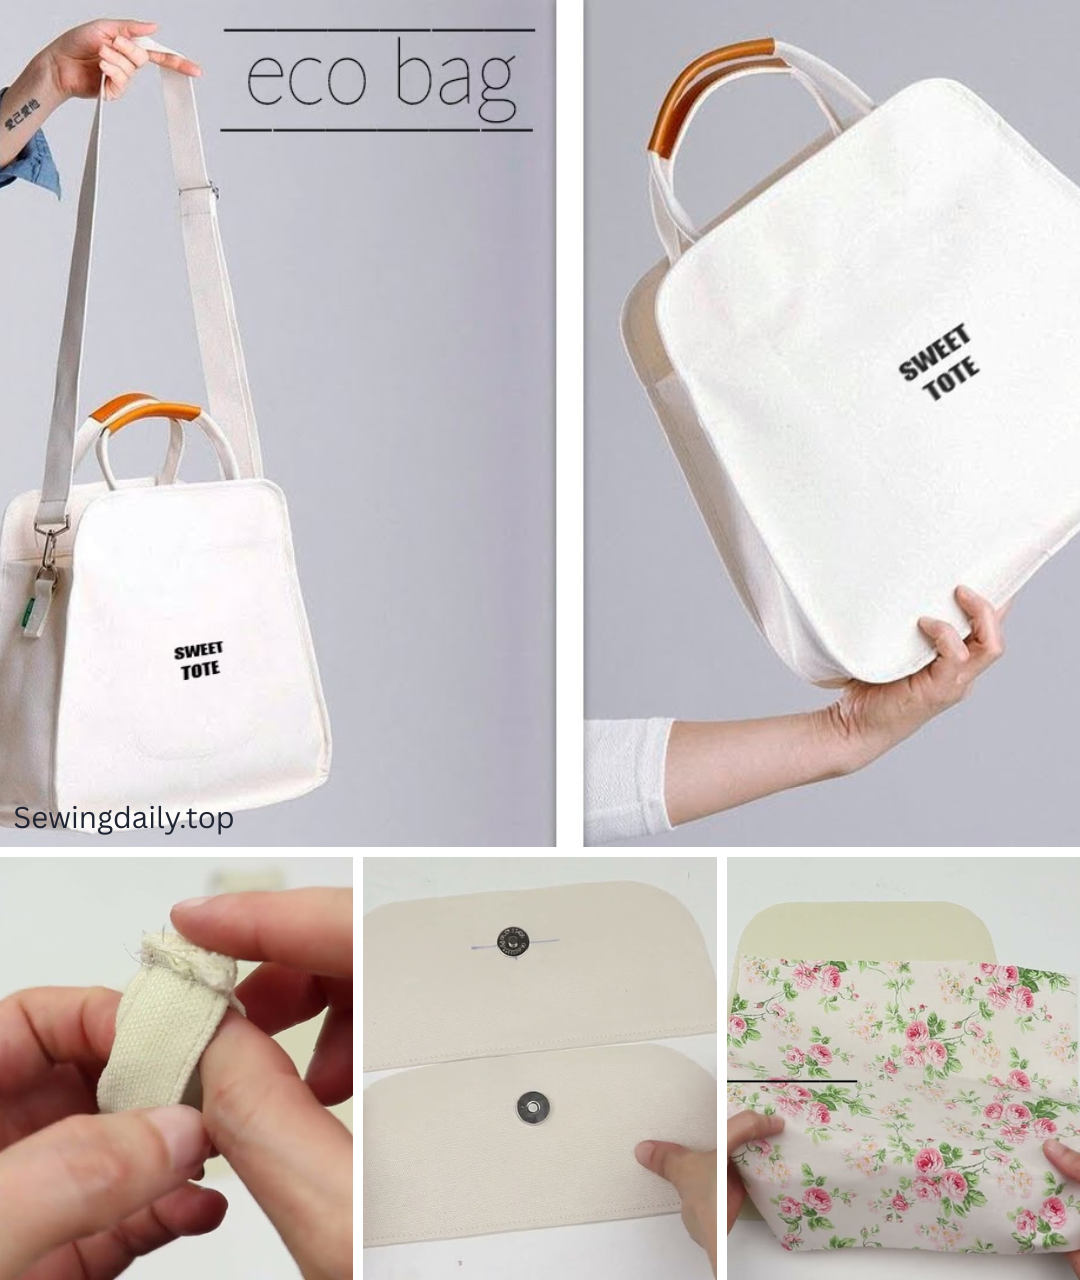
Stitching Sustainability: Your DIY Canvas ECO Tote Bag Tutorial
In a world increasingly mindful of its ecological footprint, the humble tote bag has become a symbol of conscious living. Moving beyond flimsy plastic, a reusable canvas tote is not just practical; it’s a statement. Crafting your own allows for complete customization, turning a simple accessory into a reflection of your personal style and commitment to sustainability. This detailed tutorial will guide you through sewing a sturdy and stylish canvas eco tote bag, perfect for groceries, books, beach trips, or everyday carrying.
Why Sew Your Own Canvas Eco Tote?
- Eco-Friendly: Reduce plastic waste by having a durable, reusable bag on hand for all your shopping needs.
- Customizable: Choose the perfect canvas weight, color, and add your own embellishments to match your unique aesthetic.
- Durable & Strong: Canvas is a robust fabric, ensuring your bag can carry heavy loads for years to come.
- Cost-Effective: Often cheaper to make than to buy a high-quality reusable bag, especially if you source fabric smartly.
- Beginner-Friendly: This project relies on straight seams and basic construction, making it an excellent learning experience for new sewists.
What You’ll Need:
- Canvas Fabric: 1 yard (0.9 meters) of medium to heavy-weight cotton canvas. Natural, unbleached canvas is wonderfully eco-friendly, but colored or printed canvas works just as well. Look for duck canvas, cotton drill, or even upholstery canvas for extra durability.
- Thread: Strong, all-purpose polyester thread that matches or contrasts with your canvas. If your machine can handle it, a slightly heavier topstitching thread for details can look great.
- Sewing Machine: A machine capable of sewing through multiple layers of canvas. A walking foot is highly recommended if your machine struggles with thick fabrics.
- Tools:
- Sharp fabric scissors or a rotary cutter with a new blade and cutting mat.
- Measuring tape or a long clear ruler.
- Fabric marker or tailor’s chalk.
- Plenty of strong pins or fabric clips (Wonder Clips are excellent for thick fabrics).
- Iron and ironing board.
- Optional: Seam ripper (just in case!).
Understanding the Tote Bag Design & Cutting Dimensions:
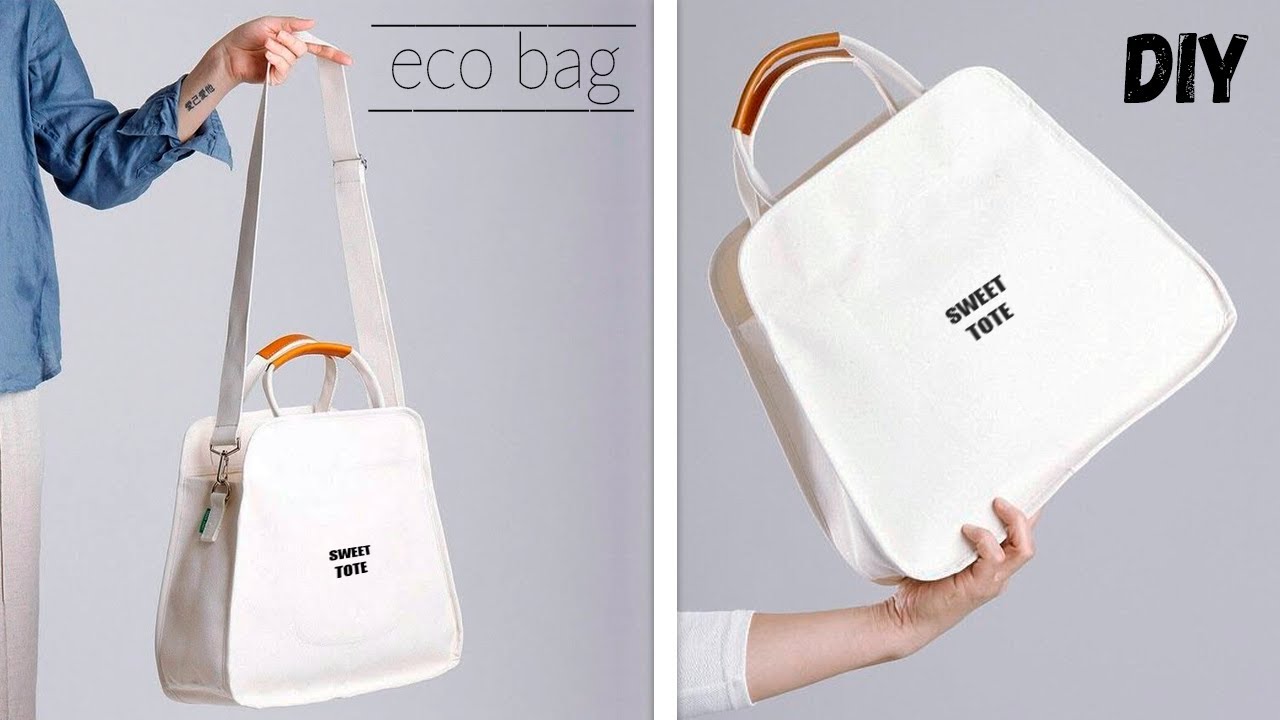
This tutorial will create a finished tote bag approximately 15 inches wide x 16 inches tall, with a 4-inch deep boxed bottom. This is a versatile, medium-to-large size.
- Main Bag Body (Cut 2): 16″ W x 17″ H (40.6 cm x 43.2 cm) – from canvas.
- Straps (Cut 2): 4″ W x 28″ L (10 cm x 71 cm) – from canvas. (Adjust length as desired for shoulder or hand carrying).
Note: All seam allowances are 1/2 inch (1.25 cm) unless otherwise stated.
Step-by-Step Sewing Instructions:
1. Prepare & Cut Your Fabric
- Pre-Wash & Press (Optional but Recommended): While canvas generally doesn’t shrink much, pre-washing it ensures any residual shrinkage happens before you sew. Wash and dry according to fabric care instructions. Iron out any wrinkles.
- Cut Your Pieces: Lay your canvas flat and use your ruler and rotary cutter (or sharp scissors) to cut your two main bag body pieces and two strap pieces to the specified dimensions. Accuracy here will lead to a neater finished bag.
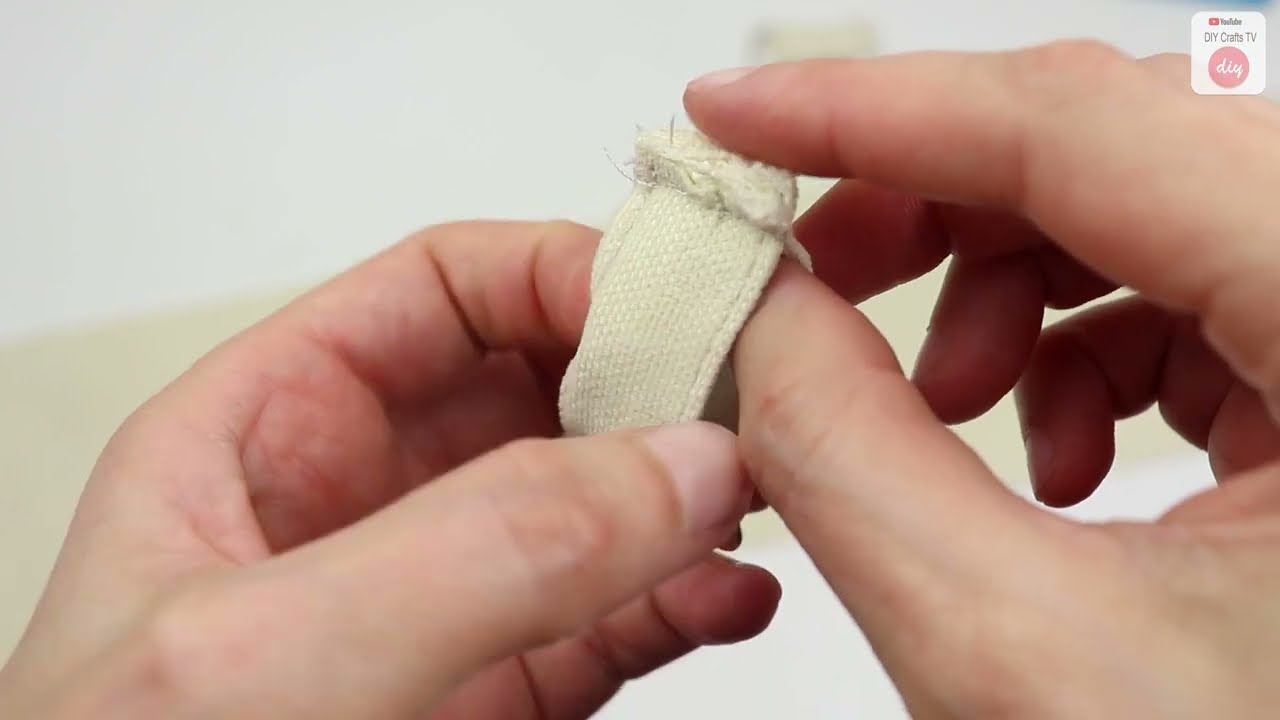
2. Construct the Straps
- Take one Strap piece. Fold it in half lengthwise, wrong sides together, and press firmly. Open it up.
- Fold each long raw edge inwards to meet the center crease you just made. Press well.
- Now, fold the entire strap in half again along the original center crease, enclosing all raw edges. Press firmly. Your strap should now be 1 inch (2.5 cm) wide.
- Topstitch along both long edges of the strap, about 1/8 inch (0.3 cm) from the edge. This secures the strap and gives it a professional, finished look. Use a slightly longer stitch length (e.g., 3.0-3.5 mm) for topstitching on canvas for a bolder look.
- Repeat steps 2.1-2.4 for the second strap.
3. Assemble the Main Bag Body
- Sew Side and Bottom Seams:
- Place your two Main Bag Body pieces right sides together, aligning all edges perfectly.
- Pin along the two side edges and the bottom edge securely.
- Stitch these three edges using a 1/2 inch (1.25 cm) seam allowance. Backstitch at the beginning and end of each seam for reinforcement.
- Tip: For extra durability on a heavy-use tote, you can double-stitch these seams (sew a second line of stitches just inside the first, within the seam allowance).
- Finish Seam Allowances (Optional but Recommended): To prevent fraying and give your bag a tidy interior, finish the raw edges of your seam allowances. You can use a zigzag stitch on your sewing machine, or if you have a serger/overlocker, use that. Press the finished seams open or to one side.
4. Create the Boxed Corners
This step gives your tote bag a flat, defined bottom, allowing it to stand upright and hold more.
- At each of the two bottom corners of your bag, flatten the corner so the side seam meets the bottom seam. This will naturally form a triangle with the seam running down its center.
- Measure 2 inches (5 cm) from the tip of the triangle (where the two seams cross) and draw a line perpendicular to the seam. This line should be 4 inches (10 cm) long across the corner. This measurement will create a 4-inch deep box.
- Stitch directly along this marked line. Backstitch securely at the beginning and end.
- Trim the excess fabric from the corner, leaving a 1/2 inch (1.25 cm) seam allowance. Finish the raw edge as desired.
- Repeat for the other bottom corner.
5. Prepare and Attach the Straps
- Mark Strap Placement:
- With your bag body still wrong side out, press down the top raw edge by 1/2 inch (1.25 cm) all the way around.
- Now, fold that pressed edge down again by another 1.5 inches (3.8 cm) and press firmly. This creates the casing for your straps and the top hem.
- On the front and back of the bag, measure in 3.5 inches (9 cm) from each side seam along the top folded edge. Mark these points. These marks indicate where your strap ends will be placed.
- Attach Straps:
- Tuck the raw ends of one prepared strap under the second fold you just made at your marked points on one side of the bag (either front or back). The strap should be pointing downwards into the bag. The strap’s raw edge should be tucked neatly under the fold.
- Pin the strap ends securely in place. Ensure the strap is not twisted.
- Repeat for the second strap on the opposite side of the bag.
- Topstitch the Hem & Secure Straps:
- Stitch all around the top hem of the bag, very close to the inner folded edge (about 1/8 inch / 0.3 cm from the fold). This secures the hem.
- Now, for extra strength, stitch a second line of topstitching 1 inch (2.5 cm) below the first line, all the way around the top of the bag. This will secure the strap ends firmly in place and reinforce the top edge. For maximum durability, you can stitch a box with an “X” through it at each strap end where it meets the bag.
6. Final Press & Embellishments
- Turn your finished tote bag right side out.
- Give your entire bag a final, thorough press with your iron, shaping the seams and corners nicely.
- Optional Embellishments:
- Stenciling/Painting: Add a custom design with fabric paint or stencils.
- Embroidery: Embroider initials, a motif, or a message onto the bag before or after assembly.
- Patch Pockets: Add a simple patch pocket to the inside or outside for extra organization (do this before assembling the main bag body).
Your durable, stylish, and eco-friendly canvas tote bag is now complete! It’s a testament to your sewing skills and your commitment to a more sustainable lifestyle. Load it up with your groceries, library books, or beach essentials and enjoy the satisfaction of carrying your handmade creation! What will be the first adventure you take your new tote on?
Video tutorial: