by
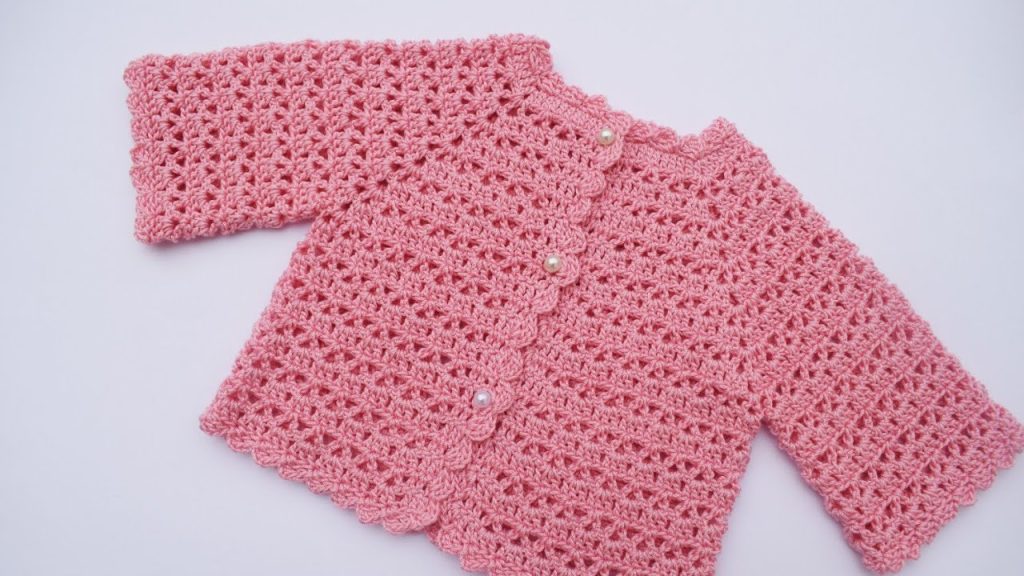
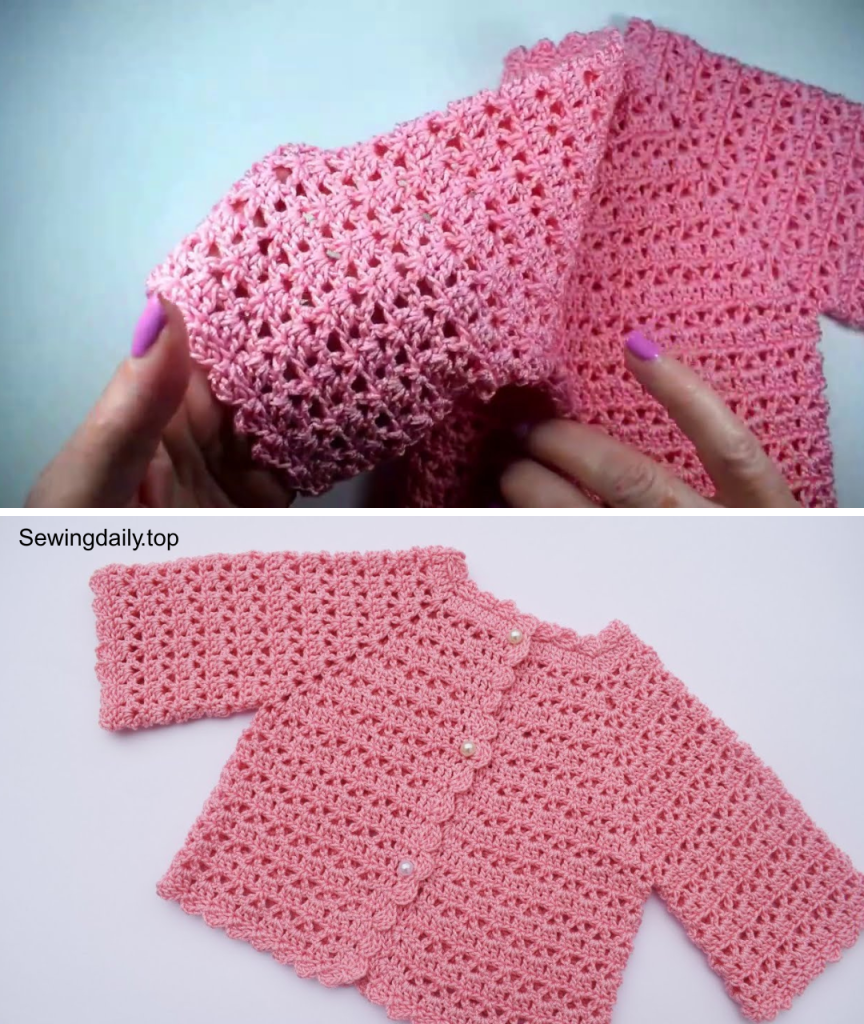
by A crochet jacket is a beautiful, handmade garment that can be a versatile addition to any wardrobe. The idea of crocheting a garment might seem intimidating, but this pattern is designed to be simple, using basic stitches and a classic construction method that makes it perfect for beginners. This detailed tutorial will guide you through creating the “Everyday Cardigan”, a timeless and comfortable jacket that is a one-piece wonder, with no complicated seams.
This article provides a simple, accessible approach to making a custom-fit cardigan for any size, from a small child to a plus-size adult. The simple construction method allows you to easily adjust the size to fit you perfectly.
1. Planning Your Cardigan: Key Measurements & Materials
The key to this pattern’s “all sizes” appeal is customizing it to your body. You will be making three large rectangular panels and joining them together.
- Finished Size: This pattern is adjustable. You will need to take two key measurements:
- Measurement A: Your back width from armpit to armpit.
- Measurement B: Your desired length from the top of your shoulder to your hip or waist.
- Yarn Choice: Choose a yarn that is soft and comfortable against your skin. A durable yarn that holds its shape well is best for a garment.
- Fiber: A Worsted Weight (#4) yarn in a Wool, Acrylic, or a Blend is a great choice.
- Color: A single, solid color will best highlight the stitches and create a timeless look.
- Quantity: This will depend on your size, but you will need approximately 800-1500 yards (730-1370 meters) of yarn.
2. Materials & Tools You’ll Need
- Yarn: Your chosen quantity of Worsted Weight (#4) yarn.
- Crochet Hook: A 5.0 mm (H-8 US) hook, or the size that achieves the correct gauge with your yarn.
- Scissors: For cutting yarn.
- Yarn Needle (Tapestry Needle): For weaving in ends.
- Tape Measure: Essential for checking your measurements as you go.
- Stitch Markers (Optional): To mark the armholes.
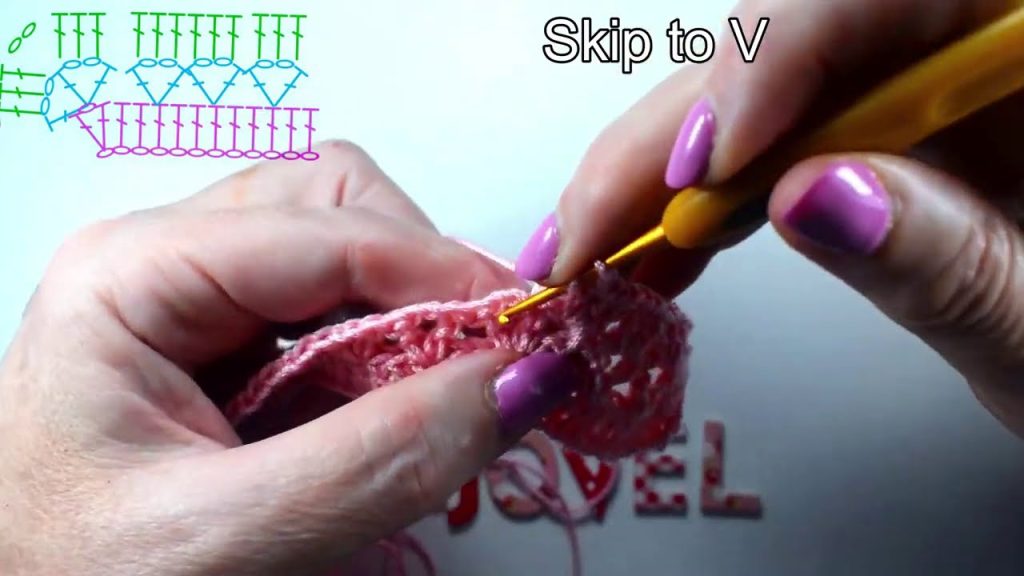
3. Essential Crochet Stitches & Techniques
- Slip Knot
- Chain (ch)
- Slip Stitch (sl st)
- Single Crochet (sc)
- Double Crochet (dc)
- Half Double Crochet (hdc)
- Working in Rows: The pattern is worked in flat rows, which is a great place to start for beginners.
4. Let’s Crochet the Everyday Cardigan!
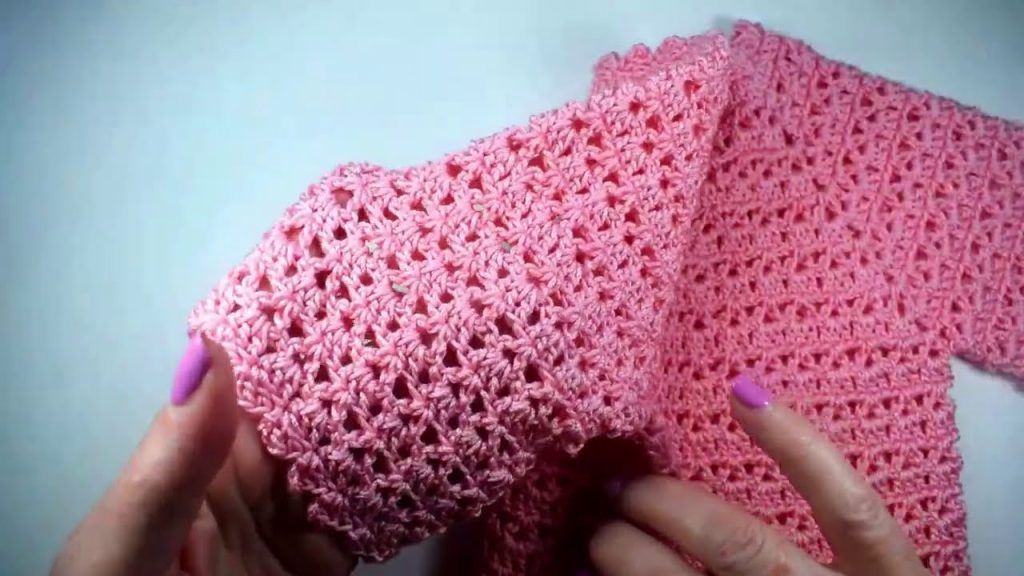
The jacket is made in three separate panels: a large back panel and two smaller front panels.
Part 1: The Back Panel
- Foundation Chain: Ch a length that equals your Measurement A (your back width). The number of chains should be a multiple of 2.
- Row 1: Hdc in the 2nd ch from the hook and in each ch across. Ch 1, turn.
- Row 2: Hdc in each stitch across. Ch 1, turn.
- Repeat Row 2: Continue working rows of hdc until the panel measures your Measurement B (your desired length from shoulder to waist). Fasten off and weave in your ends.

Part 2: The Front Panels (Make 2)
- Foundation Chain: Ch a length that is half of your Measurement A (your back width). For example, if your back is 20 inches wide, your front panel chain should be 10 inches long. The number of chains should be a multiple of 2.
- Row 1: Hdc in the 2nd ch from the hook and in each ch across. Ch 1, turn.
- Row 2: Hdc in each stitch across. Ch 1, turn.
- Repeat Row 2: Continue working rows of hdc until the panel measures your Measurement B (your desired length from shoulder to waist). Fasten off.
- Create the Second Front Panel: Repeat steps 1-4 to create an identical second panel.
5. Assembly: Bringing It All Together
- Lay out the Panels: Lay your large back panel flat. Place one front panel on top of the left side of the back panel, aligning the rows and edges. Do the same with the other front panel on the right side.
- Seam the Shoulders: Use a yarn needle to whip stitch or slip stitch the top of the front panels to the back panel. Sew from the outside in, for a length of about 4-6 inches (10-15 cm), or until the shoulder seam is comfortable.
- Seam the Sides: Measure down from the shoulder seam about 8-10 inches (20-25 cm) and place a stitch marker. This will be the bottom of your armhole. Using a yarn needle, whip stitch the front panels to the back panel along the sides, from the bottom of the jacket up to the stitch marker.
- Add the Sleeves (Optional): If you desire sleeves, you can continue working in the round from the armholes you created. Simply reattach your yarn to the bottom of the armhole and work rounds of hdc until the sleeve reaches your desired length.
Enjoy your beautiful, handmade “Everyday Cardigan”! Its simple construction and timeless design make it a perfect companion for any outfit.
Video tutorial: