 by
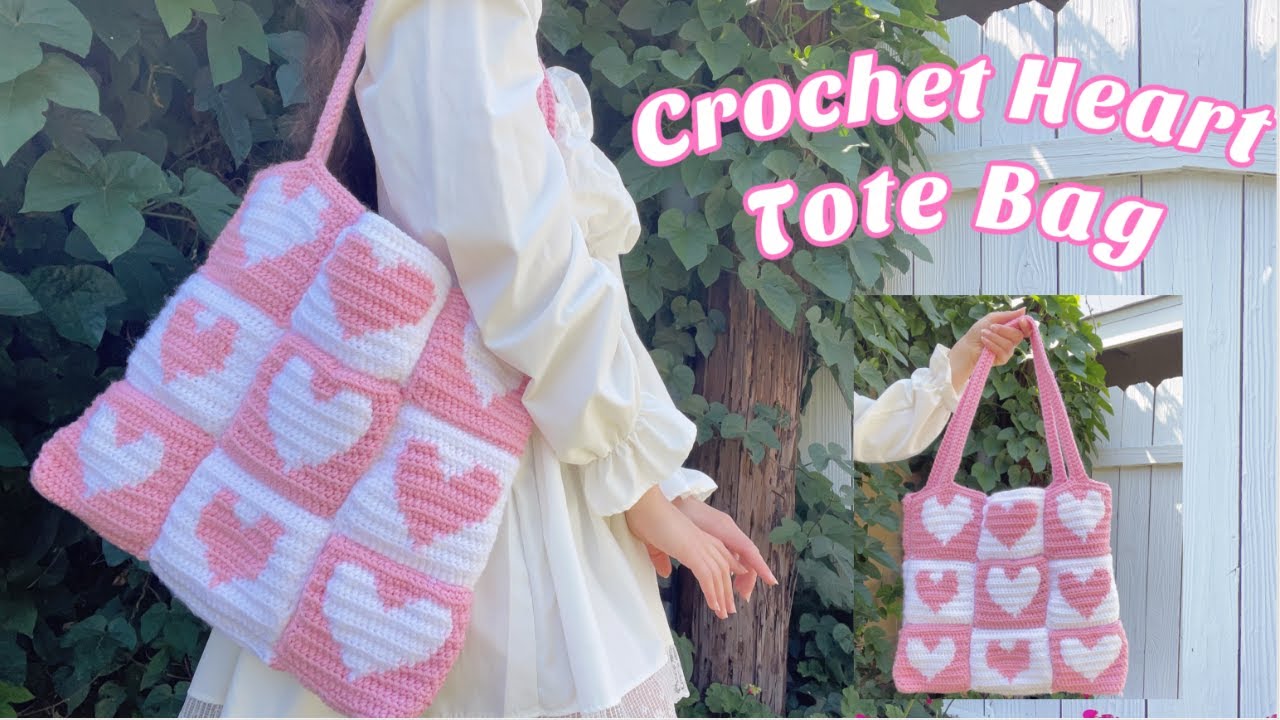
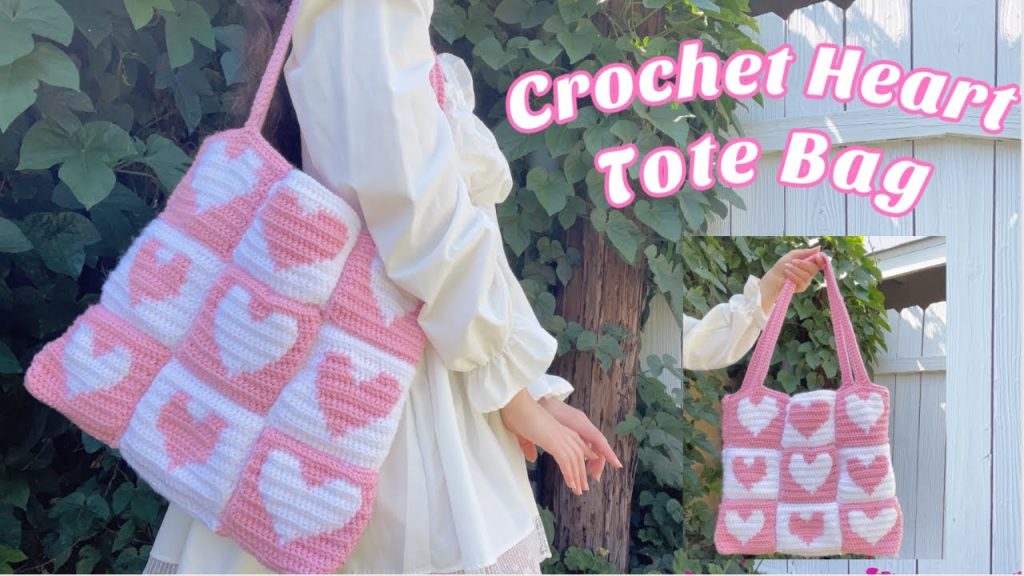
by Combine your love for crochet with a passion for unique accessories by making your very own Crochet Heart Tote Bag. This project transforms a simple tote into a statement piece with a beautiful, eye-catching heart motif worked directly into the fabric. It’s a rewarding and fun project that’s perfect for a Valentine’s Day gift, a special accessory for yourself, or a thoughtful present for a friend. This tutorial will guide you through creating a durable tote from the ground up, with the heart design seamlessly integrated.
Why Crochet a Heart Tote Bag?
- Unique Style: Move beyond basic totes with a design that is both personal and charming.
- Skill Building: Practice working with color changes, carrying yarn, and creating motifs within your crochet fabric.
- Customizable: Easily adjust the size, strap length, and color palette to fit your needs.
- Durable & Practical: A well-made crocheted tote is strong enough for groceries, books, or everyday essentials.
- Great Gift Idea: Nothing says “I love you” quite like a handmade tote bag.
What You’ll Need:
- Yarn:
- Color A (Main Bag Color): 200-250 yards of a sturdy yarn. Worsted weight cotton is highly recommended for its durability and stiffness, which helps the bag hold its shape.
- Color B (Heart Color): 50-75 yards of a contrasting worsted weight cotton yarn.
- Crochet Hook: A hook size appropriate for your yarn. A H (5.0 mm) hook is a good starting point for worsted weight yarn.
- Tools:
- Yarn needle (for weaving in ends).
- Scissors.
- Stitch markers (optional, but helpful for marking the beginning of rows).
Understanding the Stitch and Construction
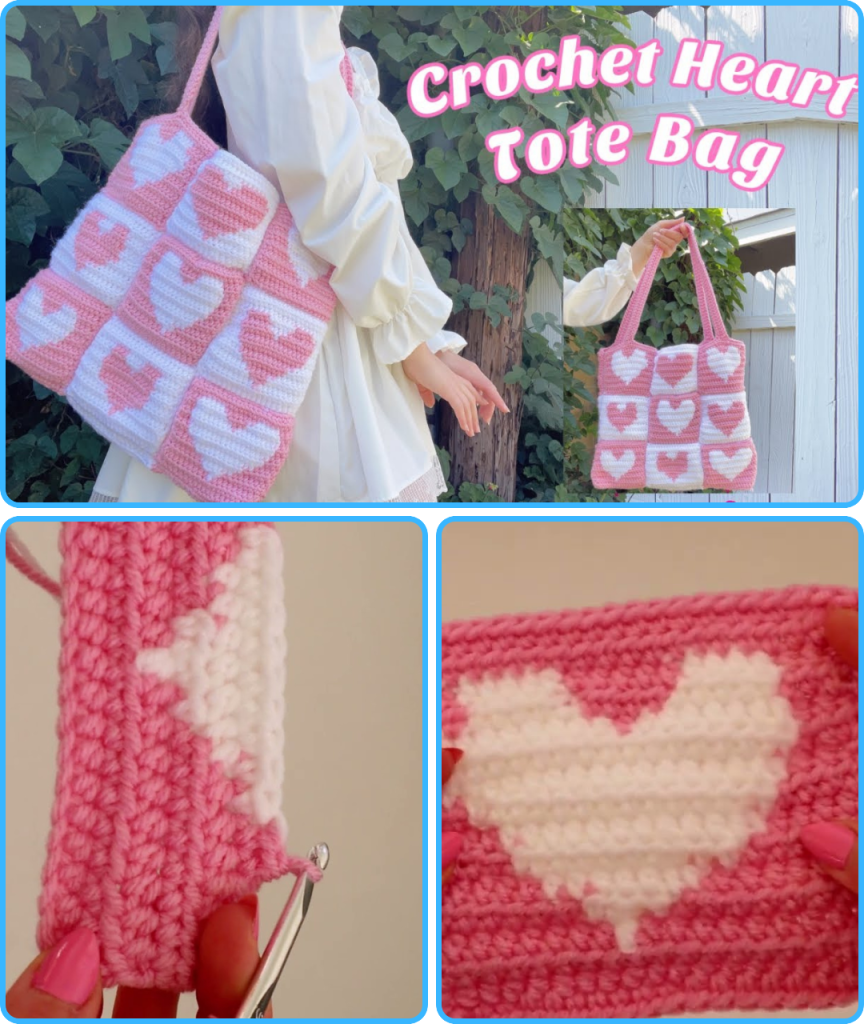
This bag is worked in joined rounds from the bottom up. We will use the tapestry crochet technique for the heart design, which means you will work with two colors at once, carrying the unused color inside your stitches. This creates a solid, clean design without any floats on the wrong side of the fabric.
Common Abbreviations:
- ch: chain
- sl st: slip stitch
- sc: single crochet
- st(s): stitch(es)
- MR: magic ring
- YO: yarn over
Step-by-Step Tutorial:
This pattern creates a bag approximately 12 inches wide and 14 inches tall.
Part 1: Crocheting the Bag Bottom
- Start with the Main Bag Color (Color A).
- Chain 26.
- Round 1: Work 2 sc in the 2nd ch from the hook. Sc in each of the next 23 sts. Work 4 sc in the last ch. Rotate your work to crochet along the other side of the chain. Sc in each of the next 23 sts. Work 2 sc in the last st. Join with a sl st to the first sc. (54 sc total).
- Round 2: Ch 1. Work 2 sc in the first st. Sc in the next 23 sts. Work 2 sc in each of the next 4 sts. Sc in the next 23 sts. Work 2 sc in each of the last 2 sts. Join with a sl st to the first sc. (62 sc total).
- Round 3: Ch 1. Work 2 sc in the first st. Sc in the next 24 sts. Work 2 sc in each of the next 4 sts. Sc in the next 24 sts. Work 2 sc in each of the last 2 sts. Join with a sl st to the first sc. (70 sc total).
You should now have a flat, oval base for your bag.
Part 2: Working the Bag Body and the Heart Motif
Now we will work in continuous rounds. This is where you will add the heart design using the tapestry crochet technique.
- Round 4 (Body): Ch 1. Working in the back loop only, sc in each st around. This creates a raised ridge that defines the bottom of the bag. Join with a sl st to the first sc.
- Rounds 5-10: Ch 1. Sc in each st around. Join with a sl st to the first sc.
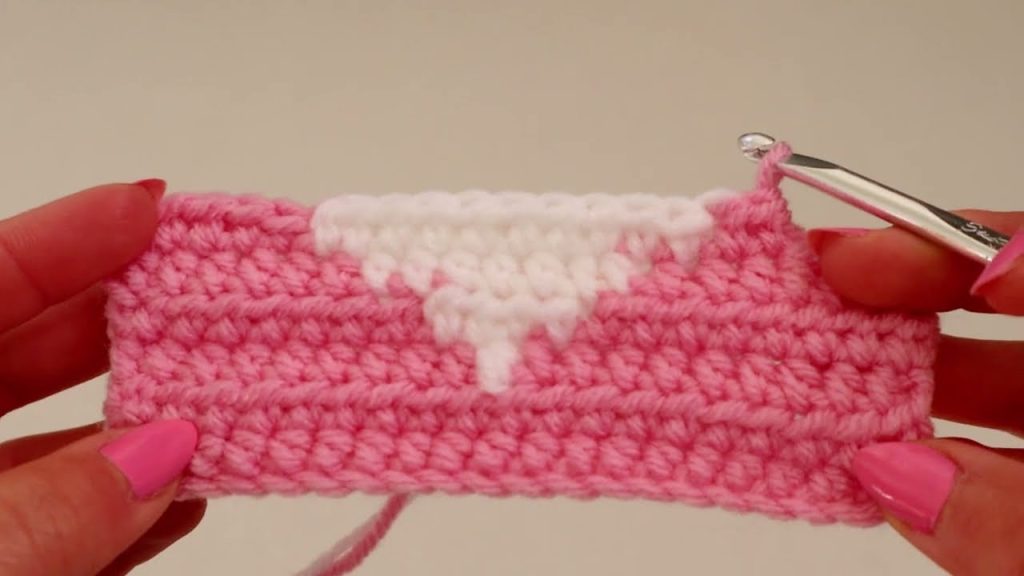
- Round 11 (Start of Heart): Ch 1. Sc in the first 34 sts with Color A. Change to Color B for 2 sts, carrying Color A inside your stitches. Change back to Color A for the remaining sts. Join with a sl st.
- Round 12: Sc with Color A until you are 1 st before the heart. Change to Color B for 4 sts. Change back to Color A. Sc in the remaining sts. Join with a sl st.
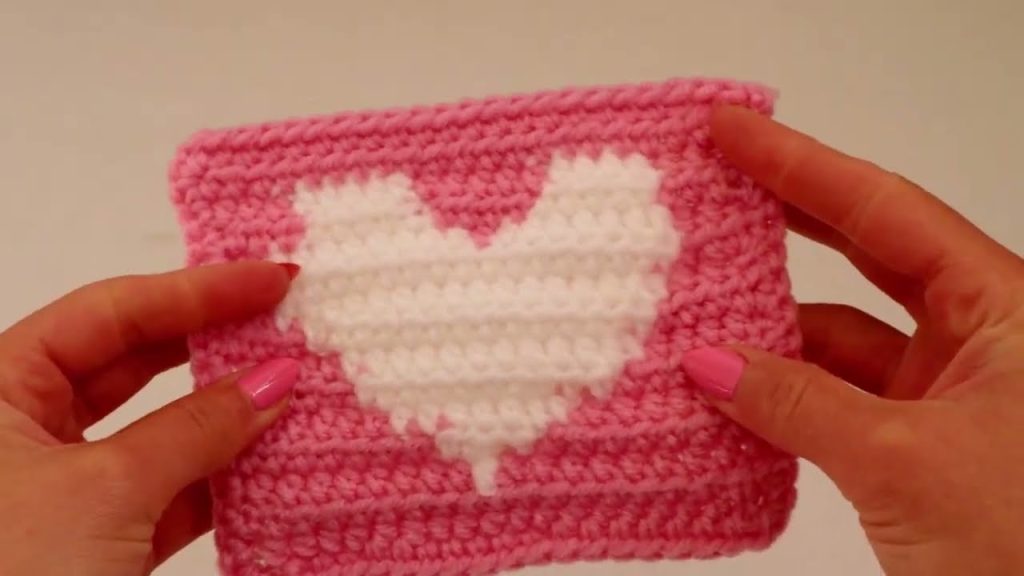
- Continue following a heart graph or chart for the remaining rows, changing colors for the pattern. Remember to keep the unused color taut inside your stitches to avoid any lumps or bumps in the fabric. A typical heart motif is worked over 10-12 rows, gradually getting wider and then splitting at the top.
- Once the heart is complete, continue working in a solid color (Color A) for another 10-15 rows to create the top of the bag.
Part 3: Creating the Handles
- Placement: Lay your bag flat and use stitch markers to mark where you want your straps to be. A good placement is about 5-6 inches from each side seam, or as you prefer.
- Round 1 (Handle Base): Ch 1. Sc in each st until you reach the first stitch marker. Ch 40 (or a desired length for your strap). Skip the stitches between the two markers and sc in the stitch at the second marker. Sc until you reach the third marker. Ch 40. Skip the stitches between the last two markers and sc in the stitch at the last marker. Continue to sc until the end of the round. Join with a sl st.
- Round 2 (Handle Reinforcement): Ch 1. Sc in each sc of the previous row. When you reach the handle chain, sc 40 times around the chain. Sc in each sc of the previous row on the other side. Sc 40 times around the second handle chain. Continue to sc until the end of the round. Join with a sl st.
- Round 3: Ch 1. Sc in each st around. This will reinforce your handles. Join with a sl st.
- Fasten off, leaving a long tail for weaving in.
Part 4: Finishing Touches
- Weave in all ends securely using your yarn needle. Tapestry crochet hides the ends nicely, but double-check that they are not visible.
- Block your bag if needed. This is especially helpful if your cotton yarn is a bit stiff. Gently wet the bag, shape it, and let it dry flat.
Customization Ideas:
- Size: To make a smaller or larger bag, simply adjust your starting chain and the number of stitches in your base. Adjust the handle chain to fit your body.
- Colors: Play with different color combinations! A neutral bag with a neon heart, or a brightly colored bag with a white heart can be very striking.
- Straps: For a more rustic look, use leather straps instead of crocheting them. Simply sew them to the finished bag.
You’ve now created a beautiful and unique Crochet Heart Tote Bag that is a true labor of love. It’s perfect for carrying your essentials and showing off your crochet skills wherever you go.
Video tutorial: