by
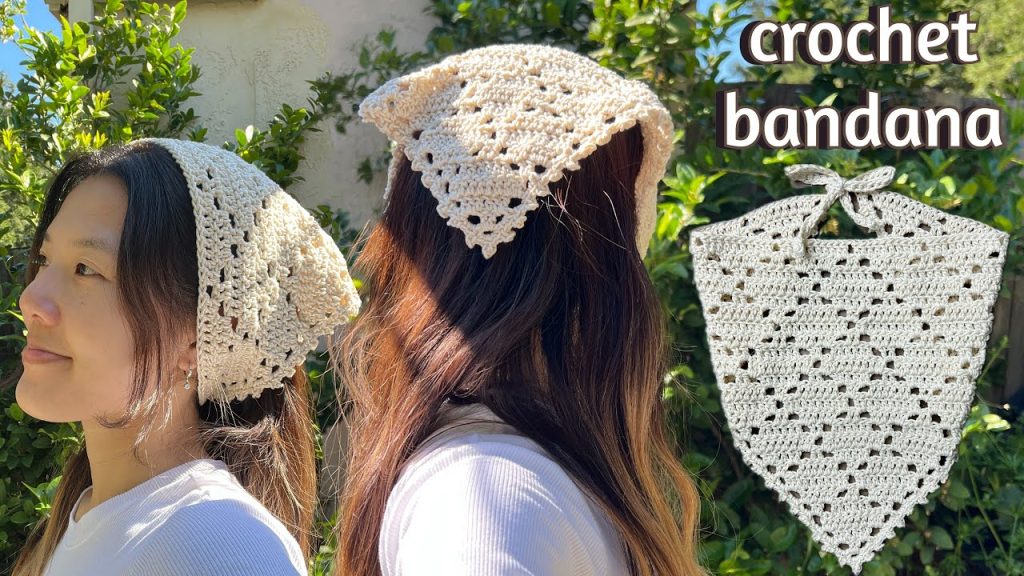
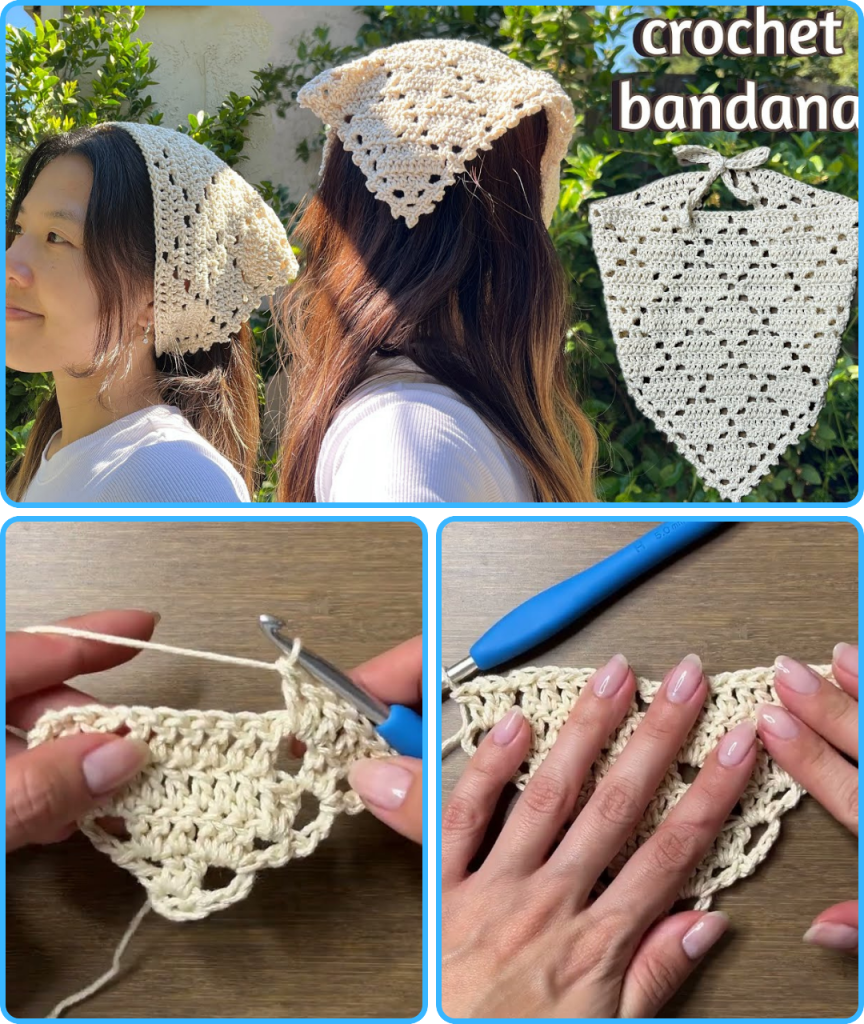
by A crocheted bandana is the perfect accessory for adding a touch of bohemian flair to your look, and the Diamond Lace Bandana takes that style to a new level. This pattern combines classic bandana shaping with a beautiful, open lace design, creating a lightweight and elegant piece that’s perfect for warm weather. The diamond motif isn’t just a pattern; it’s a way to create a flowing, airy fabric that drapes beautifully. This project is a fantastic way for intermediate crocheters to expand their skills, and for ambitious beginners to learn a new stitch with a stunning result.
Why Crochet a Diamond Lace Bandana?
- Chic & Stylish: The diamond lace pattern offers a sophisticated, handmade look that stands out from simple solid-stitch bandanas.
- Lightweight: The open-stitch design makes it breathable and comfortable, perfect for summer days, music festivals, or beach trips.
- Customizable: You can easily adjust the size to create a scarf, a larger shawl, or a smaller neckerchief simply by adding or subtracting rows.
- Skill-Building: This project provides great practice for fundamental stitches while introducing you to the art of working in rows to create a motif.
- Versatile Accessory: Wear it in your hair, around your neck, or tie it to your bag for a pop of handmade charm.
What You’ll Need:
- Yarn: Approximately 100-150 yards of a DK (light worsted) or sport weight yarn. A cotton or cotton blend is highly recommended for its excellent stitch definition and breathability.
- Crochet Hook: A hook size appropriate for your yarn. A G (4.0 mm) or H (5.0 mm) hook is a good starting point for DK weight yarn. Always check your yarn label for the best recommendation.
- Tools:
- Yarn needle (for weaving in ends).
- Scissors.
- Stitch markers (optional, but helpful for marking the center stitch).
Understanding the Diamond Lace Pattern
The diamond lace motif is created by a repeating sequence of stitches that includes chain spaces and double crochet stitches. The pattern is worked in rows, increasing at the center and at both ends to form a triangular shape. This design is built on a simple 4-row repeat, making it easy to memorize once you get the hang of it.

Common Abbreviations:
- ch: chain
- ch-sp: chain space
- sk: skip
- st(s): stitch(es)
- sl st: slip stitch
- dc: double crochet
- dc2tog: double crochet two together (a decrease stitch)
- V-st: V-stitch (1 dc, ch 1, 1 dc in same stitch or space)
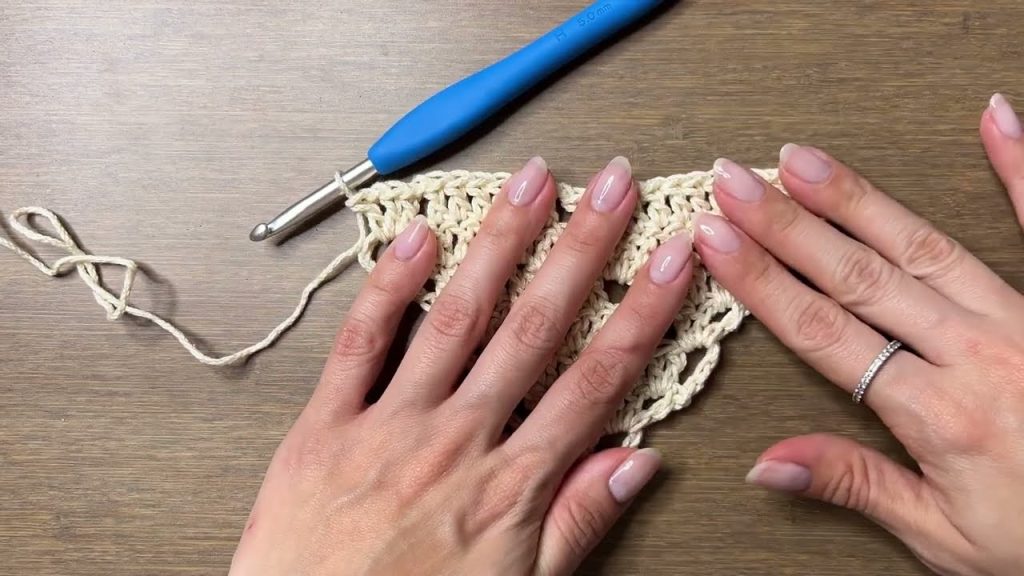
Step-by-Step Tutorial: The Diamond Lace Bandana
The pattern is worked from the top point down, increasing with each row.
Starting the Bandana:
- Chain 4.
- Row 1: Work a V-stitch (1 dc, ch 1, 1 dc) into the 4th chain from your hook. (This forms the top point of your bandana).
- Alternatively, you can start with a magic ring or a chain 2, with the first V-stitch in the first chain.
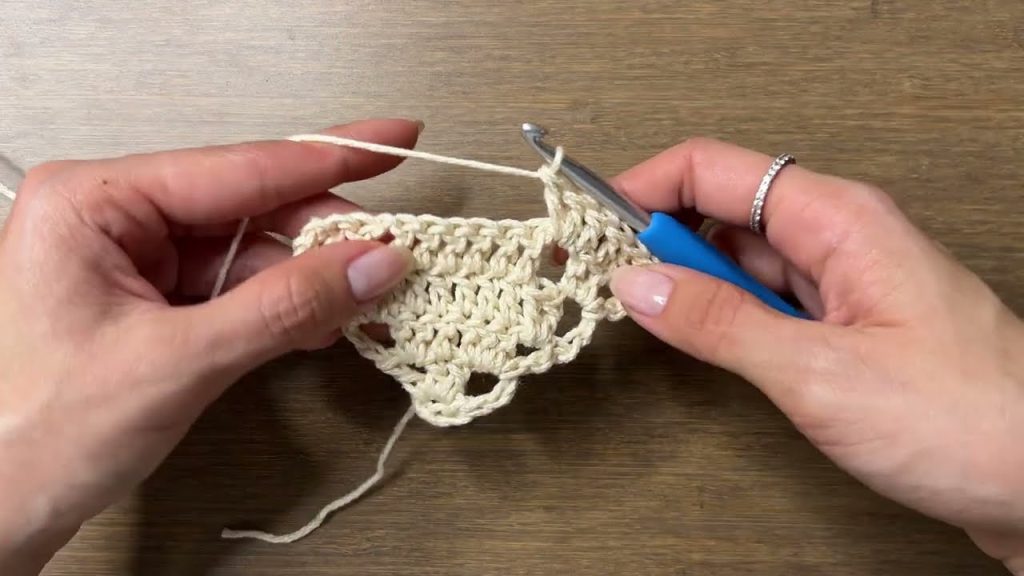
Building the Diamond Rows (The 4-Row Repeat):
- Row 2 (Right Side):
- Ch 3 (counts as first dc). Turn.
- Work a V-stitch (1 dc, ch 1, 1 dc) in the first dc of the previous row.
- Work a V-stitch in the center ch-1 sp of the V-stitch below.
- Work a V-stitch in the last dc of the previous row.
- You have now increased your V-stitches from one to three.
- Row 3 (Wrong Side):
- Ch 3 (counts as first dc). Turn.
- Work 1 dc in the first ch-1 sp.
- Note: This is where the diamond pattern begins to form. You’ll create a V-stitch in the center and a simple double crochet at each end.
- Work a V-stitch in the next V-stitch’s ch-1 sp.
- Work 1 dc in the next V-stitch’s ch-1 sp.
- Work 1 dc in the last dc of the previous row.
- Row 4 (Right Side):
- Ch 3 (counts as first dc). Turn.
- Work a V-stitch in the first ch-1 sp.
- Chain 1.
- Work 1 dc in the next ch-1 sp.
- Chain 1.
- Work a V-stitch in the center ch-1 sp.
- Chain 1.
- Work 1 dc in the next ch-1 sp.
- Chain 1.
- Work a V-stitch in the last ch-1 sp.
- Row 5 (Wrong Side):
- Ch 3 (counts as first dc). Turn.
- Work 1 dc in the first ch-1 sp.
- Work a dc2tog over the next two dc stitches.
- Work a V-stitch in the next V-stitch’s ch-1 sp.
- Work a dc2tog over the next two dc stitches.
- Work 1 dc in the last ch-1 sp.
- Work 1 dc in the top of the ch-3 from the previous row.
Repeating the Pattern:
Now, you will repeat the sequence from Row 2 to Row 5 until your bandana reaches your desired size. Each repeat will add another diamond to your pattern.
- Tip: The key is to always remember where your center stitch is. It is always the V-stitch that is directly in the center of the previous row. All your increases happen at the start and end of each row and at that center stitch.
Finishing Touches:
- Once your bandana is the size you want, fasten off your yarn, leaving a long tail.
- Using your yarn needle, carefully weave in all loose ends into the back of your bandana.
- Optional: You can add a decorative border of single crochet stitches or picot stitches along the sides of the bandana for a more finished look.
Customization & Styling Ideas:
- Size: Continue the pattern repeat for a larger shawl or scarf. Stop a few rows in for a small neckerchief.
- Yarn Choice: Use a cotton-linen blend for a more rustic, textured feel, or a bamboo yarn for a silky, drapey look.
- Color: Create a striped bandana by changing colors every few rows, or use a variegated yarn that does the color work for you.
- Styling:
- Headband: Tie it around your head with the point facing down your back.
- Neckerchief: Wear it around your neck with the point facing forward.
- Tie it to a Bag: For an instant pop of color and texture on a simple tote bag.
Your elegant Diamond Lace Crochet Bandana is now complete! It’s a testament to your growing crochet skills and a beautiful addition to your accessory collection. What will be your next project?
Video tutorial: