by
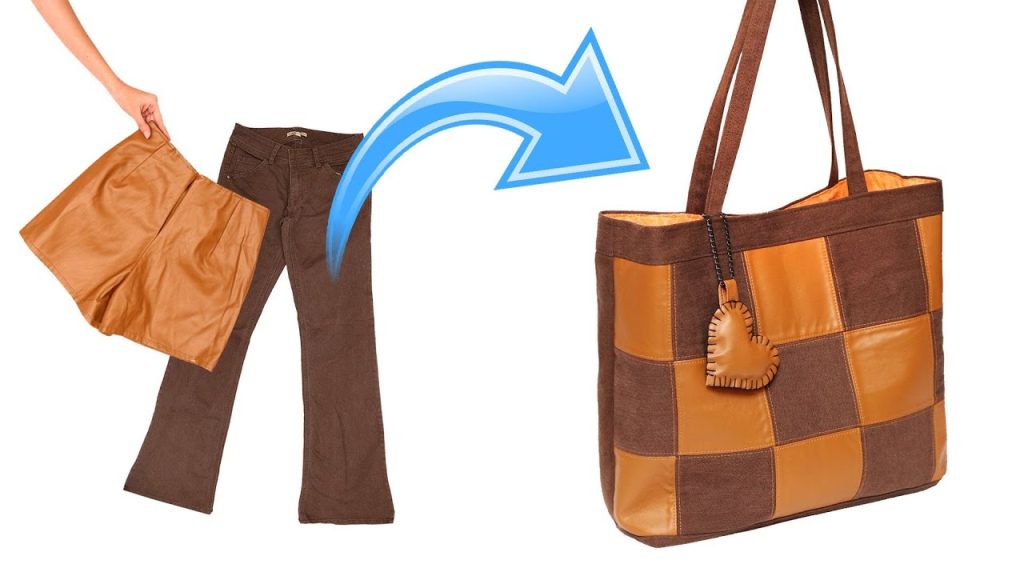
by We all have them: that stack of old, worn-out denim languishing in the back of the closet. Too ripped to wear, too sentimental to toss. But what if those beloved blues held the secret to a high-end accessory you genuinely can’t find in any store?
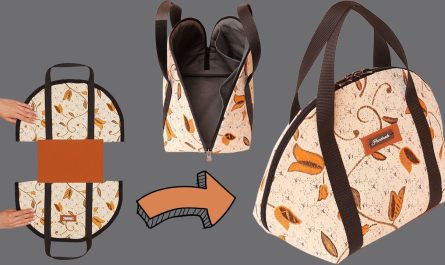
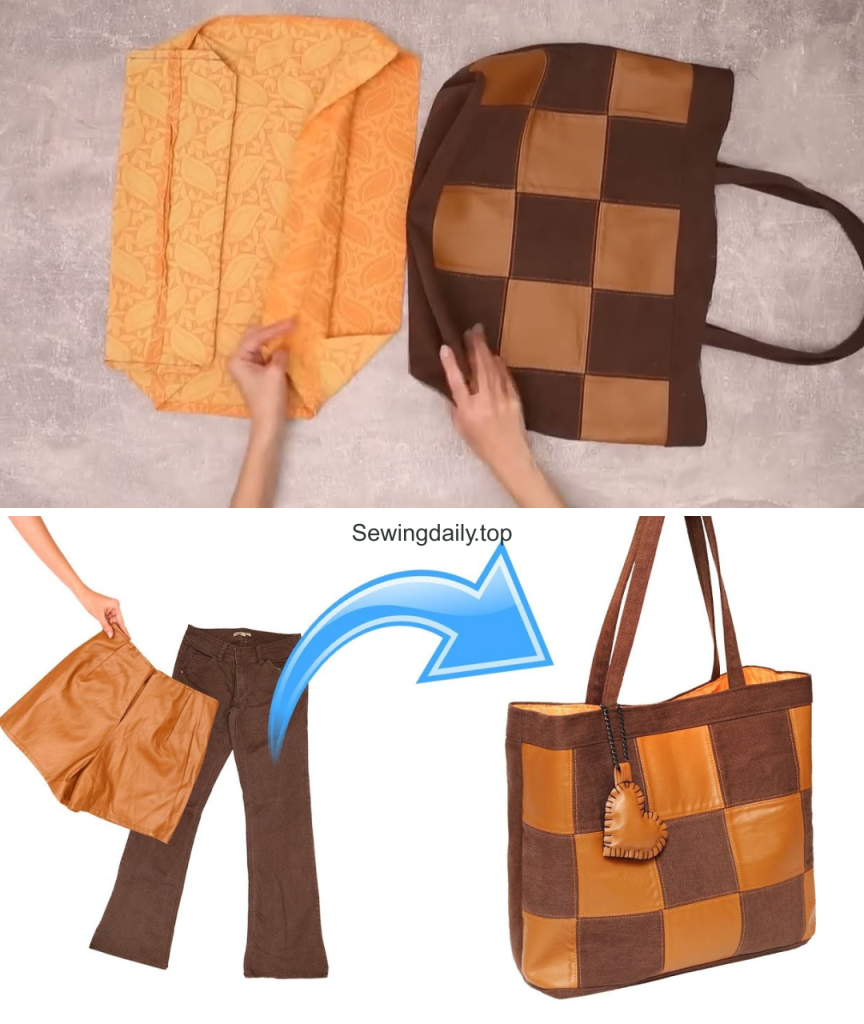
Forget fast fashion and dive into the world of creative upcycling! Today, we’re taking inspiration from an incredible tutorial—That’s why I don’t throw away old jeans – you won’t buy such a bag in a shop!—to create a gorgeous, durable, and uniquely personal tote bag. This isn’t just a craft project; it’s a sustainable statement piece. Ready to transform your tired threads into a timeless tote? Let’s get started!
The Anatomy of an Upcycled Masterpiece: What You’ll Need
The beauty of this project lies in repurposing materials, but for a truly professional finish, a few key components are essential. The original creators utilized a smart combination of textiles for structure and style.
| Material | Purpose in the Project | Sourced From |
| Old Jeans | The primary exterior material, providing durability and iconic texture. | Your closet (or a thrift store!) |
| Artificial Leather | Used for accents, handles, or the base, adding a luxurious contrast and structure. | An old skirt or jacket |
| Interfacing | Crucial for giving the denim and the bag a firm, professional shape that holds its form. | Purchased craft supply |
| Cotton Fabric | Used for the inner lining, adding a pop of color/pattern and finishing the interior neatly. | Purchased fabric, or another old garment |
| Holofiber | Likely used for light padding or to reinforce the base or strap for comfort and volume. | Stuffing material |
You will also need:
- A sewing machine
- Cutting tools (rotary cutter and mat or sharp scissors)
- Pins or fabric clips
- Zipper or magnetic clasp (optional, for closure)
- Measuring tape and ruler
Step-by-Step Upcycling: From Denim to Designer Tote
This process is broken down into manageable stages, ensuring a fantastic final result. While the video is a visual guide, here is a detailed pattern to follow:
Phase 1: Preparing Your Materials (The Denim Deconstruction)
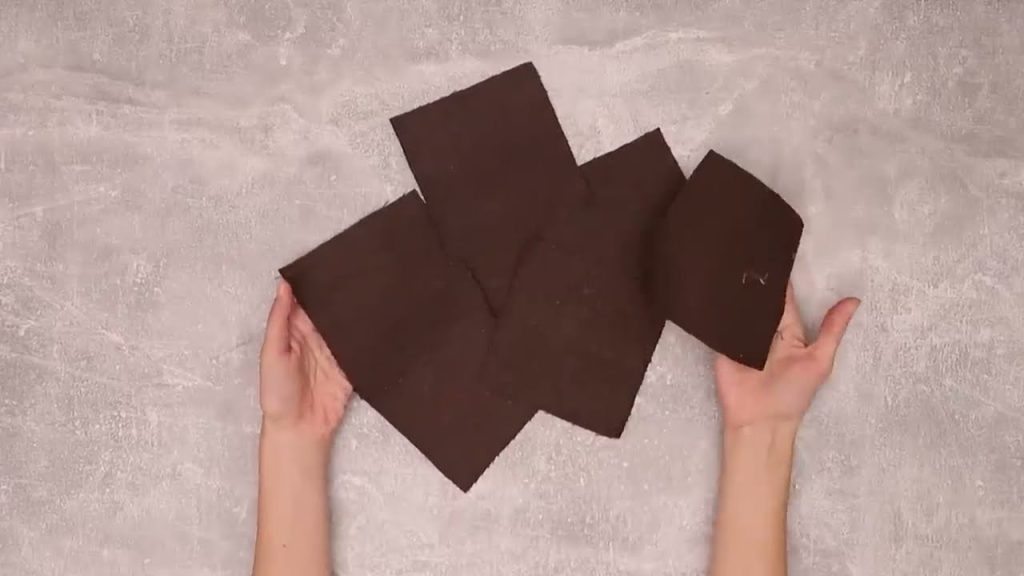
- Deconstruct the Denim: Lay your old jeans flat. Cut off the legs to get the largest, smoothest panels of denim. You will mostly be working with the thigh and lower leg sections. Tip: The back pockets can be saved and incorporated into the design for built-in exterior storage!
- Cut the Main Panels: Determine the size of your bag. Cut two rectangular panels from the denim for the front and back of the bag. If you are creating a structured bag, you will also cut a long strip for the base and sides (the gusset).
- Apply Interfacing: Iron the fusible interfacing onto the back of your denim pieces. This step is non-negotiable for a professional-looking bag, as it prevents slouching and provides strength.
Phase 2: Adding the Leather Accents and Structure
- Prepare the Faux Leather: Cut the artificial leather for the handles, and potentially for a decorative strip across the bottom or top edge of the bag.
- Create the Handles: Cut two long, thick strips for the handles. Fold the edges inward, press, and stitch them closed to create durable straps. Pro Tip: Use the holofiber to lightly pad the inside of the strap before stitching for extra comfort on the shoulder.
- Attach Embellishments: If you are adding a leather base or decorative panel to the exterior denim pieces, stitch these on now, before assembling the bag’s main body.
Phase 3: The Lining and Interior
- Cut the Cotton Lining: Use the exact same pattern pieces you cut for the main denim body to cut your cotton fabric lining.
- Assemble the Lining: Sew the cotton lining pieces together to form the interior shell of the bag, leaving an opening at the top. You can also sew in slip pockets or a zippered pocket at this stage, referencing the video for placement. Remember to leave a small gap in one of the side seams of the lining—this is essential for turning the bag right-side out later.
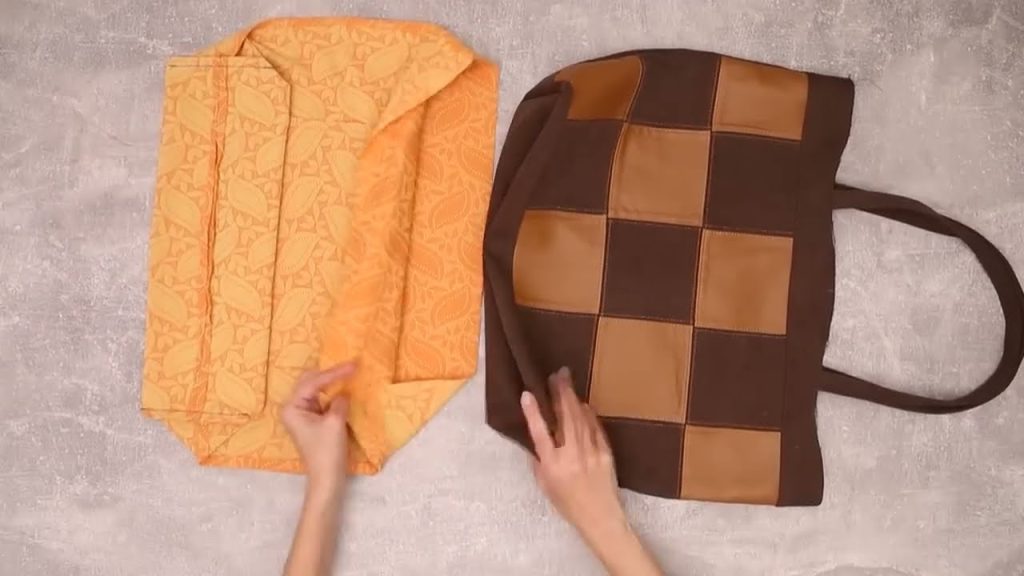
Phase 4: Final Assembly (Putting it All Together)
- Sew the Outer Bag: Stitch the denim (with interfacing) panels together to create the main exterior bag shell. If you are squaring the corners for a flat bottom, do so now.
- Baste the Handles: Pin and baste the faux leather handles to the top edge of the outer denim bag. Make sure they are evenly spaced and perfectly aligned.
- The Final Stitch: Place the outer denim bag inside the cotton lining bag, with right sides together. The handles should be sandwiched in between the two layers.
- Stitch the Top: Sew all the way around the top edge of the bag (the opening), locking the denim, the handles, and the lining together.
- Turn and Finish: Use the gap you left in the lining (Phase 3) to carefully pull the entire bag right-side out. Once turned, push the lining into the bag and press the top edge flat. Hand-stitch or machine-stitch the gap in the lining closed.
- Topstitch: Finish with a final, decorative topstitch all around the top opening of the bag. This step gives it a polished, professional look and secures the lining inside.
The Rewarding Outcome: A Bag That Tells a Story
By following this pattern, you’ve not only created a highly functional and stylish accessory but also contributed to a more sustainable world. Your new bag is:
- Durable: Denim is built to last, giving your tote a robust, long life.
- Unique: No two upcycled bags are ever the same. The fade and wear patterns of your old denim make this bag exclusively yours.
- A Conversation Starter: Prepare to tell everyone about your creative reuse project!
So, the next time you look at a pile of old clothes, remember the potential hidden within. Don’t throw them away—turn them into something magnificent!
Video tutorial: